
“Sunshine in a bottle” is what I like to call it. Sweet, boozy sunshine.
If you’ve never had a sip of the Italian lemon liqueur known as limoncello, you’re in for a treat.
Homemade limoncello blows away the store-bought stuff, and it’s ridiculously simple to make.
While many commercial imports tend to be too sweet, homemade limoncello can be made as strong or as mild as you wish. Let it sit a while to age into a bright, smooth sipper, and your concoction could rival some of the finest in Italy!
The Italians have been making limoncello for over a hundred years, when those clever Sicilians figured out how to cope with their hot summer evenings.
Most of the country’s limoncello production is situated along the Amalfi coast, where the zest of Sorrento lemons (also known as Femminello St. Teresa lemons, and praised for their high oil content) is steeped in alcohol and mixed with simple syrup to create a refreshing digestif.
Served straight out of the freezer in a chilled glass, limoncello is perfect on its own, or can be used to spike lemonades and flavor cocktails.
If you’re like me and you like to do a little “gartending” (garden bartending), a tall glass of limoncello and soda on the rocks, garnished with a mint sprig, makes a delightful drink after digging in the dirt all day.
Disclosure: If you shop from my article or make a purchase through one of my links, I may receive commissions on some of the products I recommend.
The Best Homemade Limoncello
Makes 2 (32-ounce) bottles
Ingredients
10 medium organic lemons
1 (750 mL) bottle high-proof pure grain alcohol (such as Everclear)
3 cups water
2 cups sugar
Instructions
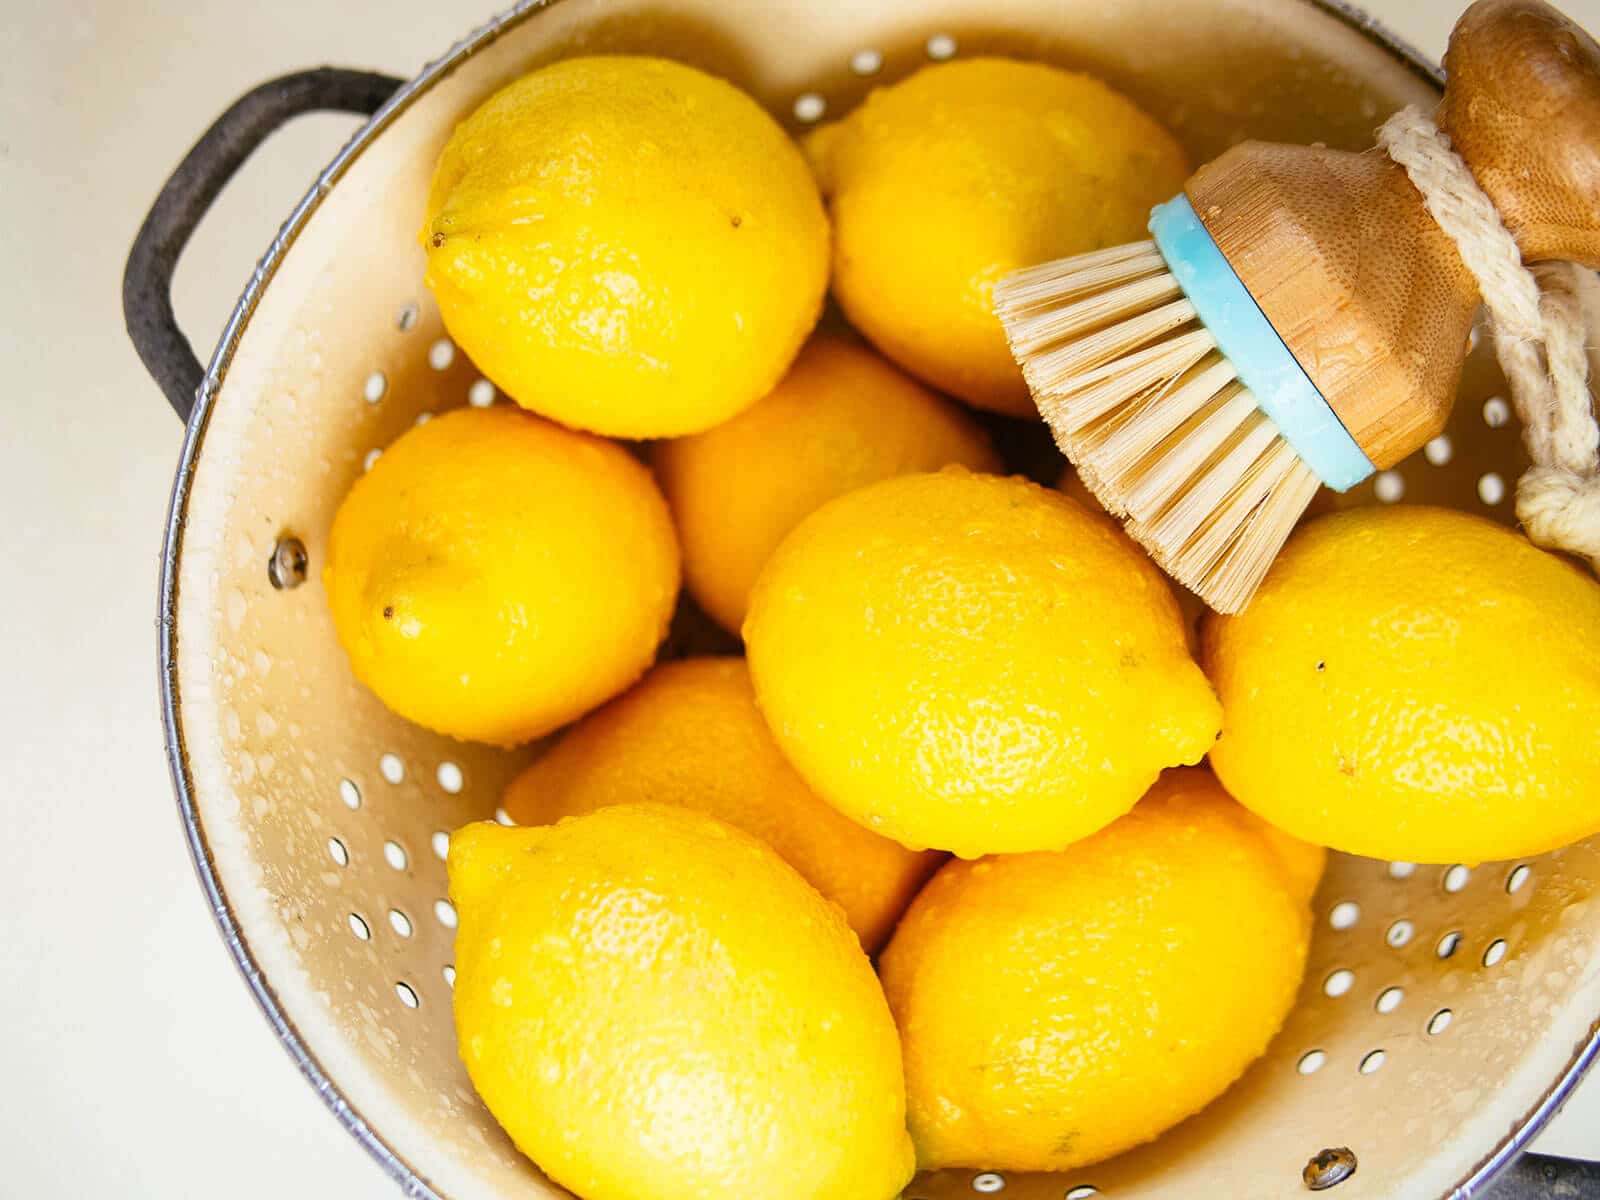
Since limoncello is made from the zest of lemons, you want to use thick-skinned, high-quality, organic lemons free of wax and pesticides.
Don’t skimp on this part. The best lemons will make the best limoncello! I picked Eureka lemons right off my tree, choosing the ones with the smoothest skins.
Wash and scrub off any dirt and dry your lemons thoroughly.
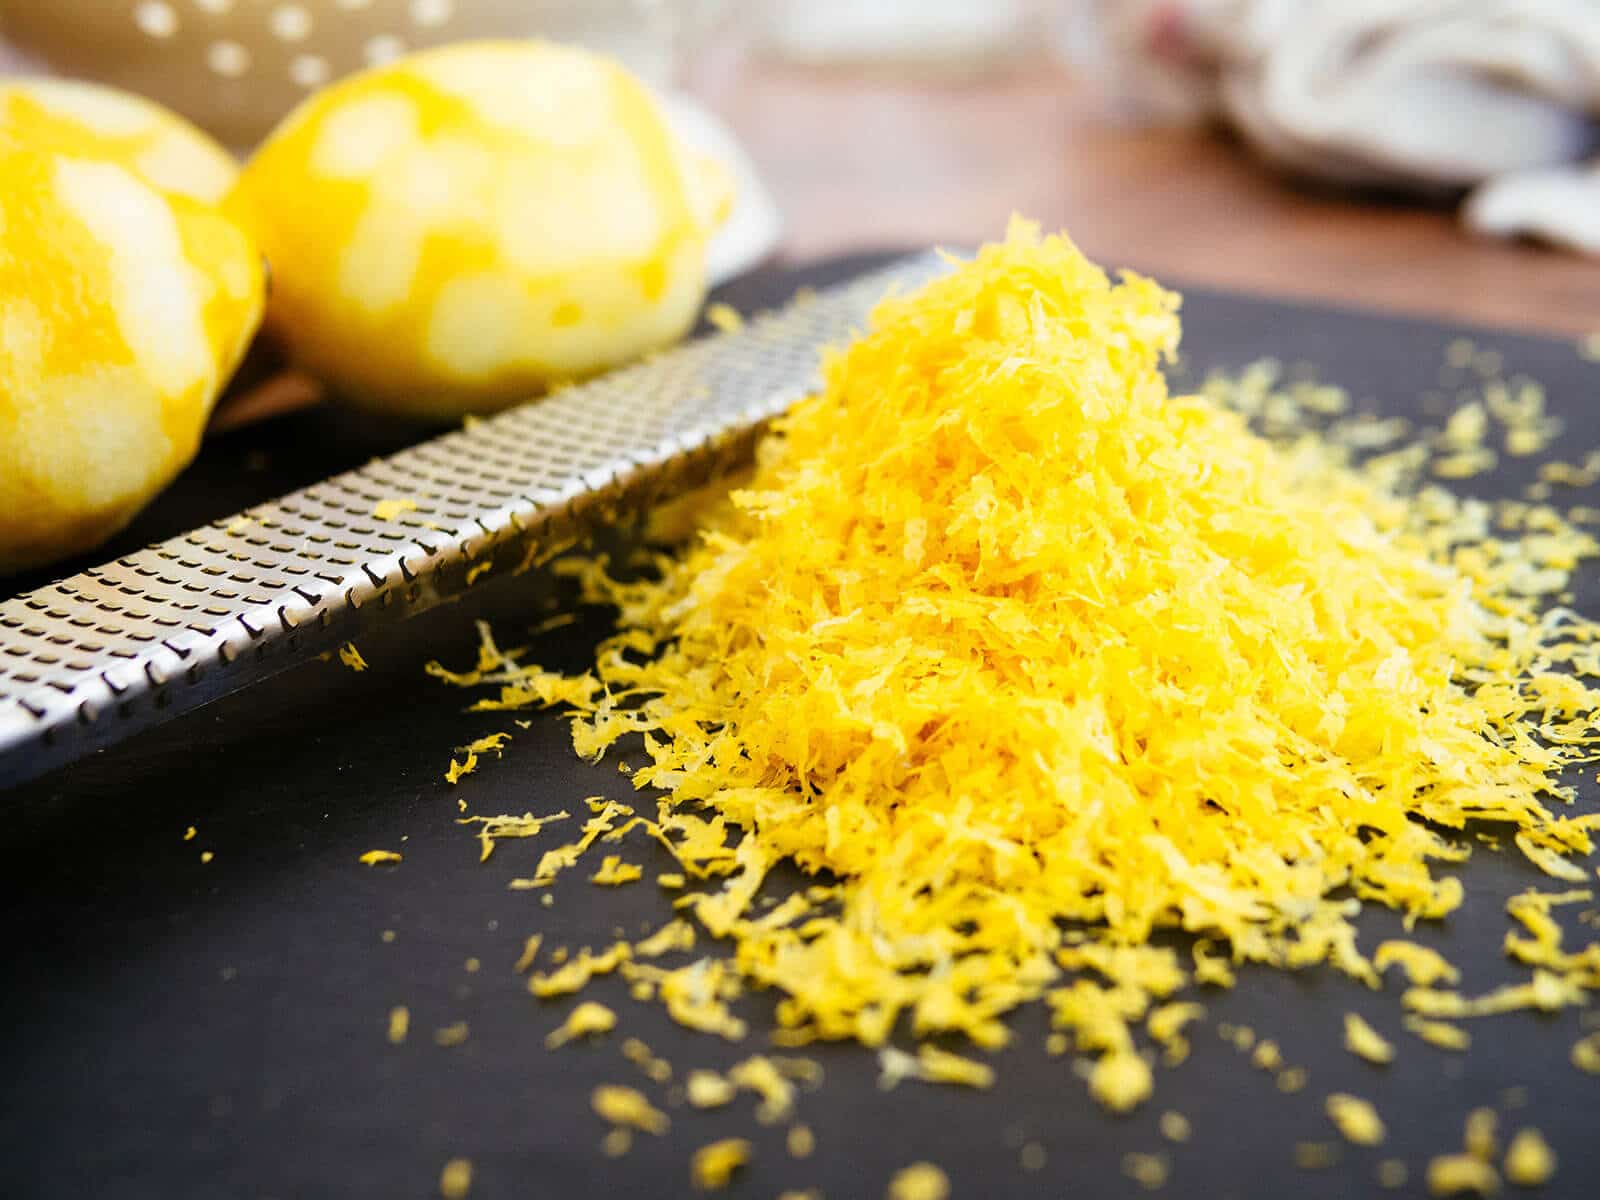
Using a Microplane, zest your lemons, taking care to zest only the peel and not the pith.
The pith is the bitter white part of the rind, which will give an unpleasant flavor to your limoncello. The peel is the yellow part of the rind, containing the oils that give zest its lemony flavor.
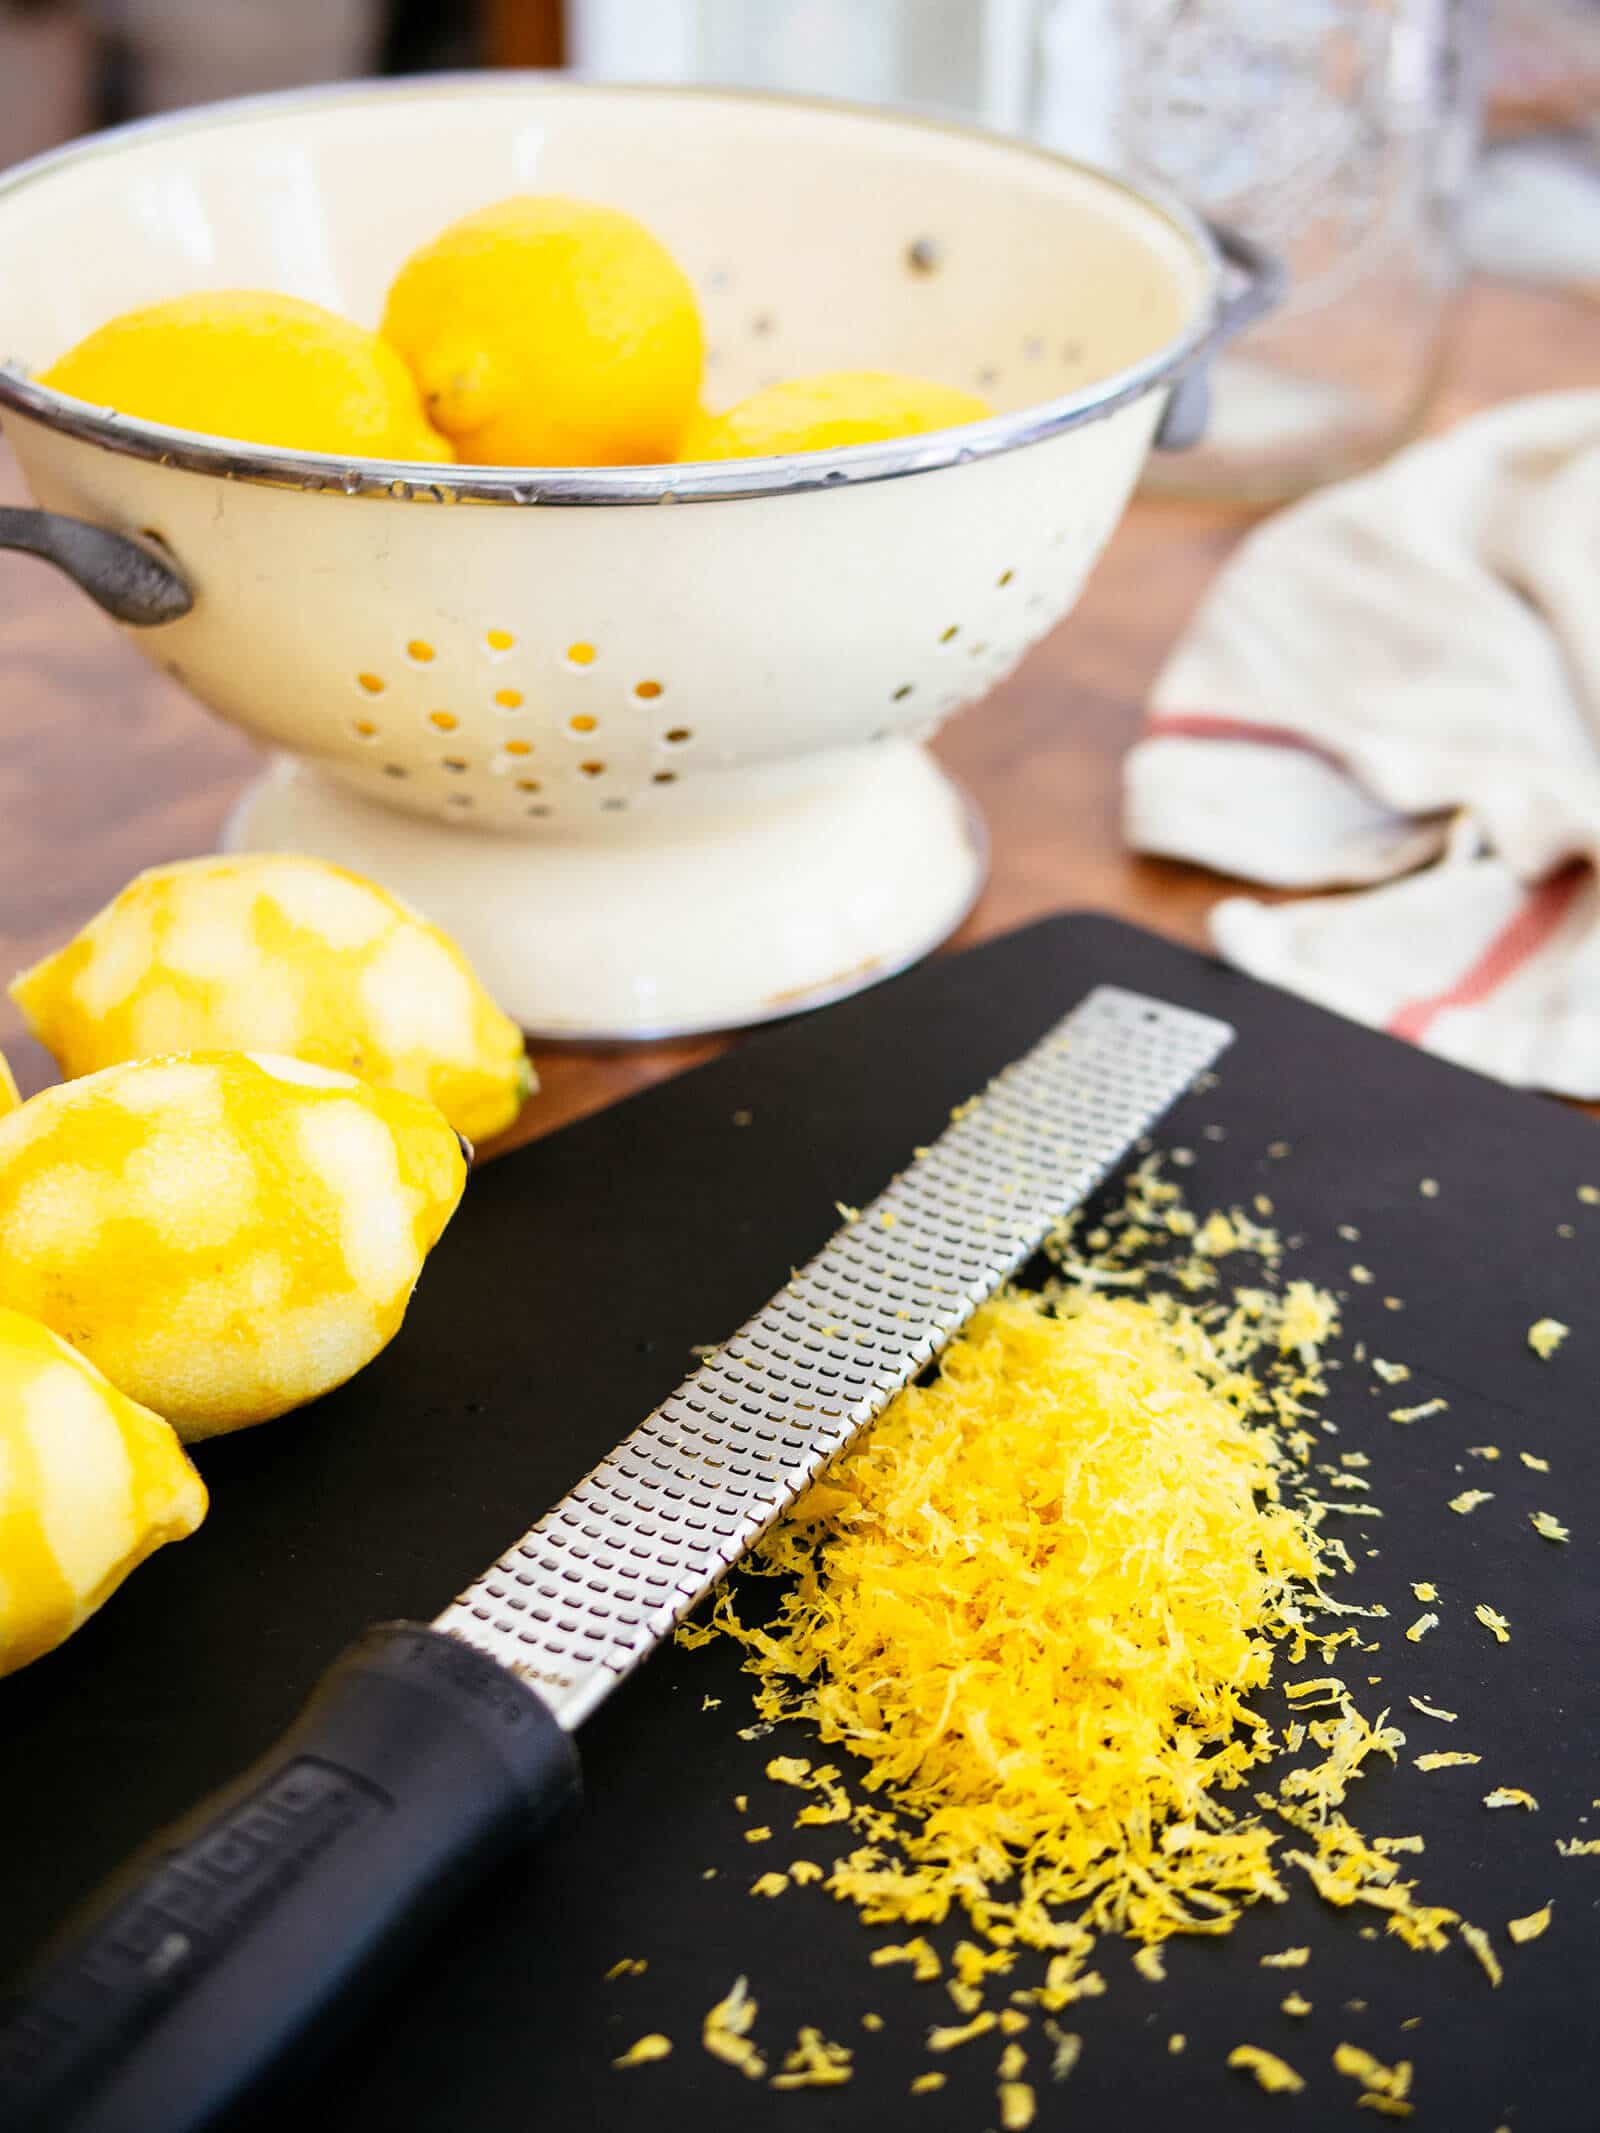
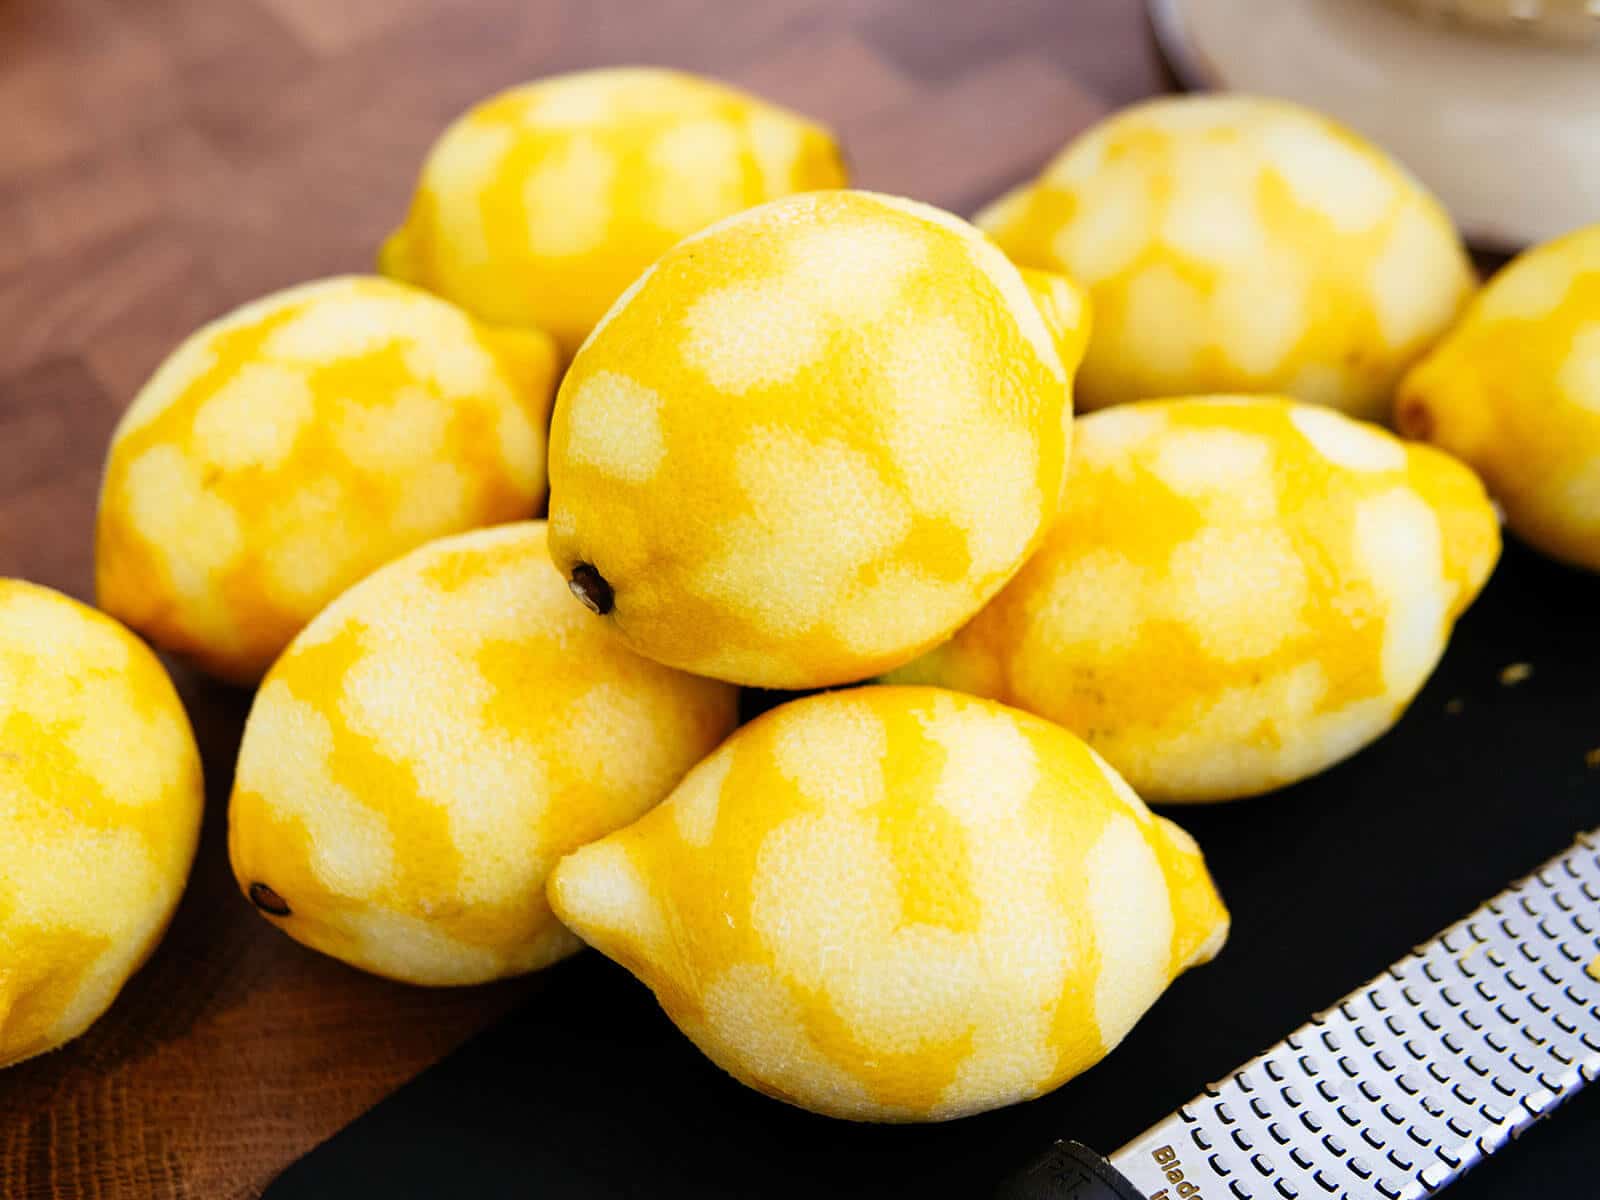
You’ll notice that even after zesting, my lemons are still yellow because I’ve only zested the thin outer layer of peel. A Microplane is essential for this reason; some people use a vegetable peeler or a paring knife, but they inevitably peel some of the pith along with it. For the smoothest flavor, avoid taking the pith off.
A Microplane also produces fine shreds of zest, rather than long strips. These fine shreds have more surface area and therefore more pockets of lemon oil to infuse the alcohol.
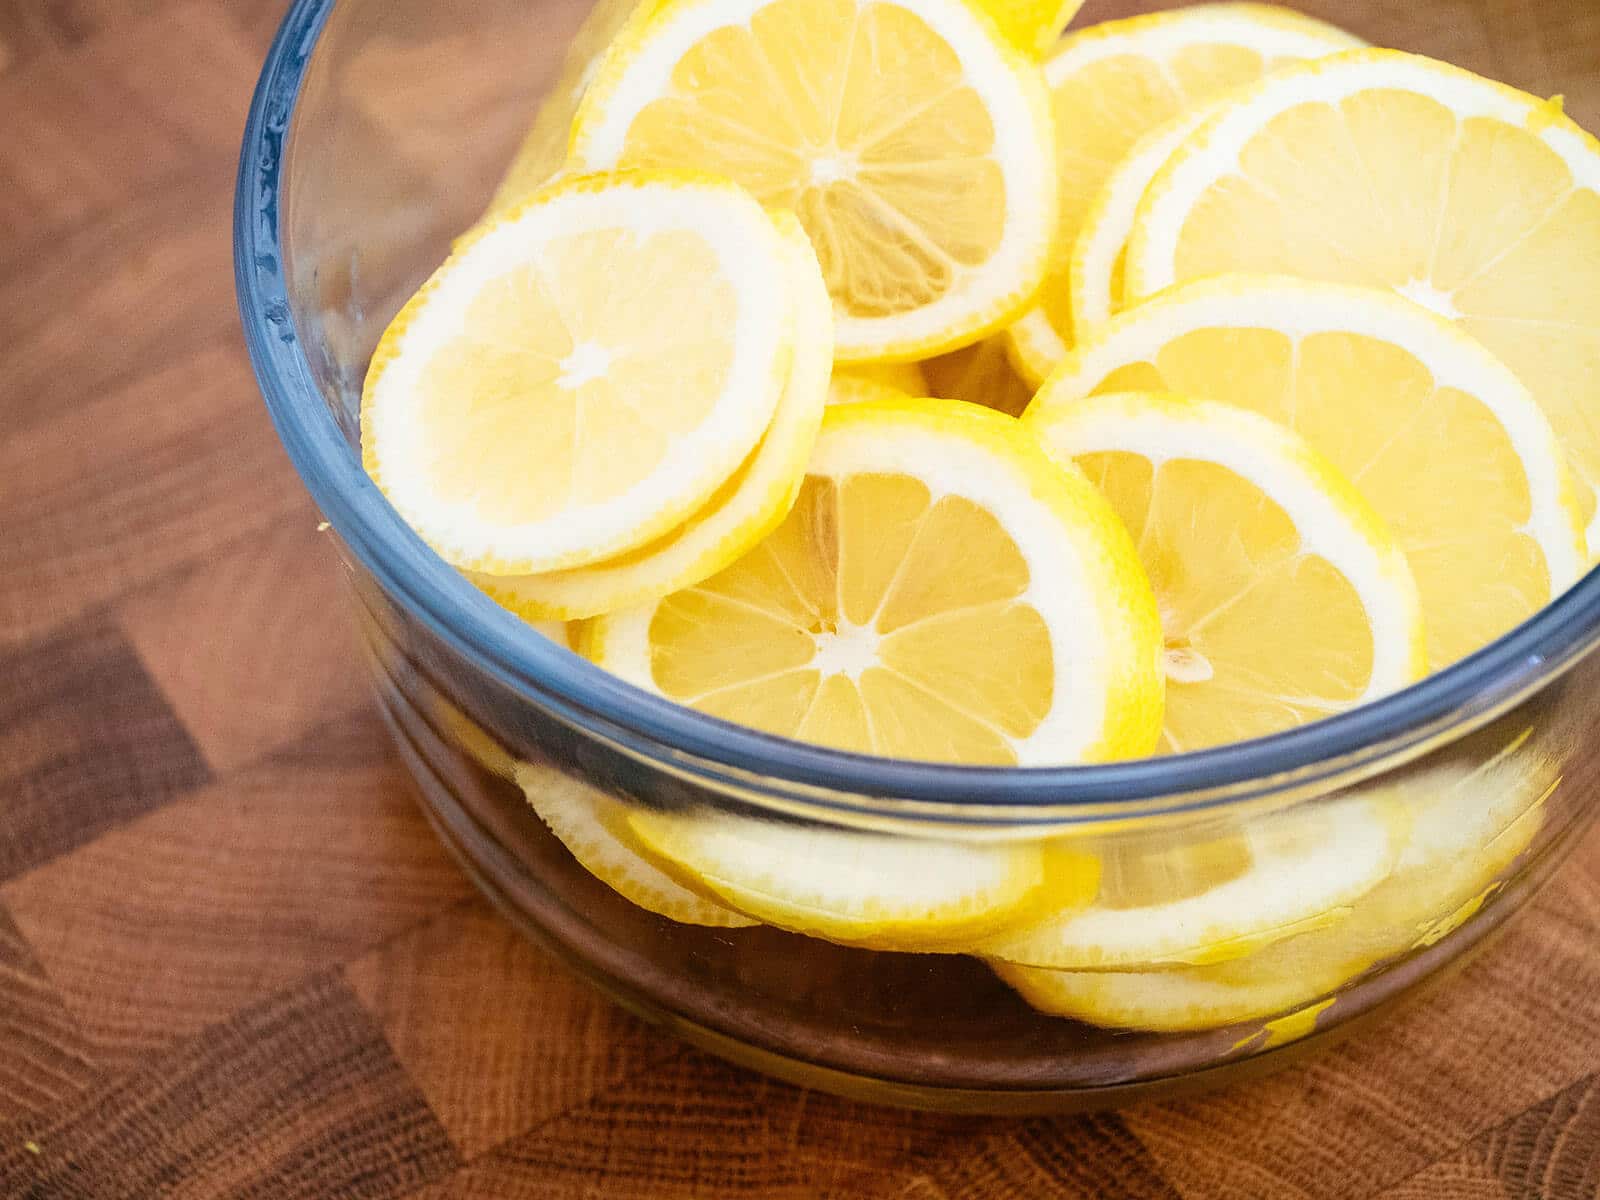
Resist the temptation to zest every part of the lemon clean, as you might zest some of the pith as well. With the leftover lemons, freeze some lemon slices or make lemon juice cubes (or try my rosemary lemonade) so nothing goes to waste.
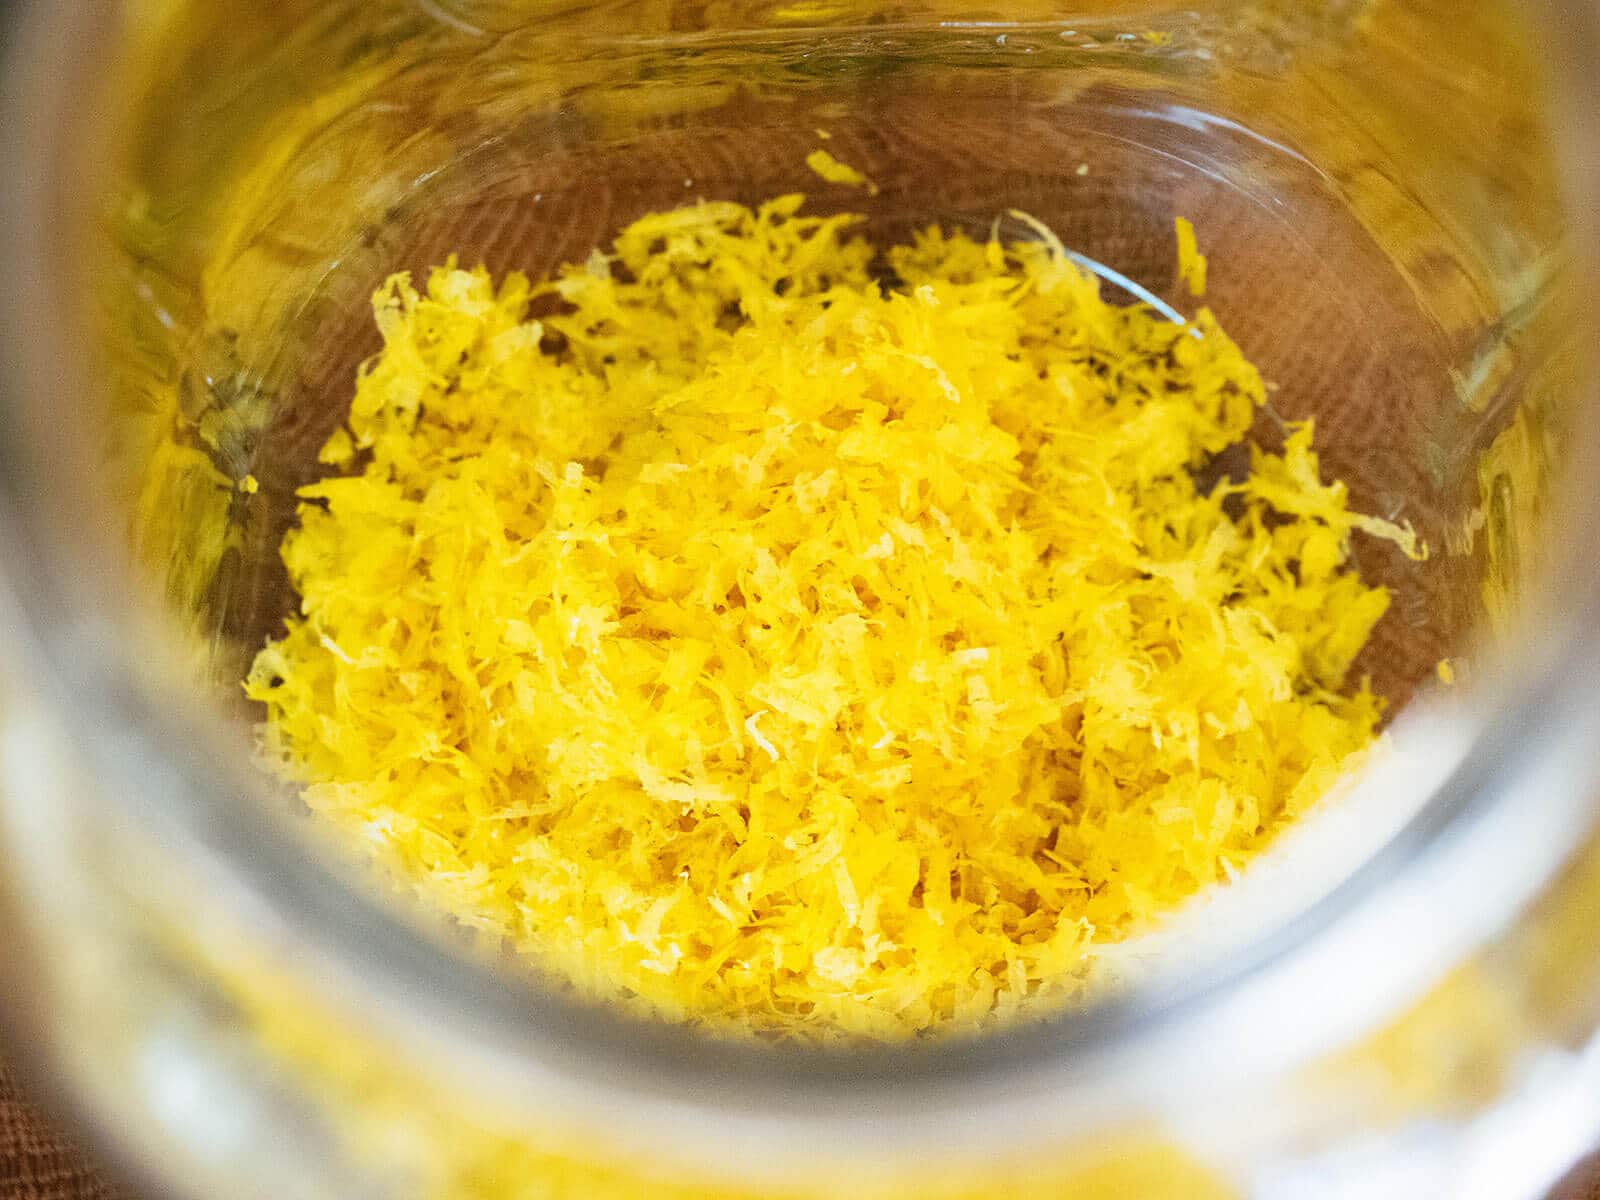
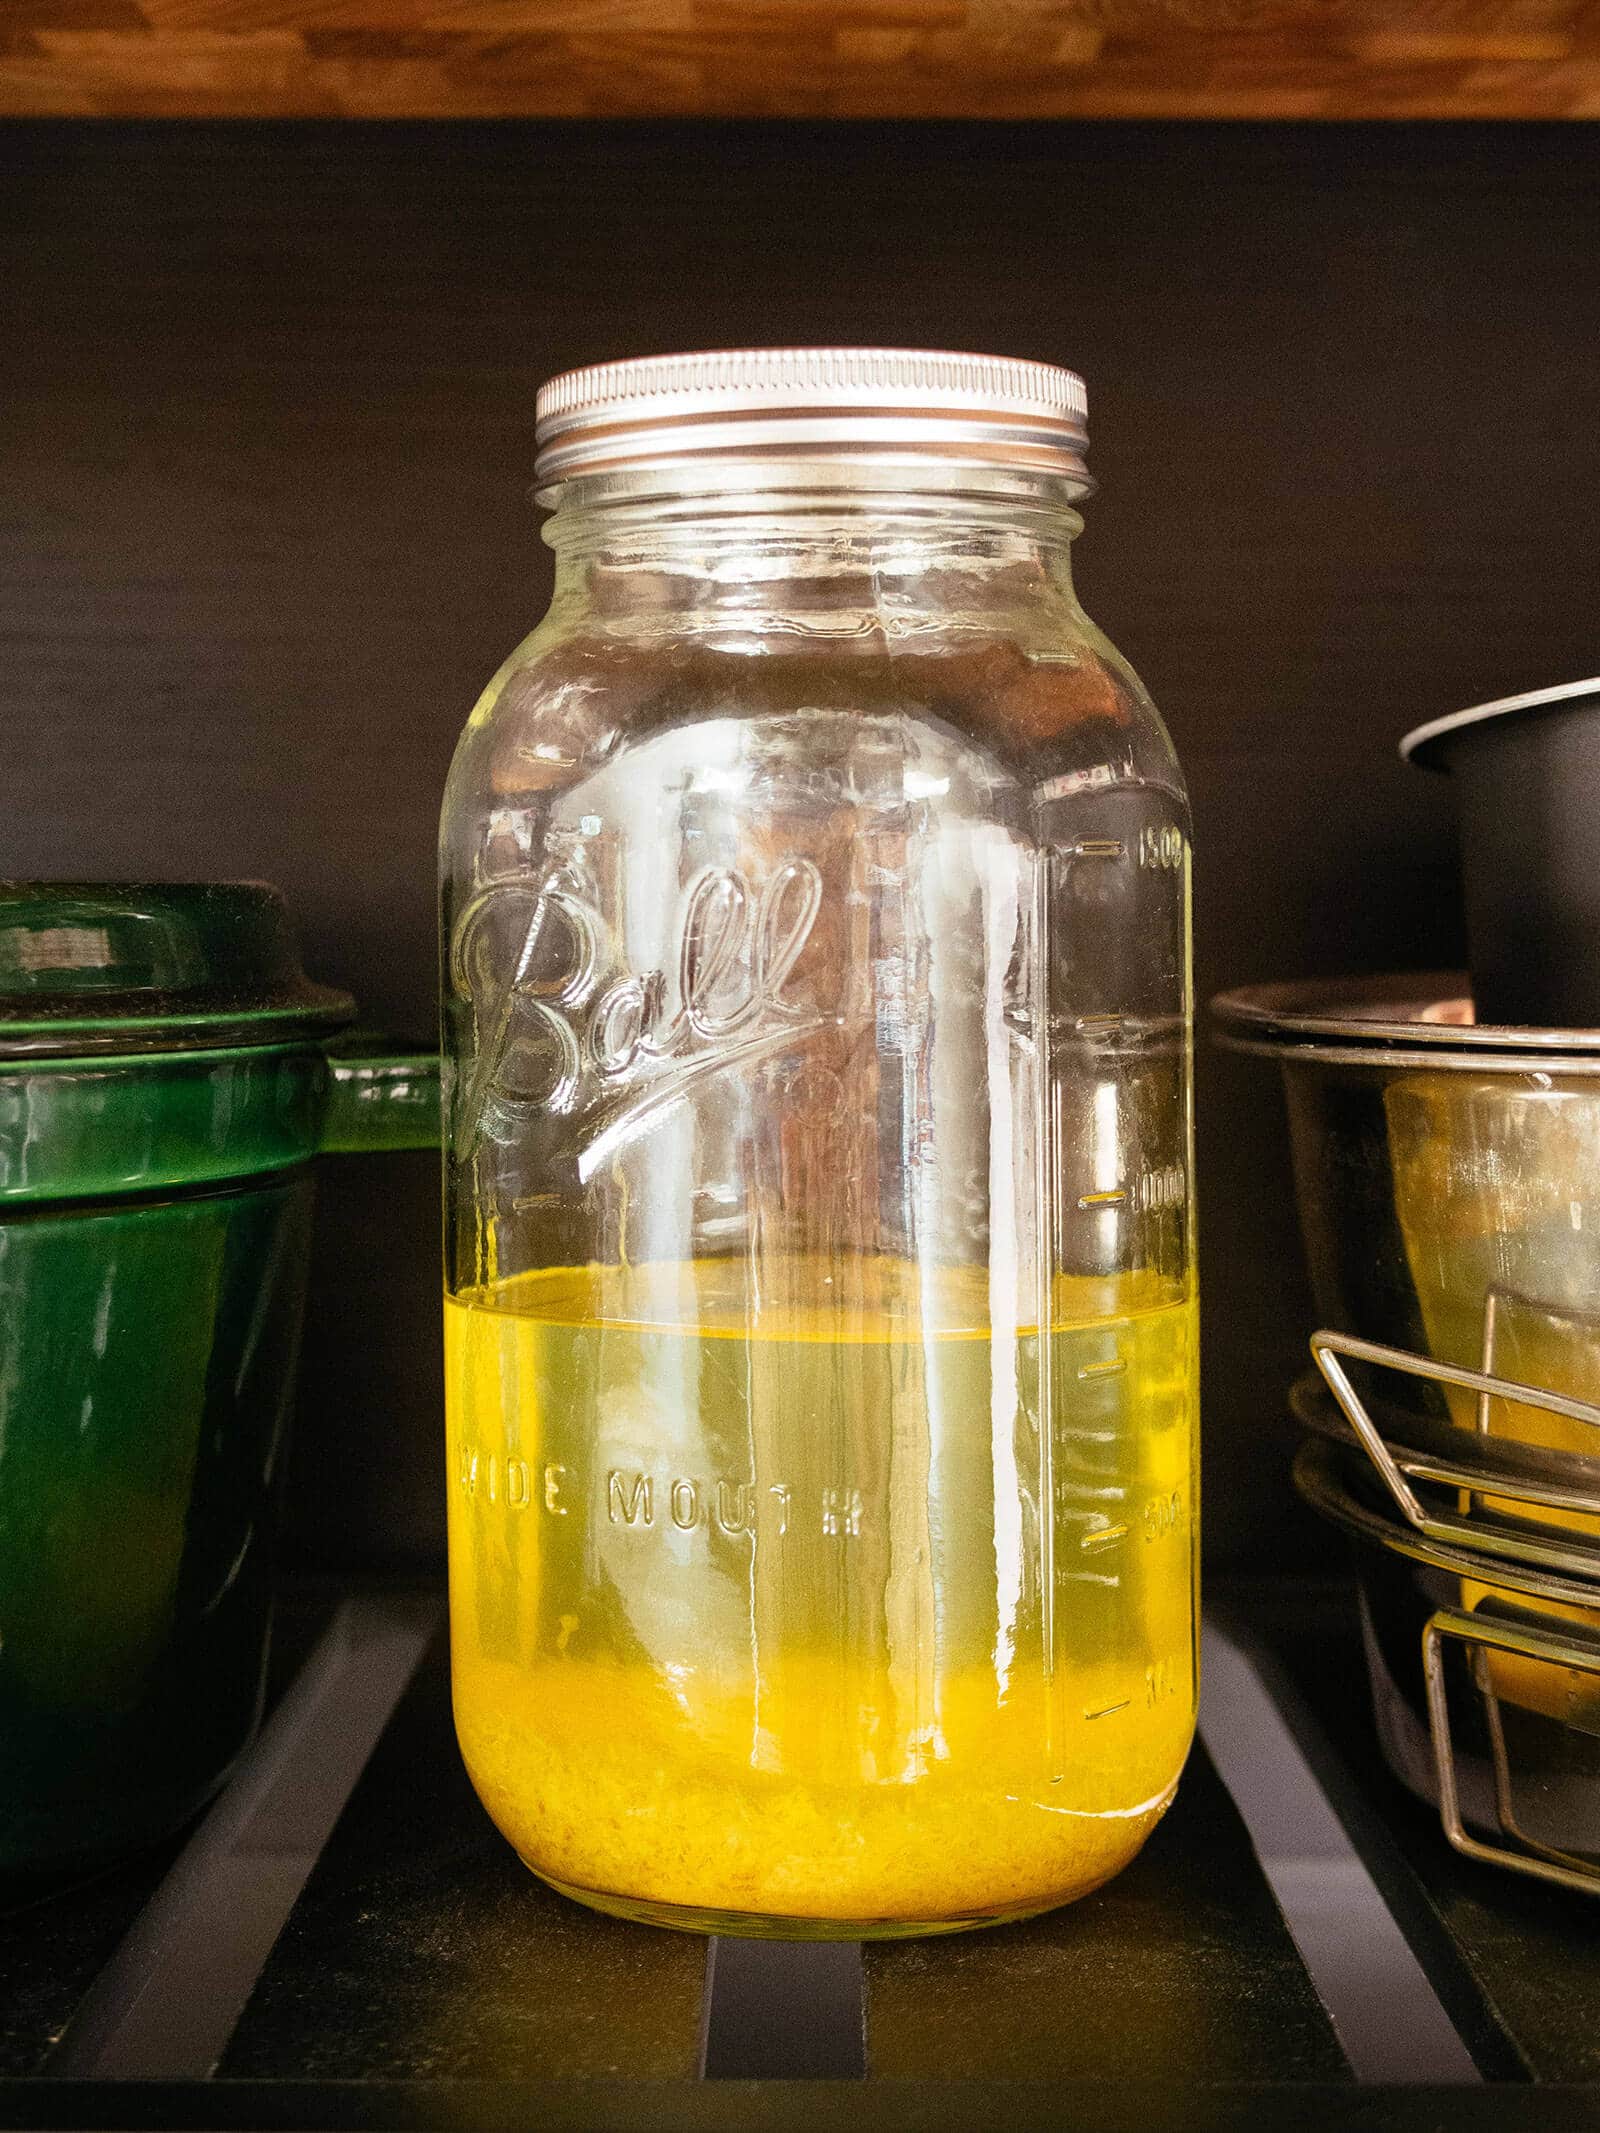
I usually end up with 1 to 1 1/2 cups of zest from my lemons. Pour the zest into a clean half-gallon glass jar.
Pour the bottle of alcohol into the jar and seal with a lid.

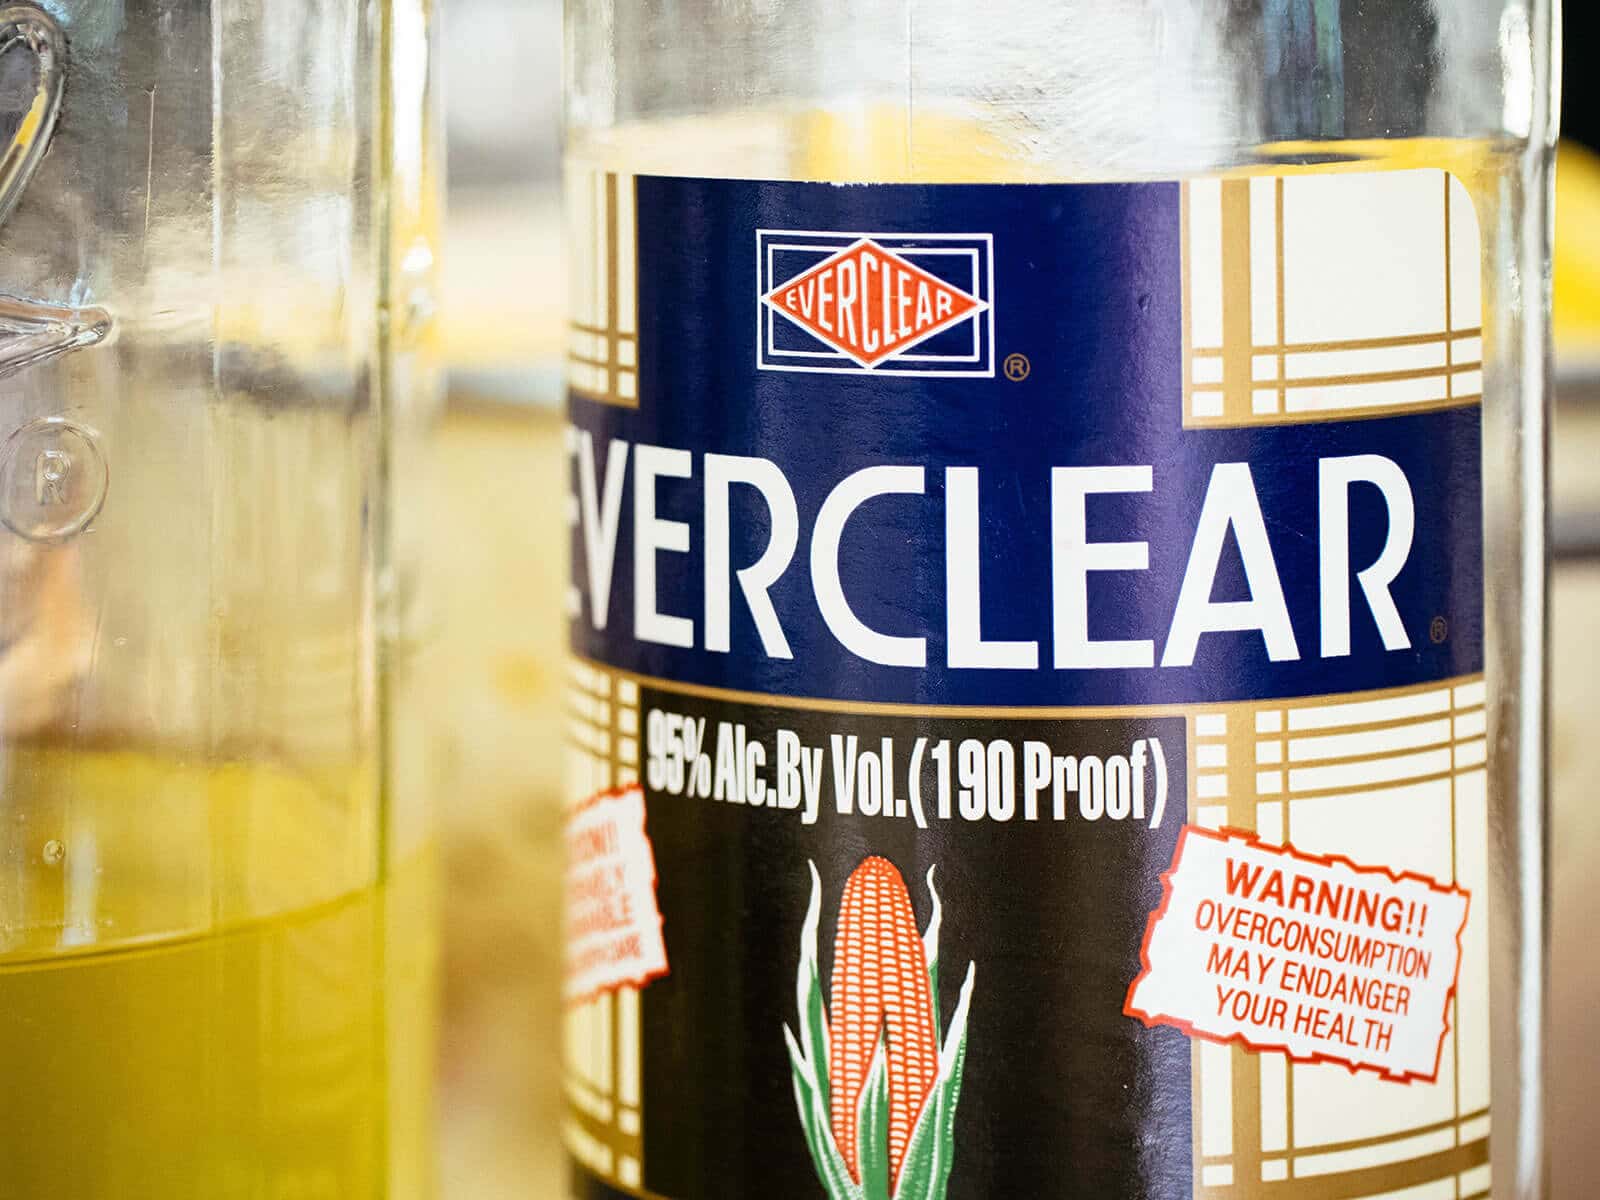
There is much debate on using a rectified spirit, such as Everclear, over a high-proof vodka for infusing the lemon zest. In my opinion, the higher the proof, the better infused the alcohol will become in a shorter amount of time.
In California where I made my first limoncello, Everclear comes in 151 proof (unless you know someone in the military who can buy the high-octane stuff on base).
Back in my home state of Nevada, my friends used to soak cherries in 190-proof Everclear (ahhh, high-school memories).
In other states, Everclear is even illegal. So, just use whatever you can get your hands on. I recommend nothing less than 100-proof vodka (and a mid-grade vodka like Smirnoff is fine for this purpose — don’t bother splurging for the “good stuff”).
When it really comes down to it, high-quality lemons (that are properly zested) are much more important than high-proof alcohol.
With your potent mixture sealed, it’s time to stash it away for three weeks (or up to six weeks if steeping in vodka). Keep the jar in a cool, dark place and let the alcohol work its magic.
At this stage, the stuff is pretty lethal, so don’t do something silly like I’ve done before and try to take a whiff of what’s brewing in there. I guarantee your nose hairs will hate you for it.
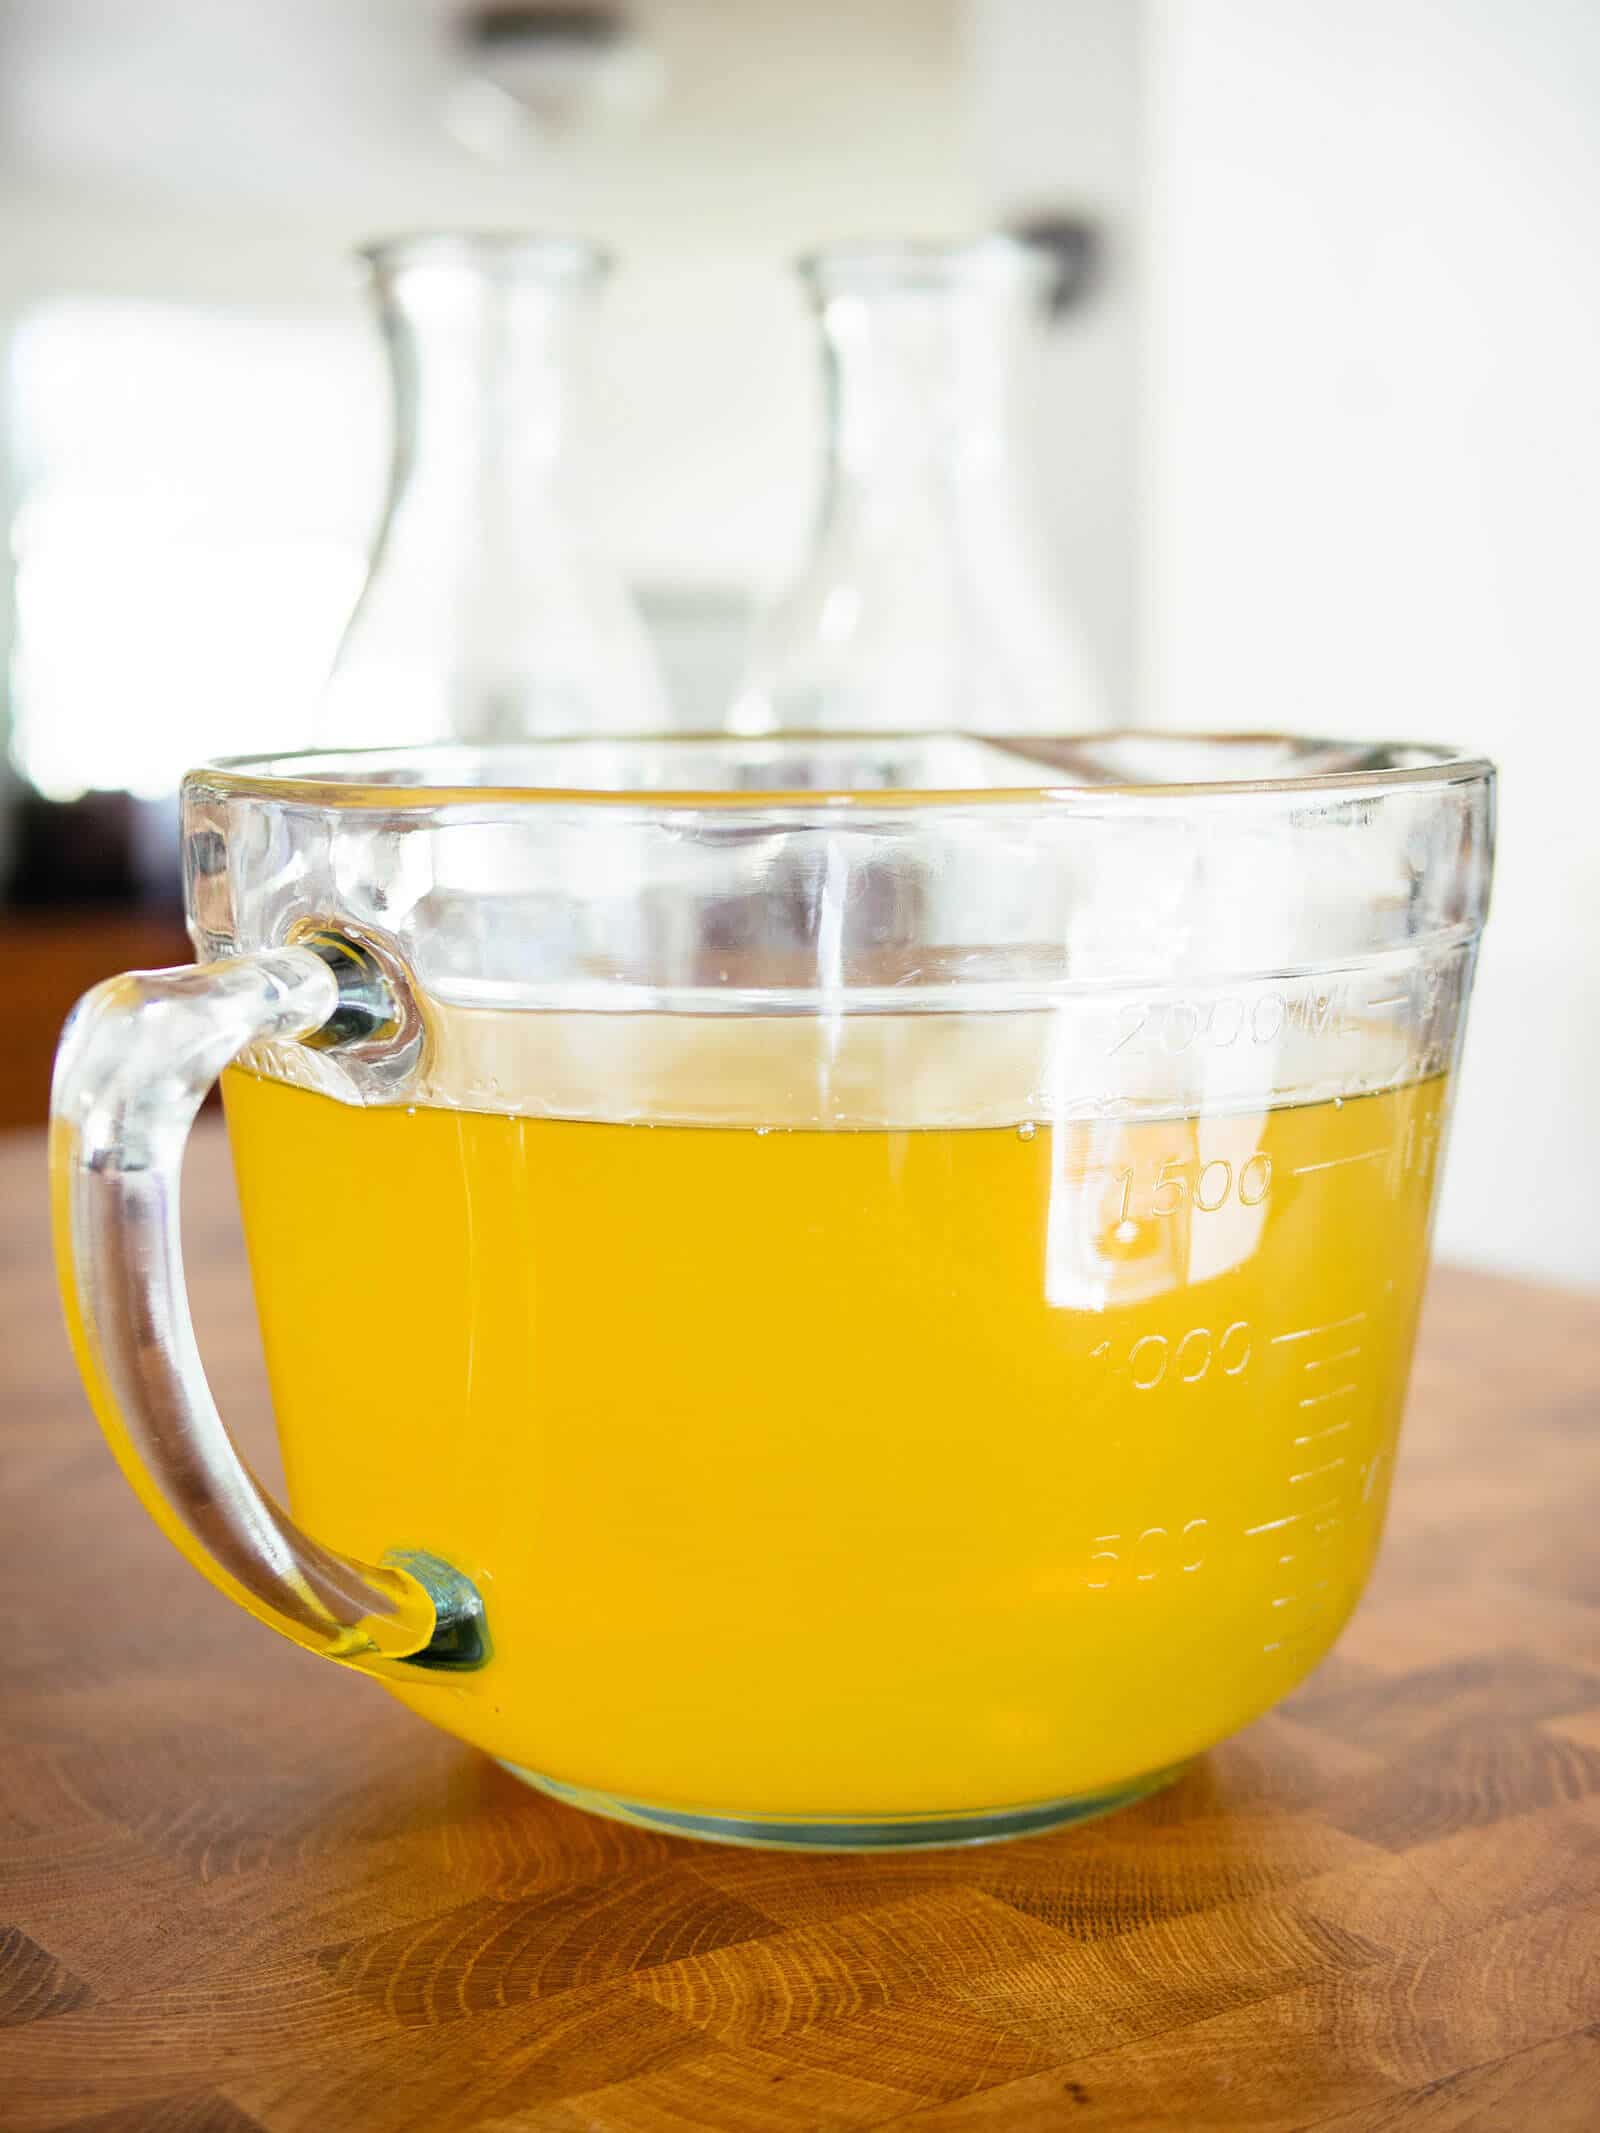
After the waiting period has passed, examine the jar. The alcohol will have taken on a bright yellow hue by this point.
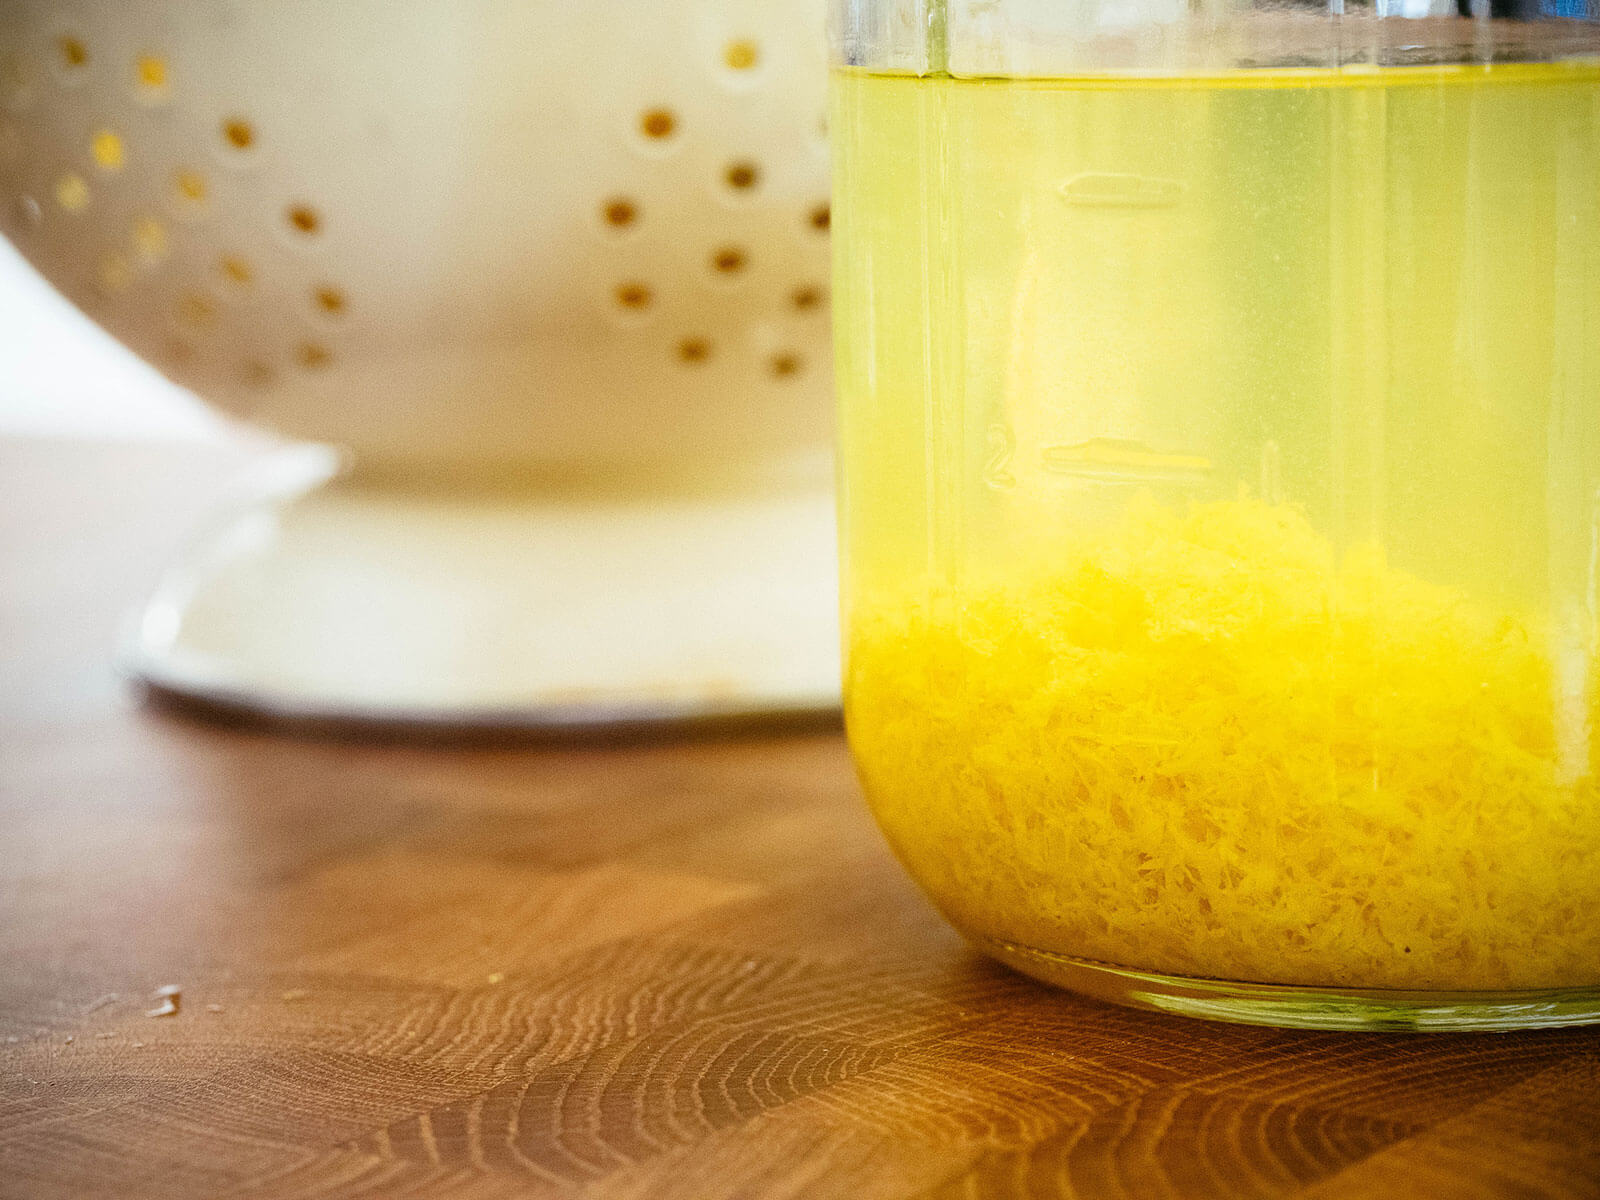
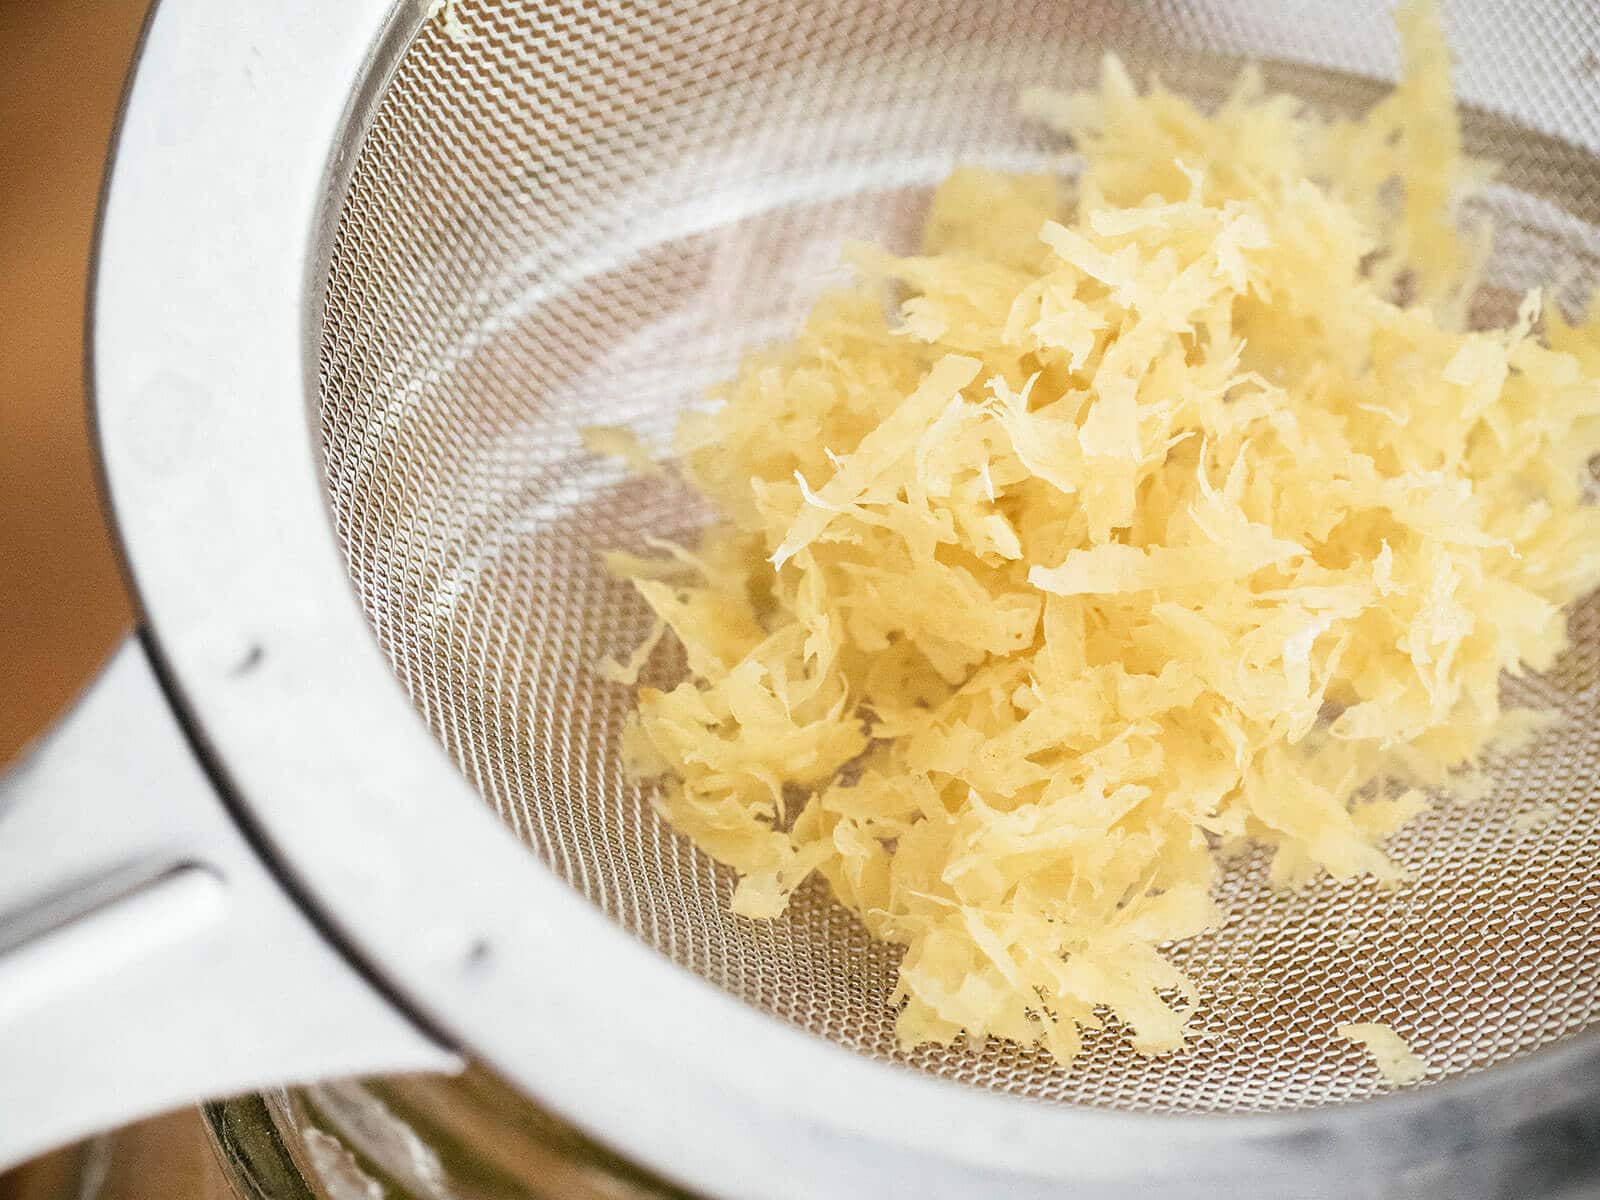
Scoop up a spoonful of zest; if the zest has become pale and brittle, its job is done and all the oils have been released.
Now it’s time to make the simple syrup. In a medium saucepan, dissolve the sugar in water over medium heat. Let the syrup cool to room temperature before adding it to the lemon-infused alcohol.
Give everything a stir, seal the jar again, and let it sit for at least another week. The limoncello will mellow out a lot during this period, and will continue to get smoother the longer it ages. (Hint: Start a batch in fall for Christmas gifts!)
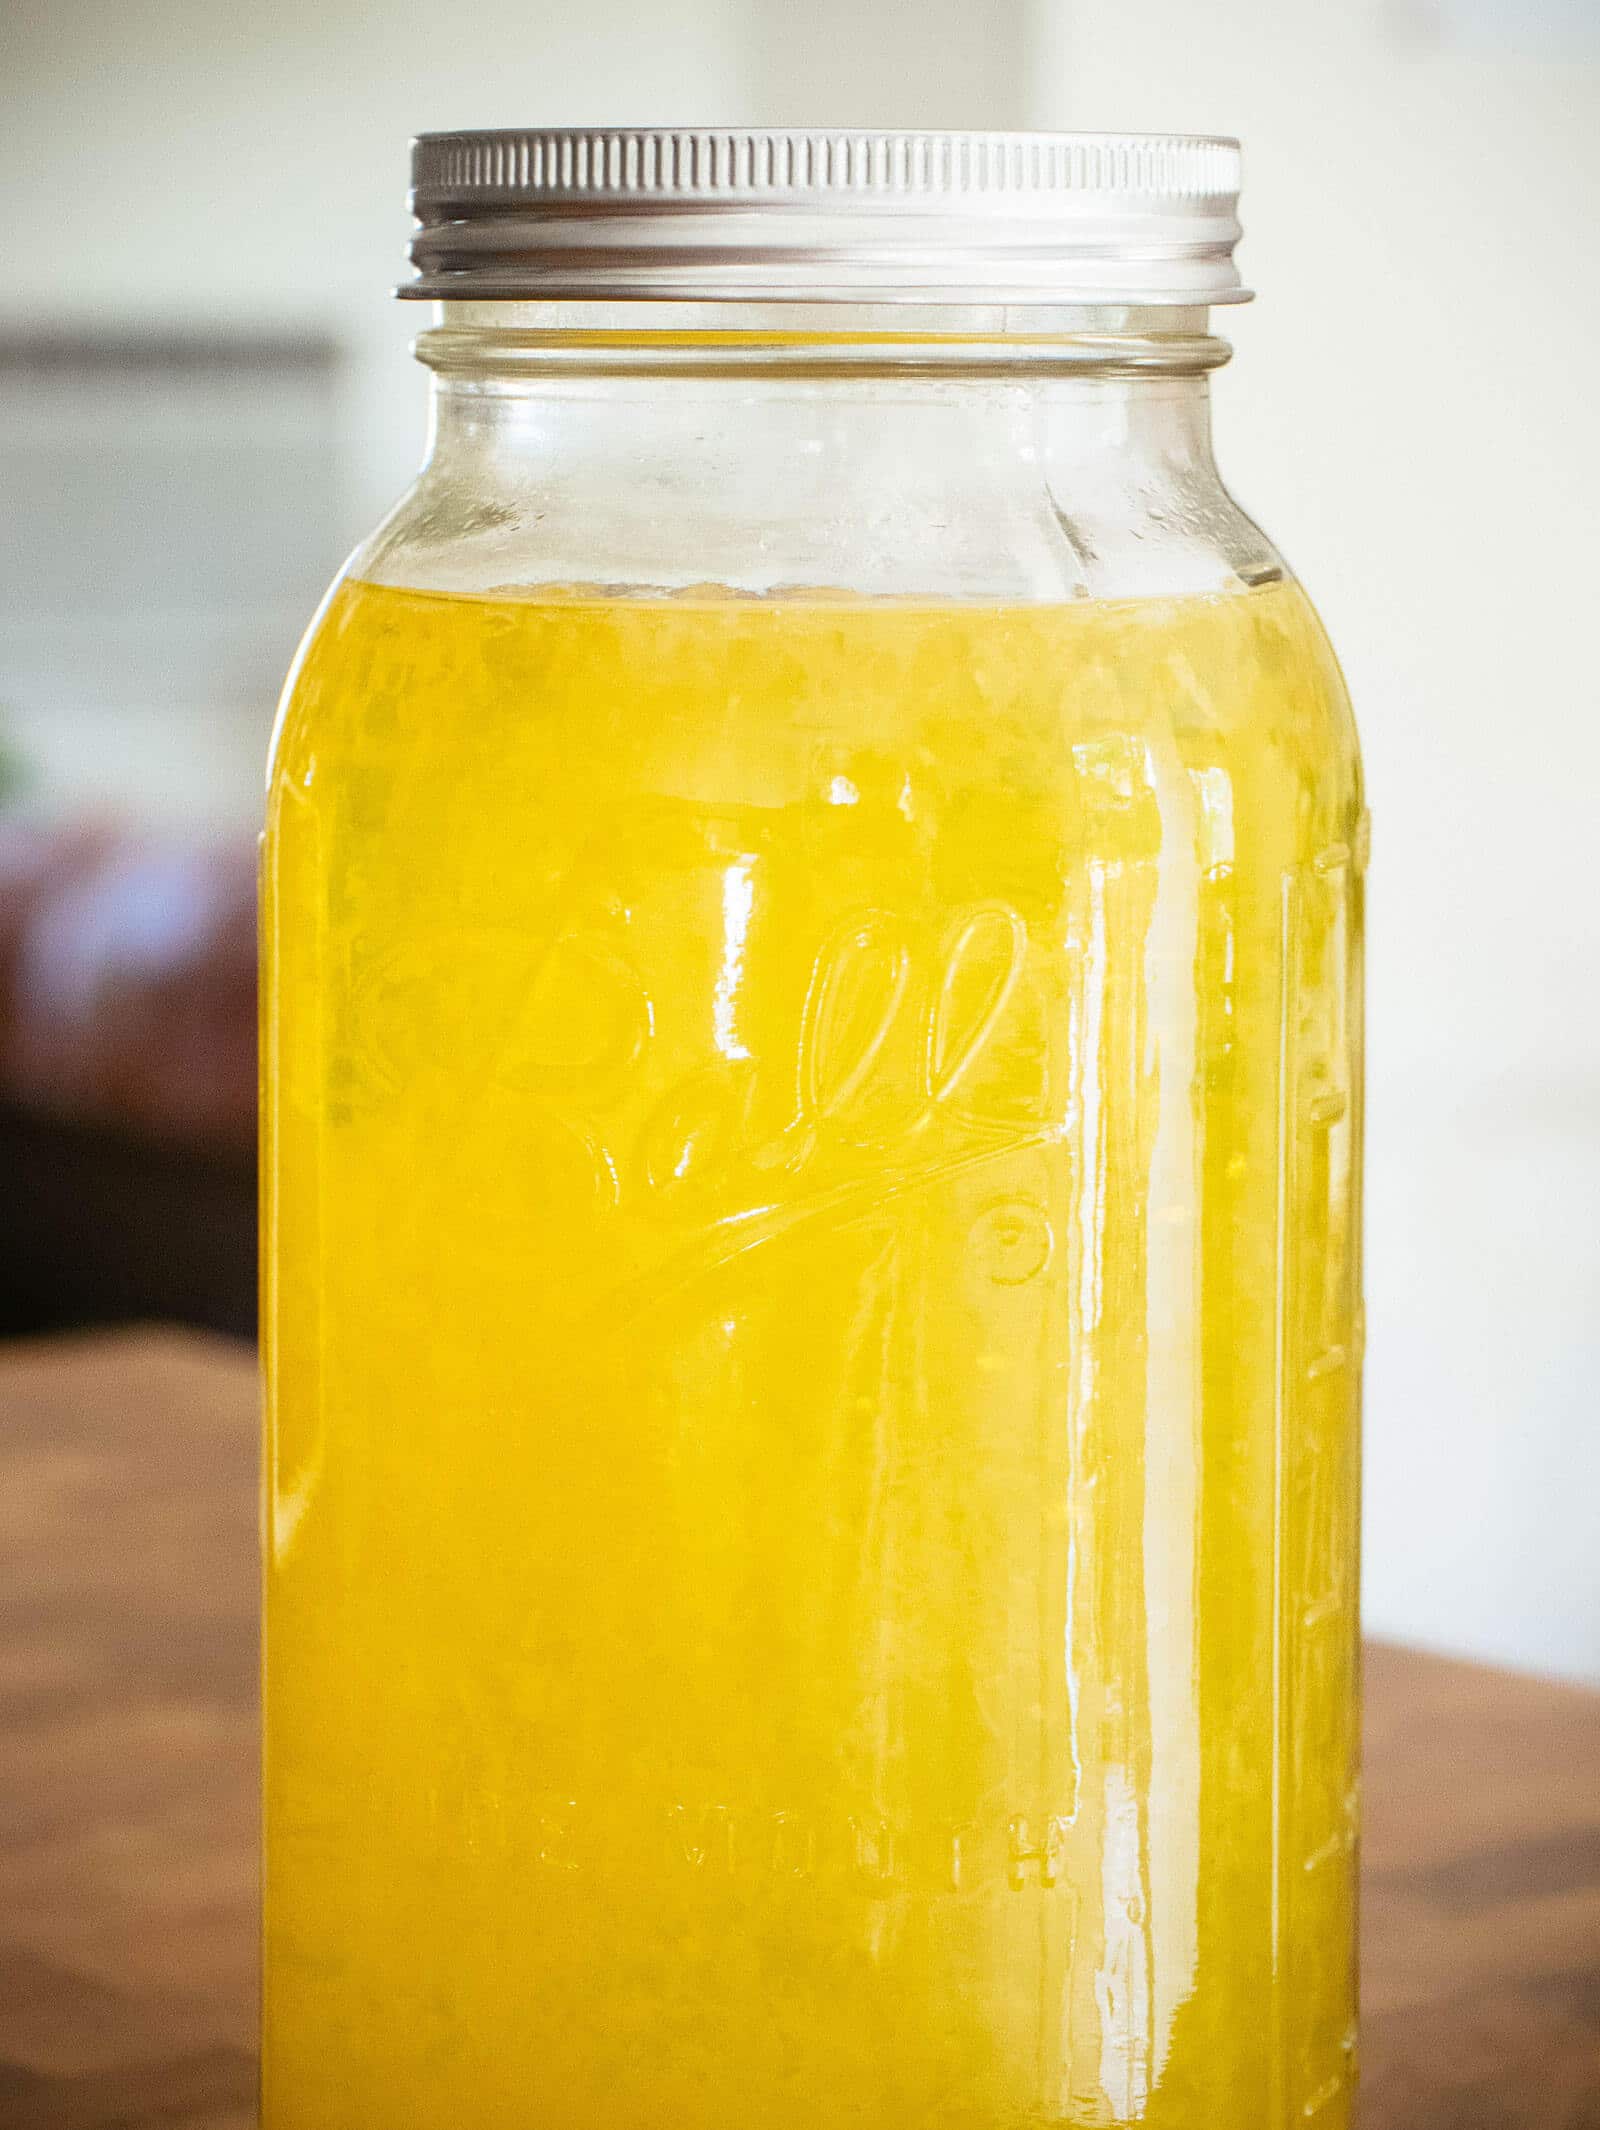
Some of my best batches have sat on a shelf for more than three months before being bottled. They become bright and citrusy, with the lemon flavor really shining through.
On the other hand, “young” limoncello is pretty potent and best suited for mixing into cocktails than sipping as a digestif.
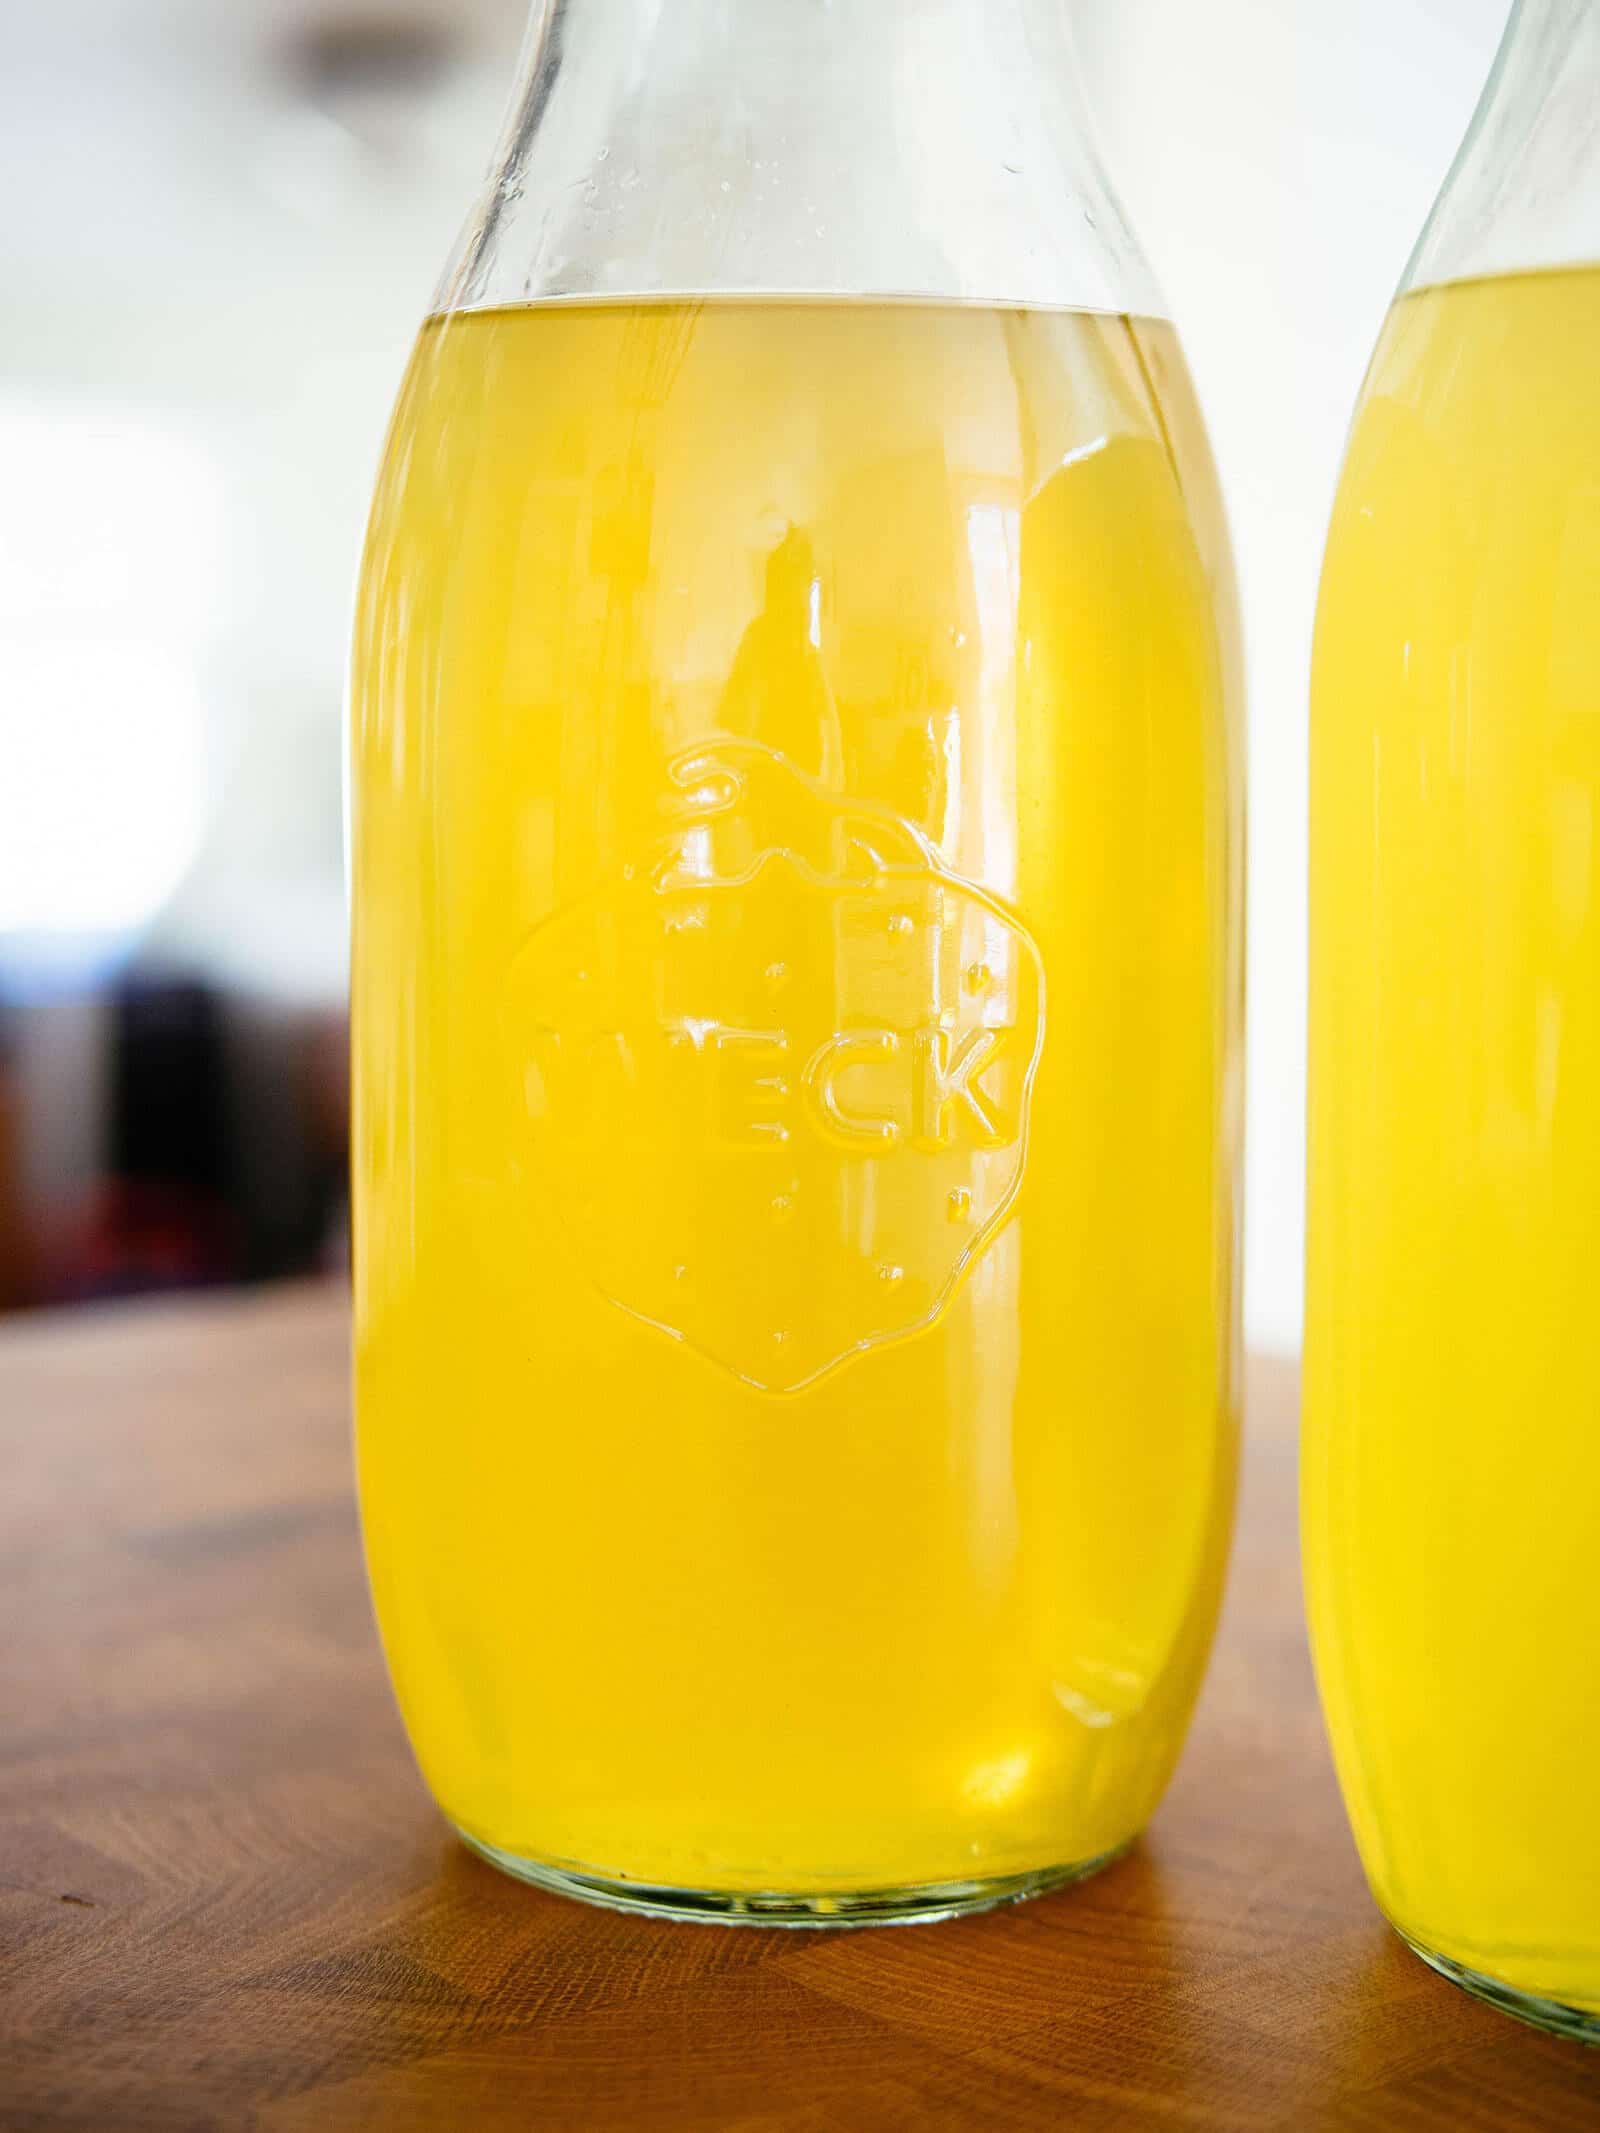
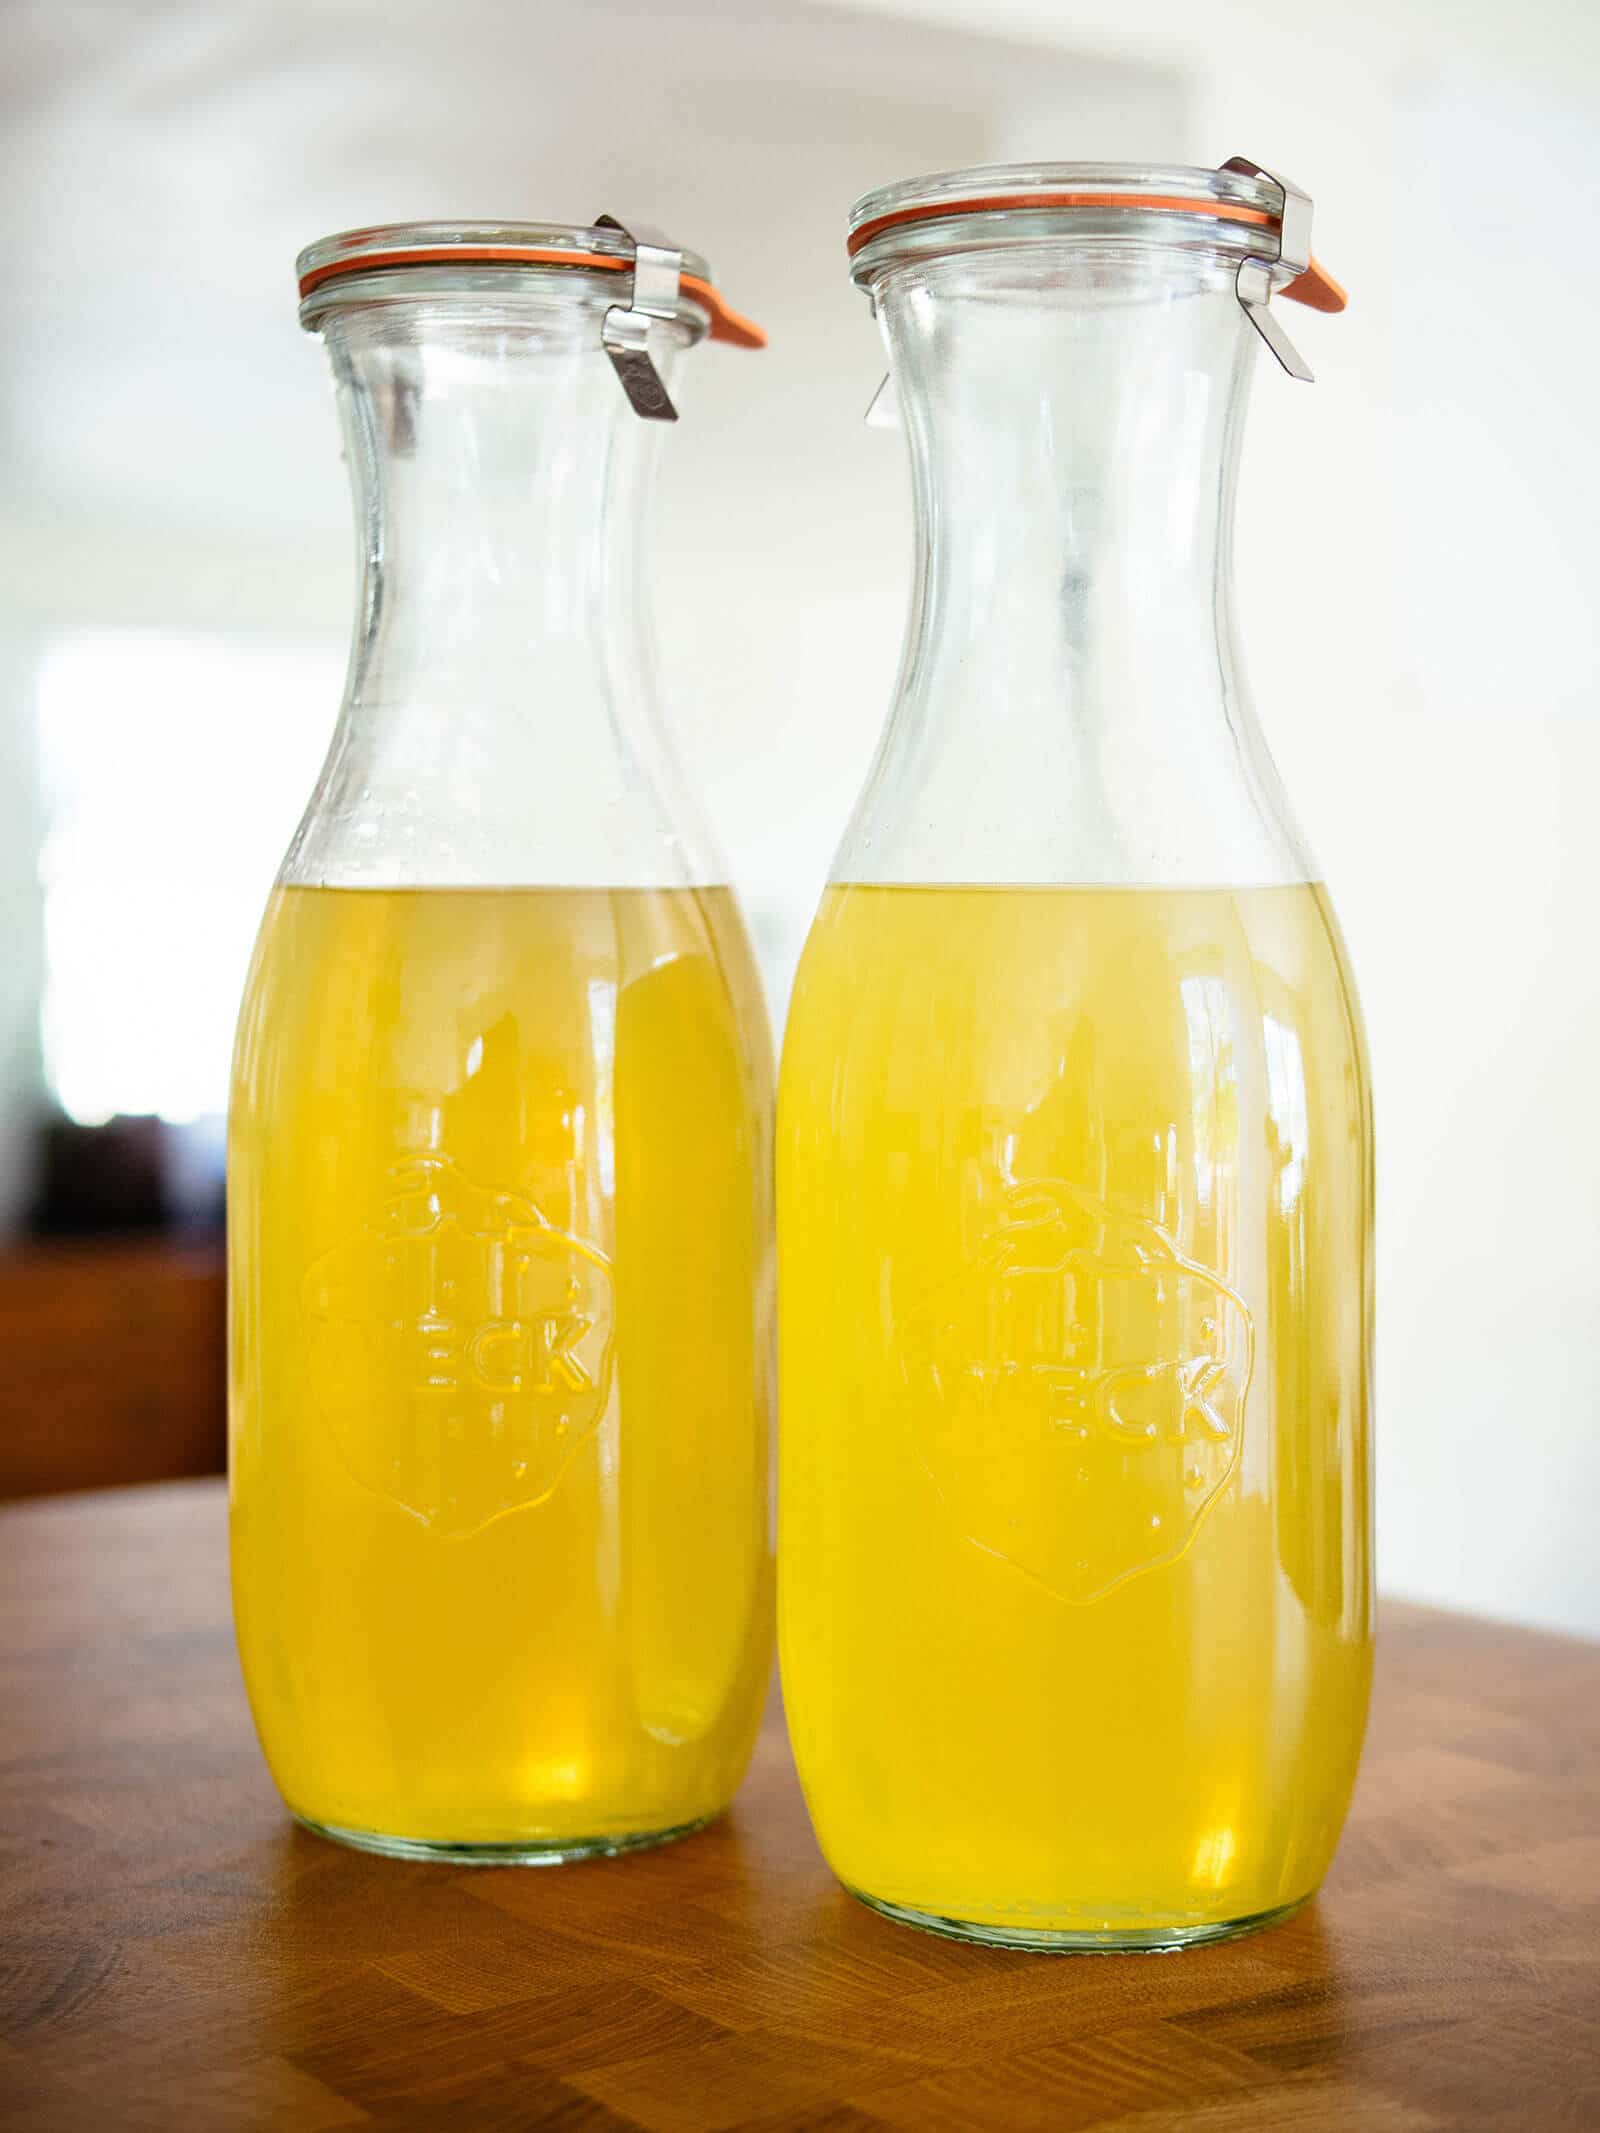
After a week or two (or even longer, if you can muster up the patience), it’s ready to be bottled. I like to use my Weck juice jars, but you can bottle them in smaller jars for gifting.
The Weck jar comes in a 36-ounce size, which gives a little extra room if you like your limoncello on the sweeter side and want to add more simple syrup. (Otherwise, two 32-ounce mason jars would work — I just recommend using these leakproof plastic mason jar lids, as the rims can get pretty sticky after a while.)
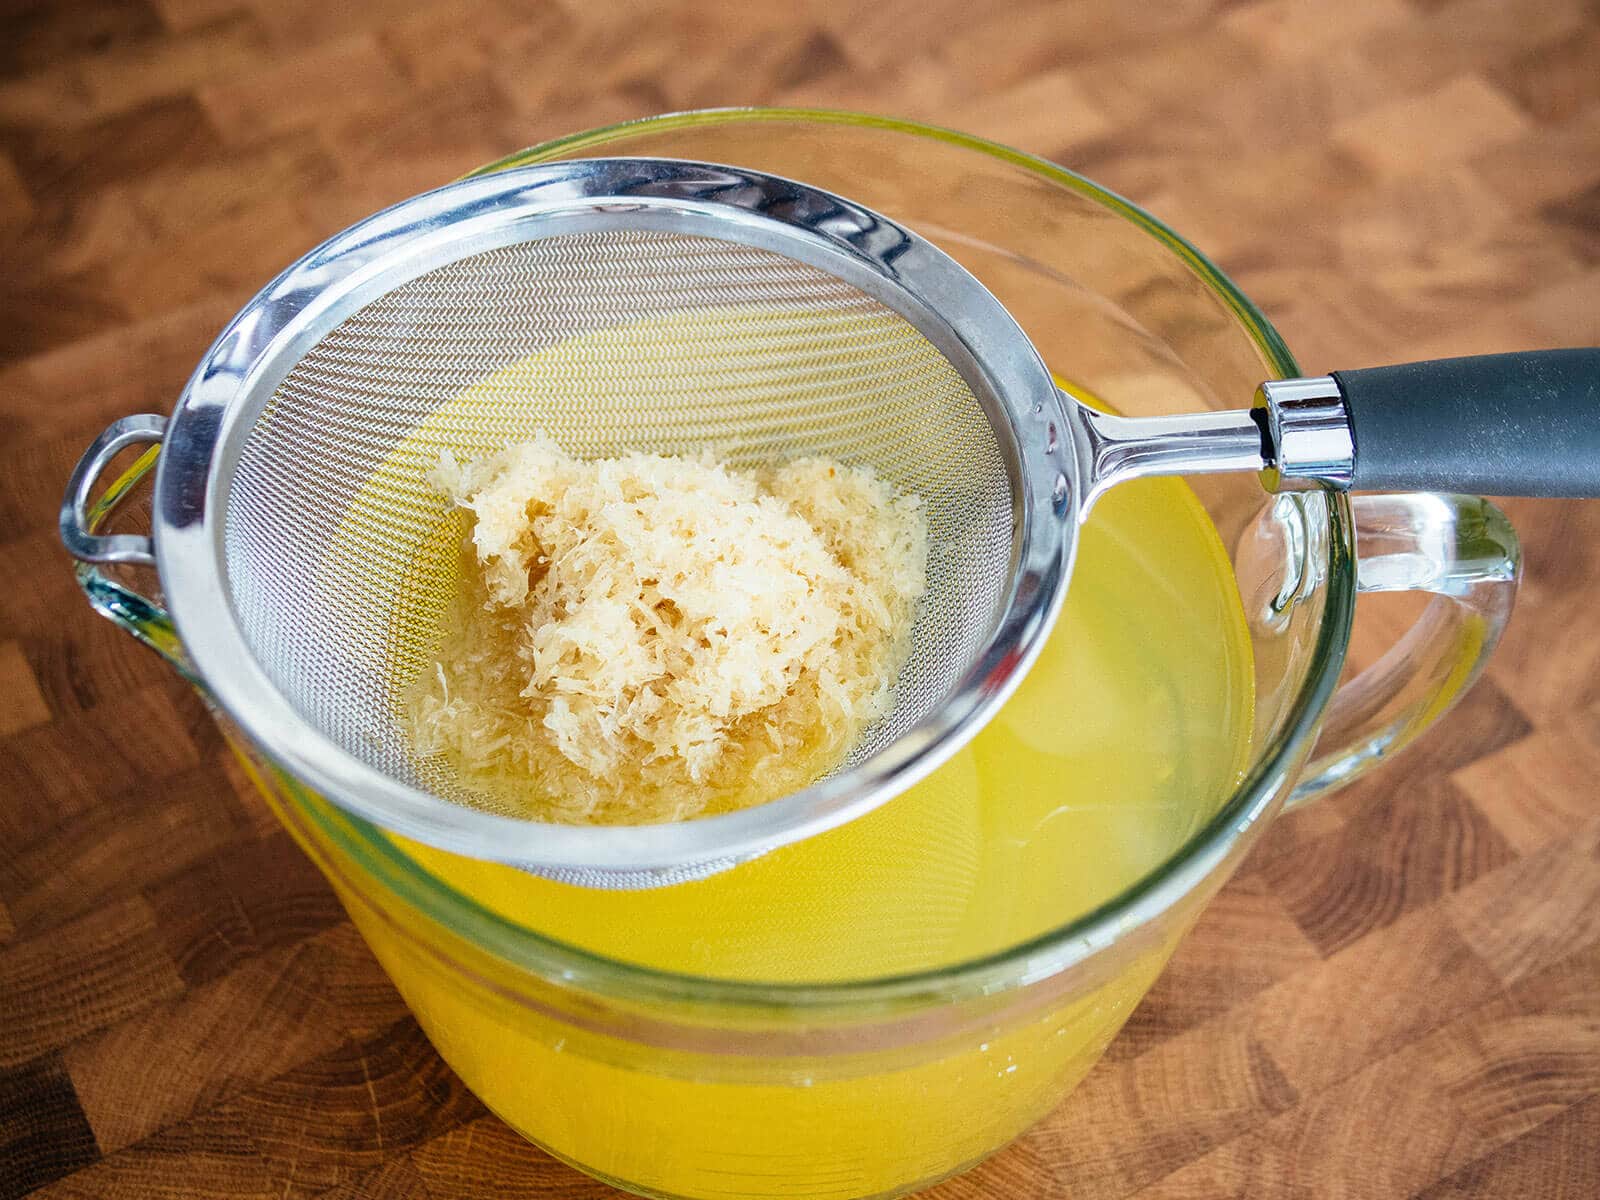
Strain the limoncello through a fine sieve to catch all the lemon zest.
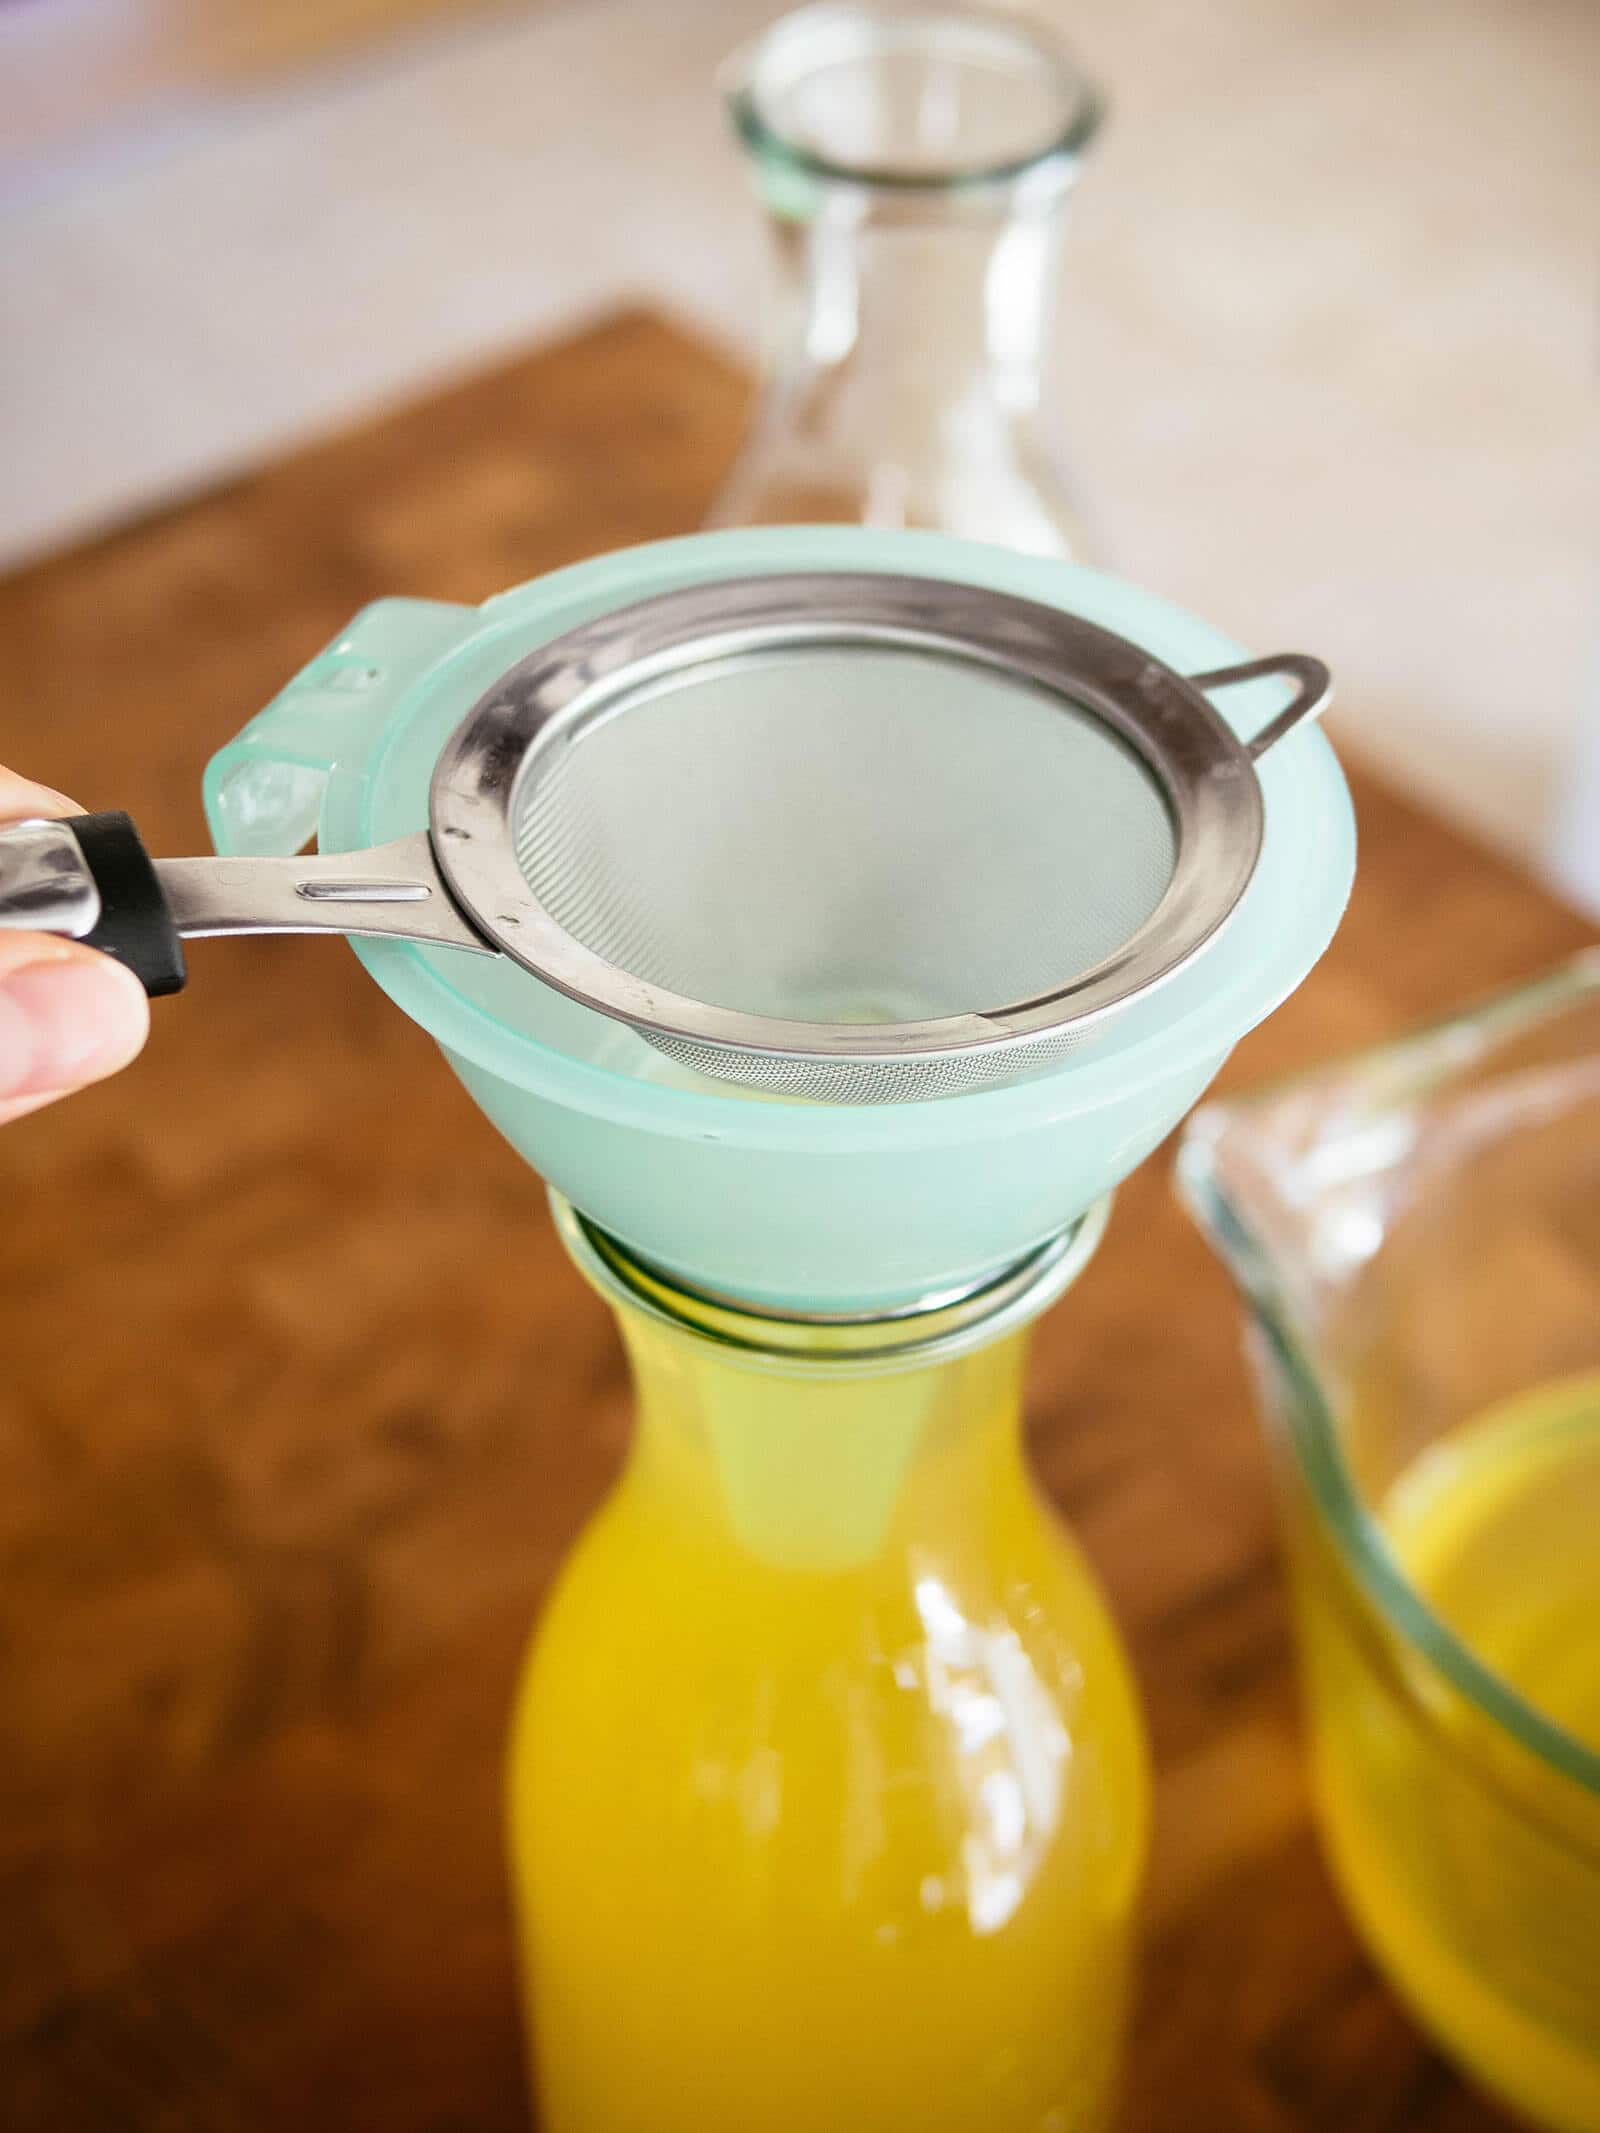
Then, strain the limoncello again as you funnel it into glass bottles, using an ultra fine sieve, gold coffee filter, paper coffee filter, or layers of cheesecloth. The second straining might seem unnecessary at first, but it’s worth the effort to get the liqueur as clear as possible.
You know you’ve made a good one when you see the “lemon collar” — a ring of oil floating at the top.
Once everything is bottled up neatly, store your limoncello in the freezer, along with a couple of cordial glasses so you’re always ready for dessert!
Recipe sources
The Best Homemade Limoncello

What's the secret to the best limoncello? The best lemons, of course. But also the way you zest them—and it's NOT with a vegetable peeler. Here's the trick.
Ingredients
- 10 medium organic lemons
- 1 (750 mL) bottle high-proof pure grain alcohol (such as Everclear) or high-proof vodka (see Note)
- 3 cups water
- 2 cups sugar
Instructions
- Since limoncello is made from the zest of lemons, you want to use thick-skinned, high-quality, organic lemons free of wax and pesticides. Wash and scrub off any dirt and dry your lemons thoroughly.
- Using a Microplane, zest your lemons, taking care to zest only the peel and not the pith. (The pith is the bitter white part of the rind, which will give an unpleasant flavor to your limoncello. The peel is the yellow part of the rind, containing the oils that give zest its lemony flavor.)
- You should end up with 1 to 1 1/2 cups of zest. Pour the zest into a clean half-gallon glass jar.
- Pour the bottle of alcohol into the jar and seal with a lid.
- With your potent mixture sealed, it's time to stash it away for three weeks (or up to six weeks if steeping in vodka). Keep the jar in a cool, dark place and let the alcohol work its magic.
- After the waiting period has passed, examine the jar. The alcohol will have taken on a bright yellow hue by this point. Scoop up a spoonful of zest; if the zest has become pale and brittle, its job is done and all the oils have been released.
- Now it's time to make the simple syrup. In a medium saucepan, dissolve the sugar in water over medium heat. Let the syrup cool to room temperature before adding it to the lemon-infused alcohol.
- Give everything a stir, seal the jar again, and let it sit for at least another week. The limoncello will mellow out a lot during this period, and will continue to get smoother the longer it ages.
- After a week or two (or even longer, if you can muster up the patience), it's ready to be bottled. Use two 36-ounce bottles to leave room for adding more simple syrup as needed, or two 32-ounce mason jars to fill completely with limoncello.
- Strain the limoncello through a fine sieve to catch all the lemon zest.
- Then, strain the limoncello again as you funnel it into glass bottles, using an ultra fine sieve, gold coffee filter, paper coffee filter, or layers of cheesecloth. The second straining might seem unnecessary at first, but it's worth the effort to get the liqueur as clear as possible. You know you've made a good one when you see the "lemon collar" — a ring of oil floating at the top.
- Once everything is bottled up neatly, store your limoncello in the freezer, along with a couple of cordial glasses so you're always ready for dessert!
Notes
You'll notice that even after zesting, my lemons are still yellow because I've only zested the thin outer layer of peel. A Microplane is essential for this reason; some people use a vegetable peeler or a paring knife, but they inevitably peel some of the pith along with it. For the smoothest flavor, avoid taking the pith off.
There is much debate on using a rectified spirit, such as Everclear, over a high-proof vodka for infusing the lemon zest. In my opinion, the higher the proof, the better infused the alcohol will become in a shorter amount of time.
I recommend nothing less than 100-proof vodka (and a mid-grade vodka like Smirnoff is fine for this purpose — don't bother splurging for the "good stuff").
Nutrition Information:
Yield:
16Serving Size:
1/4 cupAmount Per Serving: Calories: 118Total Fat: 0gSaturated Fat: 0gTrans Fat: 0gUnsaturated Fat: 0gCholesterol: 0mgSodium: 3mgCarbohydrates: 30gFiber: 1gSugar: 26gProtein: 1g
Nutrition information isn’t always accurate.
This post updated from an article that originally appeared on March 30, 2012.


Why would i use my delicious, organic Meyer lemons with commercial grain alcohol? Which will definitely be made from either round up ready crops or doused with glyphosate to kill the plant and quickly dry the grain, or both.
I’m uncertain if Roundup residue remains in the grain once it goes through the distillation process, but you can use an organic vodka instead.
re: Cool Dark place….
I live in Southern FLA…no cool garage nor basement
Can I use the extra fridge in the garage?… thanks for the recipe!. I will try this!
Hi Betty, this was a great informative article on making Limoncello. Thank you. I’ve made limoncello in the past but never heard of after 6 weeks removing the zest, add simple sugar mixture then let it sit on a shelf for 1 week to 3 months then freeze. Of course I want the best result of my limoncello for all the cost and effort. Do you do sample tasting every few weeks up to the 3 months before freezing it to see the taste differences?
Thank you,
Susan
What about using Meyer lemons?
Is the process and recipe still the same or would some modifications need to be made.
Thank you
My family and I have made limoncello for years. We each have our preferences, but I like 100 proof Amsterdam vodka compared to Everclear, as you can use less simple syrup when it is finished. One thing we all agree on is to let the lemon macerate for at least 2 months before adding any extra ingredients. Once you strain the zest, you can add a vanilla bean, or some thyme to enhance the flavor. I usually do 22 lemons for 2 750 ml bottles.
Hi. I have followed tour recipe and my first batch was perfect.
The second batch however – after 10 weeks in 100% grain alcohol – hasn’t got that nice lemon taste and is quite thick even though I added the correct amount of sugar syrup. Can I add a tiny bit of lemon juice to the 375 ml bottles?
I just started soaking the peels and will travel in a week, gone for 3 months. Would you suggest I soak until I return or finish in a week and freeze for 3 months? If the former, where should I store it—fridge, freezer, any cool dark place?Thanks.
I don’t think a week is enough to extract all the oils from the lemon zest. You can try for 3 months; as long as you didn’t get the white pith, it shouldn’t be bitter. It’ll keep in a cool dark place.
Hello,
My lemon zest is pale, but not yet brittle, and it has been soaking in 100 proof vodka for 6 weeks. There is a decent lemon flavor, but it’s not overpowering. Should I let it sit more, or would it be fine to add the syrup mixture? I’m hoping to have this done in time for Christmas!
Thank you!
I’ll zested about 9 large lemons and only had about a half cup of zest and only added about 360mL of 100 proof vodka. Can I add more zest and vodka and transfer into a larger jar tonight or leave as is?
Hi,
I am using 750ml, 120 proof everclear which is 60% alcohol.
Can you tell me how much sugar/water I should mix before adding?
I used 12 meyer lemons and it has been sitting exactly 1 month steeping, looks good.
I want to freeze the limoncello after I make it and have read that sometimes you have to adjust the
sugar/water ratio so that the liquid will not freeze in the freezer?
Would love to hear an answer to this as well as I did the same thing as you Lauren. Hope yours turned out well. Please share any tips!
Just follow the recipe as is, using 3 cups water + 2 cups sugar for each 750ml of Everclear.
if I already have simple syrup made, then how would I proceed with this recipe? (the Everclear and zest is ready, and strained) Thanks!
Just follow the recipe as is, using 3 cups water + 2 cups sugar for each 750ml of Everclear.
It will not freeze because of the everclear. I use quart mason jars because they will not crack in the freezer like some glass containers.
Great recipe! Thanks for sharing
I strained the peels and zest before I added the simple syrup. Oops! Did I mess it up?
Hello! I’ve had my limoncello steeping for 3 weeks and 4 days, I checked the zest and it’s definitely more pale and brittle but not white like the one in your picture. Should I wait longer before adding the simple syrup?
Thank you!!!
Don’t throw away your zested juiced lemons! You are make a wonderful sugar syrup with them.
I’ve been trying to recreate Chick-fil-a’s amazing Arnold Palmers (half sweet tea and half fresh squeezed lemonade). The lemonade has a lot of lemon pulp and is so rich. I was looking for ways to use the peels, and I came across a recipe where you soak the squeezed lemon peels in sugar to get all the remaining oil out. You can even zest the lemons first. Cover with sugar and let them soak for several hours. A lemon oil with no bitterness starts to form. It’s so good for flavoring lemonade or simple syrup. I also slice up whole lemons and place thin layers in a glass jar with granulated sugar. I seed the lemons so I don’t have to fish seeds out of the rich syrup that develops over time in the fridge. I use in recipes where lemon extract is too strong but lemon juice isn’t enough. Like to add a little brightness to sour cherry pie filling. The sugar cured lemon slices are also wonderful in drinks.
Sounds delicious! (And way more fun than what I typically use zested juiced lemons for, which is to scrub my sinks and cutting boards. 😉 )
Each year I have a abundant supply of Finger Limes, would these work the same way?
hi — I just made mine: i zested 18 lemons and barely got 1 cup of zest —so I mixed it with 1/2 a gallon (well 1500 ml actually) — and we shall see in a month what the results are- thanks for the great idea –fingers crossed
Good luck! And your lemons were likely much smaller than mine, but no worries, as long as you had enough zest.
I love your blog and have told all my friends and family about it (and purchased your books)!
About the limoncello … I made it but found the punch of citrus to be ho-hum. I’ve had it in Italy, so I know it didn’t have that lemony kick. I’ve remedied this, for now, by adding a splash of lemon or lime juice to the shot glass of ice cold limoncello.
I can only surmise the organic lemons I bought at the grocery store aren’t all that potent? Since you’ve made lots of limoncello, any advice? I don’t have my own tree here in Minnesota (but grew up with key lime trees in Miami 🙂 )
First, thank you so much for supporting the blog and my books! I greatly appreciate it!
As for your limoncello question, I can only guess that it comes down to the quality of your lemons. I’ve always used the thick-skinned Eureka lemons from my tree, as they’re very tart and bold flavored, but other varieties may not hold true. Traditional limoncello is often made with Sorrento lemons, which are highly fragrant. I suggest trying a few different varieties and buying them in season (the freshest you can find) for maximum flavor. Lemons that are too young won’t have developed the oils that are crucial to flavorful zest, and lemons that are too old will have deteriorated too much to produce good zest.
Another option you can try is grapefruitcello or orangecello, if you find higher-quality fruits for those. https://gardenbetty.com/small-batch-grapefruitcello-and-orangecello/
I can’t wait to make this. I have been looking for a good limoncello recipe. I don’t know much about it, so all of the comments are helping to answer my questions.
Good luck with it! I know you’ll enjoy it! 🙂
I love Limoncello, and I got excited when I saw this recipe! Unfortunately, I live in the ‘nanny state’ province of Ontario (Canada) where our oppressive government thinks that it’s in everyone’s’ best interests to limit the amount of alcohol content to a measly 40%. Sadly, there will be no homemade Limoncello being made at my house 🙁
You can try this with 80-proof but the zest will need to steep in the alcohol longer to fully release its oils. Good luck!
I added my zest to 151 Everclear 18 days ago and just checked it – the zest is still yellow. I assume I should just let it hang out a little more before adding the simple syrup? Thanks!
Yes. The Everclear should be very yellow and the zest very pale when it’s fully infused.
I have a blog where I have been documenting my cooking and sharing recipes. One of the things I recently made again was the limoncello. I was wondering if it would be ok for me to link your post to in on my blog? I’ll show what I did, but not give the actual recipe since I don’t want to plagerize you.
Thank you for asking and yes, you may link to my post. I’m glad you enjoyed the recipe!
HI – I have a question about the ‘mellowing’ period.
do you find the liqueur mellows once bottled (i.e. filtered) ? or does the bulk of the mellowing occur while the zest is mixed with the alcohol and simple syrup? thanks love your blog and the amazing attention to detail!
Both! The liqueur starts to mellow once it’s mixed with syrup and continues to age, regardless of whether it’s filtered or not. Once all the oils have been extracted from the zest, the zest has no effect on the flavor (though it will continue to break down if left in the limoncello for a long time).
I have a unique question… started a batch of limoncello over a year ago and the everclear and lemon zest has been steeping since then in a cool basement closet. Will it still be safe to add the simple syrup to and then consume, or has it steeped too long? Thanks!
It’s still safe. The Everclear preserves it all and the lemon zest only has so much oil in it (it can’t be oversteeped, that is).
Do you leave the zest in when you put the simple syrup in? Or do you strain most of it out at that point?
I leave the zest in when I pour in the simple syrup, and then I strain it out (twice) before I bottle it.
I can’t wait to try your recipe! I agree that limoncello tastes best when it’s chilled…delicious. Thanks for the tips.
Enjoy! It’s one of my favs and you just reminded me that I need to make a new batch this season.
so how strong is this stuff when everything is said and done?…
It’s pretty strong in the beginning, so if you want to drink it right away, you can add more simple syrup (or use it in a mixer). However if you can wait a couple of months, the initial bite mellows out and becomes smoother.
will it continue to mellow out after I’ve strained it and bottled it?
Yes. Well-aged limoncello tastes very smooth.
So one more question after all…
you talk about freezing or refrigerating the bottles after they have been bottled. But do they have to be chilled? Can I just store them in my liquor cabinet? Since its just sugar, alcohol, and essentially fruit oil shouldn’t it be fine?
Yes, room temperature is absolutely okay. But limoncello tastes best when it’s chilled, in my opinion. 🙂
Of course I’ll chill it before serving. I just am filling it into various little small bottles, also for giving away. I figured I could store them on a shelf in my garage before giving it away at special occasions. 🙂
Hi, I love your recipe! It looks so good, and my friend and I are thinking of making it so it will be ready in time for my bachelorette party. I was wondering if you could tell me what size jar you used to store the mixture in. I’m not even sure what I would call a jar like that when looking for it.
I used a 1-liter bottle. The Bormioli bottles that I used are linked in the post if you’d like to buy the same ones!
Thank you so much! I have another question. I got some everclear yesterday. Apparently it’s the same thing with a different name. It’s 190 proof. I was wondering you would recommend adding a larger amount of simple syrup when the time comes.
I’ve used 190 proof on subsequent batches and kept the ratio of simple syrup the same. The key is to let the limoncello age a bit after you mix in the syrup. The longer it sits on a shelf, the smoother and more mellow the flavor becomes. I’ve tried freshly made limoncello before and wow – talk about moonshine! But months later, it turns out perfect. I personally prefer my limoncello more citrusy than sweet, so it all depends on taste… though it’s easier to add more syrup as you need to (rather than adding too much in the beginning).
ah, sorry for all the questions, I sure think this is the last one I have. hopefully.
I couldn’t tell if you strain out all the lemon zest before you add the simple syrup, or do you just leave the zest in until it has all been soaked in?
I just leave the zest in until I’m ready to bottle the limoncello.
Do I need to do anything special to seal the bottles? If I re-use the vodka bottles is it okay to use the old caps too?
Yes, perfectly okay to re-use the old caps. The bottles do not need any kind of special or permanent seal. If you store them sideways in the freezer, just keep an eye out for any drips.
I dont suppose you have a recipe to make about a fourth or half as much as this recipe makes?
You shouldn’t have a problem just quartering or halving the recipe. The simple syrup is a matter of taste preference, so you can make the limoncello as sweet or strong as you like. Just keep the ratio of water to alcohol proportionate so that your limoncello doesn’t freeze in the freezer.
I can’t wait to try this out! First time i will be attempting this.
Perfect! It’s citrus season now!
Can I store it in the fridge? We have a Meyer lemon tree but no room!
Sure. Freezer vs. fridge is just a matter of temperature preference and long-term storage. In the freezer, limoncello keeps indefinitely. The fridge works too, since you’ll likely drink it within a year anyway.
Thank you for this recipe, funny I went to find a jar and opened my cabinet to literary find the exact same jar you used…talk about following your directions LOL
You have good taste! 😉
We made this in time for it to be ready for the 4th of July and it was magnificent. Thank you for posting the recipe! We are making more for Christmas Gifts!
Excellent! Have you tried making the same with orange or grapefruit zest yet? Mine are brewing now… mmmm.
Alrighty! I’m heading to Cost Plus tonight to procure some jars for this and my kimchi! I’ll be posting photos!
Ooh nice! I’ll be posting my kimchi recipe soon too. We’ll have to compare as I’d love to know yours!
Love it! We have been making this for about 10 years. Your method is a little more complicated than ours but the common ingredient is the organic lemon peels. They make all the difference!
Really! And I thought my method was as easy as it gets! What do you do differently?
After reading again, I guess it really isn’t more complicated, it just seems that way with all the steps spelled out in detail. When you are assembing, it all goes very quickly. We use the recipe from the book ‘In Tuscany’ by Frances Mayes. Also, we sometimes we use Stoli vodka which is a little less potent than the grain alcohol. p.s. Really enjoy your blog!
Fantastic! My brother makes the same stuff. You know, you can make orange-cello as well. the place I tried orange-cello in Italy had orange tree branches grafted on to a lemon tree so the singe tree gave two fruits.
I have backyard orangecello and grapefruitcello in the works. 🙂
Maybe I need to graft some blood orange and pomelo branches on to my trees… I’d love to make them all. My kitchen looks like a bar right now!
Oh wow. You found a way to bottle sunshine!?! I’m SO on board, and now know what I’m doing when I wake up tomorrow 🙂