
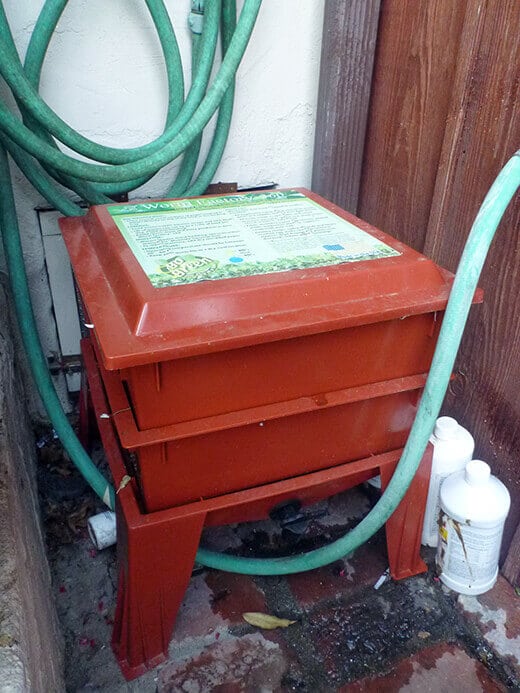
A couple months ago I was given a Worm Factory 360 vermicomposting bin to test in my garden, and my little community — lovingly dubbed Wormville — has been plugging along productively. Here’s a look beneath the lid…
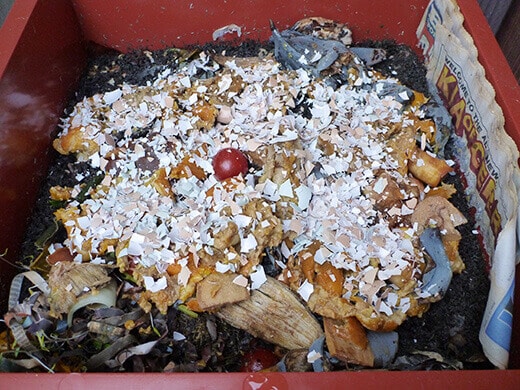
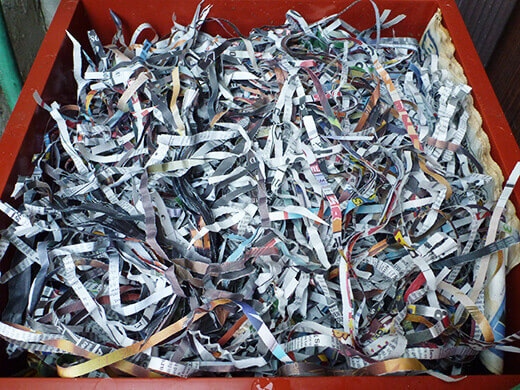
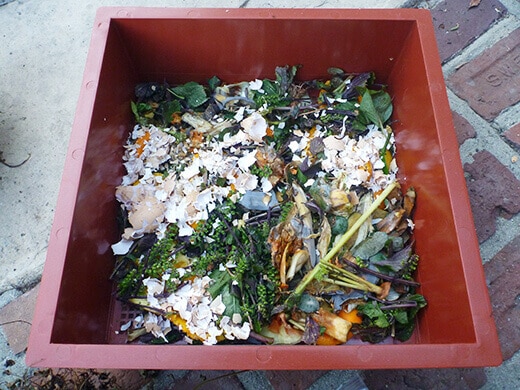
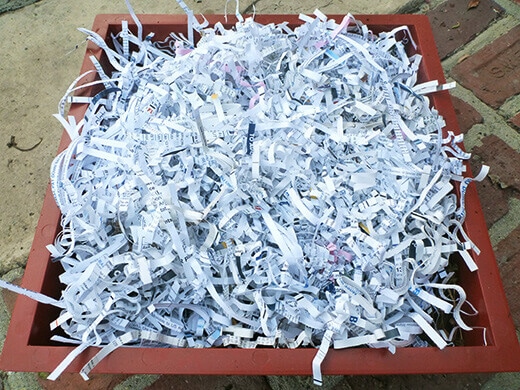
Every week I add a handful or two of kitchen scraps to the bin, and a layer of shredded paper on top to absorb the moisture and balance out the green-to-brown ratio.
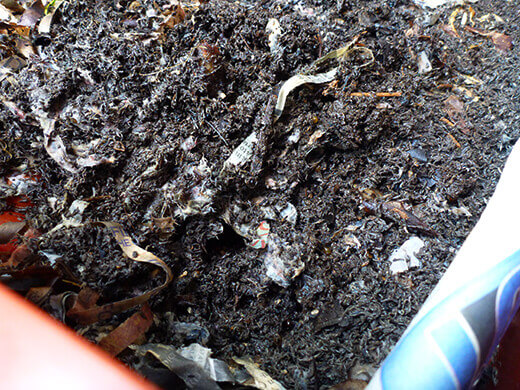
All those eggshells, banana peels, coffee grounds, tea leaves, and other odds and ends eventually turn into a rich, dark, fine humus called worm castings. Or as it should really be called — worm poop.
What does worm poop look like?
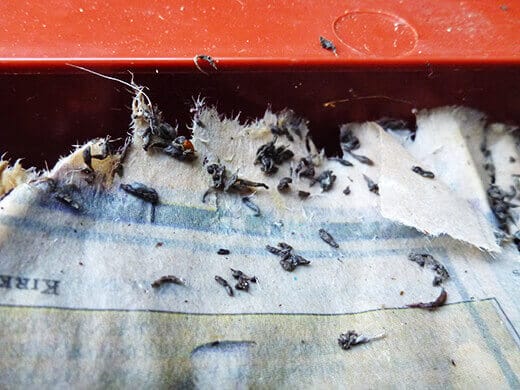
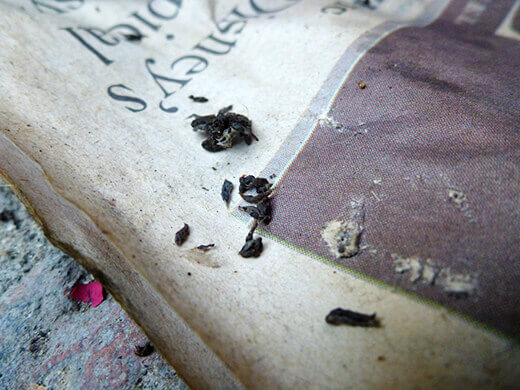
The tiny black strands end up all over the bin as the worms eat and poop their way through your compost. The castings settle in with the rest of the organic matter in your bin, becoming the black gold that’s so good for your garden.
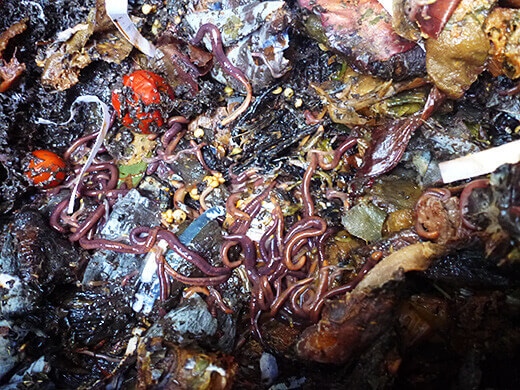
Worms aren’t the only residents living in Wormville though. A proper aerobic compost pile — not too wet, not too dry — is home to millions of microbes that work in conjunction with your worms to cook the compost and speed up decomposition.
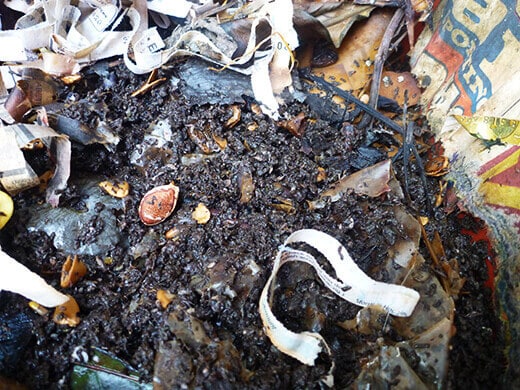
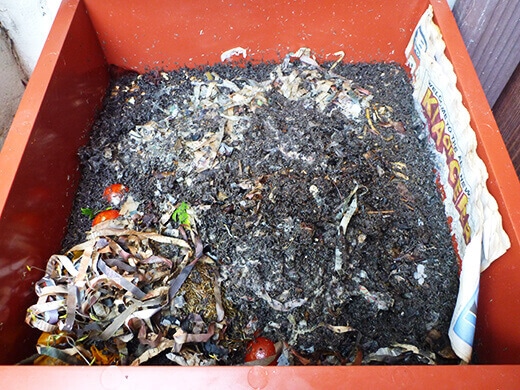
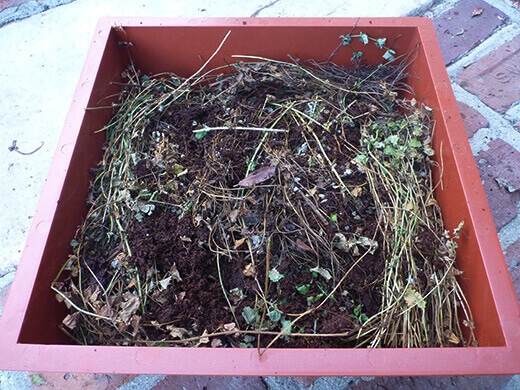
After two months, that mound of waste becomes a thick layer of humus that smells like fresh earth. It seems counterintuitive that a pile of poop would actually smell good, but it’s true!
Underneath the working tray, you’ll find the catch-all tray that some of the humus drains into, taking a few worms along with it. The black plastic frame is a “worm ladder” that helps your worms make their way up into the working tray, so if you see some stragglers, you don’t have to worry about getting them back “home.”
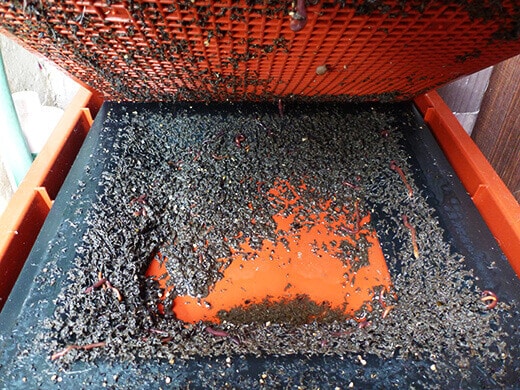
If you lift the worm ladder, you’ll find a puddle of black liquid at the very bottom of the bin called leachate.
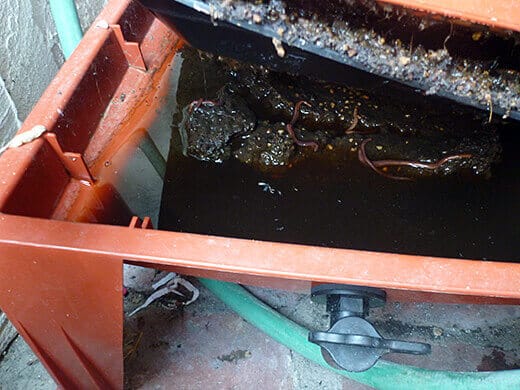
Leachate is the moisture collected from the composting process, and it’s full of nutrient-rich goodness. This is not the same as compost tea, which is made by brewing the actual worm castings in water to make liquid fertilizer. Leachate is simply seepage (from the worm castings, or the natural moisture of the food) that may not have been processed through the worms’ bodies. Because of this, its nutrient level is uncertain and it’s best used to fertilize house plants or landscaping plants that are not as sensitive as your edible plants.
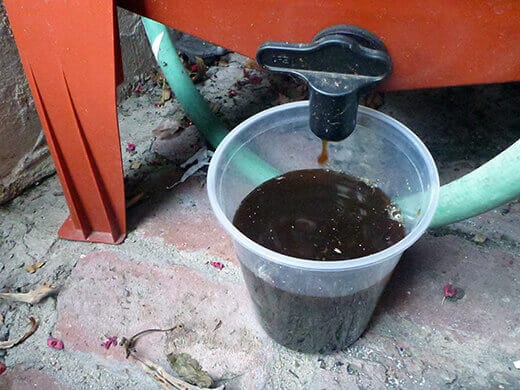
Turn the spigot on the bin to drain the leachate from the catch-all tray. If it smells earthy and fresh like the rest of your compost, it is safe to use. If it smells foul, the bad bacteria may be toxic to your garden, so you should discard it.
Leachate should be well aerated before use. I like to pour it into a small bucket and create a vortex with a stirring wand for at least 10 minutes, then break the vortex and stir vigorously in the other direction for another 10 minutes. You can also pour the liquid back and forth between two buckets… whatever works to oxygenate the environment for all those beneficial microbes swimming around in it!
There’s no hard rule about how to apply leachate to your plants. If your leachate is very light colored (meaning it likely contains more water and less humus), you can probably apply it full strength to your plants. If your leachate is very dark colored, like mine, it has likely been brewing with your worm castings and should be diluted with water before use, anywhere from 1:1 to 10:1. Before you douse your entire garden with leachate, test its potency on a few plants first!
I didn’t start draining my leachate until right before I added my second tower, since it takes time to accumulate in the catch-all tray. Once you have a couple towers set up, however, it’s a good idea to drain the leachate every week or two. You can also just keep the spigot open with a large cup underneath to collect the liquid every day, so you don’t have to worry about overflow. (If you find a lot of liquid in the cup every week, your compost is probably too wet!)
With my first tower more than halfway full, I stuffed another layer of shredded paper on top and got to work on the second tower.
Once you already have a working tray in the Worm Factory 360, subsequent trays are a snap to set up.
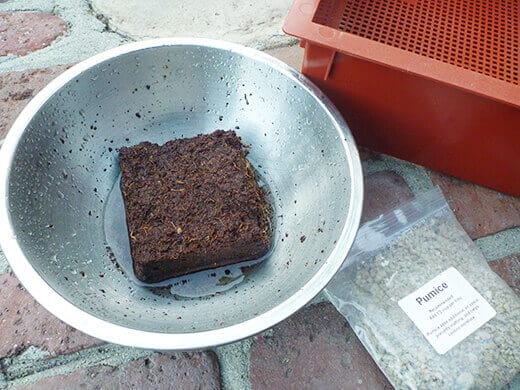
First, rehydrate the leftover brick of coir that came with your system with a couple cups of water. The fibers should be soft and fluffy as you pull them apart.
Add an inch or two of food scraps to the bottom layer of the second tray. Your worm population has probably doubled by now, so they’ll work through this layer fairly quickly.
Combine about a cup of the rehydrated coir, a handful of pumice (which also came with the system), and some dried matter (such as dead grass or decomposed plants) and add that as the middle layer.
Finally, cover everything with a mound of shredded paper, then a few sheets of moistened newspaper on top, and you’re all set!

Stack the second tray on top of the first tray, cover with the lid, and keep feeding your worms every week with food scraps and shredded paper. Always add food scraps underneath the shredded paper, and keep the top sheets of newspaper moist at all times.
It may take your worms a couple weeks to migrate into the upper tray, but as they exhaust their food supply in the bottom tray, they’ll find their way to the new food.
I’m going to let them finish processing the bottom tray for another month or so before I collect the castings, so stay tuned!
If you want to start vermicomposting with the Worm Factory 360, now is the perfect time to do it. Let the worms work on your compost through all of fall and winter so by the time spring rolls around, you’ll have several trays of fully processed worm castings ready to go!
This post is brought to you by Nature’s Footprint. Thank you for supporting the sponsors that support Garden Betty.


How many worms did you start with and how did you track the growth of your worm population?
I wanted to ask you about the eggshells. That worked out? I’ve read often that you shouldn’t use them – that worms can’t break them down and they cut up the worms. Another myth busted?
Hmm, I never had an issue with crushed-up eggshells in my worm compost. They were always broken down appropriately. Not sure if that’s a myth or not since I’m speaking anecdotally, but I can definitely tell you that the old wives’ tale of using eggshells to deter slugs is pure myth — I’ve seen those things cross crushed-egg barriers without a problem!
I am giving the Mega-Inn a try out this year. I feel it is an improvement over other indoor systems because of better airflow. I prefer going heavy on the shredded cardboard because it breaks down slowly, soaks up extra moisture, keeps other bugs down and provides more carbon (brown matter) vs. nitrogen (green vegetable waste). Plus free cardboard abounds in places like grocery stores. You just need a good shredder. A good carbon to nitrogen ratio to follow is 30 to 1.
I tried composting last summer. My bin became infested with some kind of black fly larva. Not sure if it was a good thing or not. I let them be but wonder if I let my bin become too wet because of all the green matter I added.
Black soldier fly larva are actually quite efficient and useful in a compost heap, as they help break down organic matter. I have them as well. If you’re seeing tons of them, however, it means your compost is on the nitrogen-rich side and you should probably add more brown to the pile to balance it out. Ideally, your green stuff should be deep (for the worms) so the BSF larva stay mostly on the surface and eat what’s available without competing with the worms.
Cool thanks for the tip. I’ll embrace them if they come back next summer..
I have been composting with worms for several years now. I too have the Worm Factory and have found it to work well without too much upkeep. My Factory has 5 levels, all of which are at a different level of decomposition. I have a family of 4 so we produce a good amount of compost materials. My backyard girls love when I work on the bin, because there are other creatures (various roaches/bugs) that make their home in the bin along with a large spider and a gecko. I let the girls feast on the bugs when taking the tower apart to harvest castings/worm compost.
A gecko? Now that’s something I haven’t found in my worm bin yet. 🙂
Florida…we have lots.
Great to see you differentiate between the leachate and the compost tea. Too many people thinking they are one and the same.
Looking good, Linda! Love the photos and explanation of leachate!
Thanks Kate!
I like the idea, thanks for the write up