I’ve always been fascinated by fermentation in its many forms, from the souring of cabbage in sauerkraut to the souring of grains in a whole-grain feed made for chickens. The sourness happens through the proliferation of Lactobacilli in your food, and simply by letting this good bacteria accumulate over a few days or a few weeks, you (and your gut) will get all the benefits of these natural (and delicious) probiotics.
Long a fan of Japanese rice bran pickles, or nukazuke, I’ve wanted to make my own at home but knew that the art of fermenting food in nukadoko (a fermented bed of rice bran) required a long-term commitment in the kitchen.
While making homemade nukazuke is fast and easy compared to, say, sauerkraut, inoculating the nukadoko does take more than a few steps the first week, and then an everyday routine to keep your bed flourishing with beneficial bacteria. From the first day you mix your own nukadoko, it needs daily stirring by hand to aerate the rice bran and keep the microbes in check.
Yes, every day. By hand. And in summer, sometimes twice a day.
If you spend a lot of time in the kitchen and your nukadoko lives in a spot where you see it every day, stirring takes no more than 20 seconds. Nukadoko thrives on the bacteria that naturally lives on your hands, the same bacteria that can turn a baby cucumber into a crisp, piquant pickle overnight or a handful of spring radishes into refreshing, tart little crudités in just a couple of hours.
Every nukadoko tastes a little different depending on the aromatics you add in your bed, the vegetables you ferment and even the “flavor” of the bacteria on your hands. Aged nukadoko will taste smoother and more refined than a young one, the way a bottle of wine will mature over time. Japanese families often pass down their nukadoko to new generations of picklers, and it’s not uncommon for an heirloom bed to be 50 years old or more!
Nukadoko can also be divided to start new beds, and a cup of fermented rice bran can be mixed in to a new bed to jumpstart a friend’s nukadoko (similar to sourdough starter). For a fermentation fan, aged nukadoko makes a great gift!
A stroll through a Japanese market will turn up many ready-made nukadoko kits. Some will simply be bags of inoculated rice bran, just add water. Others will even come with plastic containers to do all your mixing and fermenting in.
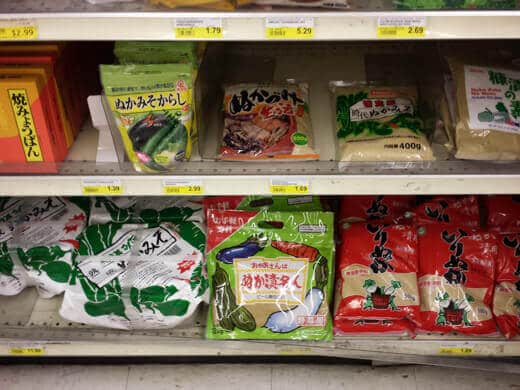
But to fully understand and appreciate the art of nukadoko, making your own from scratch is a deeply satisfying meditation.
Sourcing the Rice Bran
Traditionally, nukadoko is made with rice bran, the vitamin-rich outer layer that surrounds the germ of whole-grain brown rice. It’s a byproduct of milling in the production of refined grains. Nuka is Japanese for rice bran, so nukadoko is a pickling bed made from rice bran.
While it’s easy to find in a Japanese market, rice bran is not so common in most American markets. Bob’s Red Mill![]() sells it, as do other health food brands, but you can substitute wheat bran if you’re having trouble sourcing rice bran. (And in fact, the nukadoko in this post was made entirely with wheat bran, as I found it in bulk for only 99¢ per pound.)
sells it, as do other health food brands, but you can substitute wheat bran if you’re having trouble sourcing rice bran. (And in fact, the nukadoko in this post was made entirely with wheat bran, as I found it in bulk for only 99¢ per pound.)
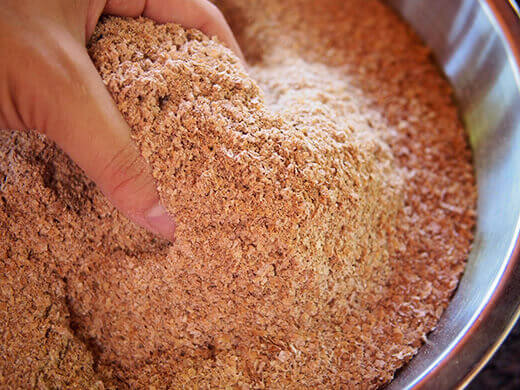
Flavor-wise, fermented rice bran and fermented wheat bran are very similar. I’ve made both, and the only differences I could detect were the aromatics used in each bed. The true difference lies in the texture. Rice bran has a relatively high fat content, making it denser and heavier than high-volume, fluffy wheat bran. Rice bran looks like a coarse, buff-colored powder, whereas wheat bran looks like fine, flat, reddish flakes.
When it comes to making nukadoko, that means rice bran will require less water to make a mash; it’s also more susceptible to turning watery (since it doesn’t absorb as much water as wheat bran does) and turning sour if it’s severely compacted in your container. Wheat bran, on the other hand, has so much volume that it needs to be tightly compressed in order for the bacteria to contact the vegetables and produce good pickles.
Whichever bran you decide to use, the basic principles of nukadoko apply to both.
Preparing the Rice Bran
The three essential ingredients are bran, salt, and water. In my own bed, I add bread to feed the bacteria and speed up fermentation, garlic and ginger to amp up the flavor, dashi kombu (dried seaweed) to add umami and depth, and chile peppers to repel pantry bugs. If you want a little sweetness, you can also add dried apple peels or dried persimmon peels; more flavor, add dried shiitake mushrooms.
Salt should be 13 percent of the weight of the bran. In very warm climates, you can go up to 15 percent salt by weight to slow down fermentation (and keep your nukadoko from turning sour). Use a salt without any additives; sea salt, kosher salt, and pickling salt are good choices.
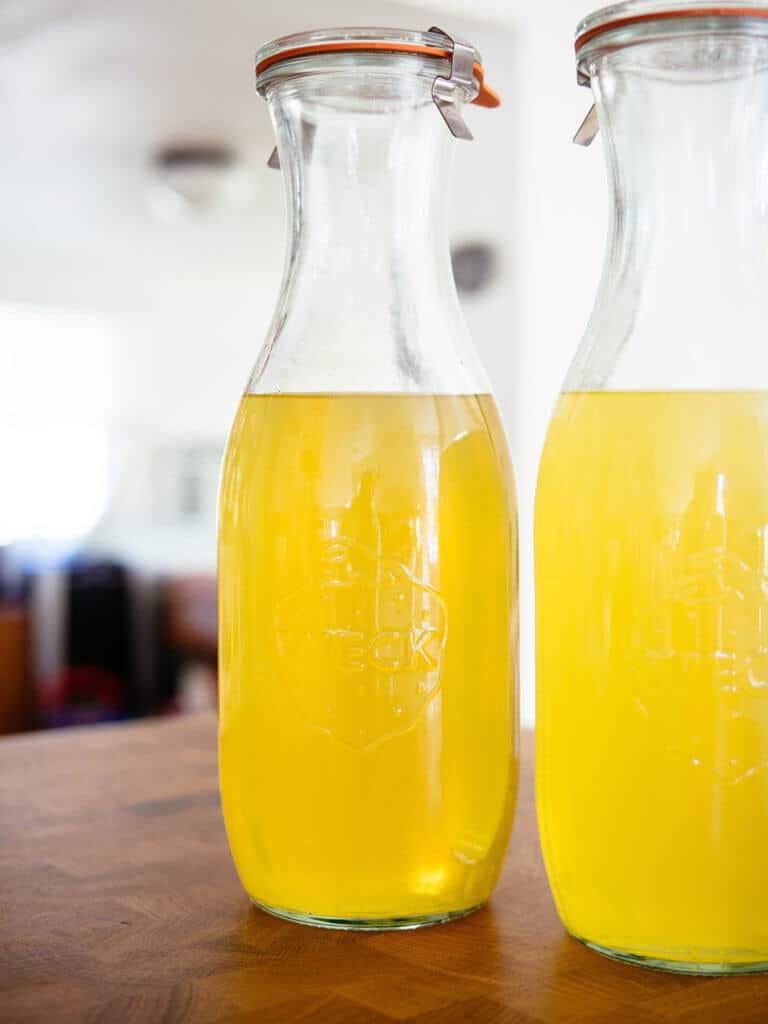
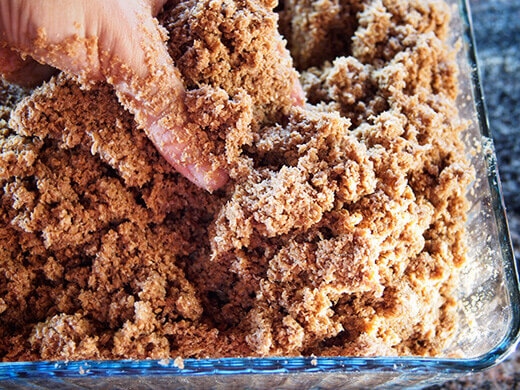
Always use filtered water, as the chlorine in tap water can interfere with the bacteria. When you mix the water, salt, and bran together, the resulting mash is called nukadoko (or nukamiso). It serves as a medium for the microbes and a warm bed in which to bury the vegetables, and should look and feel like damp sand.
The nukadoko should smell earthy and nutty (like fresh bread) and even a little sweet; it should never smell rotten. Because it’s a live and active colony that’s constantly changing, you may find that your pickles taste differently in summer than they do in winter, or even day to day in a highly aromatic bed.
Begin the fermentation by priming the bed with starter vegetables, which can be anything from kitchen scraps to small chunks of vegetables (a wedge of cabbage, a few carrot sticks or some slices of daikon are traditionally used). The bacteria that live on the skins of these vegetables help colonize your bed with the Lactobacilli that make nukazuke so tasty.
Making Nukazuke
Once your bed is properly fermented, you can begin making your own probiotic-filled pickles in mere hours.
Some Japanese sources say to lightly salt your vegetables before putting them to bed as it assists in fermentation; I’ve tried it both ways, salted and unsalted, and haven’t yet found a difference in texture or taste (though that may also depend on the vegetables used).
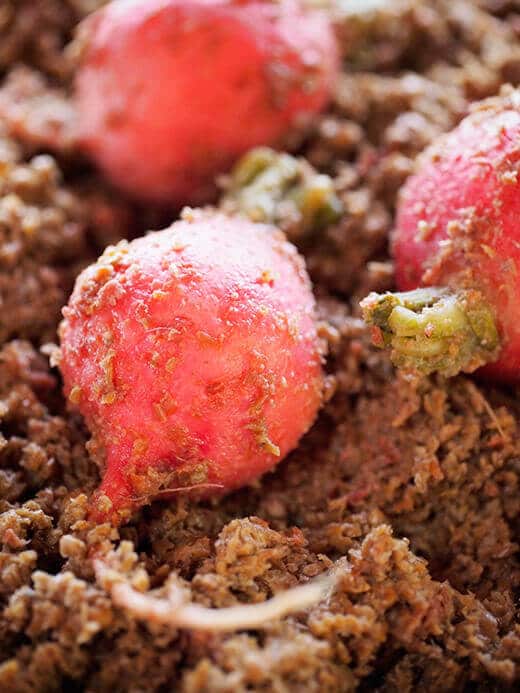
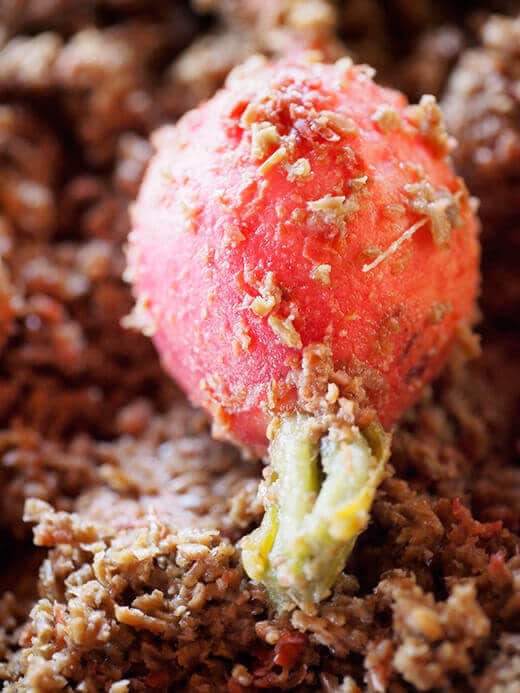
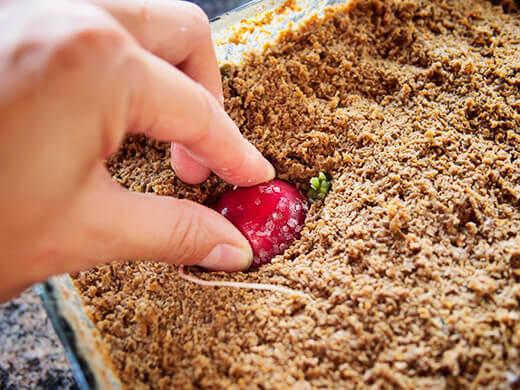
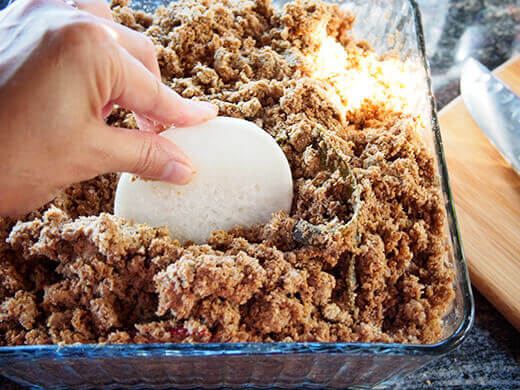
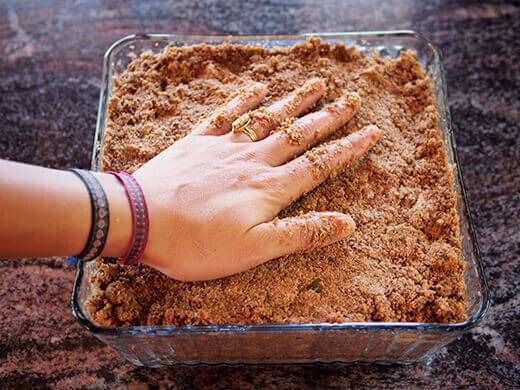
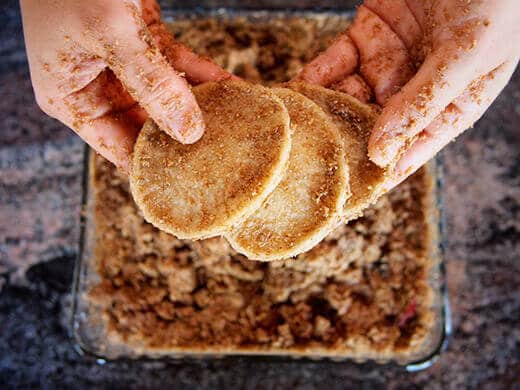
To make nukazuke, bury your vegetables deep in the nukadoko, then flatten the surface with your hands. You want the nuka tightly compressed to allow the bacteria ample contact with the vegetables, but not too compressed where the bed starts to suffocate. In general, I gently pat down a rice bran bed but really pack down a wheat bran bed for faster, uniform pickling.
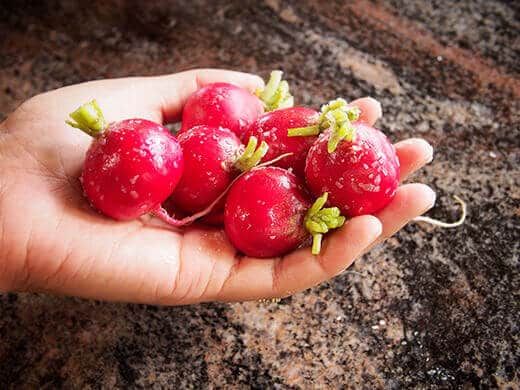
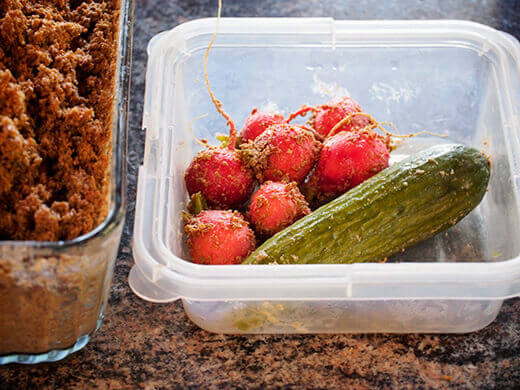
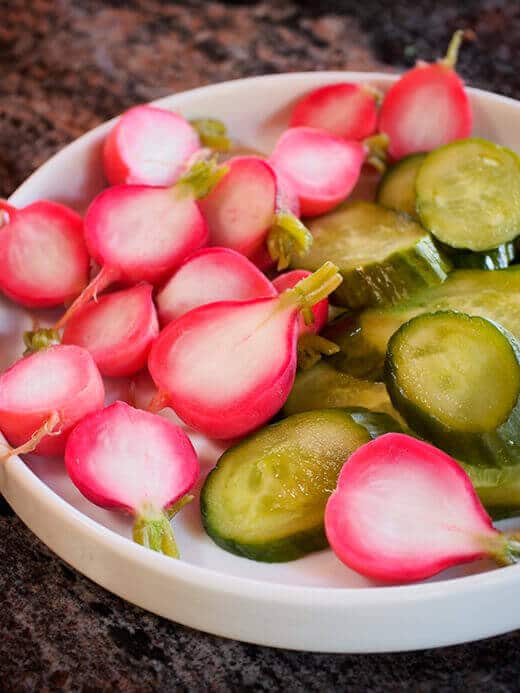
Smaller vegetables take less time to ferment while larger vegetables take more time. My favorite nukazuke at the moment are baby Persian cucumbers, which I pickle whole. I also love spring radishes (left whole) and daikon (thickly sliced). Other vegetables you can ferment are cabbage, carrots, turnips, kohlrabi, green beans, eggplant, asparagus, brussels sprouts, broccoli, cauliflower, and even baby ginger. Use your best judgment when deciding whether to leave them whole, halved, sliced, or cubed, based on how warm your room temperature is and how quickly you want your pickles.
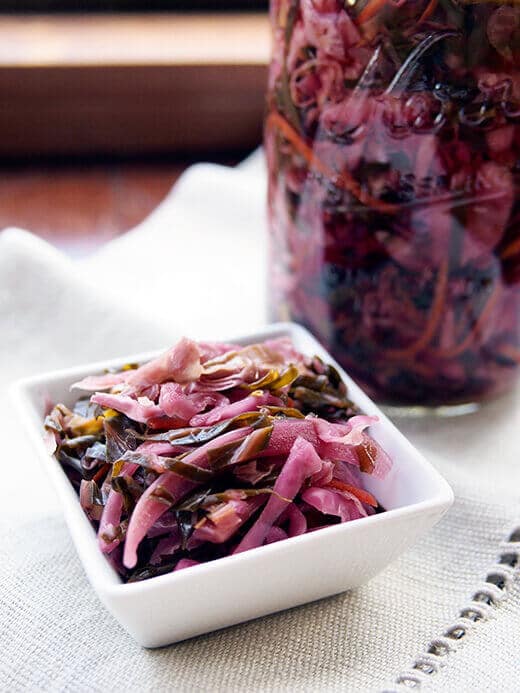
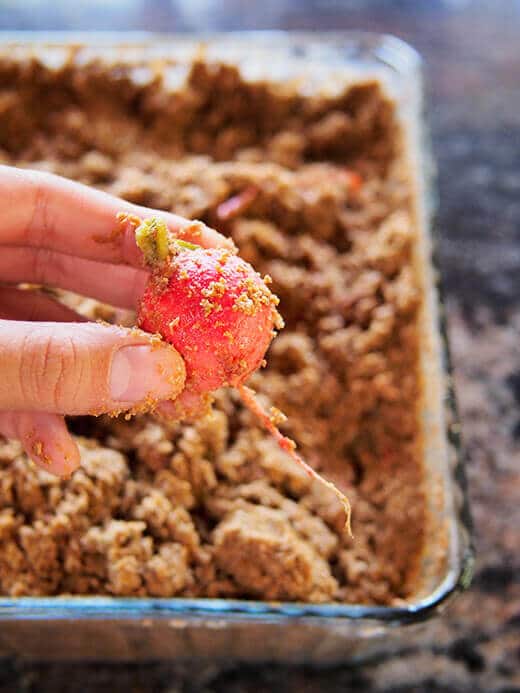
When you remove the vegetables from the nukadoko, brush off as much nuka as you can (back into the container) and rinse the vegetables with water. Serve immediately, or refrigerate in a covered container. You’ll want to eat the nukazuke as soon as possible after washing for the freshest flavor. They should be limp but crunchy, slightly salty and delightfully tangy with a mild, earthy aftertaste.
If you’re not adding more vegetables to the nukadoko right away, simply wipe any stray nuka off the walls with your fingers and flatten the surface until you’re ready to ferment again.
Taking Care of Your Nukadoko
My friends and I like to joke about my “nukadoko baby,” as once you get one going, it really is like your child, requiring daily care and attention.
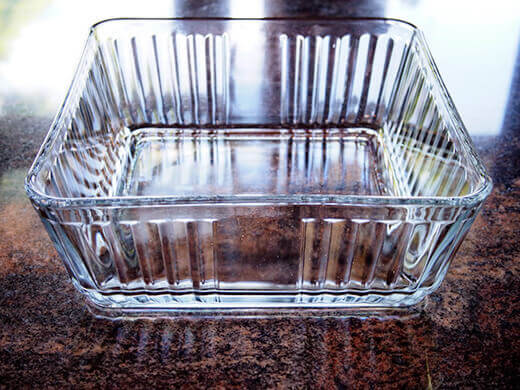
You can store it in any size container that’s food safe. Large, lidded plastic tubs are commonly found in Japanese markets, but some people also use ceramic pickling crocks or standard stock pots. If you can find them in Japantown, traditional (and beautiful) cedar tubs made for nukadoko would be a lovely addition to your collection of fermentation vessels. I use this glass baking dish![]() , as it fits the amount of nuka in this recipe perfectly.
, as it fits the amount of nuka in this recipe perfectly.
The kitchen is the most logical place to keep your nukadoko, as you probably spend some time in it every day. But as long as the container sits out of direct sunlight, and you remember to stir it up, you can store it on any shelf, counter, or cupboard.
Always use clean hands (sans lotions or creams) to turn the bran over. You can also use clean utensils to stir it up, especially if you’re in a hurry, but the bacteria level will remain most favorable and flavorful with the good germs from your skin. Giving the bran a little love with your hands at least a few times a week will keep it alive and healthy, as does burying a few vegetables (even if they’re just throwaway vegetables) when you’re not in the mood for pickles. I rarely leave my nukadoko empty for more than three days at a time.
Since the nukadoko needs daily maintenance, there may be times when you’re traveling and you can’t take it with you. Wait — take it with you?
Yes! If I’m car camping or road tripping, the nukadoko comes with. It’s been across the border with me to my bungalow at the Boat Ranch, it’s made its way up north during visits with family and getaways along the coast when we camp. While this might sound bizarre, I can tell you there’s no better treat when you’re away from home than a crunchy little pickle made from the part of home that was able to travel with you. And sinking a few kirby cukes into your nuka overnight for lunch the next day is an outright camping luxury.
When you can’t take it with you, leave your nukadoko with a trusted friend who will commit to stirring it up every day for you.
If no one can take on the task, you can put your nukadoko in deep storage in the refrigerator (though I don’t recommend doing this frequently, as it may affect the quality and flavor of your bed). First, remove all the vegetables (you can leave in the aromatics). Cover the surface of the nukadoko completely with a quarter-inch layer of yellow mustard powder, a quarter-inch layer of salt, then throw a tea towel or thin cloth over the container and refrigerate.
When you retrieve the nukadoko days or weeks later, scrape off the layers of mustard and salt and restart your bed as you did in the beginning, by priming the nuka with a few starter vegetables. It should only take a week or so to revive your bed. In cooler weather where fermentation happens more slowly, you can reinvigorate the bacteria by also adding a handful of fresh bread crumbs to the nuka.
Troubleshooting the Nukadoko
Good upkeep makes for a nukadoko that will last for years and years — possibly to even hand down to your children! But differences in time of year, temperature, and vegetables can occasionally send your nuka for a loop. If…
Your fermented vegetables taste too salty, or not sour enough. If you just started your nukadoko, it likely hasn’t matured enough to produce proper pickles. Sometimes the process can take longer than two weeks if your ambient room temperature is very cool, so keep priming the bed until the vegetables start to turn pleasantly sour. Young nukadoko will generally ferment larger vegetables (like whole cucumbers) in two or three days; once it gets going after a month or so, it can take as little as six hours.
The amount of nuka in the container has significantly decreased. Every time you stir up the nuka or remove vegetables from the bed, you end up taking a little bit of the nuka away. Eventually, you’ll want to refill the bed back to its normal level. Use 13 percent salt by weight of the bran, and add filtered water as needed to maintain the proper consistency. If needed, remove some of the old nuka to make room for the new nuka.
White mold is growing on the surface. If you forget to stir the nukadoko for a few days, you might see a white mold start to form on the surface. Simply skim it off, add a few spoonfuls of yellow mustard powder, and start stirring up the bed at least twice a day for several days. With proper aeration, the bacteria in the bed should regain their balance. If mold is forming below the surface, throw out the nuka and start a fresh batch.
A heat spell is expected. Fermentation happens faster in warmer temperatures, but sometimes too-hot temperatures will turn your bed sour. If the weather is hotter than usual, add a couple spoonfuls of salt to the nuka to slow down fermentation, and stir it up at least twice a day to provide ample aeration. Be careful with adding too much salt, as it can affect the flavor of your nuka and inhibit bacterial activity in your bed.
Your nukadoko turns very watery. Vegetables with higher water content can expel a lot of water in the nukadoko. Simply soak up the excess water with a wadded-up paper towel before you add new vegetables. You never want to leave the nuka wet for too long, as it can suffocate and turn sour. If it looks like the nukadoko stays continually wet, you can add more bran and salt until the texture resembles damp sand again.
Your nukadoko smells like alcohol. When bacterial levels get out of balance, the result is a nukadoko that “turns” — in other words, it smells alcoholic or very sour. Even though the nukadoko turns your vegetables sour, the nuka itself should never smell sour. When this happens, a quick fix is to stir in a few spoonfuls of yellow mustard powder, which neutralizes the acidity. Turn over the nukadoko at least twice a day until it starts to smell normal again (a little earthy, nutty, yeasty). If needed, add a little more mustard powder on the third day if the smell hasn’t started to dissipate. But if you add too much mustard powder, that will affect the flavor of the nuka. Generally, the batch can’t be saved if it continues to reek after a week.
Nukadoko (Fermented Rice Bran Bed)
Ingredients
3 cups filtered water, plus more for mixing
3 1/4 ounces sea salt
24 ounces rice bran
1 bread slice
4 garlic cloves
2-inch piece ginger
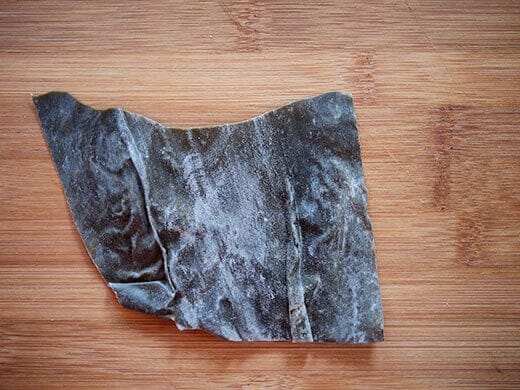
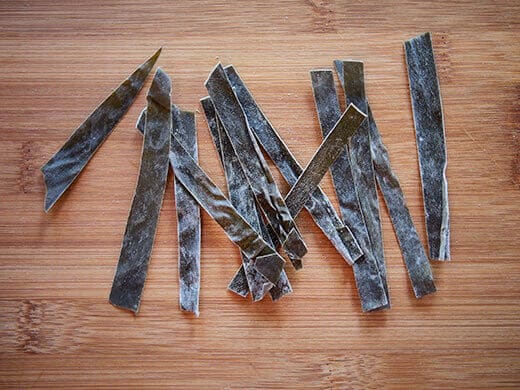
4-inch square dashi kombu (dried kelp), cut into thin strips
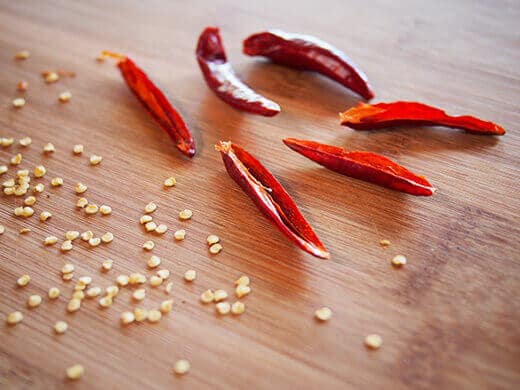
4 dried red chile peppers, split in half and seeds discarded
Assorted starter vegetables
Method
In a medium saucepan over medium-high heat, combine the water and salt. Stir until the salt is dissolved and remove from heat. Let cool to room temperature before using.
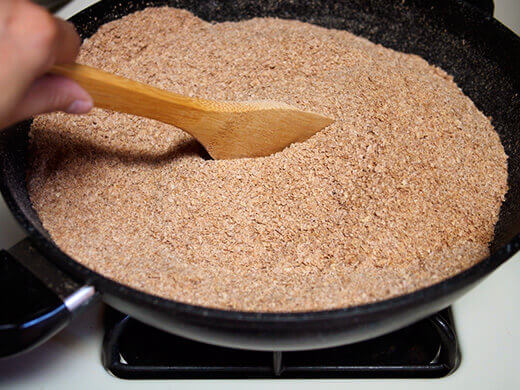
In a large wok or saute pan over medium-low heat, lightly toast the bran until fragrant. Stir it around frequently to prevent the bran from browning or burning. The actual cooking time will vary based on your stove or the size of your pan, but for me, it takes about 10 minutes for the bran to fully heat through and smell sightly nutty. Remove from heat and let cool to the touch. The bran should feel dry and powdery.
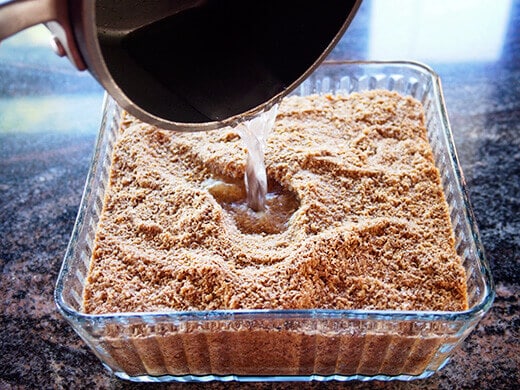
Add the bran to a large container or crock and pour in the brine. Mix well using your hands until all of the brine is incorporated. Mix in more filtered water as needed until the nukadoko resembles damp sand (not too dry and not too watery).
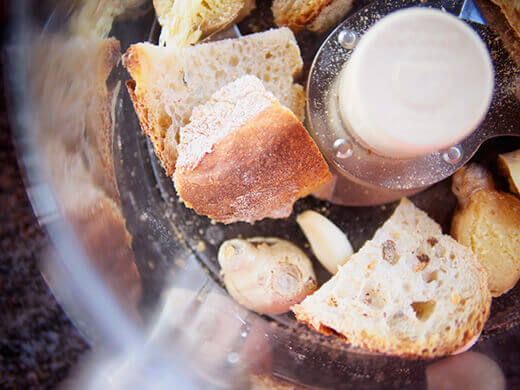
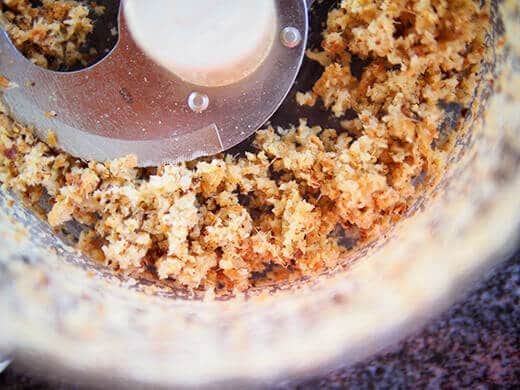
Add the bread, garlic, and ginger to a food processor and pulse until finely crumbled and combined. (If you don’t have a food processor, you can mince them by hand.)
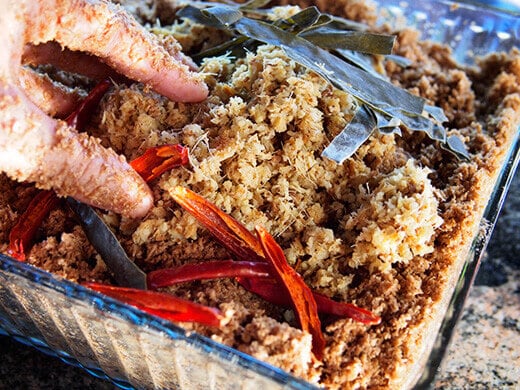
Fold in the bread crumbs, garlic, ginger, kombu, and chiles, then bury a few vegetables in the nukadoko and flatten the surface with your hands. The bran should be neatly compressed.
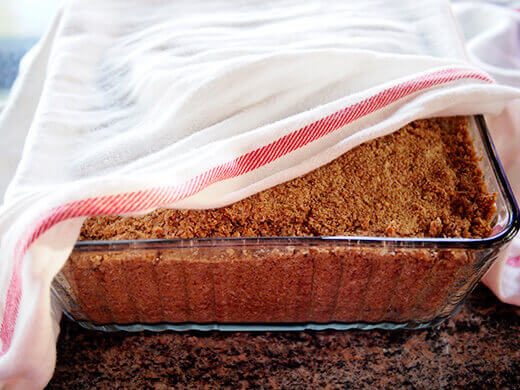
Cover the container with a lid (left ajar), a thin towel, or a couple layers of cheesecloth and store at room temperature out of direct sunlight. As the nukadoko is a living, breathing thing, you want to allow plenty of air flow for the bacteria to do their work.
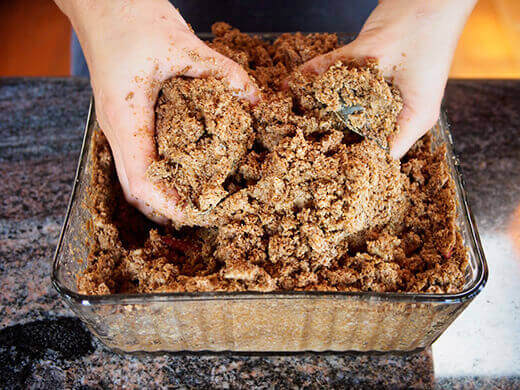
The next day, scoop up and turn over the bran with your hands a few times (from the bottom up) to aerate it. If it’s summertime or your room temperature is very warm, turn the bran twice a day (once in the morning and once in the evening). Do this every day for as long as you have your nukadoko.
After two days, remove the vegetables from the nukadoko and brush off the excess bran. As the bed hasn’t fully fermented yet, the vegetables will be very salty. They’re not likely to taste great on their own, but they won’t harm you either. Eat them if you wish, or simply compost them.
Add new starter vegetables to the nukadoko and replace them again in two days. Continue using starter vegetables for two weeks until the nukadoko develops a rich, earthy scent. Taste each batch of starter vegetables that you remove so you get a feel for how the nukadoko changes as it ferments.
After two weeks, the nukadoko should be microbially active enough to produce proper pickles. You can start to leave your vegetables in the nukadoko overnight to start pickling them. If they still taste very salty, and not yet sour, leave them in for one or two more days to continue fermenting. As your nukadoko matures, you’ll be able to pickle smaller vegetables in two to four hours, and larger vegetables in six to eight hours (or overnight).