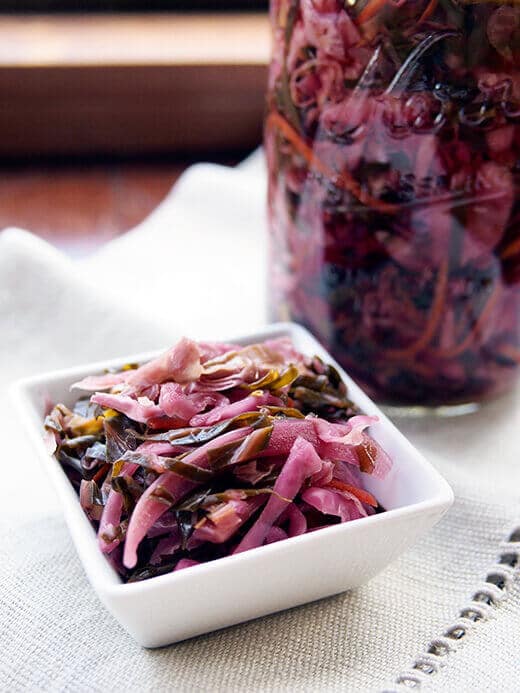
Ruby red kraut has sass. It’s like the sexier, sleeker, red lipstick-wearing sister of sauerkraut. And Ms. Ruby packs a healthful punch into one little jar.
The secret is in the red cabbage: The compounds that give the vegetable its distinctive dark color, anthocyanins, also act as antioxidants and are believed to have analgesic and anti-inflammatory properties.
(Pigment-rich and anthocyanin-filled vegetables and fruits like black carrots, purple beans, blueberries, and Concord grapes have these same health benefits… as in most things “green,” the darker it is, the better it is for you.)
Combine all that antioxidant power with the immunity boost of lacto-fermentation, and you could live forever on red cabbage sauerkraut. (Okay, maybe not, but keep reading…)
Why is red cabbage sauerkraut so good for you, anyway?
Sauerkraut is one of the most common examples of lacto-fermentation, a process of preserving cabbage with lactic acid bacteria (also known as the “good bacteria”).
Lactic acid bacteria is already present in the air and on the vegetable; under the right conditions, it will flourish and create an acidic environment that’s unsuitable for bad bacteria.
When this happens, the resulting ferment is full of highly beneficial Lactobacillus, Leuconostoc, and Pediococcus bacteria that work to improve your gut flora and balance your digestive system.
Why is gut flora so important?
At any given time, about 100 trillion (!) teeny tiny creatures (a network of microorganisms also known as your gut bacteria, gut flora, microflora, microbiota, or microbiome) live in your intestines and work diligently to absorb, digest, and synthesize all the enzymes, vitamins, and minerals in the food you eat.
To put it in perspective, we have 100 trillion of these little guys in our intestines alone, while the entire body comprises just 10 to 50 trillion human cells.
So in a way, we are more them than they are us… make sense?
This is why the mantra “You are what you eat” is 100 percent true and so very important to our health, if not the foundation of our whole health and well-being.
The gastrointestinal tract makes up a large part of our immune system—up to 80 percent!
There’s a whole bunch of metabolic processes that occur in our digestive tracts on a daily basis, and most of us take it for granted.
Our gut flora work overtime to keep us healthy and strong, so long as we provide them with the appropriate energy and nutrient sources. Quite simply, our bodies are built around our digestive systems.
Once in a while, the gut flora gets a little wonky and that’s why we get sick. What’s happening—in a nutshell—is the good bacteria isn’t able to fight off the bad bacteria that enters our system.
Enter lacto-fermentation.
Lacto-fermented foods (like sauerkraut) are high-acid foods full of probiotics that battle bad bacteria in our guts.
Probiotics (such as Lactobacilli and other beneficial bacteria and yeasts) supplement the existing good bacteria and, in effect, overwhelm the bad bacteria by lowering the pH of your digestive tract and creating an unfriendly environment for the bad guys.
Best of all, lacto-fermentation is easy when you’re only making small batches. You can ferment any of your favorite fruits or vegetables, with the most common being cabbage, carrots, cucumbers, squash, tomatoes… the sky’s the limit.
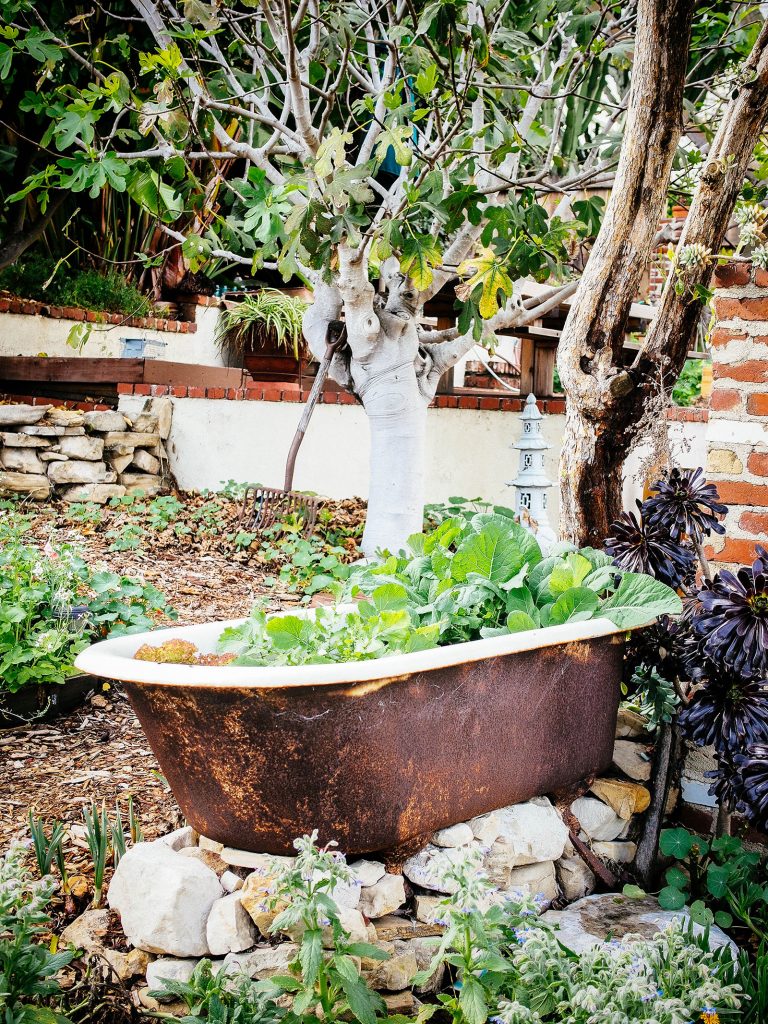
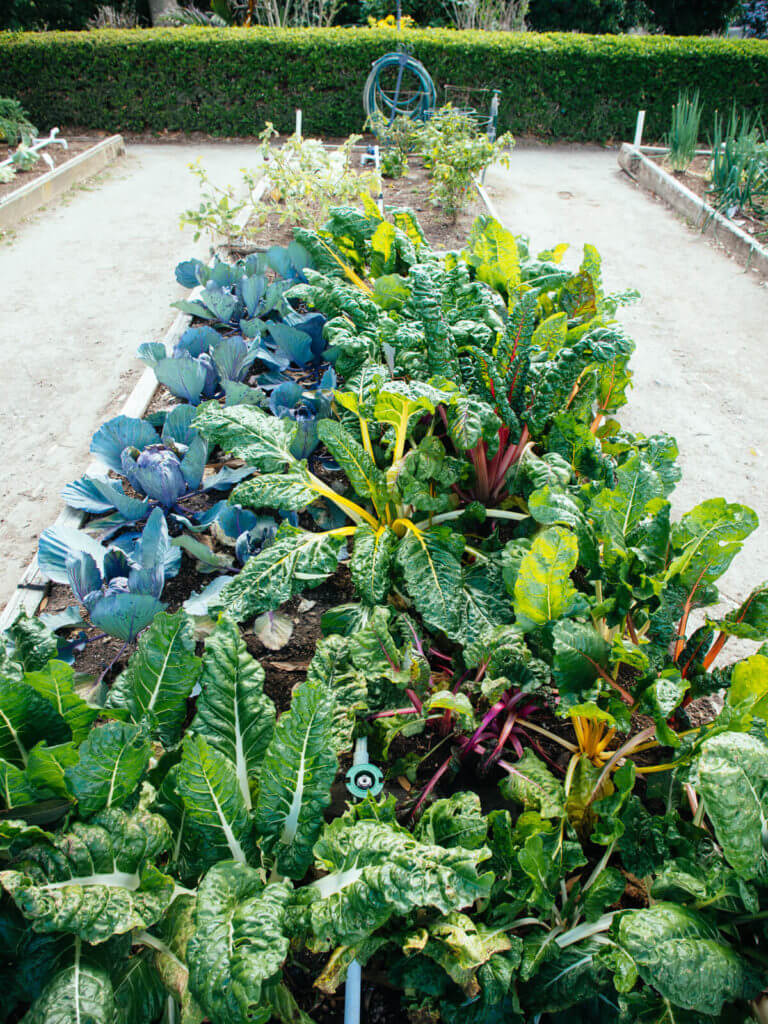
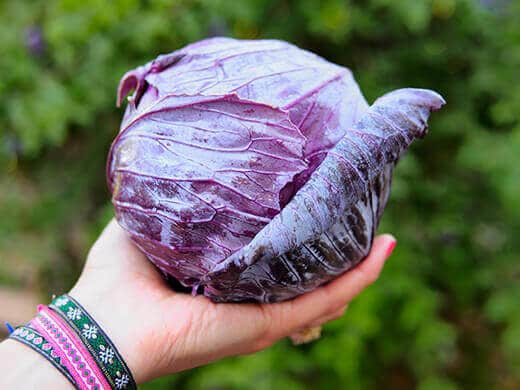
But today we’re doing red cabbage, because I grew a beautiful crop of Mammoth Red Rock cabbage this spring and I finally harvested the heads a couple weeks ago!
(As an aside, growing red cabbage in your garden can help you ballpark the pH value of your soil without a soil tester. Because of the anthocyanins, red cabbage tends to develop deep red leaves in acidic soil, dull purple leaves in neutral soil, and greenish-yellow leaves in alkaline soil.)
What to know before you make this recipe
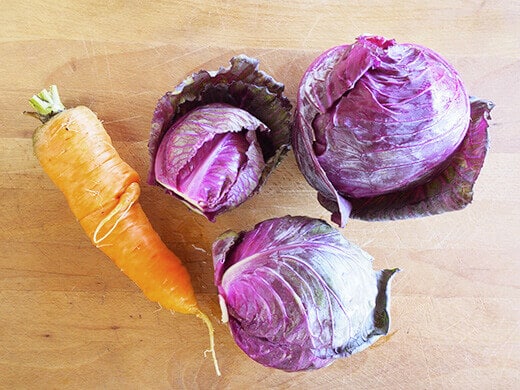
My red cabbage sauerkraut is rather simple—just cabbage, carrots, and a handful of spices—but you can add anything else from the garden.
Apples, onions, and ginger are classic additions, and you’ll want to use the highest quality foods you can find (think farmers’ market, organic, or homegrown) for the most benefit.
You can do up the spices differently too—try juniper berries and caraway seeds for traditional flavor, or even cumin, coriander, or fennel seeds for added depth.
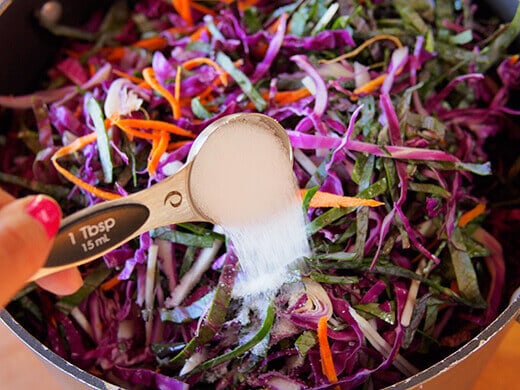
However you mix it up, try to keep a ratio of 5 pounds of vegetables to 3 tablespoons of pickling salt.
(Too much salt, and your kraut may take a long time to ferment—though this might be useful for people who live in the tropics and need to slow down fermentation.)
You can also use unrefined sea salt or kosher salt in place of the pickling salt; just none of that iodized stuff, which interferes with the bacteria.
Ruby Red Sauerkraut
Makes 4 quarts
Ingredients
For the Vegetables
4 pounds red cabbage
1 pound carrots
3 tablespoons pickling salt
For the Spices
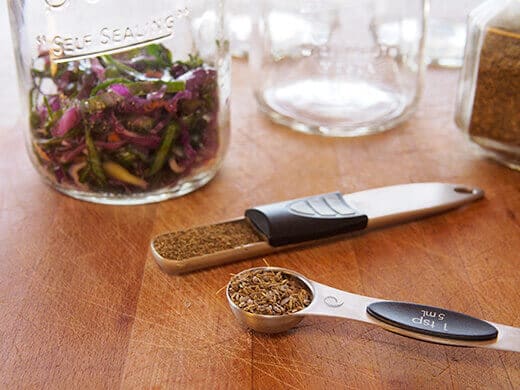
2 teaspoons celery seeds, divided
2 teaspoons dill seeds, divided
2 teaspoons black peppercorns, divided
2 bay leaves
For the Brine (Optional)
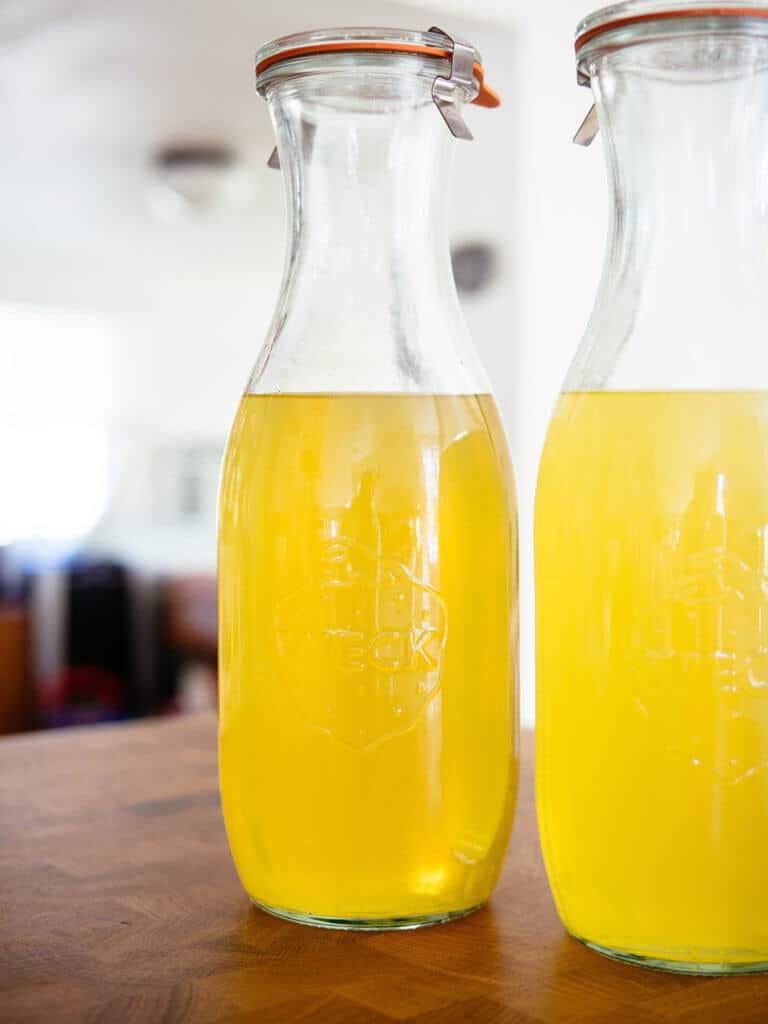
4 cups water
2 tablespoons pickling salt
How to make red cabbage sauerkraut
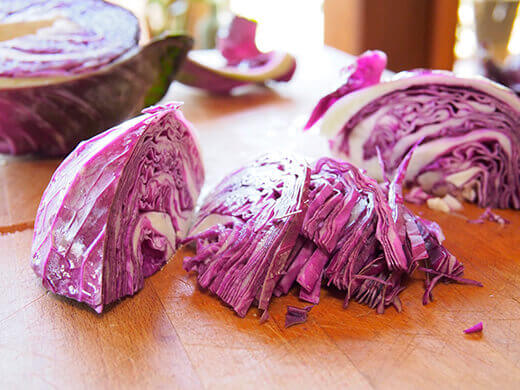
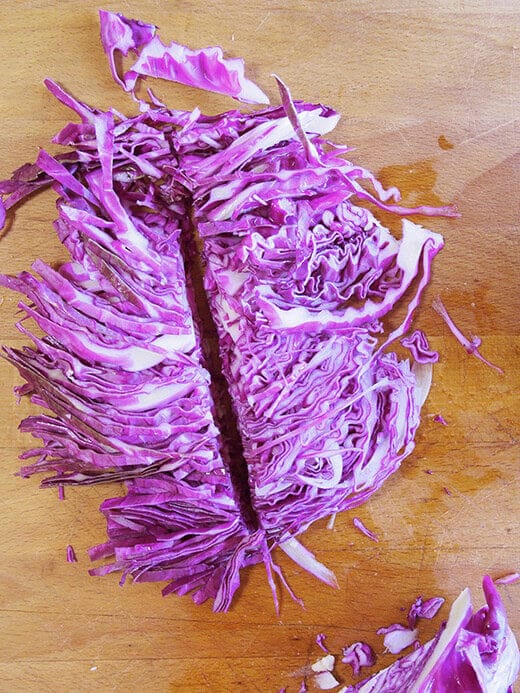
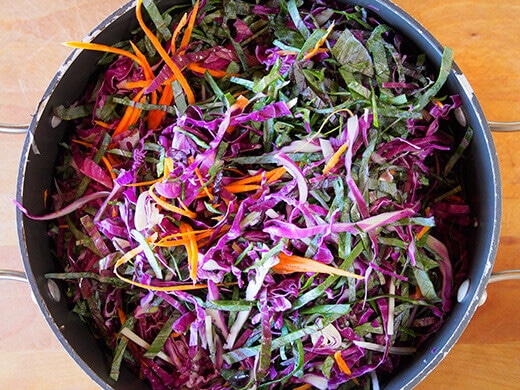
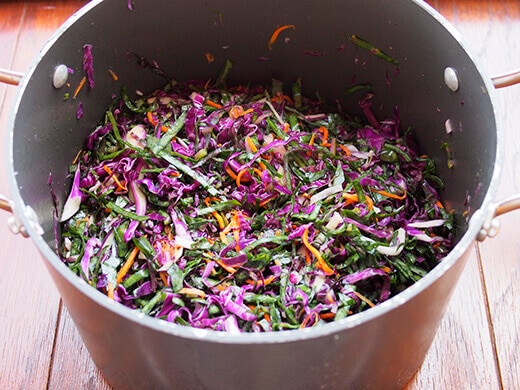
Shred, slice, or grate your cabbage using a food processor, knife, or grater… whatever works for you.
I cut my cabbage in half lengthwise, remove the cores first, then slice the cores to add to the kraut. Then I thinly slice the rest of the cabbage by hand for a cole-slaw-like consistency.
If you harvested the outer leaves from your cabbage crop (the huge ones that look like elephant ears), you can shred some of those up too.
Remove the tough stems, then slice thinly as the outer leaves tend to be thicker (but are just as delicious and even more nutritious than the head).

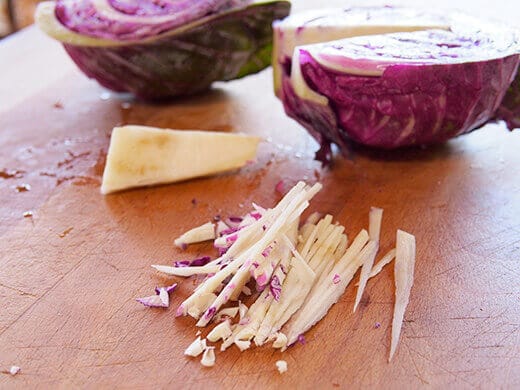
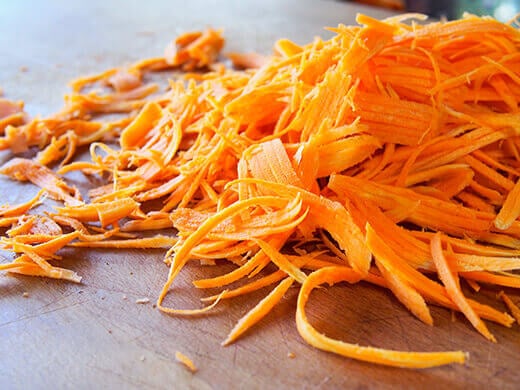
Do the same for the carrots. I take a julienne peeler to mine to get those skinny slivers.
Now, you should know that 5 pounds is a lot of veggies… at first. I put all of my slices and slivers into a huge soup pot because even my biggest mixing bowl wasn’t big enough to hold everything.
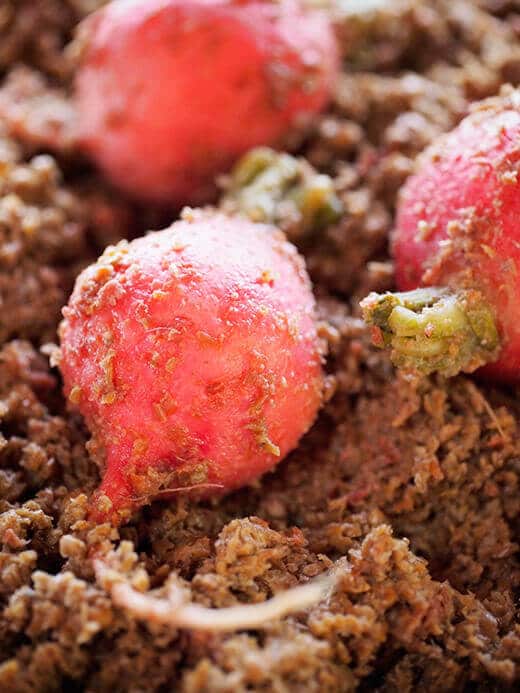
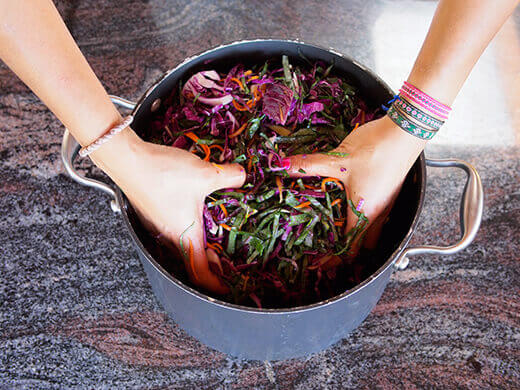
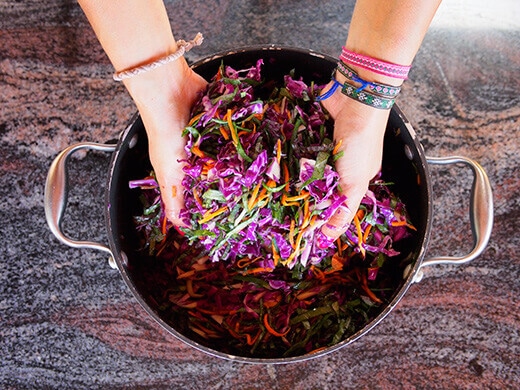
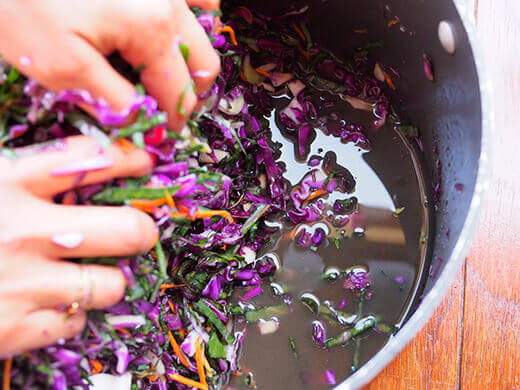
Once you’ve broken down all the cabbage and carrots, add the pickling salt and toss to combine. At this time I let the veggies sit while I do some clean-up in the kitchen. The salt will start to draw out moisture and make your cabbage nice and limp.
About 20, 30 or however many minutes later, go back to your pot and knead those veggies into submission with your hands. Be sure to press down on them to expel as much water as possible.
By the time you’re done, the volume of veggies should be reduced to at least half. You’ll see some water pooling at the bottom of the pot; this is good!
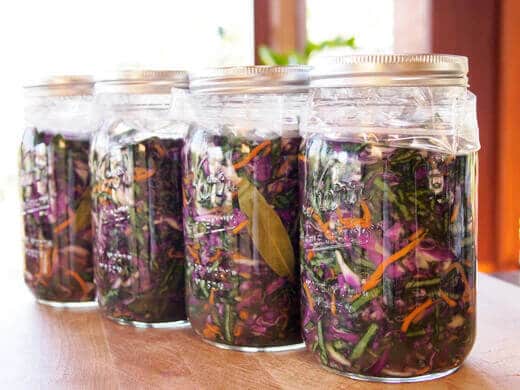
This recipe makes two jars of celery and dill-spiced kraut, and two jars of peppercorn and bay-spiced kraut. Divide your spices equally among the jars.
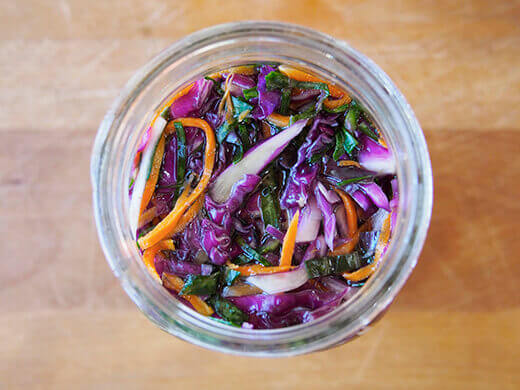
I like to fill my jar in layers: half a teaspoon of spices, some cabbage and carrot mix, another half a teaspoon of spices, more cabbage and carrot mix, and so on.
While you do this, tamp the layers down with the back of a spoon to squeeze more liquid out of the vegetables.
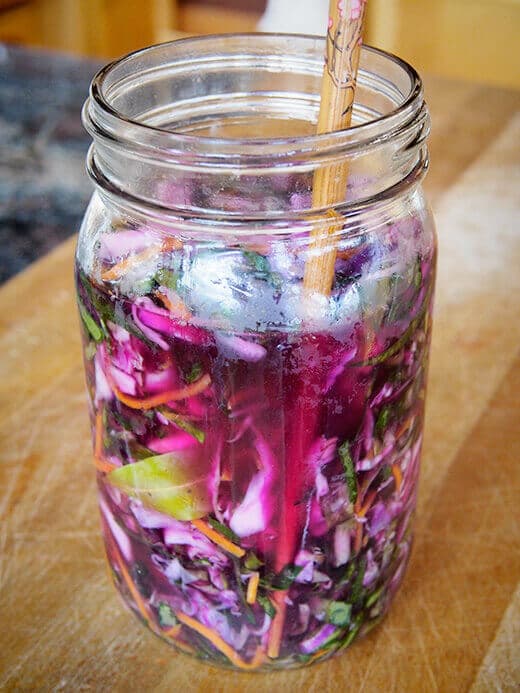
Pour any remaining liquid from the mixing pot into your jars. Leave at least an inch or two of headspace after filling, since the kraut will continue to expand and release liquid while it’s fermenting.
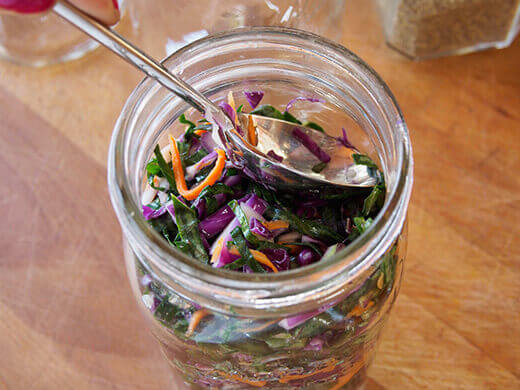
Run a chopstick or the end of a long spoon around the perimeter of the jar to release any trapped air pockets. It’s important that all the veggies are completely covered in liquid.
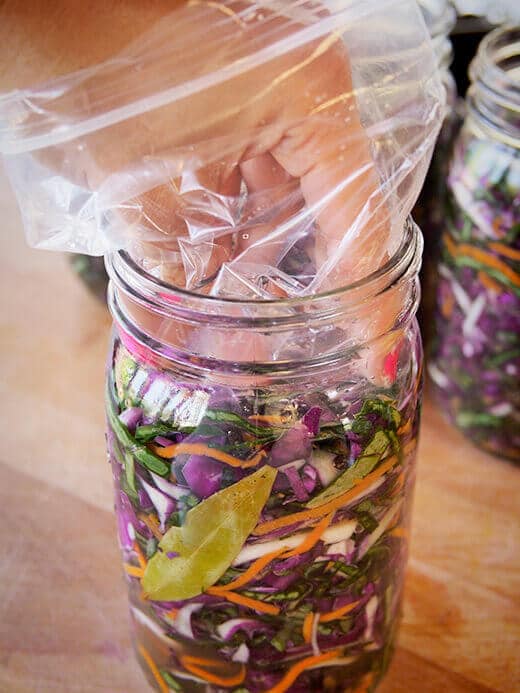
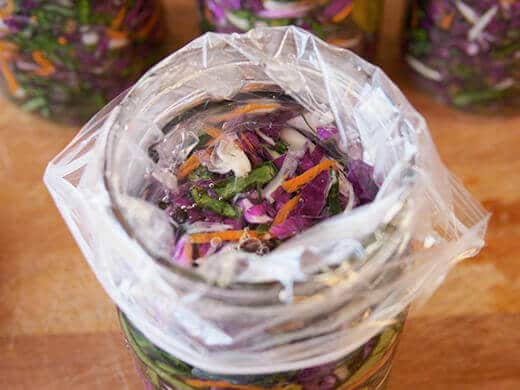
To keep the kraut fully submerged during fermentation, I like to fill a zip-top bag with some water and place that right on top of the vegetables, filling all the empty space in the jar. The water acts as a weight to push them down into the brine.
Or, you can use an empty half-pint jar or fermentation weight to weigh down the vegetables.
Loosely seal your jars with lids and store them at room temperature out of direct sunlight.
The kraut may “bubble over” as it ferments, so it’s a good idea to place the jars in a shallow baking dish to catch any overflowing liquid.
If the veggies haven’t released enough liquid by the second day to stay submerged, you’ll want to top them off with brine.
Bring water and salt to a boil, stir until the salt is completely dissolved, then let cool and add to the veggies. Don’t forget to leave an inch or two of headspace in the jars.
Push down on the veggies, add the baggie liners with some weight, and reseal with lids.
You will see bubbling over the next few days; those bubbles are the off-gassing of carbon dioxide from lactic acid bacteria at work.
Once a day or every other day, loosen the lids to let the fermentation gases escape.
Pay attention to any stray cabbage or carrot pieces that may have worked their way in between the rim and baggie; you’ll want to push them back into the brine so they don’t become moldy.
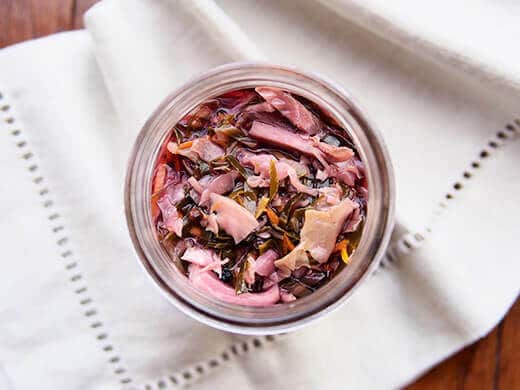
As the lactic acid bacteria proliferate, your cabbage will turn into sauerkraut—or “sour cabbage” in German. The sourness comes from all the lactic acid created during lacto-fermentation.
Theoretically, your kraut is “alive” with probiotics by day four and can be eaten, but for the best flavor, you’ll want to wait anywhere from one to three weeks, depending on how warm or cool it is in your house.
Warmer temperatures speed up fermentation, while cooler temps slow the process.
Check your jars each day to ensure the veggies are still submerged in liquid, and resist the temptation to fiddle with your ferment too frequently; oxygen is the enemy and will produce mold on the surface.
You can begin to taste your kraut after a few days until it has soured enough to your liking.
For me, the right amount of time to perfect sauerkraut was exactly 12 days. (The temperature in my house hovers between 68°F and 70°F.)
Once the kraut has achieved a nice flavor, remove the baggies, reseal with lids, and keep the kraut in your fridge to prevent over-fermentation.
Your kraut should smell pleasantly sour and salty—like pickles. If it smells rotten or yeasty, chuck it and start over.
Fermented foods don’t necessarily go “bad” if properly sealed and submerged in liquid, but they will eventually reach a point of becoming too sour to be edible. Refrigeration slows down fermentation so you can enjoy your kraut at its peak flavor!
Ruby Red Sauerkraut
With a flavor and texture that's just as tangy and crisp as fermented green cabbage, ruby red kraut is packed with antioxidants as well as all the good stuff for your gut.
Ingredients
For the Vegetables
- 4 pounds red cabbage
- 1 pound carrots
- 3 tablespoons pickling salt
For the Spices
- 2 teaspoons celery seeds, divided
- 2 teaspoons dill seeds, divided
- 2 teaspoons black peppercorns, divided
- 2 bay leaves
For the Brine (Optional)
- 4 cups water
- 2 tablespoons pickling salt
Instructions
- Shred, slice or grate your cabbage using a food processor, knife, or grater… whatever works for you.
- If you harvested the outer leaves from your cabbage crop (the huge ones that look like elephant ears), you can shred some of those up too. Remove the tough stems, then slice thinly as the outer leaves tend to be thicker (but are just as delicious and even more nutritious than the head).
- Do the same for the carrots. I take a julienne peeler to mine to get those skinny slivers.
- Once you’ve broken down all the cabbage and carrots, add the pickling salt and toss to combine.
- At this time I let the veggies sit while I do some clean-up in the kitchen. The salt will start to draw out moisture and make your cabbage nice and limp.
- About 20, 30 or however many minutes later, go back to your pot and knead those veggies into submission with your hans.
- Be sure to press down on them to expel as much water as possible. By the time you’re done, the volume of veggies should be reduced to at least half. You’ll see some water pooling at the bottom of the pot; this is good!
- This recipe makes two jars of celery and dill-spiced kraut, and two jars of peppercorn and bay-spiced kraut. Divide your spices equally among the jars.
- I like to fill my jar in layers: half a teaspoon of spices, some cabbage and carrot mix, another half a teaspoon of spices, more cabbage and carrot mix, and so on. While you do this, tamp the layers down with the back of a spoon to squeeze more liquid out of the vegetables.
- Pour any remaining liquid from the mixing pot into your jars. Leave at least an inch or two of headspace after filling, since the kraut will continue to expand and release liquid while it’s fermenting.
- Run a chopstick or the end of a long spoon around the perimeter of the jar to release any trapped air pockets. It’s important that all the veggies are completely covered in liquid.
- Loosely seal your jars with lids and store them at room temperature out of direct sunlight. The kraut may “bubble over” as it ferments, so it’s a good idea to place the jars in a shallow baking dish to catch any overflowing liquid.
- If the veggies haven’t released enough liquid by the second day to stay submerged, you’ll want to top them off with brine. Bring water and salt to a boil, stir until the salt is completely dissolved, then let cool and add to the veggies. Don’t forget to leave an inch or two of headspace in the jars. Push down on the veggies, add the baggie liners with some weight, and reseal with lids.
- You will see bubbling over the next few days; those bubbles are the off-gassing of carbon dioxide from lactic acid bacteria at work. Once a day or every other day, loosen the lids to let the fermentation gases escape.
- Check your jars each day to ensure the veggies are still submerged in liquid, and resist the temptation to fiddle with your ferment too frequently; oxygen is the enemy and will produce mold on the surface. You can begin to taste your kraut after a few days until it has soured enough to your liking.
Notes
To keep the kraut fully submerged during fermentation, I like to fill a zip-top bag with some water and place that right on top of the vegetables, filling all the empty space in the jar. The water acts as a weight to push them down into the brine.
Or, you can use an empty half-pint jar or fermentation weight to weigh down the vegetables.
Recommended Products
As an Amazon Associate and member of other affiliate programs, I earn from qualifying purchases.
-
 Ball Mason 32 oz Wide Mouth Jars with Lids and Bands, Set of 12 Jars.
 -
Organic Bamboo Cutting Board Set of 3 with Lifetime Replacements - Wood Cutting Board Set with Juice Groove - Wooden Chopping board Set for Kitchen, Meat and Cheese - Wooden Cutting Boards for Kitchen
-
Mandoline Slicer for Kitchen -VEKAYA Stainless Steel Vegetable Slicer for Potato, tomato and Onion, Carrot Julienne and Chopper for Vegetables with Gloves (BlacK)
-
ZWILLING Pro 7-inch Rocking Santoku Knife, 7'', Black/Stainless Steel


View the Web Story for red sauerkraut recipe.