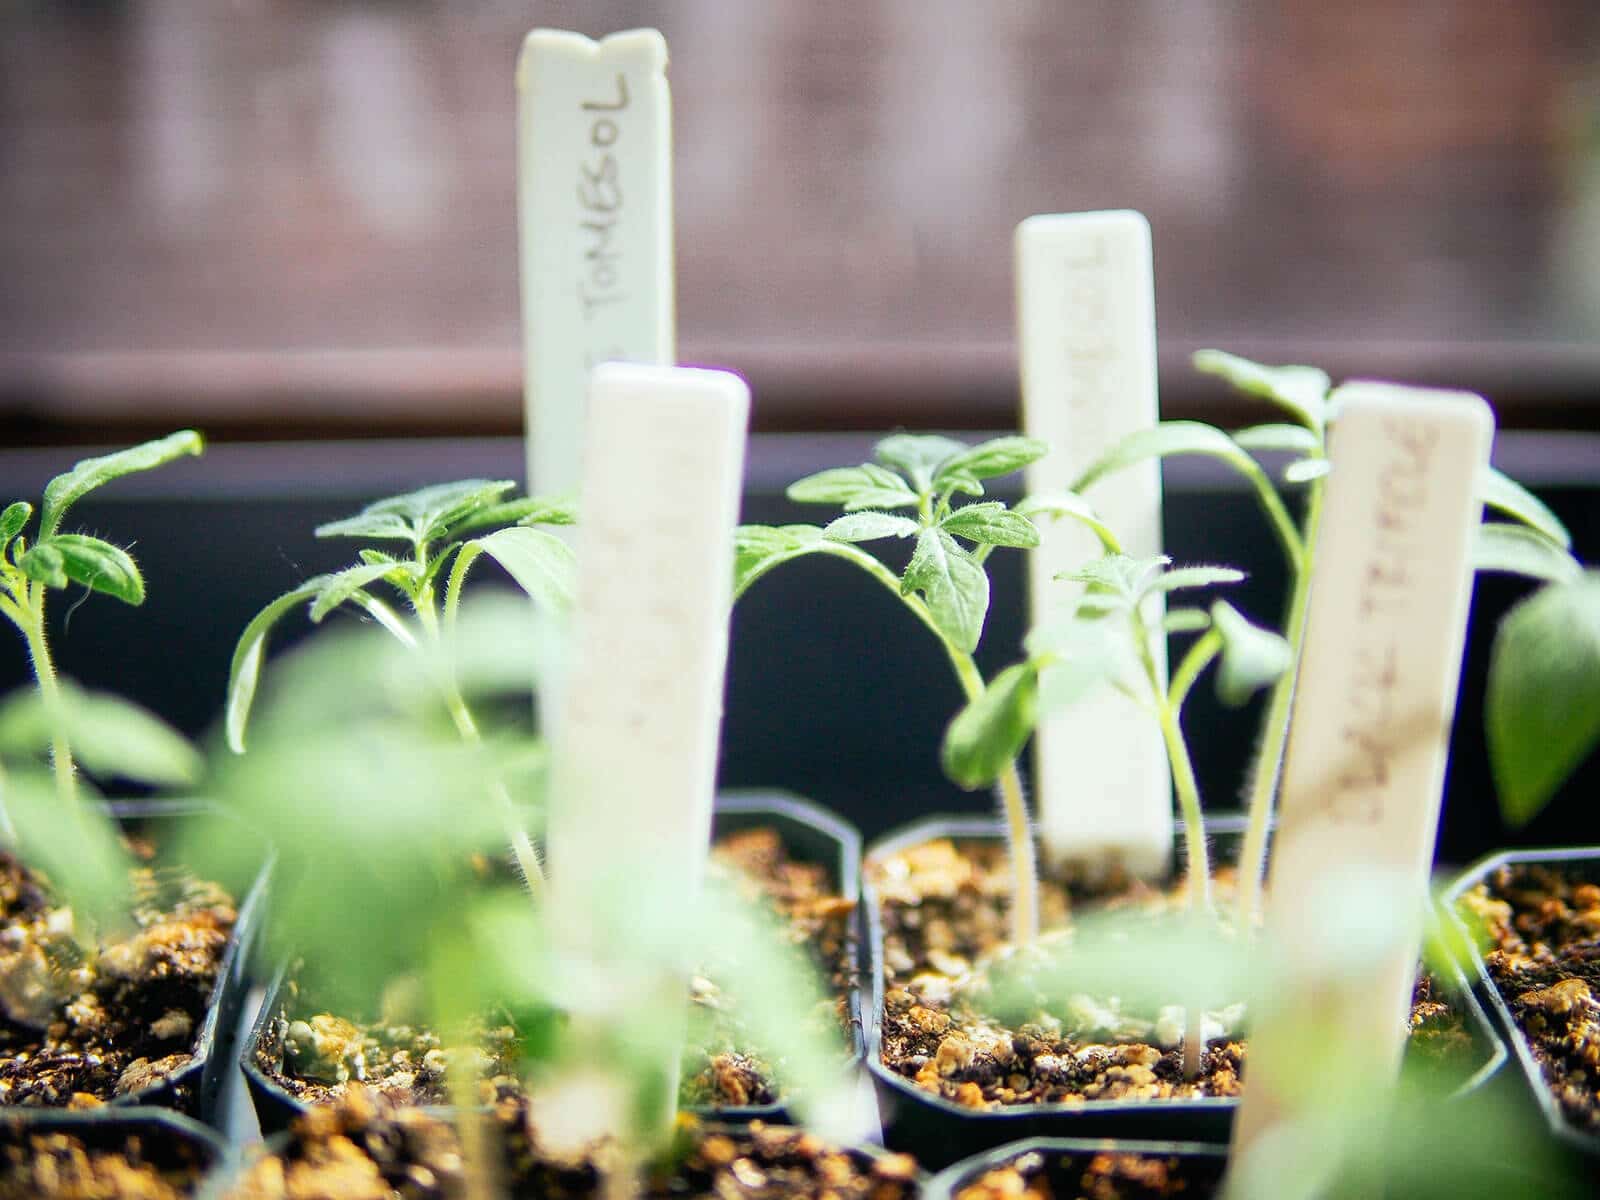
I’m at it again… transplanting tomatoes. The seeds were started indoors in newspaper pots. The healthiest seedlings were repotted into 4-inch pots once their true leaves appeared.
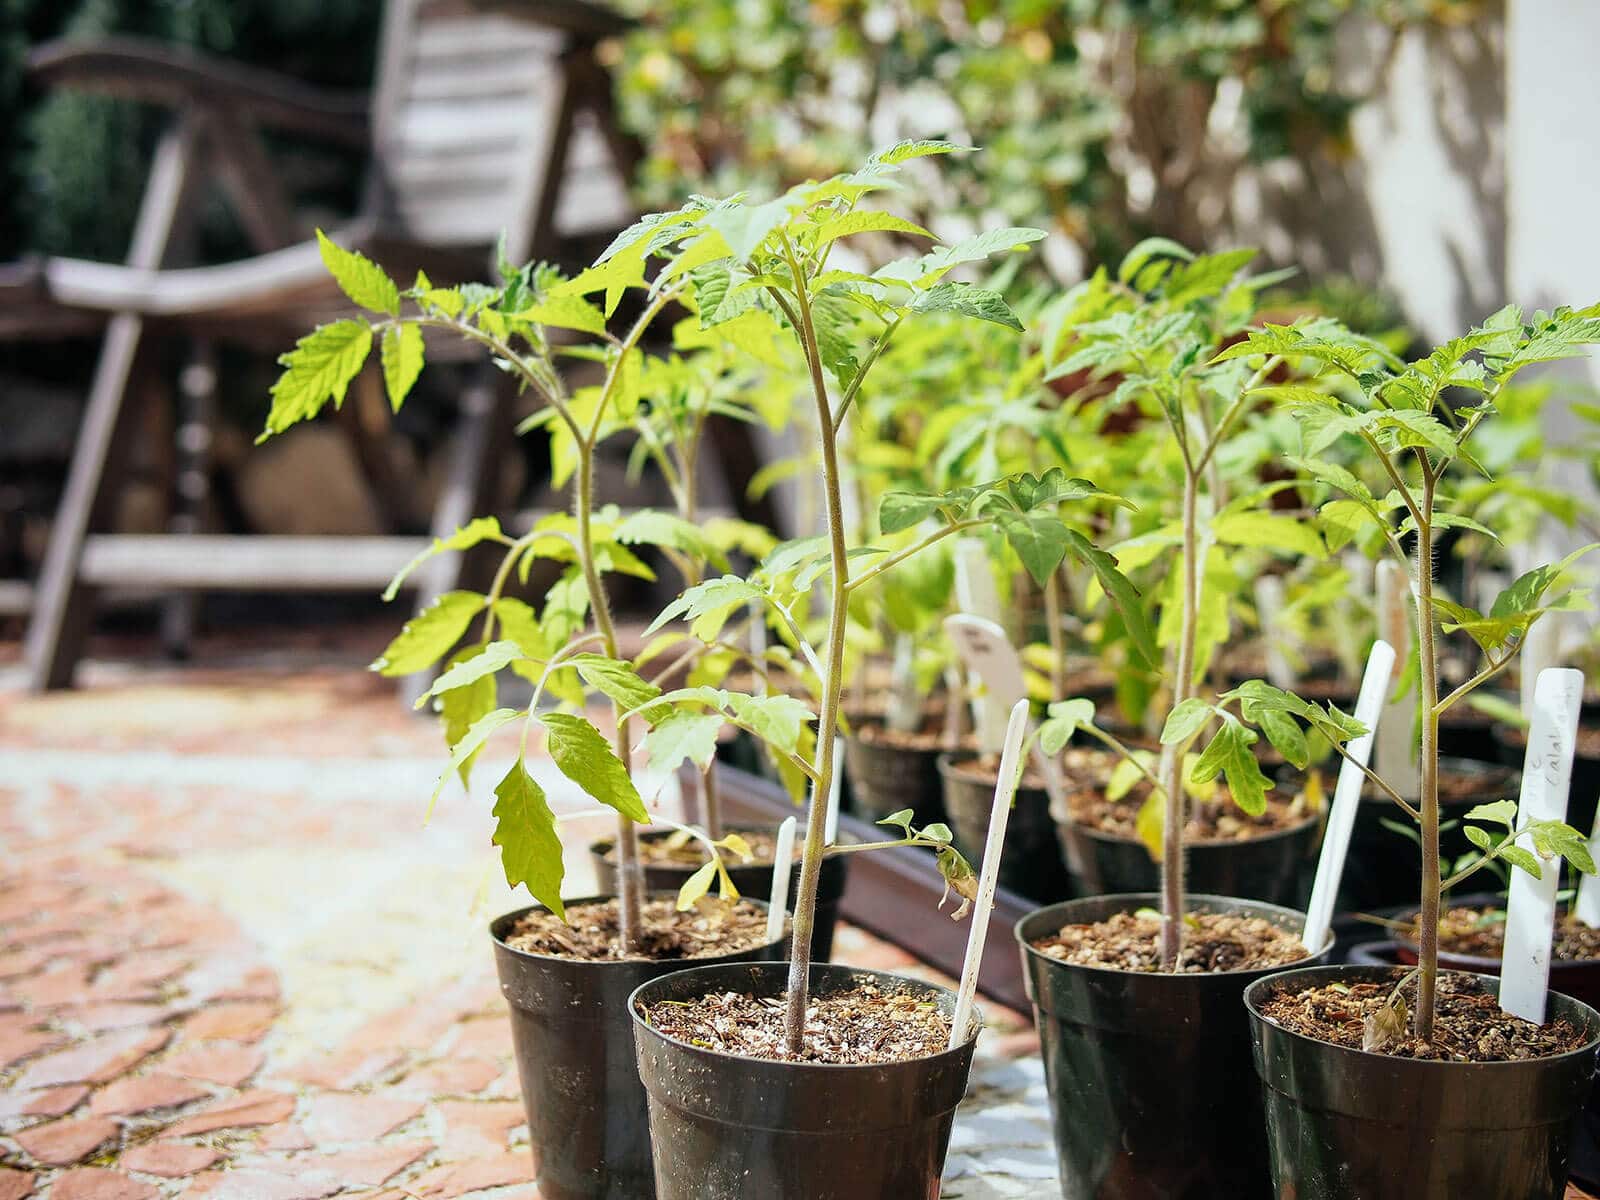
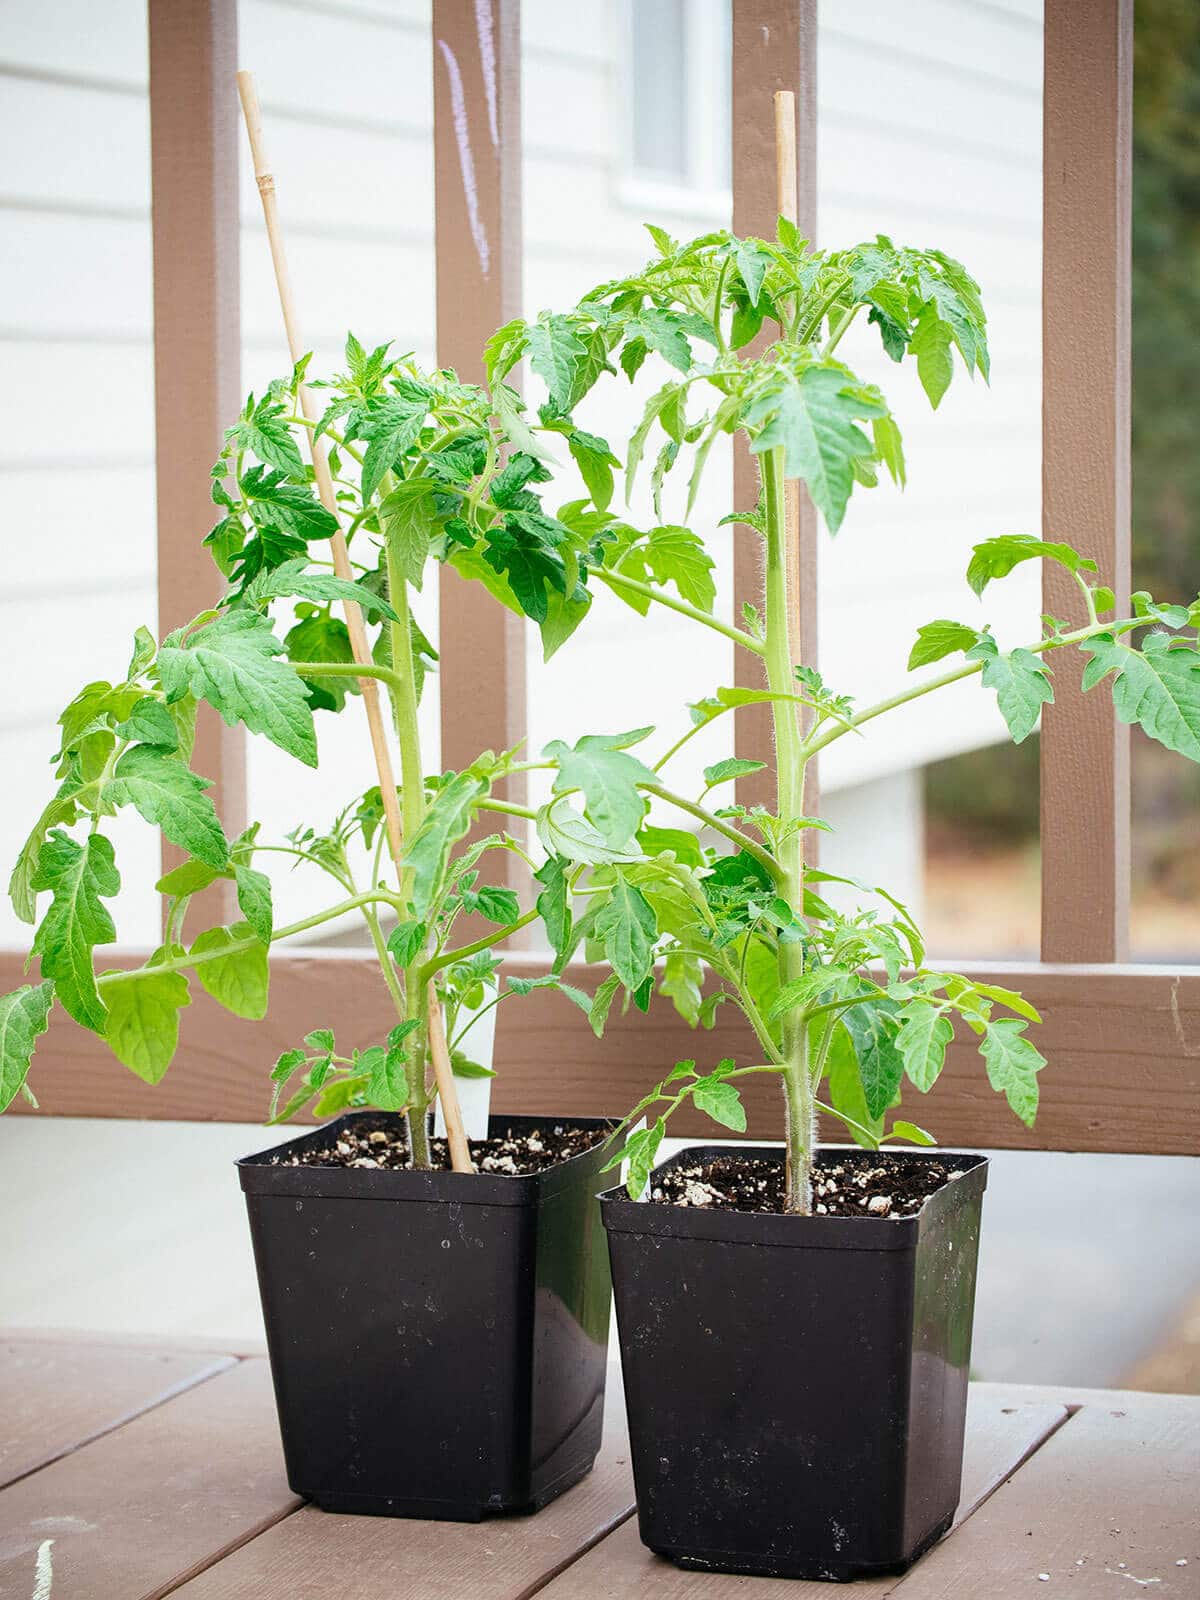
Now, those seedlings (teenagers in tomato years) are being transplanted into 1-gallon containers.
We’re more than a month into growing tomatoes, and while they can technically graduate to the garden by now, I prefer to transplant them into larger pots one more time.
Related: What Days to Maturity REALLY Means on Your Seed Packets
What’s the point? you might be asking. Why wouldn’t I just start my tomatoes in large pots, and let the roots grow unbound until they’re ready to go in the ground?
Because every time you transplant your tomato, you sink the lower portion of its stem deeper into the soil.
It’s really worth the extra effort, and I’ll tell you why.
How and why burying tomato stems gives you more roots
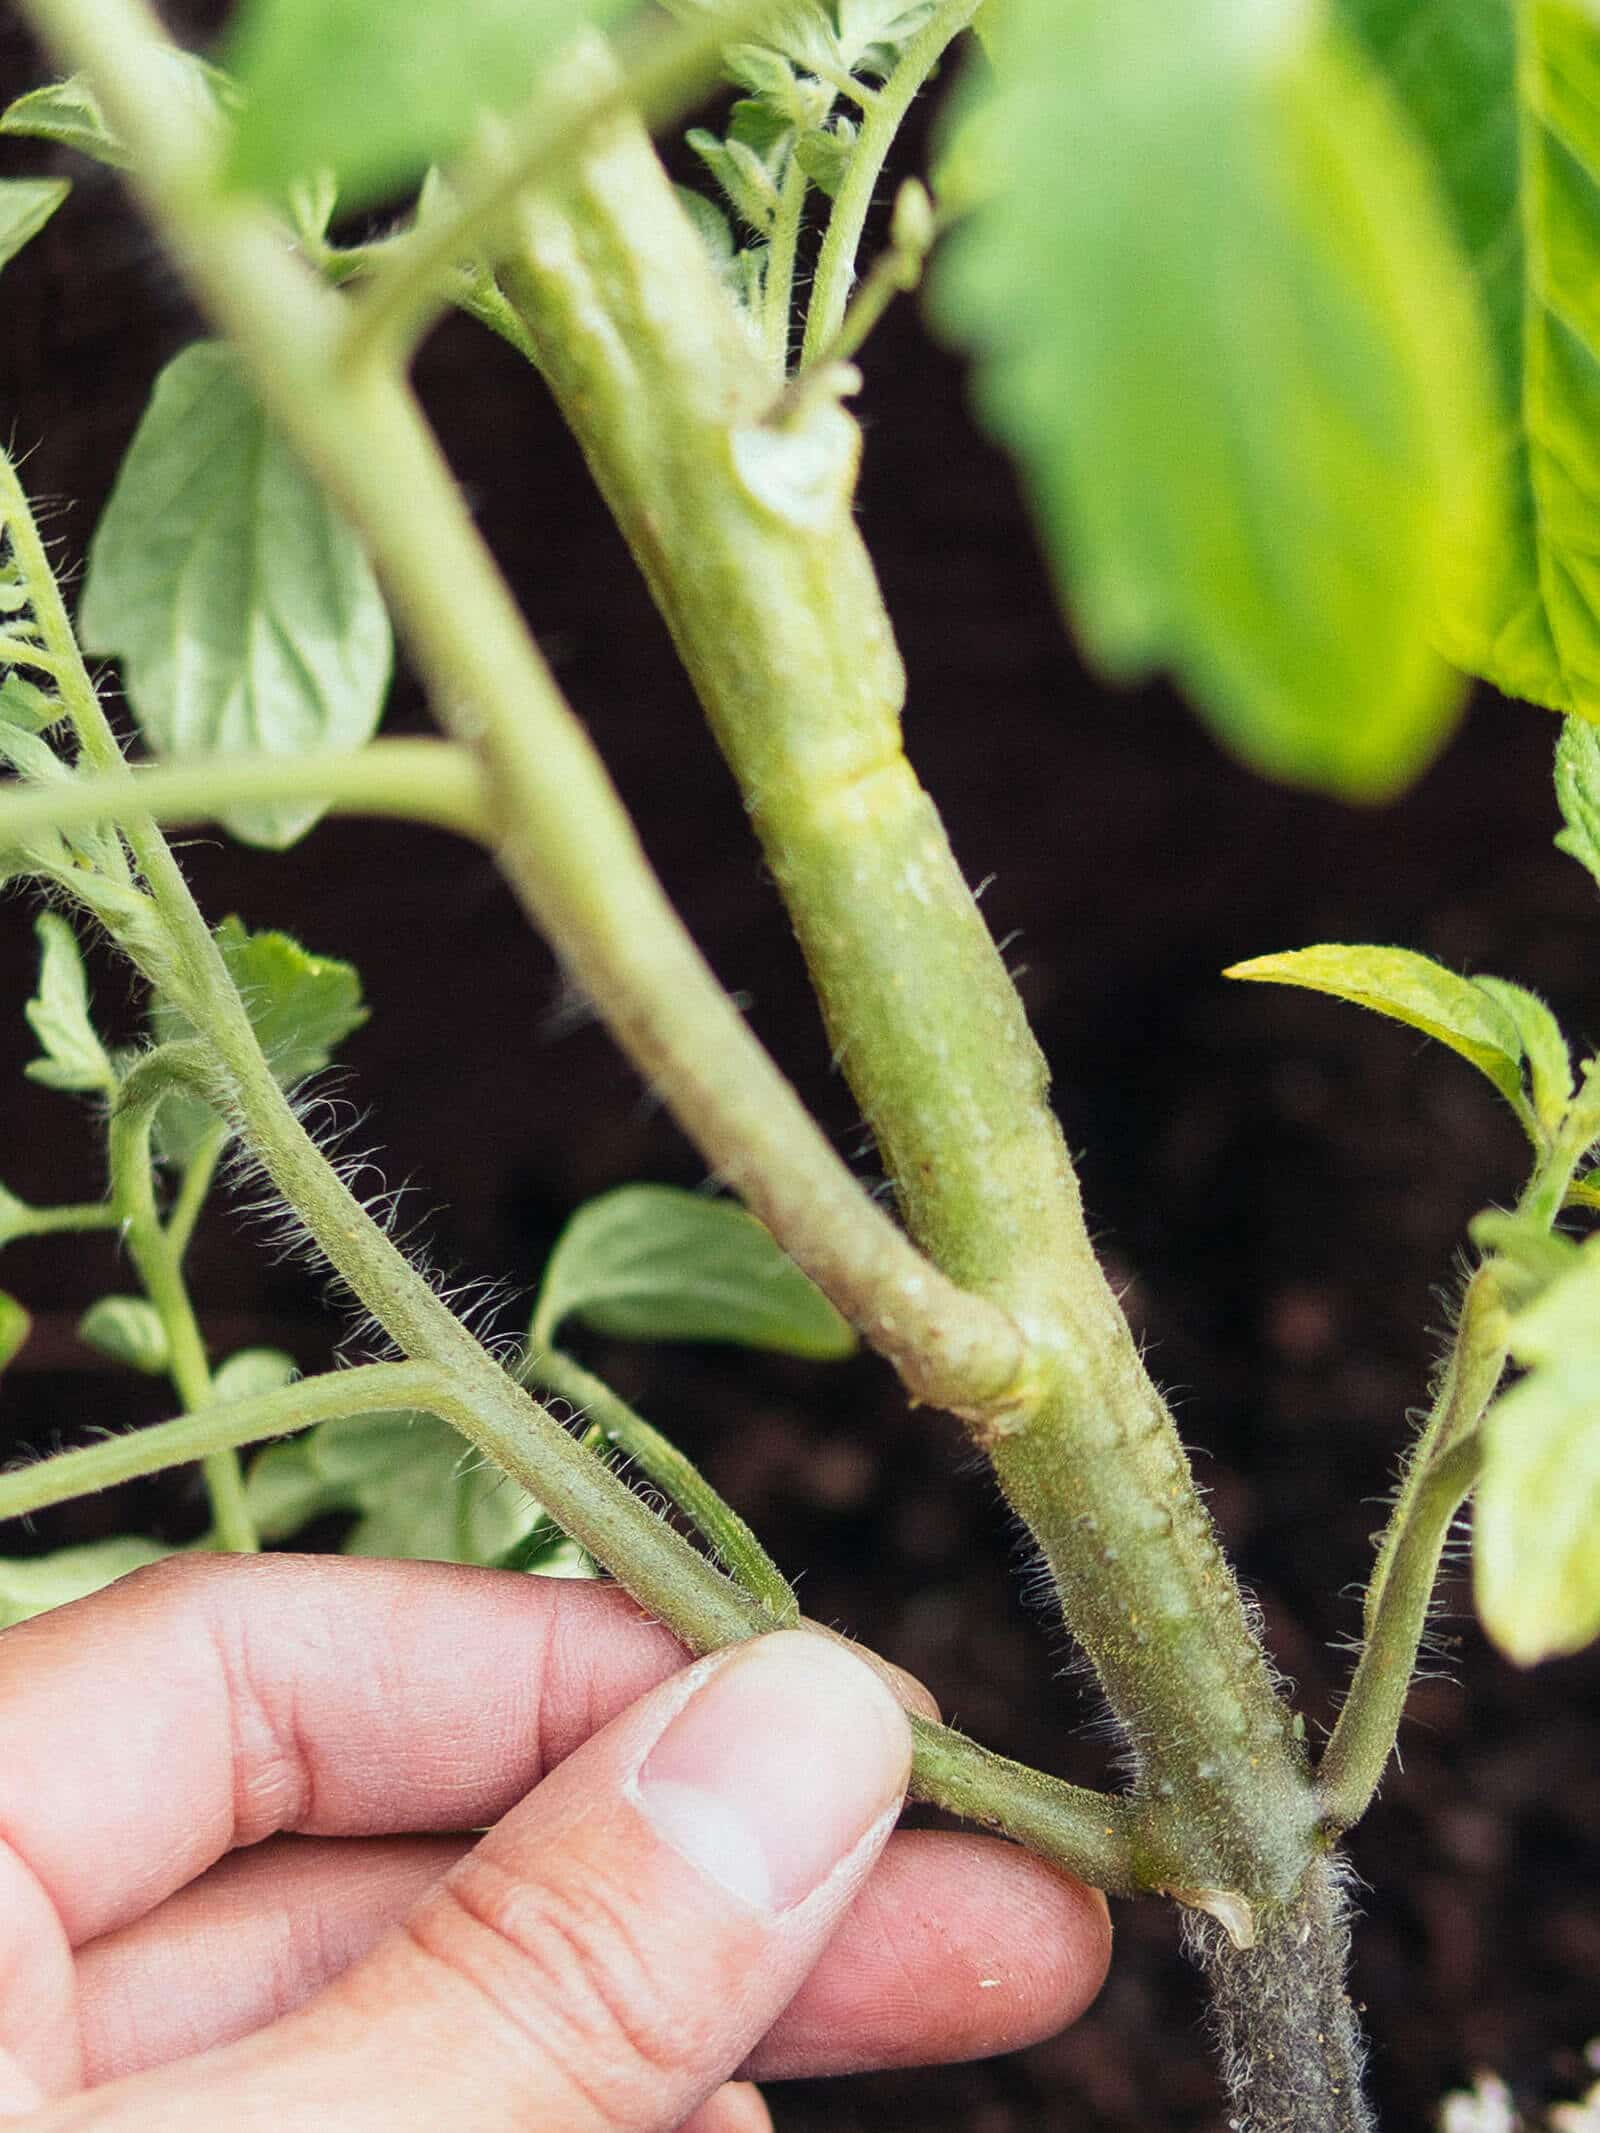
Tomatoes have a special trick up their sleeve: the ability to grow new roots (adventitious roots) along any part of their stem.
Given enough moisture and light, these roots emerge from tiny bumps (also called root initials or tomato stem primordia, the earliest stage of root development) and can actually grow without soil.
If you live in an area with high humidity or you’re prone to overwatering your tomato plants, you may have seen the bumps turn white and become more prominent.
This tendency of tomato stem primordia to appear so easily can be used to your advantage.
By partially burying the tomato stem when you transplant a second time, you’re anchoring the plant more firmly in the soil and encouraging even more roots to form. Having a deeper, greater mass of roots helps your tomato plant be more resilient against wind, drought, pests, and diseases.
How many times should you transplant tomatoes?
If you started your tomatoes early from seed and have some time before they go in the ground, it’s a good idea to repot them two or three times as they develop. Doing so builds up a bigger and stronger root system, as their vigorous taproots can grow up to 1 inch per day.
While tomatoes may suffer a small amount of transplant shock, they recover quickly and transplanting ultimately stimulates their growth.
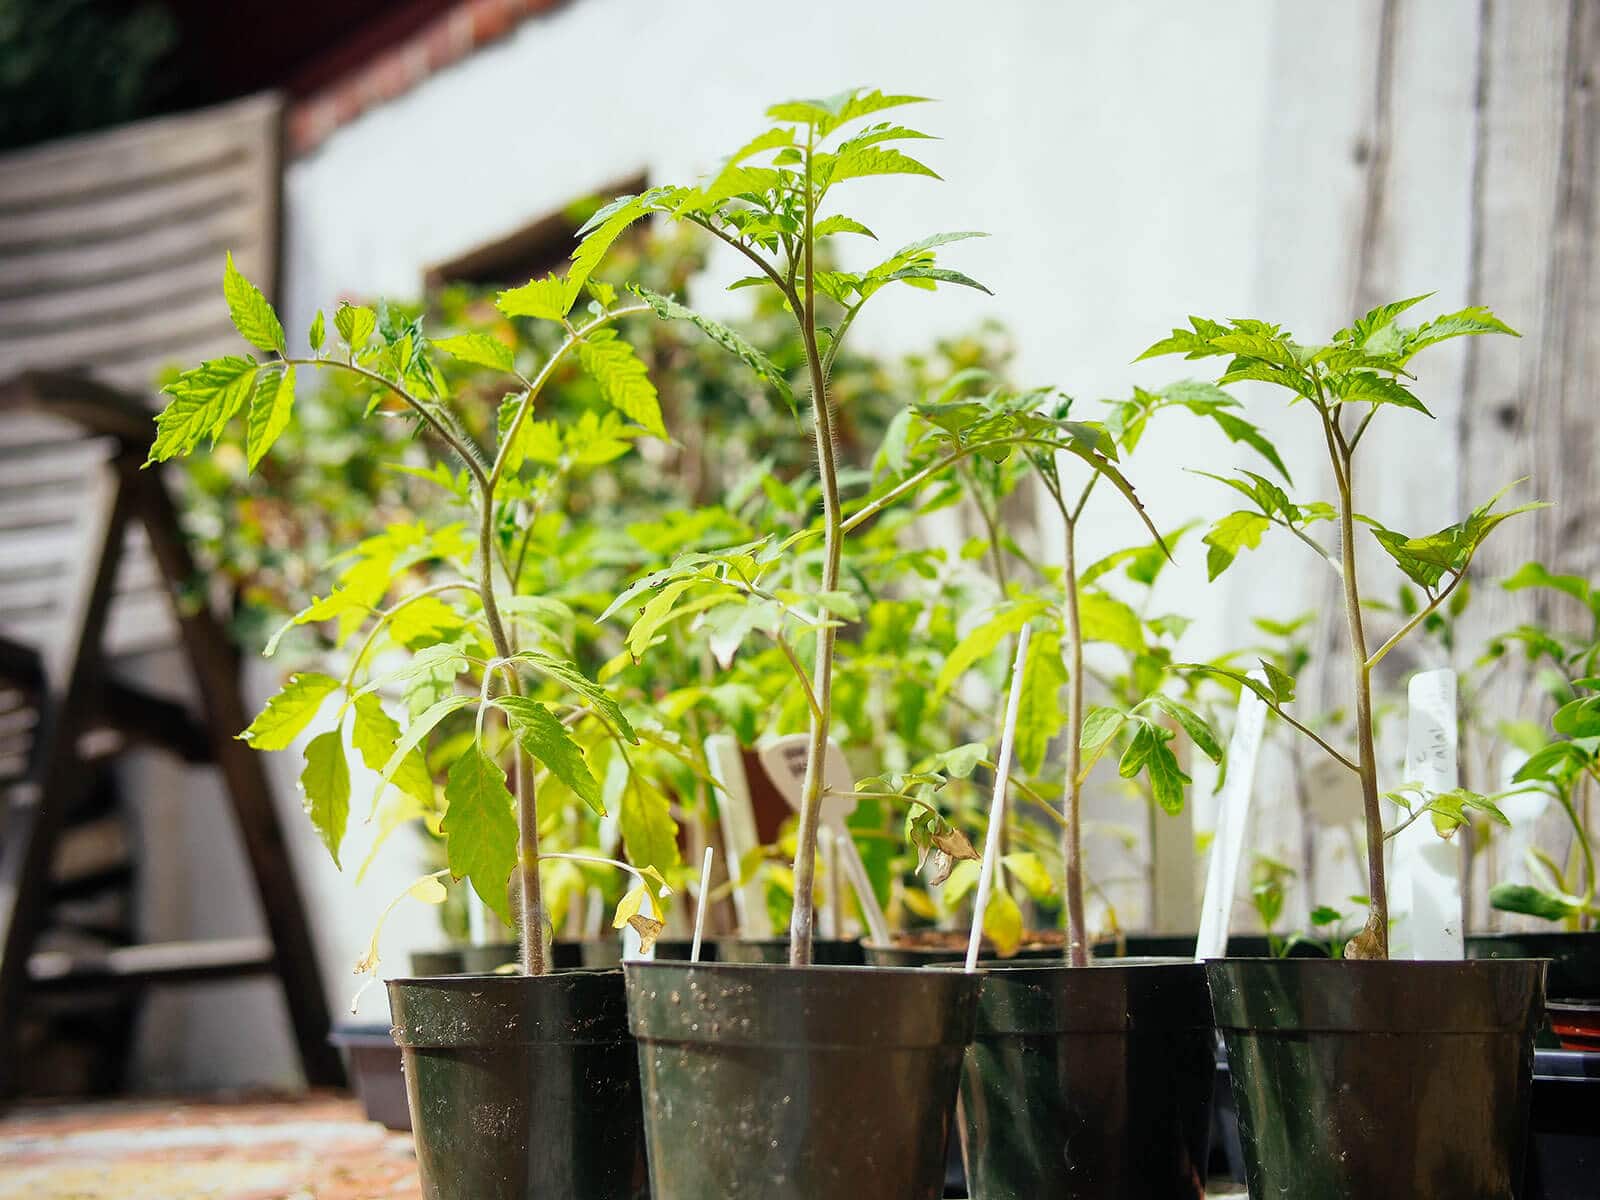
How big should a tomato plant be to transplant?
Generally, the right time to transplant is when your tomato plant reaches three times the height of its container. So if you’re moving from a 4-inch pot to the next size up, wait until your plant is 12 inches tall so there’s enough stem length to bury.
The progression of pots should go like this:
- Seed starting pots (or soil blocks)
- 4-inch pots
- 1-gallon pots
- Final container or garden planting
If you’re growing tomatoes in pots, the final container size should be 10 gallons (for determinate types) or 20 gallons (for indeterminate types).
If you’re growing tomatoes in the ground, plant them at least 18 to 24 inches apart (more space is always better for proper air circulation).
Can you transplant tomato plants with fruit?
Technically speaking, yes, you can transplant tomato plants with fruit or flowers. As long as the plants aren’t severely root bound in their pots, they’re quite hardy and should recover easily from any transplant shock (whether in a pot or in the ground).
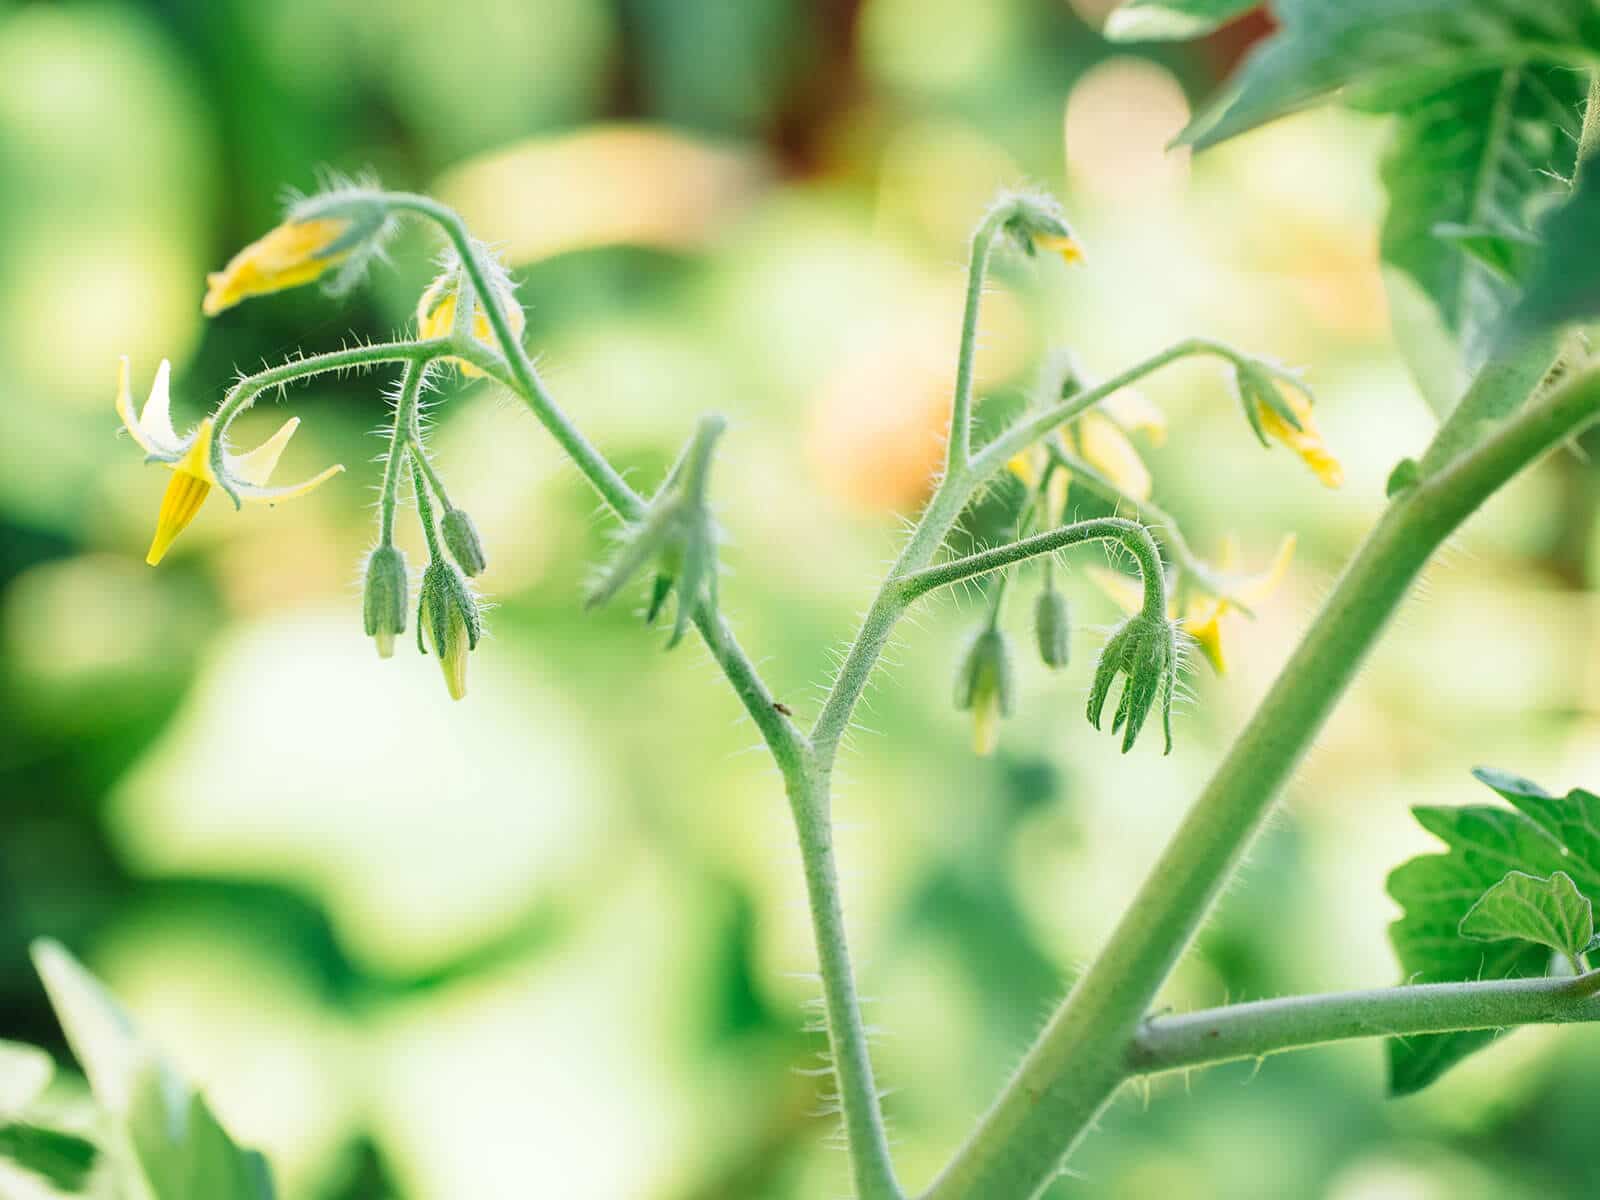
If your young plants are already loaded with blossoms, however, they stand a better chance of surviving a transplant if you remove all the flowers and fruit first.
This may sound counterintuitive, but a young plant that’s already flowering and fruiting is responding to stress. It’s putting all of its energy into producing seed so it can spawn the next generation of tomato plants. This means it focuses more on producing tomatoes and less on growing new branches and leaves.
Letting a young plant flower and fruit in this early stage could stunt its growth or delay production of more fruits. By pinching off the flowers before you transplant, you help it focus on vegetative growth so it can photosynthesize and grow strong and tall before it starts to flower abundantly.
Disclosure: If you shop from my article or make a purchase through one of my links, I may receive commissions on some of the products I recommend.
How to transplant tomatoes in pots (a second time)
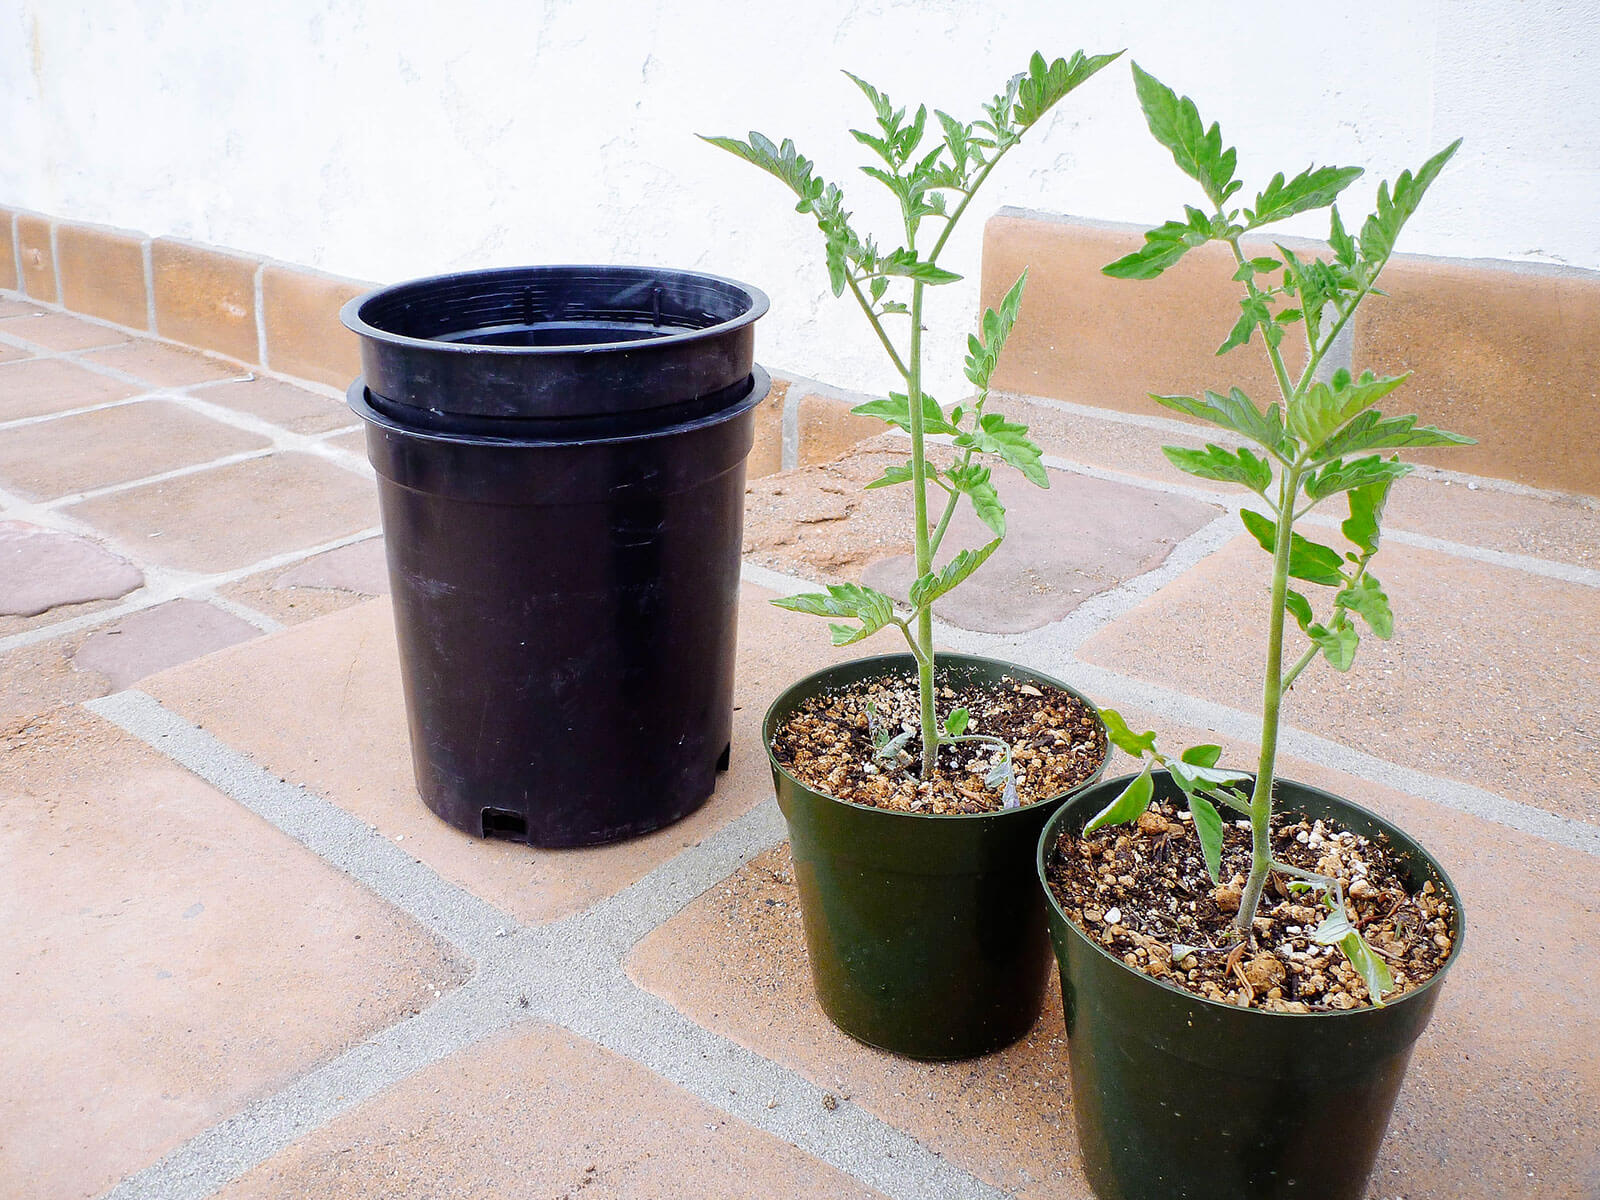
Step 1: Start with clean pots and fresh potting soil.
For the second round of transplanting, step up to 1-gallon pots. They don’t have to be disinfected first (in fact, I advocate for not washing plant pots), but they should be clean and free of disease.
(I used black plastic pots in these images because I had a lot of them around the yard, but if you can get your hands on 1- or 2-gallon fabric pots, my current recommendation is to use those instead. Fabric pots air prune the roots and make them even stronger.)
Related: Best Grow Bags for Your Garden
Have plenty of well-draining, well-amended potting soil on hand. I recommend mixing your potting soil with compost, or stirring in a granular tomato fertilizer before you plant (following the package instructions).
If you have a lot of transplants to pot up, it’s often more cost-effective to make your own potting soil at home.
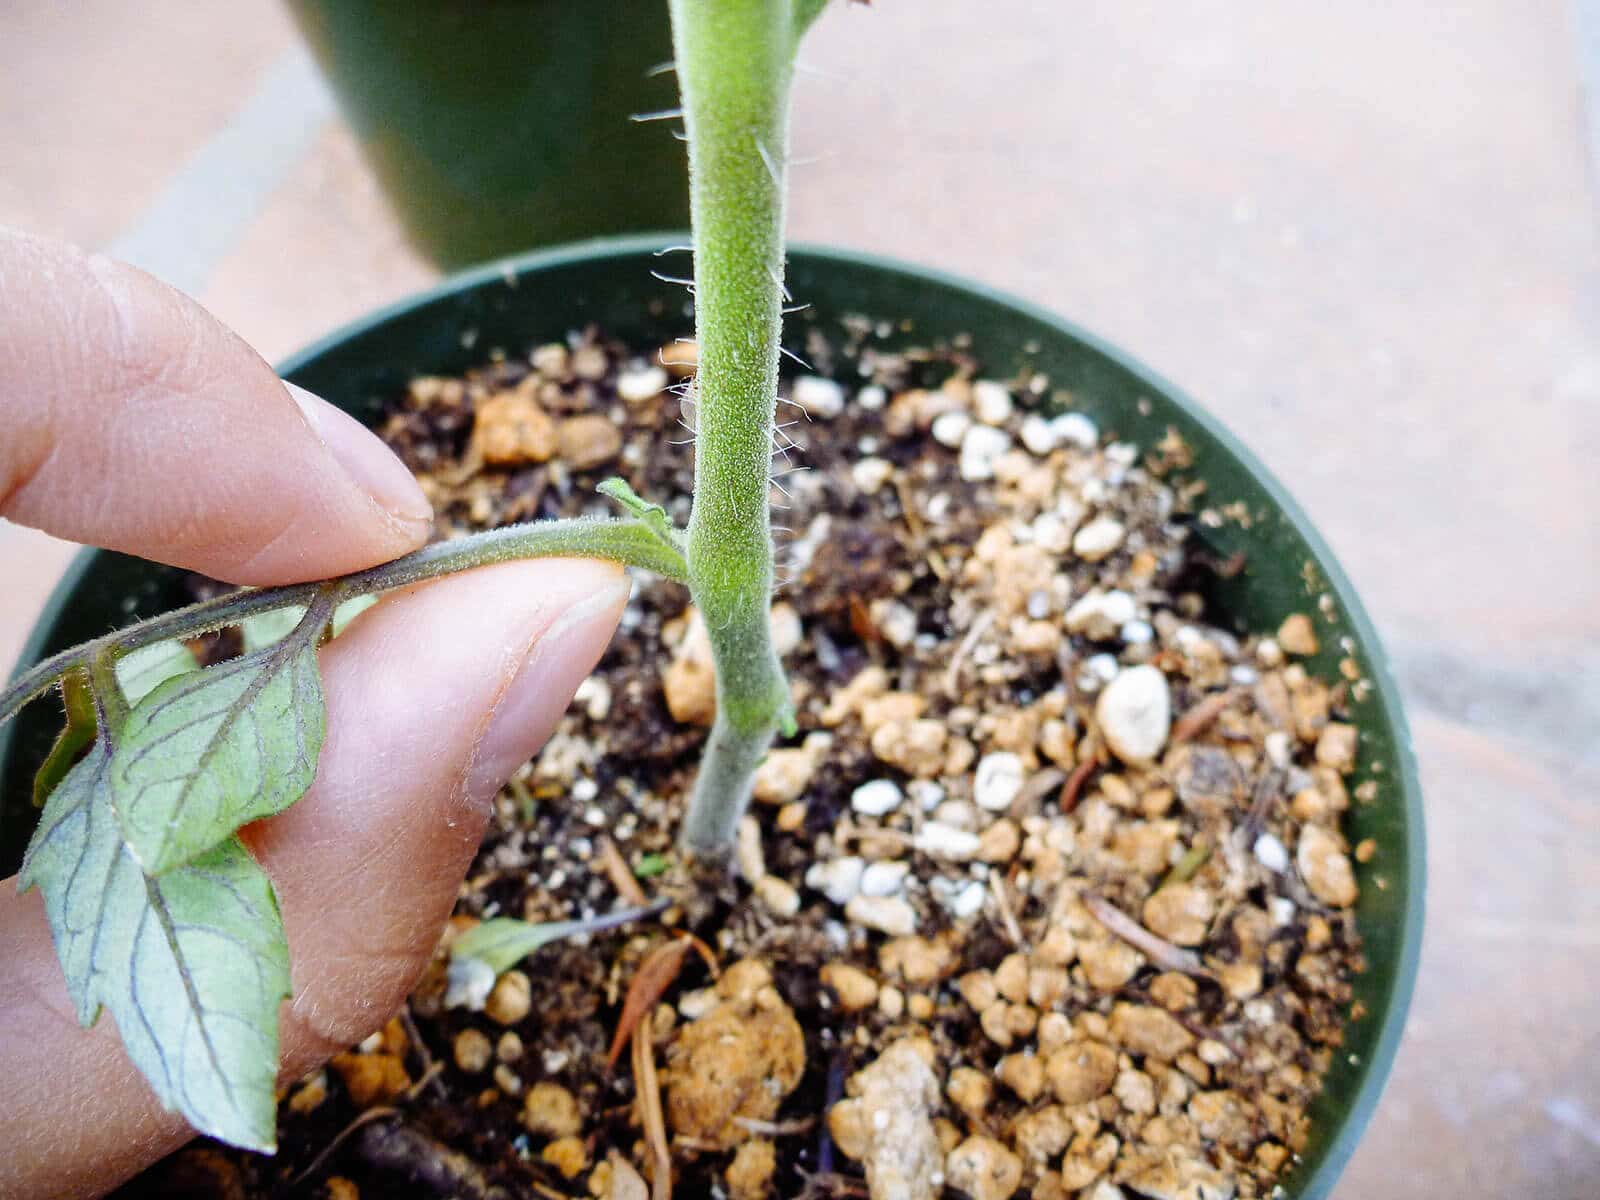
Step 2: Pinch off the lowest sets of leaves.
With your fingers or a pair of garden scissors, pinch off the lowest two or three branches of leaves, especially if they’re wilting or yellowing. You will end up with a tall skinny stem with only a few branches on top.
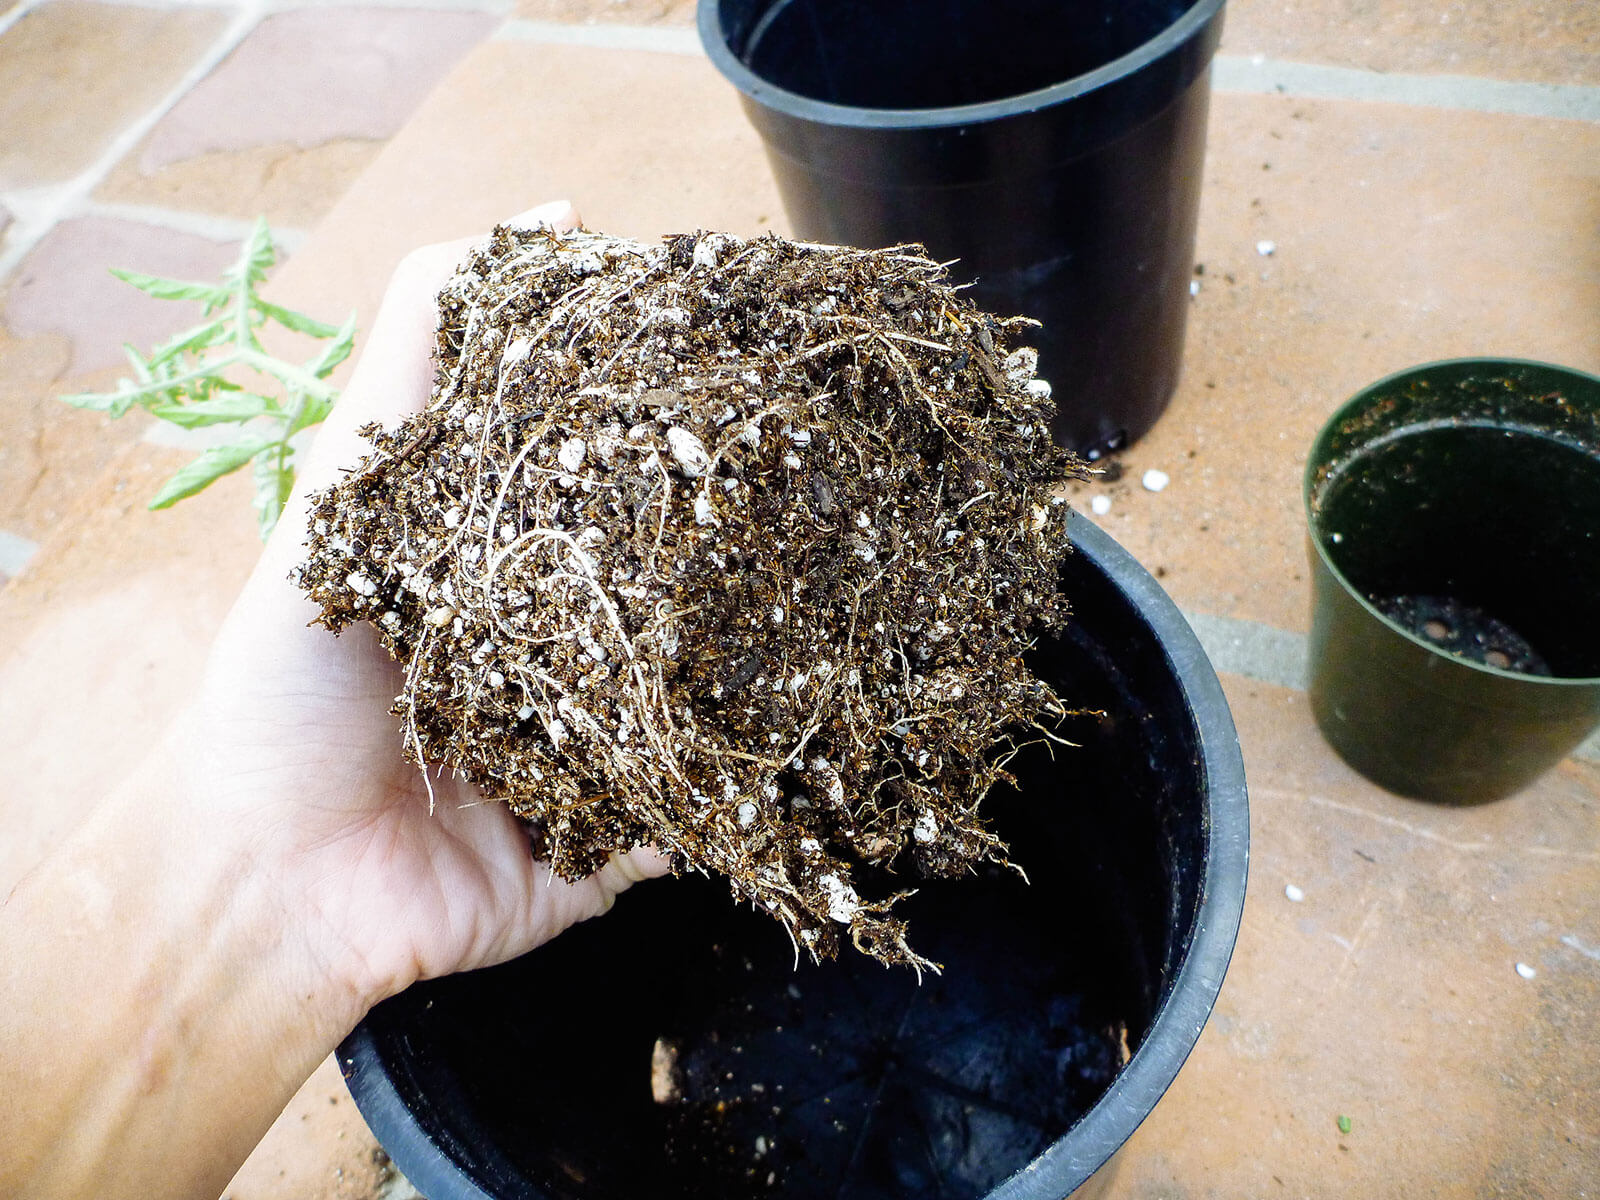
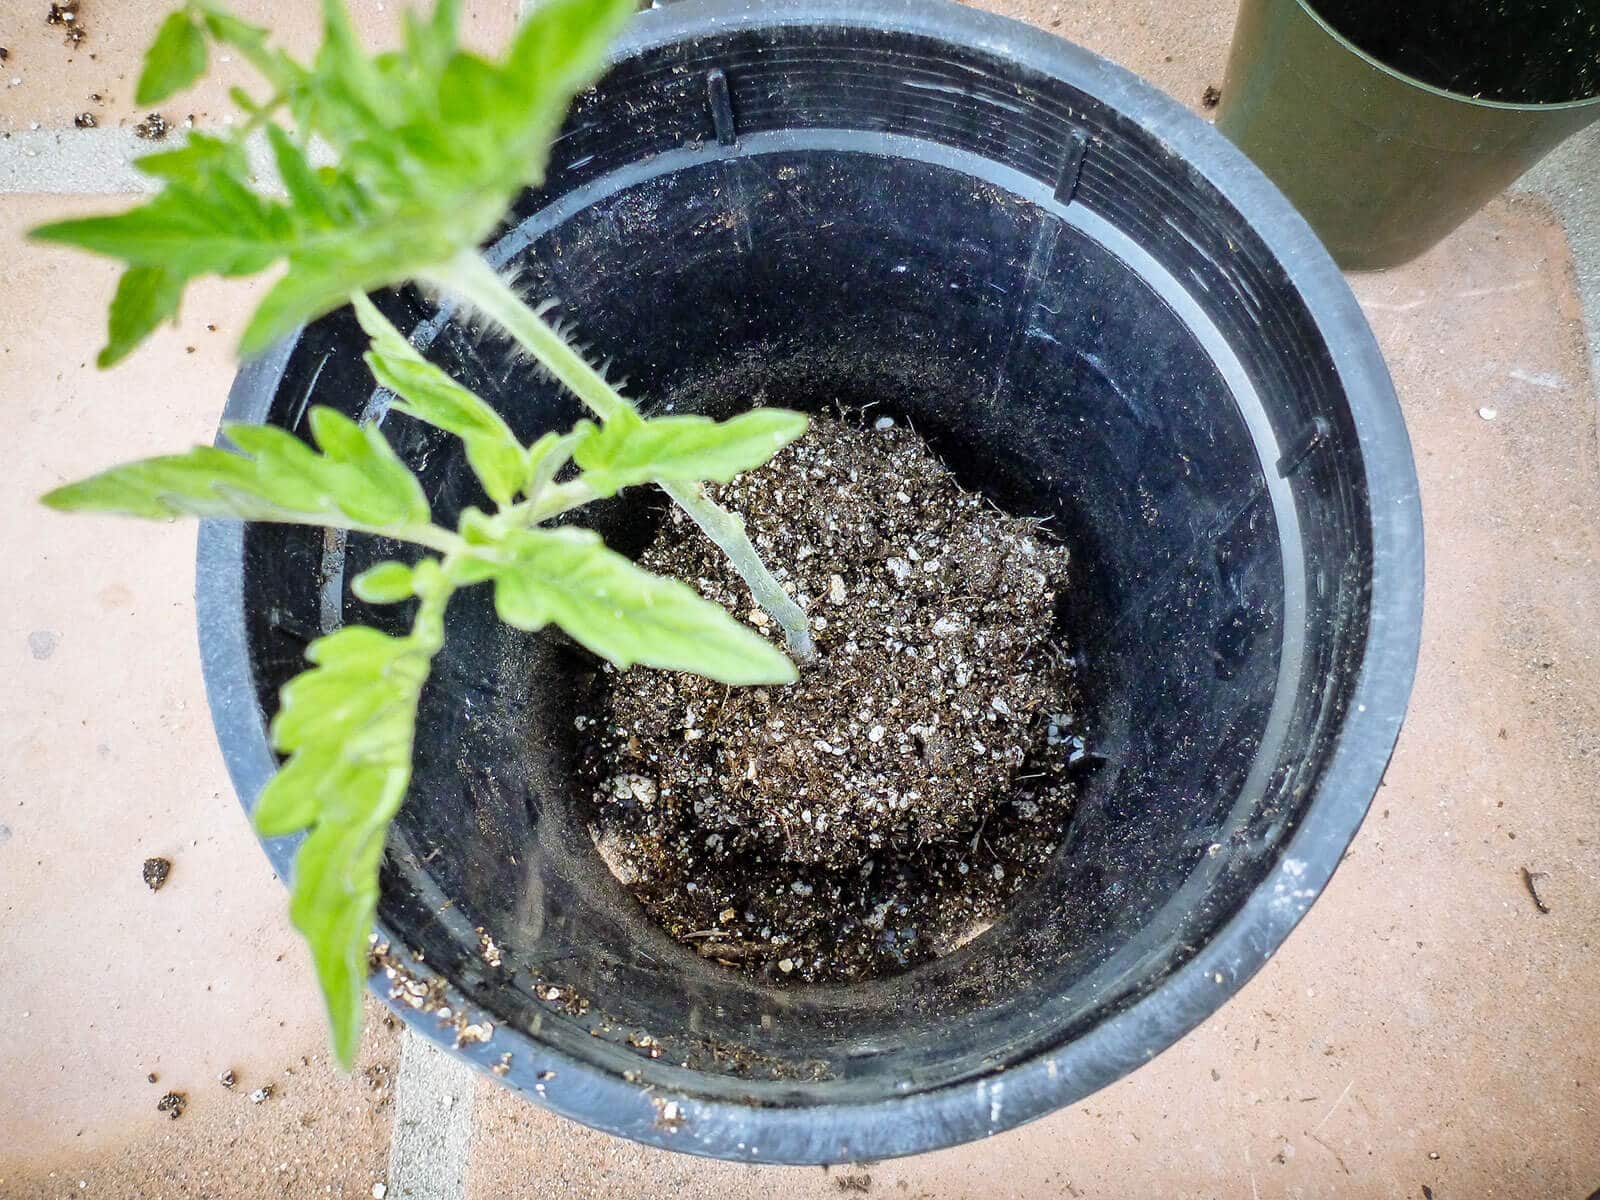
Step 3: Loosen the root ball and place the tomato plant in an empty pot.
Carefully loosen the root ball and place the transplant in an empty pot. The rim should be just below or even with the branches.
While it’s true that the roots are sensitive, they are not the most vital part of a tomato plant—the stem is. New branches, leaves, and roots continue to grow throughout its lifespan, but a tomato plant usually only has one main stem.
The plant cannot sustain damage to the stem, which should be treated with care during transplant. Handle the plant gently by its leaves or root ball, but avoid manhandling the stem.
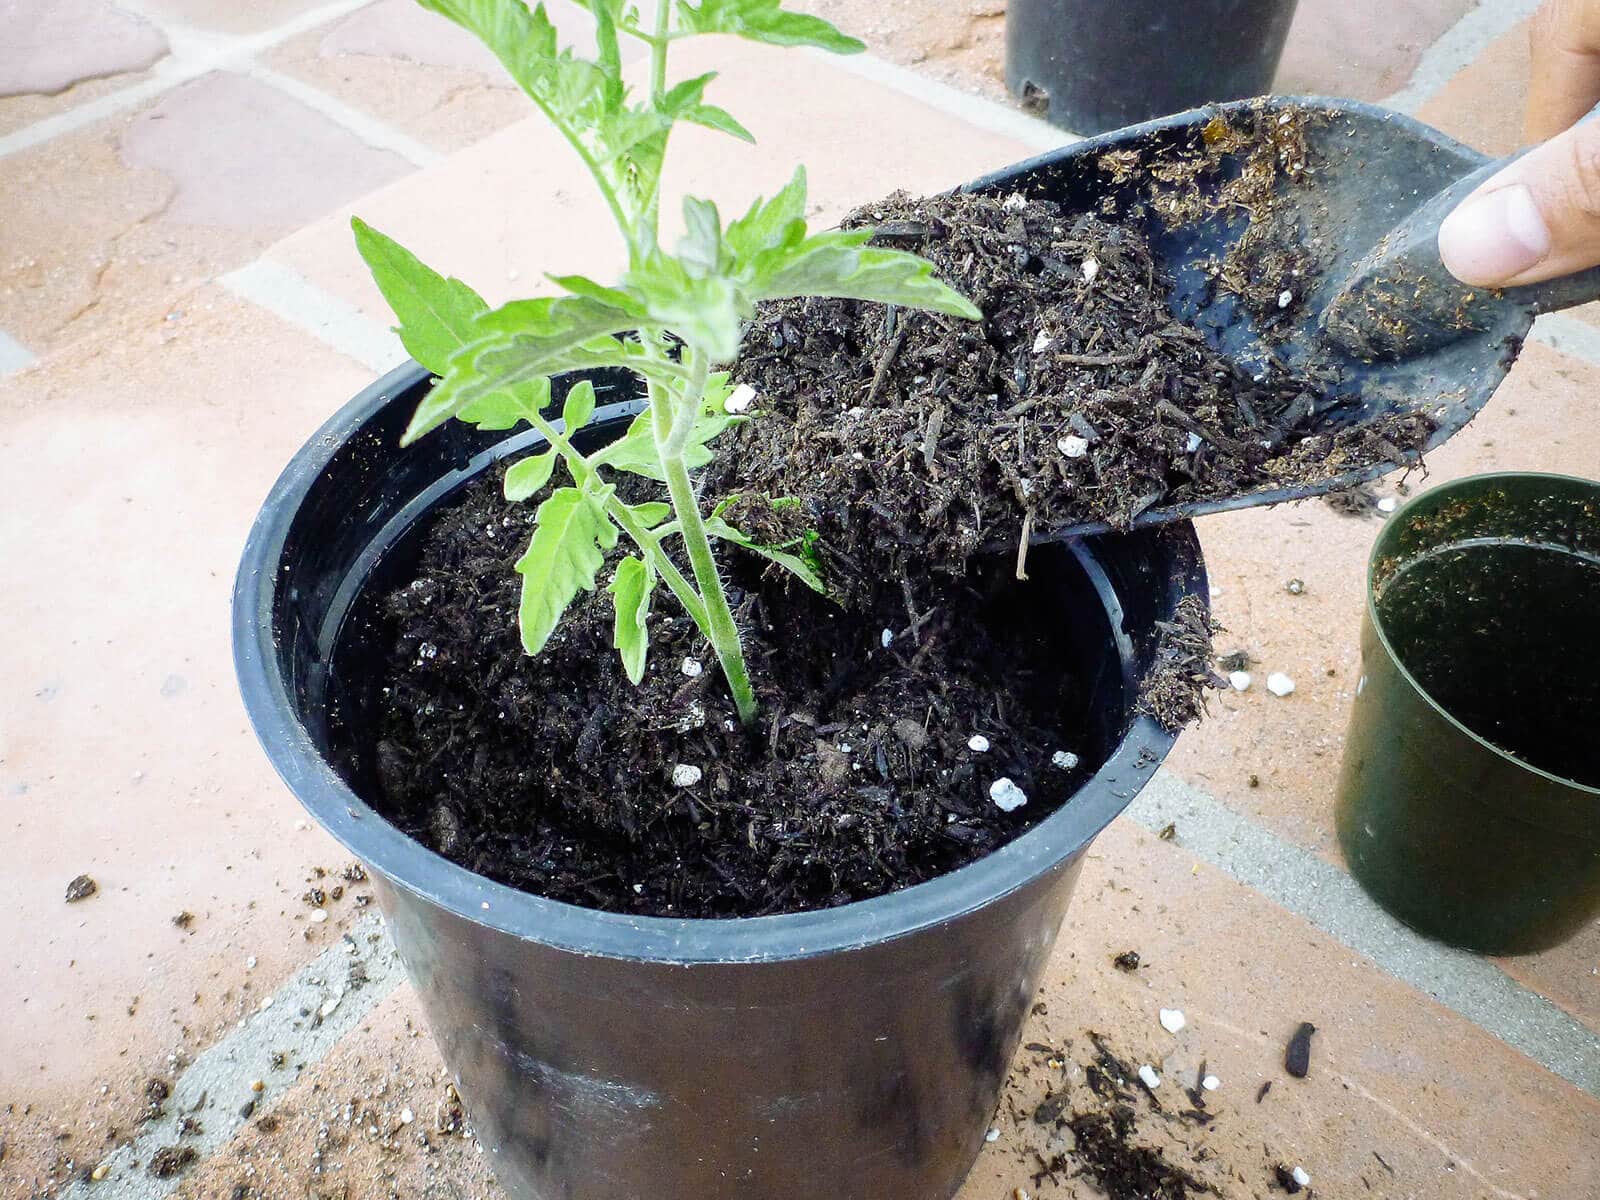
Step 4: Fill the pot with potting soil.
Fill the pot with potting soil, all the way up to its lowest branches. Give the pot a good final shake and add more soil as needed to stabilize the stem.
Resist tamping down on the soil with your hands or trowel (watering will do the work of settling everything in).
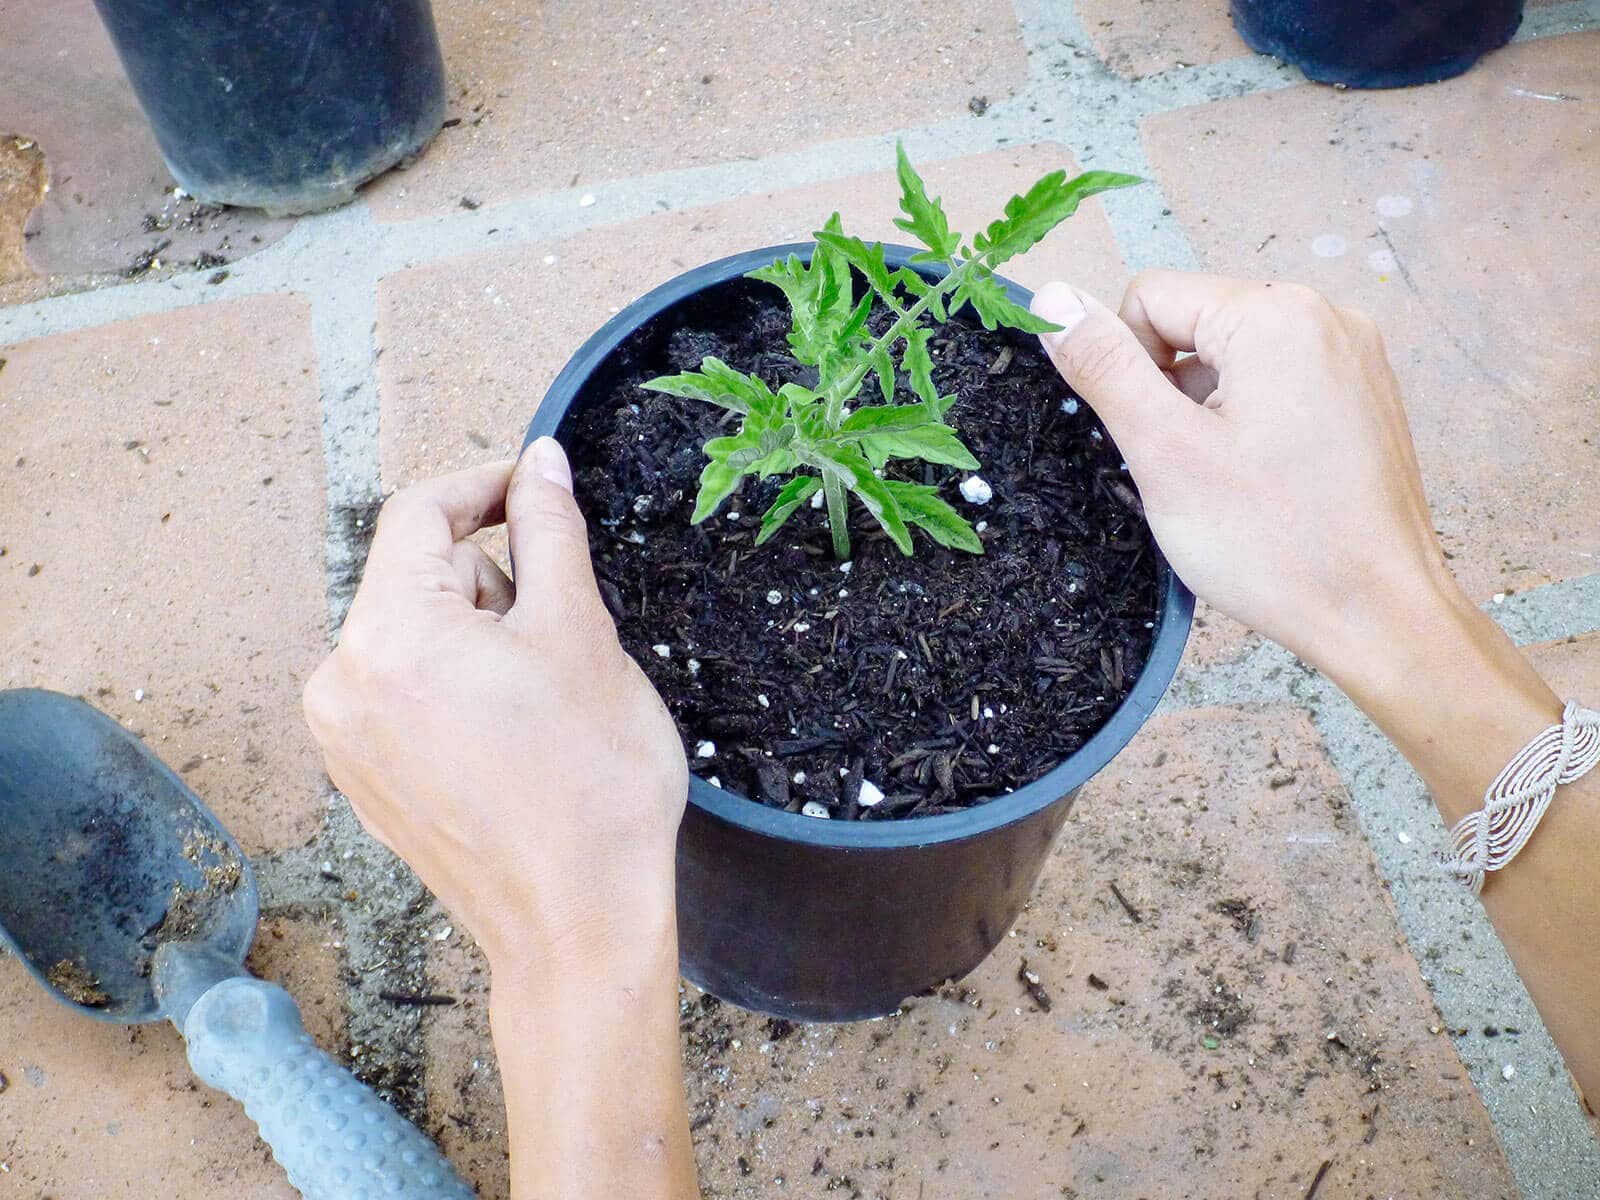
Step 5: Water the tomato plant deeply.
Your newly transplanted tomato should have several inches of stem sunk below the surface. Water deeply down to the lowest roots and only water again when the first 2 inches of soil feels dry.
With a deep-rooted plant like tomatoes, the key is to water less frequently, but more thoroughly. Tomato plants like to be slightly dry in between watering and they will not tolerate being overwatered, so try to keep the moisture level consistent.

Over the next few weeks, feed your tomato plants with an organic slow-release fertilizer as needed.
When your plants have grown two to three times the size of their pots, you can transplant them in the garden, again pinching off the lowest branches and sinking the stems deeper into the soil.
They’ll be pretty tall so a transplanting trick to save your back (from digging all day!) is to transplant your tomatoes sideways in a trench.
By repotting my plants a second time, I’ve found that my tomatoes have a head start on the season and flower much sooner… bringing me that much closer to a summer full of juicy, ripe tomatoes (along with fermented salsa, fresh tomato sauce, and oven-dried tomatoes!).
Why and How to Transplant Tomatoes (a Second Time)

You might be ready to graduate your tomato plants to the garden, but transplanting tomato seedlings a second time only makes them stronger. That's because burying tomato stems (again) encourages them to grow even more roots... and more roots mean bigger, healthier plants that are better able to withstand pests and diseases.
Materials
- 1-gallon container
- High-quality potting soil
- Young tomato plant
- Organic slow-release fertilizer
Tools
- Soil scoop or trowel
- Watering can
Instructions
- Start with clean pots and fresh potting soil. For the second round of transplanting, step up to 1-gallon pots. Have plenty of well-draining, well-amended potting soil on hand. I recommend mixing your potting soil with compost, or stirring in a granular tomato fertilizer before you plant (following the package instructions).
If you have a lot of transplants to pot up, it's often more cost-effective to make your own potting soil at home. - Pinch off the lowest sets of leaves. With your fingers or a pair of garden scissors, pinch off the lowest two or three branches of leaves, especially if they're wilting or yellowing. You will end up with a tall skinny stem with only a few branches on top.
- Loosen the root ball and place the tomato plant in an empty pot. Carefully loosen the root ball and place the transplant in an empty pot. The rim should be just below or even with the branches.
Handle the plant gently by its leaves or root ball, but avoid manhandling the stem. - Fill the pot with potting soil. Fill the pot with potting soil, all the way up to its lowest branches. Give the pot a good final shake and add more soil as needed to stabilize the stem.
Resist tamping down on the soil with your hands or trowel (watering will do the work of settling everything in). - Water the tomato plant deeply. Your newly transplanted tomato should have several inches of stem sunk below the surface. Water deeply down to the lowest roots and only water again when the first 2 inches of soil feels dry.
Notes
With a deep-rooted plant like tomatoes, the key is to water less frequently, but more thoroughly. Tomato plants like to be slightly dry in between watering and they will not tolerate being overwatered, so try to keep the moisture level consistent.
Over the next few weeks, feed your tomato plants with an organic slow-release fertilizer as needed.
When your plants have grown two to three times the size of their pots, you can transplant them in the garden, again pinching off the lowest branches and sinking the stems deeper into the soil.
Where to buy tomato growing supplies
[show_shopthepost_widget id=”4016955″]
Vivosun 5-Pack Heavy Duty Thickened Non-Woven Fabric Pots | Gardzen 20-Pack 1-Gallon Non-Woven Grow Bags | Smart Pot 5-Pack 2-Gallon Fabric Pot | Fox Farm Ocean Forest Garden Potting Soil | Dr. Earth All Purpose Compost | Dr. Earth Premium Tomato, Vegetable & Herb Fertilizer | Barebones for Terrain Potting Scoop | Barebones for Terrain Trowel
More tomato growing posts to explore:
- Grow Tomatoes Like a Boss With These 10 Easy Tips
- How to Grow Tomatoes in Pots—Even Without a Garden
- How to Best Fertilize Tomatoes for the Ultimate Bumper Crop
- How to Repot Tomato Seedlings for Bigger and Better Plants
- Why and How to Transplant Tomatoes (a Second Time)
- Planting Tomatoes Sideways: How Growing in a Trench Results In Bigger Healthier Plants
- Florida Weave: A Better Way to Trellis Tomatoes
- Conquer Blossom End Rot and Save the Harvest
- Can You Eat Tomato Leaves? The Answer Will Surprise You
- Why Tomato Leaves Have That Unique Smell
- The Power of Fermenting and Saving Tomato Seeds
- 4 Fastest Ways to Ripen Tomatoes in the Garden and Beat the First Frost
- The 30 Best Tasting Heirloom Tomato Varieties (By Color!)
- 83 Fast-Growing Short-Season Tomato Varieties for Cold Climates
- The Best Time to Pick Tomatoes for Peak Quality (It’s Not What You Think!)
This post updated from an article that originally appeared on June 2, 2011.
View the Web Story on how to transplant tomatoes a second time.


Love ALL your posts. We are in Spokane so have similar weather and critter challenges. I can’t plant into the garden until the end of May and most of my Tomatoes are ready to move to 1 gallon pots. I won’t have room under the grow lights for gallon pots. Should I harden off first then move to gallon pots, or pot them up and then go through my normal hardening off process? Thank you.
I would pot them up first, then harden off when they’re ready to go outside. Here in Bend, I use Walls o’ Water to keep new tomato transplants warm. You can see them in action in this post: https://gardenbetty.com/how-to-grow-tomatoes-in-pots-like-a-gardening-pro/
Hello Linda, I just wanted to say that I’m so glad I found this article a few years ago. This is my 3rd year in a row using your method of seedling pot/4” pot/ gallon pot/ garden and my tomatoes have done so well! I was just looking at my 4” pots wondering if it was time to move them up to the gallon pots and referred to your article again to remind me. Love you website, thanks for such great gardening advice!
Hi Sharon, I’m so glad this article has been helpful for you over the years!
If I had a tomato plant that did particularly well, what would happen if I dug it up and re-potted it inside during the winter? Would it continue to grow?
Depending on how large the root system is at the time of digging, the plant might go into transplant shock. A mature tomato plant likely wouldn’t respond well to being moved since it’s difficult to NOT damage some of the roots. But tomatoes are actually tender perennials so if you keep your plant indoors under grow lights through winter, it can keep producing fruit year-round.
I appreciate and enjoy your posts so much! Re; up-potting tomatoes; as some of your readers mentioned, an easy and cheap way to up-pot twice before planting out is to
1. start seeds in six packs
2. with first true leaves, move to solo cups or similar
3. at about 4″ taller than rim of cup, move to 1/2 gallon milk or juice cartons.
All of these containers are re-usable at least one more time. Each potting up increases the root structure. Healthy and happy tomatoes for everyone! Thank you for all of these tomato posts, learning a lot:)
Great tips! Thanks for sharing!
Hi, great blog and this topic is a great find for my current situation.
We built our deck last summer and had the guy make us a garden box (10ft x 4ft) as well but it was late in the season and didn’t bother digging it up. This year, we’re re doing our grass in our backyard so they’ll dig up our box for us and even if I was to dig it up myself they will probably need to move the box to get their equipment in.
The issue is timing, back in April when we booked him he told us late June for the grass but potentially earlier (no guarantee) if he can find some time on the weekend to do it.
Either way I don’t want to miss planting tomatoes so I bought some decent sized cheap pots (33cm x 26cm (13″ x 10.25″)) to transfer the seedlings into these larger pots. My plan is to leave them in the bigger pots until our backyard is all finished, so potentially they may need to stay in pots for about 4 weeks.
My question is, is it safe to transfer the tomatoes from these bigger pots to the garden bed in about 4 weeks? Will I mess up the roots or cause any other shock to the tomatoes and cucumbers? The place I bought my seedlings from said it’s probably not ideal but if the pot is big enough I should be OK.
Finding your blog give me hope that I should be OK.
Any other thoughts?
You should be fine as long as you minimize disturbance to the roots when you transplant them to the garden bed. They’ll tolerate being handled lightly but not damaged if the root system has grown very large by that point. You might want to look into planting your tomatoes in a trench too: https://gardenbetty.com/how-to-transplant-tomatoes-in-a-trough/
I am transplanting pot to pot – from maybe 3 to 10 gallons. Do I do this same method? It seems like the plant will be at the bottom and where do the roots go?
Thanks
Going from 3 to 10 gallons makes sense if you won’t be repotting again after that, since you wouldn’t bury the stem at the bottom of the 10-gallon pot—the second-lowest set of leaves should be close to rim level.
That’s not to say you can’t try this method, which I’ve had mixed results with: Transplant the tomato at the bottom of the 10-gallon pot. Make sure it’s in a spot that gets lots of sun. As the plant gets taller, remove the lowest set of leaves and fill the pot with a little more soil to cover the stem some more. This is similar to growing potatoes. The reason it doesn’t work every time is sometimes the pot gets too hot, but you still need sun to reach deep inside the pot to make sure the plant grows steadily. You also have to stay on top of pruning the plant while it’s growing inside the pot so it has enough airflow, and take care not to leave water on the leaves, which can lead to disease. If I were to try this layering method again, I’d use a large pot that’s wider than it is deep.
I’m wondering how long it takes from planting seeds to potting into one gallon pots. I have a small greenhouse that I keep at 40 degrees or above. I will start seeds on a heat mat. I live in Oregon and would like to plant the tomatoes in the garden around Memorial Day. I know this is a bit of a guesstimate, but I want nice size tomato plants to plant out in the Arden.
I really liked all your tips and will definitely use them. Thank you!
Hello there, we would like to start tomato starts in small seedling pots and then move them to 4 inch pots to sell to customers. If you’re in a grow room where it’s a controlled environment of 40 room humidity. 72 degrees Fahrenheit. And plenty of room circulation. How long would you suspect it would take to go from seed to 4 inch strong rooted plants ready to plant?
It’s hard to say since it also depends on how viable the seeds are, the tomato variety itself, how much light it gets, and how consistently you water or fertilize them. But I’d allow at least 6 weeks to get from seed germination to transplant. (Germination can take anywhere from 5-10 days, so add that on to your estimate.)
You had mentioned the flowers on the plant. Should I snip them all off before I transplant? I started my tomatoes From a seed and now they are about 1 1/2-2’ tall. They have a ton of flowers but no fruit because they’re in a greenhouse and not in direct sun. So I got some nice big pots to put them in So I can put them outside but I don’t know if I should snip off the little flowers before I put them in the big pot. What do you think?
Yes, I’d pinch off the flowers so the plant can focus its energy on growing once it’s transplanted.
I forgot to pick off the lower leaves when I transplanted… Am I going to lose my plants? What is the reason for doing it?
The reason to pick off the lower leaves is so you can expose more of the stem in order to transplant it deeper in the soil. No, you will not lose your plants. The stems just won’t benefit from the extra root growth that happens when they’re buried in the soil.
Hi. I have started growing the tomato plants from seeds and am a newbie to gardening. My seedlings have just sprouted and they are in small 4 inch pots, I live in apartment and I cannot pot them finally on the ground. How big a container should i pot them finally? I am yet to purchase pots and would really love some suggestions from you. Thank you
For indeterminate varieties, I recommend a minimum 10-gallon pot, but bigger is better as tomatoes are large plants with very deep roots.
I have a gorgeous tomato plant in a pot. It is 40+ inches tall and has A LOT of tomatoes on it, but they aren’t getting very big (maybe a little bigger than a golf ball but not as big as a baseball). My pot is about 10″ high and 11 1/2″ circumference. Should I repot to a bigger container, and if so, how big? I’d like to get some bigger tomatoes. The one I ate the other day with quite literally the best and sweetest tomato that I have ever had. If I do it, I figured I’d just add a layer of rocks to the bottom of the pot and more soil, then try to get the plant, as is, in the new pot with all surrounding soil so I don’t shock it anymore than necessary. I talk to her, so I’ll apologize profusely!!! 😉 I’d appreciate any help that you can give me.
Thanks,
Kristi
P.S. I live in Florida so I can keep this plant going year round (if it is the right type, which I have no idea what it is because my mom bought it back in May).
For indeterminate tomato plants, I always recommend going with a minimum 10-gallon pot to give the roots room to spread. As you know, the plants can get very large and you’ll have a more productive harvest if you give them more space.
I have a few tomatoes plants in a 4×4 planter box but I think they are too close together. Can I move a couple out even though they have started to flower? What is the best way to do this without harming them. Is morning the best time of day to do it? Any info you can provide is most appreciated. Thanks
It depends on how large the plants are, but generally, you don’t want to move them once they’re in the ground as you’ll disturb the roots. If you feel they’re too close together, and they’re indeterminate varieties, you can prune the plants by continually pinching off the suckers and keeping only the main stems.
Thank you for sharing you knowledge with us! May I ask a few questions please?
1. I live in a situation where I can’t plant directly into the ground. I’m at a point where the seedlings, now in a 1 gallon pot are ready to be transplanted. Ultimately, I hope to have them in a 15 gallon pot. I have a 3, 5, 7, and 10 gallon pot ready to be used. Which pots do you recommend I transplant to moving forward? For example, should I go from 1 to 5 to 15?
2. Do you ever experience stem rot when pinching the leaves and adding soil to the pot during the transplanting?
Please excuse any errors, Japanese is my native language 🙂
Kind regards,
Hi there! To answer your questions:
1. Yes, 1 to 5 to 15 sounds like a good transition for your tomatoes, as it’ll give you room to bury the stem each time and make the plant stronger.
2. No, I’ve never experienced stem rot. Just be sure to keep any mulch a couple inches away from the plant, as mulch can hold moisture against the stem and cause rotting. Also, try to avoid getting moisture on the leaves when you water.
My wife and I are transplanting our tomato plants from their cells to solo cups, before we either transplant again or plant in the garden. What is the do you recommend for us to use as soil? Should we dig up soil from the ground and mix it with compost? Should we buy potting soil and mix that with compost? What is your stance on Epsom salt?
I recommend an all-purpose outdoor potting mix with compost (or diluted fertilizer).
what is the earliest after germination can I transplants tomatoes
Once they grow a couple sets of true leaves.
Hi, can I skip the transplanting process and just sow in a pot? i heard you can only fill the pot up about 3/4 and add more soil every few weeks so that the root system can get larger…. like transplanting. Would this really work? Also, can I keep the tomato plant (cherry) in a 3 gallon pot forever, or would it need a 5 gallon or more?
You can start with one large pot and keep filling it with soil, but you’d have to make sure it receives ample sun. In my experience, the plant always grew slower this way, which is why I prefer to transplant.
I also recommend a minimum 5-gallon pot for a cherry tomato. It will still grow in the 3-gallon, but you’ll have a much smaller plant and way less yield. Tomatoes have deep, extensive roots. I’d go for at least 7 gallons if I was growing a container tomato.
I like your info and have learned but I would like to ask a couple of wee questions, if you don’t mind Betty.
What would you say is the largest size pot I should first plant tomato seeds into?
Is planting one seed in each pot the normal way to go, particularly when there is only 10 seeds in the packet?
There’s no maximum size pot, you can use whatever you have available. If you’re using seed starting plugs, sow 1 seed per plug. If you’re using 3-inch pots, sow 3 seeds per pot. Anything larger than that still works, but I usually find it too cumbersome to keep evenly moist while the seedlings are small. Also, keep in mind that not all of your seeds may germinate.
When do I start feeding the plants? I planted the seeds 4 weeks ago and have done one transplant. They are growing well and reckon the final pot change will be in 3/4 weeks? Should I start then?
You can start feeding your plants with a diluted fertilizer once they’ve grown a few sets of true leaves – at that stage, they’ve already used up their stored nutrients so they’ll need more.
I love your blog! Especially, your post on seeding and potting mix has saved my life!! 🙂
I need to transplant my tomato sapling and I was wondering about the mention of soil + compost here, as opposed to the peat + compost + perlite + vermiculite. Can you please tell me which medium would be suitable.
Thank you for what you do! 🙂
Thank you for the kind comment!
I use amended potting soil for my tomato transplants as it’s richer in nutrients, and I want to encourage root and leaf growth in the early stages. You can, however, make your own potting mix (the recipe’s on the bottom of this page http://gardenbetty.com/2011/03/how-to-make-your-own-seed-starting-and-potting-mix/ ). Just remember to fertilize regularly, as tomatoes are heavy feeders.
i looooooove your blog …. i discovered the link from apartment therapy, and have been hooked since … 🙂 you are amazing .. thanks for spreading the wealth of knowledge … sending love all the way from India 🙂 .. please dont stop writing ….
Thank you!! And I’ll keep writing as long as you keep reading. 🙂
Extremely helpful! Thanks
This is extremely helpful, and I wish I had read it 2 days ago , before I made the first transplant for my container tomatoes!
Everywhere I read said to use huge 5 gallon containers, so I made sure my pots were big (I’m using 2.5 gallon containers). But reading this post makes me wish I had stuck with smaller pots for my first repot. I’d hate to go ahead and repot them in smaller containers per your suggestion, because I don’t want to cause further unnecessary shock.
Would a solution be, when they’ve grown a bit more, just changing out the soil and replanting them deeper in the pot?
If they’re already in 2.5 gallon pots, I would just let them grow there for another month or so (depending on how large your plants are right now) and then transplant directly (and deeper) into the ground.
Since you already repotted them into larger pots, the roots will expand to fill up all that space, so it would be difficult to repot back into the same pot without possibly damaging some of the roots.
I like , good info.thanks
But what happens is you get branches very close to the soil, susceptible to fungus and other soil-borne stuff. I don’t like to bury them that deep, especially the last time. This didn’t work for mine and I grew 150 from fresh tomatoes.
Also when the plants fruit, the tomatoes are hanging in the dirt too. I think this is conventional wisdom that may not be true.
It’s assumed that when you transplant the tomatoes, you’re using clean pots and fresh potting soil.
If you apply mulch in the garden, you should not have a problem with fruits or branches hanging in the dirt, or water splashing dirt up onto the leaves. All my beds are mulched with several inches of straw, so I rarely have a problem with rot or disease.
Your directions and pictures are so detailed and clear — thank you!
You’re welcome; good luck with it!
Can I repot my plants back into seed starting mix or do they need a different soil mix?
Seed starting mix contains no nutrients, so if you repot back into the same mix, you should fertilize your plants as they grow. Or, use a potting soil that has been amended with nutrients or compost.