Maybe you got lucky with a great harvest this year, more than you can possibly eat at once or give away to friends. Or maybe your garden wasn’t as productive as it usually is, and you want to make sure what’s harvested won’t go to waste.
In the old days, things were simpler—almost everything from the garden just went into the root cellar for safekeeping through winter.
Most modern homes don’t have root cellars, so it takes a bit of experimentation (and creativity) to find the right balance of space, temperature, and proper ventilation so you can store vegetables for a long time.
If you want to maximize the shelf life of your hard-won harvest, keep reading!
Disclosure: If you shop from my article or make a purchase through one of my links, I may receive commissions on some of the products I recommend.
How to make sure your vegetables will last in storage
Surprise: The refrigerator isn’t always the best place to keep vegetables.
If you want to enjoy that delicious bounty of food through fall and winter (and maybe even spring), it’s important to grow the right varieties, pick them at the right time, and provide the right conditions that keep them fresh (or dormant) for as long as possible.
Here are five tips to help you achieve that.
1. Grow a reliable storage variety.
There’s no better way to maximize storage life than by growing a long-storing variety in the first place.
If I wanted homegrown onions in December, for example, I wouldn’t grow Alisa Craig or Walla Walla, which have a shelf life of just a month. I’d go for an onion variety like Copra, which can last up to a year under optimal conditions!
These varieties are known to stay sound the longest:
Yellow onions
- Copra
- Newburg
- Patterson
White onions
- Southport White Globe
- Sterling
- Stuttgarter
Red onions
- Red Creole
- Red Wethersfield
- Redwing
Winter squash
- All cultivars of Cucurbita maxima (Banana, Buttercup, Butternut, Hubbard, and Turban winter squash, to name a few)
Garlic
- Artichoke
- Creole
- Silverskin
Potatoes
- Burbank Russet
- Katahdin
- Kennebec
- Red Chieftain
- Rose Finn Apple Fingerling
- Russian Banana Fingerling
- Yukon Gem
- Yukon Gold
2. Pick vegetables at the right time.
Vegetables that are picked at peak maturity will last longer than underdeveloped or overripe vegetables. So, try to delay harvest for as long as possible, unless frost is coming or pests are threatening to decimate your entire crop.
Related: Find First and Last Frost Dates Accurately with This Custom Planting Calendar
When you harvest, handle the vegetables gently. Any produce that’s bruised, nicked, or otherwise damaged or imperfect should be set aside to use up first.
3. Give your vegetables enough time to cure before storing them.
Certain vegetables need to be cured in order to keep well in storage. This process dries and hardens the skin so your vegetables are less susceptible to premature rot.
Curing also heals any wounds and gives the vegetables time to get sweeter or more flavorful, as starches are converted into sugars.
Garlic should be cured in a warm and dry area out of direct sunlight for 2 to 4 weeks. (Timing will depend on how humid your climate is.) Here’s everything you need to know to cure your garlic properly.
Onions need 1 to 2 weeks of dry, warm conditions for the necks to dry down completely and the skins to become papery. Follow this step-by-step guide on how to harvest and cure your onions.
Potatoes have a simple, two-step curing process: Once the foliage has died back, leave the tubers in the ground for about 1 week to allow their skins to thicken and “set.” Then, harvest all the potatoes and leave them in a dark, well-ventilated area (ideally with 85 to 90 percent relative humidity) for 1 to 2 weeks to finish curing.
Sweet potatoes should be cured in a warm, sunny area (80°F to 85°F with at least 85 percent relative humidity) for 7 to 10 days before storing.
Winter squash need to be cured in the sun while it’s warm and dry for 1 to 2 weeks. Here’s exactly how you cure pumpkins and other winter squash.
4. Pay attention to temperature and humidity requirements.
Most vegetables like being stored in very cold conditions. The majority prefer temperatures between 32°F to 38°F for optimal keeping, though notable exceptions are sweet potatoes (which store best in warmer temperatures of 55°F to 60°F) and winter squash (which should be kept between 50°F to 55°F).
High humidity is often preferred as well (up to 90 percent relative humidity for root vegetables and potatoes).
Unfortunately, home refrigerators are warmer and drier than most of your produce likes: around 40°F with 50 to 60 percent relative humidity.
To make up for these conditions, you can increase humidity by wrapping your vegetables in damp towels or storing them inside plastic grocery bags to keep them from drying out.
Don’t let good food go to waste!
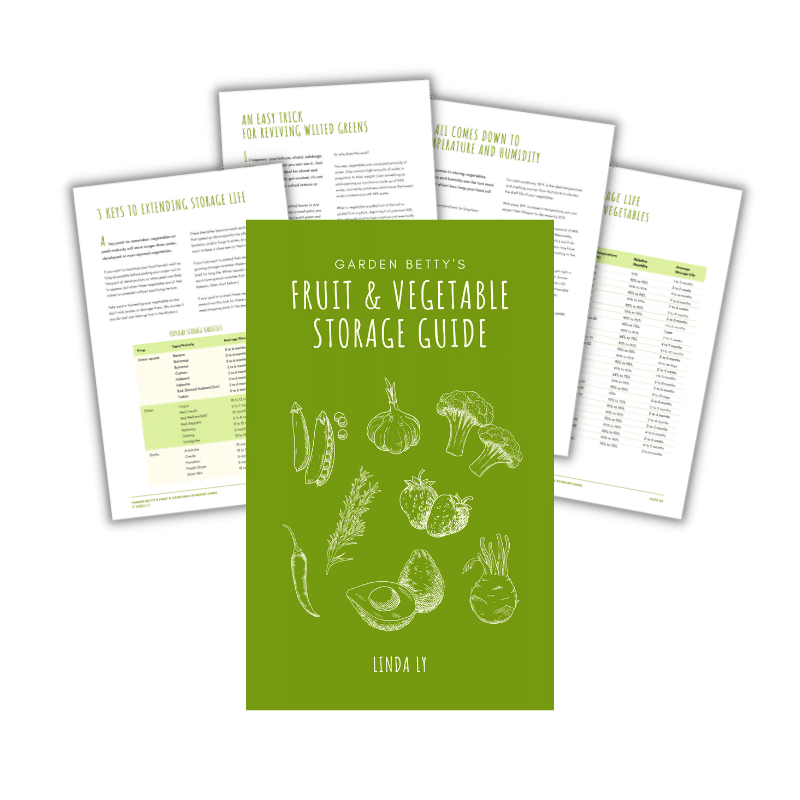
Download my Fruit & Vegetable Storage Guide for printable charts, helpful tips, and secret tricks for keeping your produce super fresh for as long as possible.
This chart from the University of Wisconsin gives temperature and humidity ranges for some common vegetables (and also has a great overview on how to build your own basement storage room).
5. Keep certain crops away from others in storage.
As a gardener, you’re likely familiar with companion plants.
Well, this is the opposite of that—crops that need to be kept away from each other in order to maximize shelf life.
Many fruits emit ethylene (a naturally occurring, colorless, and odorless chemical) as they ripen, and this chemical speeds up ripening for other produce as well, causing them to spoil sooner than they normally would.
So, it’s best to keep high-ethylene producers away from most other fruits and vegetables in storage (and away from each other) if you want things to last longer.
High-ethylene producers include:
- Apples
- Apricots
- Avocados
- Cantaloupe
- Nectarines
- Peaches
- Pears
- Peaches
- Plums
Okay, real talk: If you have a “typical” home (and not a home with a large butler’s pantry, basement storage, or root cellar), how can you keep all these high-ethylene producers away from each other?
The first thing you should do is avoid piling them all together in a bowl on the counter (unless you plan to eat them within a few days).
Try to dedicate a bowl or basket to each type of produce, and put them in different areas—perhaps one in each corner of the kitchen, one on each shelf in your pantry, and one on the dining table, for instance.
Cooler temperatures also help produce stay fresher longer, so avoid storing them in direct sunlight or right next to the stove.
You can also refrigerate fruits to slow down the ripening process and extend their shelf life. However, you should only do this with fully ripe fruit—so keep them at room temperature until ripe, then place the fruits in a bowl (with plastic wrap over it) or in a plastic bag, and refrigerate.
Winter vegetable storage tips by crop
For the most comprehensive overview on how to store your vegetables, herbs, and fruits, check out my Fruit & Vegetable Storage Guide.
It’s a downloadable ebook filled with useful tips and easy-to-read charts that you can print and hang in the pantry to help you waste less food in the kitchen!
You can also follow the tips below for storing the most common harvests this time of year.
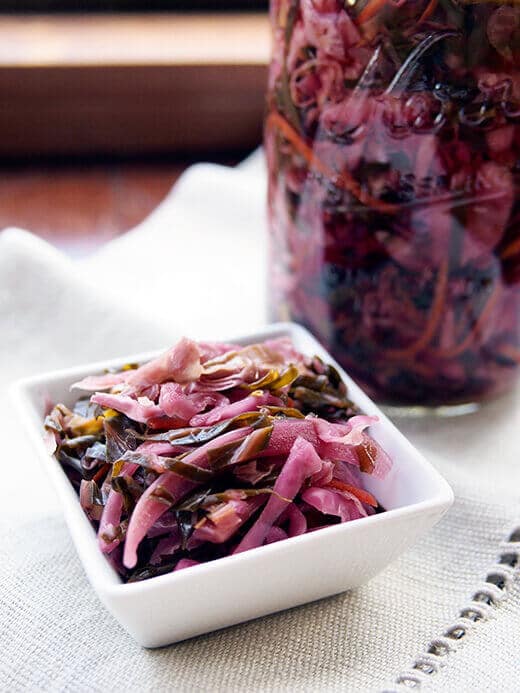
Root vegetables
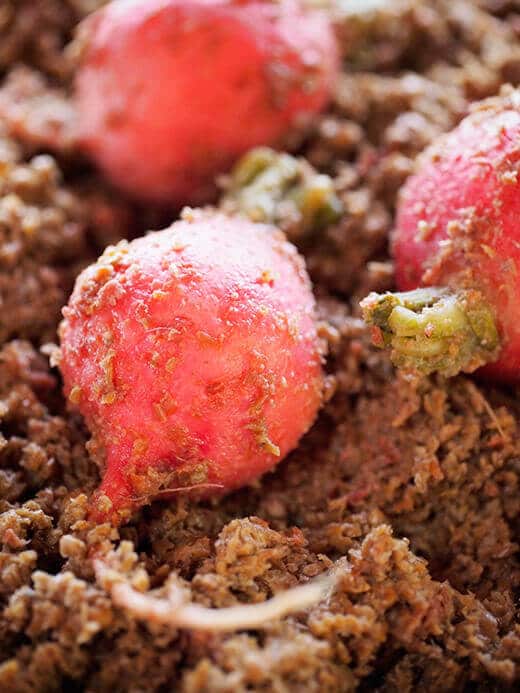
Root vegetables like carrots, beets, turnips, and parsnips can be stored right where they are: in the ground!
In fact, this is the best place to keep them through winter as the soil provides just the right amount of moisture (90 to 95 percent humidity) and cold (32°F) that they like.
Let your root crops grow for as long as possible (but before they turn woody) until right before the first frost. Then, cut off all the green tops, leaving just a couple inches of stem above ground so you know where they are.
Spread a heavy layer of mulch over them (up to 8 inches thick if you live in a very cold climate—you want to keep the soil from freezing solid) and leave the crops in place.
When you’re ready to harvest, just push some mulch aside, pull the vegetable, then cover the bare soil with mulch.
If you’ve already harvested all your root vegetables, store them in the fridge with the greens removed. Store the greens like you would other leafy greens (wrapped in a towel inside a plastic bag or placed inside these amazing cotton produce bags).
Leave the roots unwashed and loosely sealed in a plastic bag. The bag helps hold in moisture so the roots don’t go limp as quickly.
If you like the convenience of prewashed vegetables for salads and snacks, scrub the roots clean, then refrigerate them in containers filled with water.
This method works especially well for radishes (which I like to keep in bowls) and carrots (which can be stored horizontally in wide, shallow containers, or upright in tall, half-gallon mason jars). No lid is needed unless you’re worried about accidental spills.
By storing root vegetables in water like this, they’ll stay nice and crisp for weeks! Just be sure to give a fresh change of water every few days if it starts to cloud.
My favorite bags for keeping greens and roots crisp: Veggie Saver Reusable Produce Storage Bags (large) and Swag Natural Cotton Produce Storage Bags (assortment)
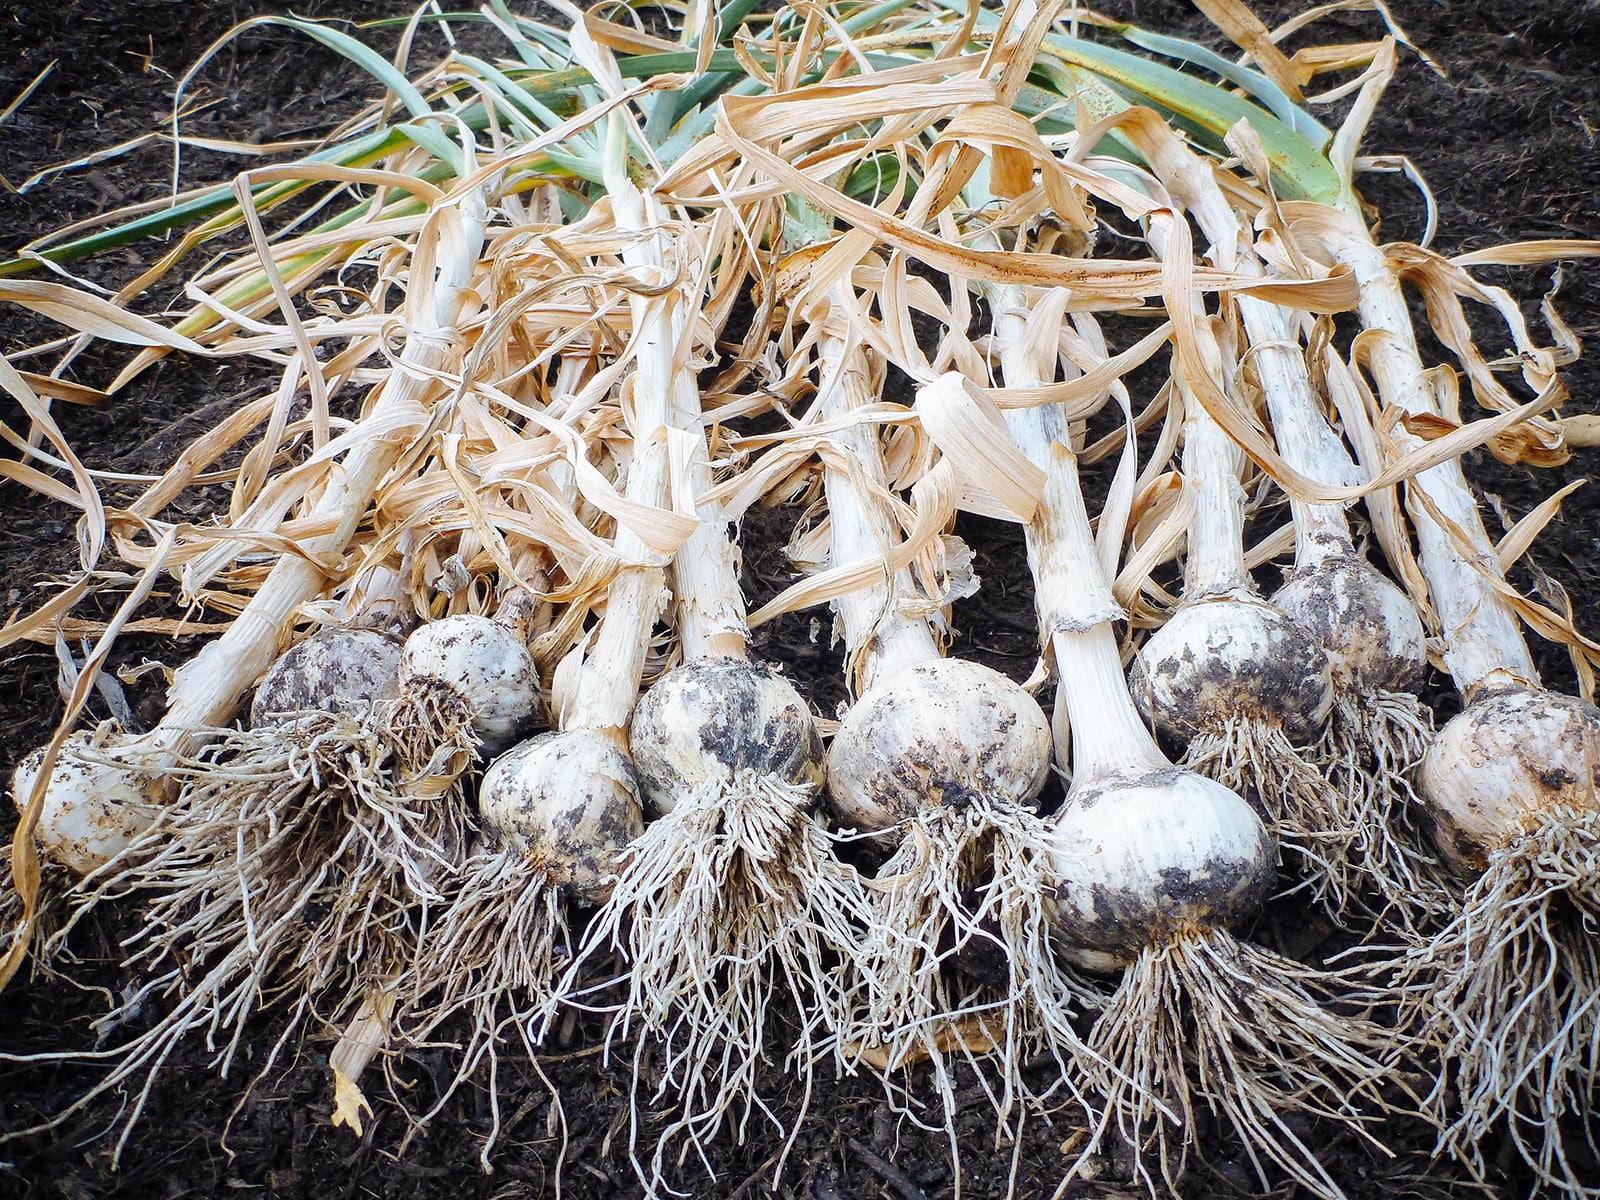
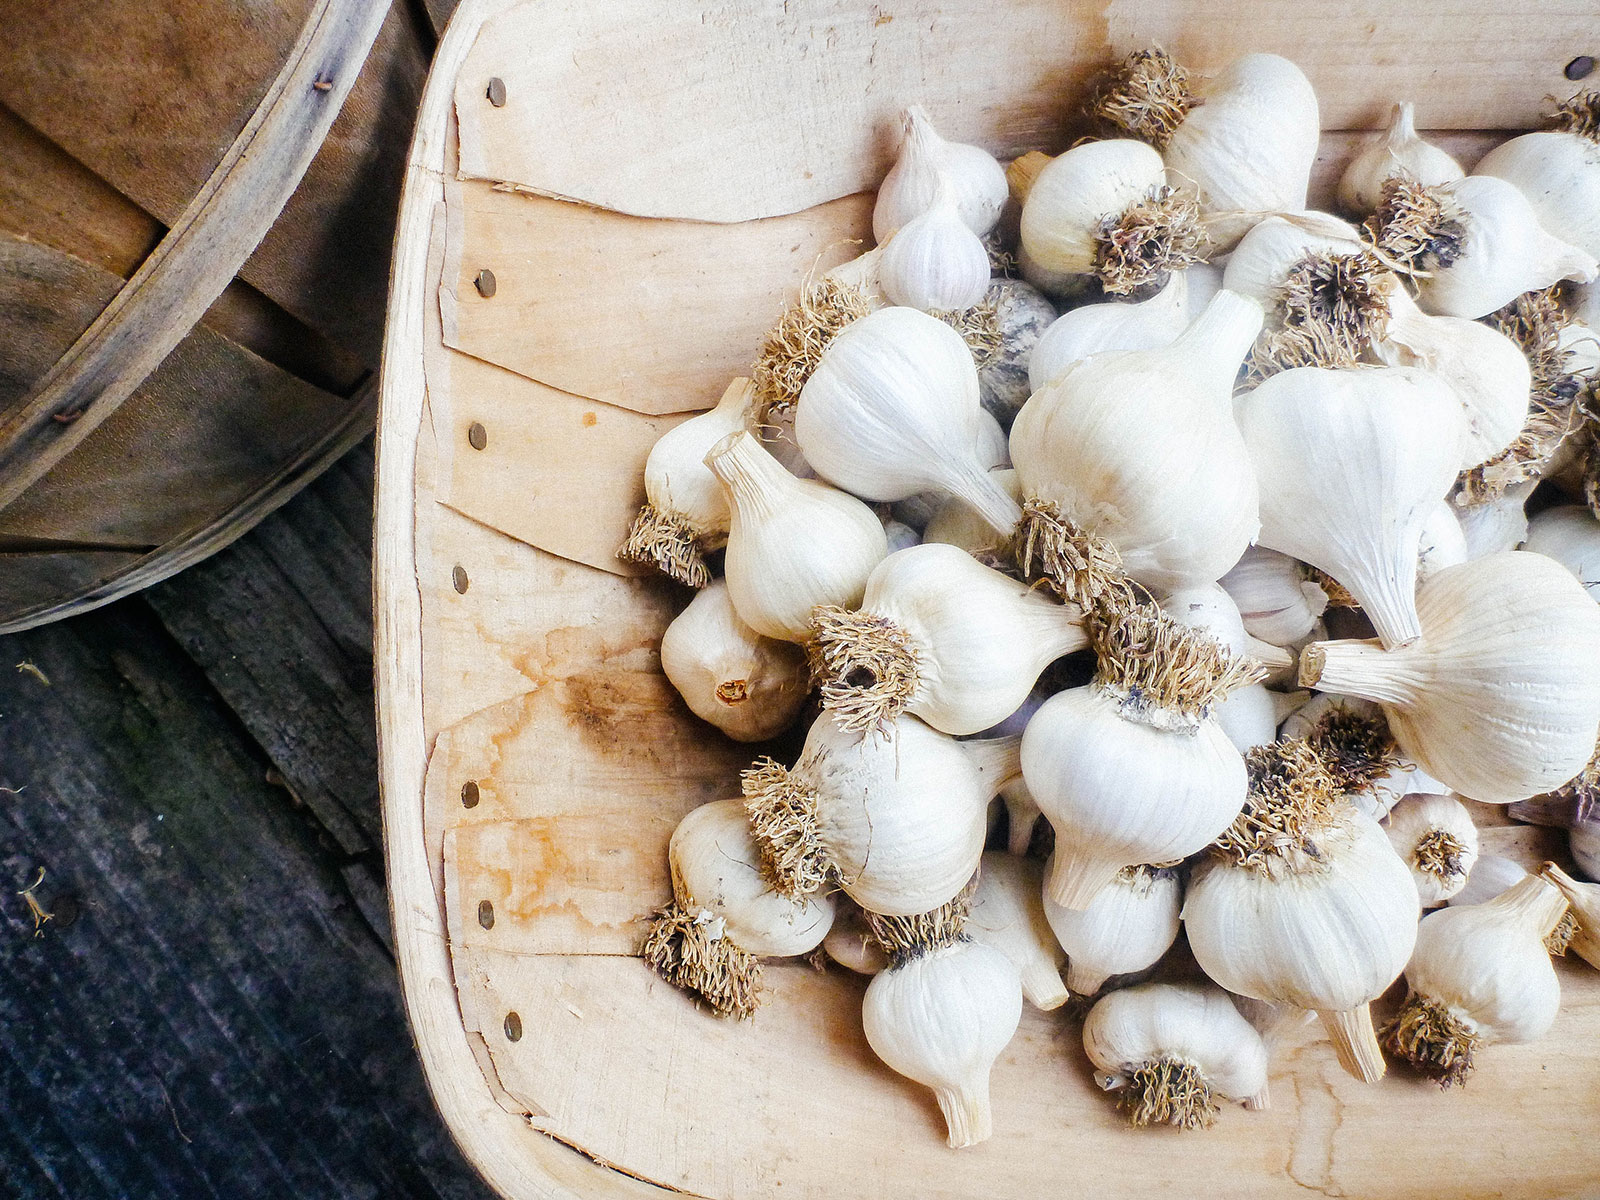
Garlic
Garlic is one of the few vegetables that likes it relatively warmer (50°F to 60°F) and somewhat drier (65 to 70 percent relative humidity).
That means it should never be stored in the fridge unless it’s already been peeled or cut. Storing garlic in chilly conditions (with some moisture) for an extended period will cause sprouting, as you may have experienced before.
As an aside, sprouted garlic is still edible and the green shoots are perfectly fine to eat. You can even plant a sprouted garlic clove and turn it into a whole new plant! Though without the proper day length conditions that trigger bulb development, you’ll most likely only get garlic greens from your plant (which are still delicious).
Read more: 11 Vegetables You Grow That You Didn’t Know You Could Eat
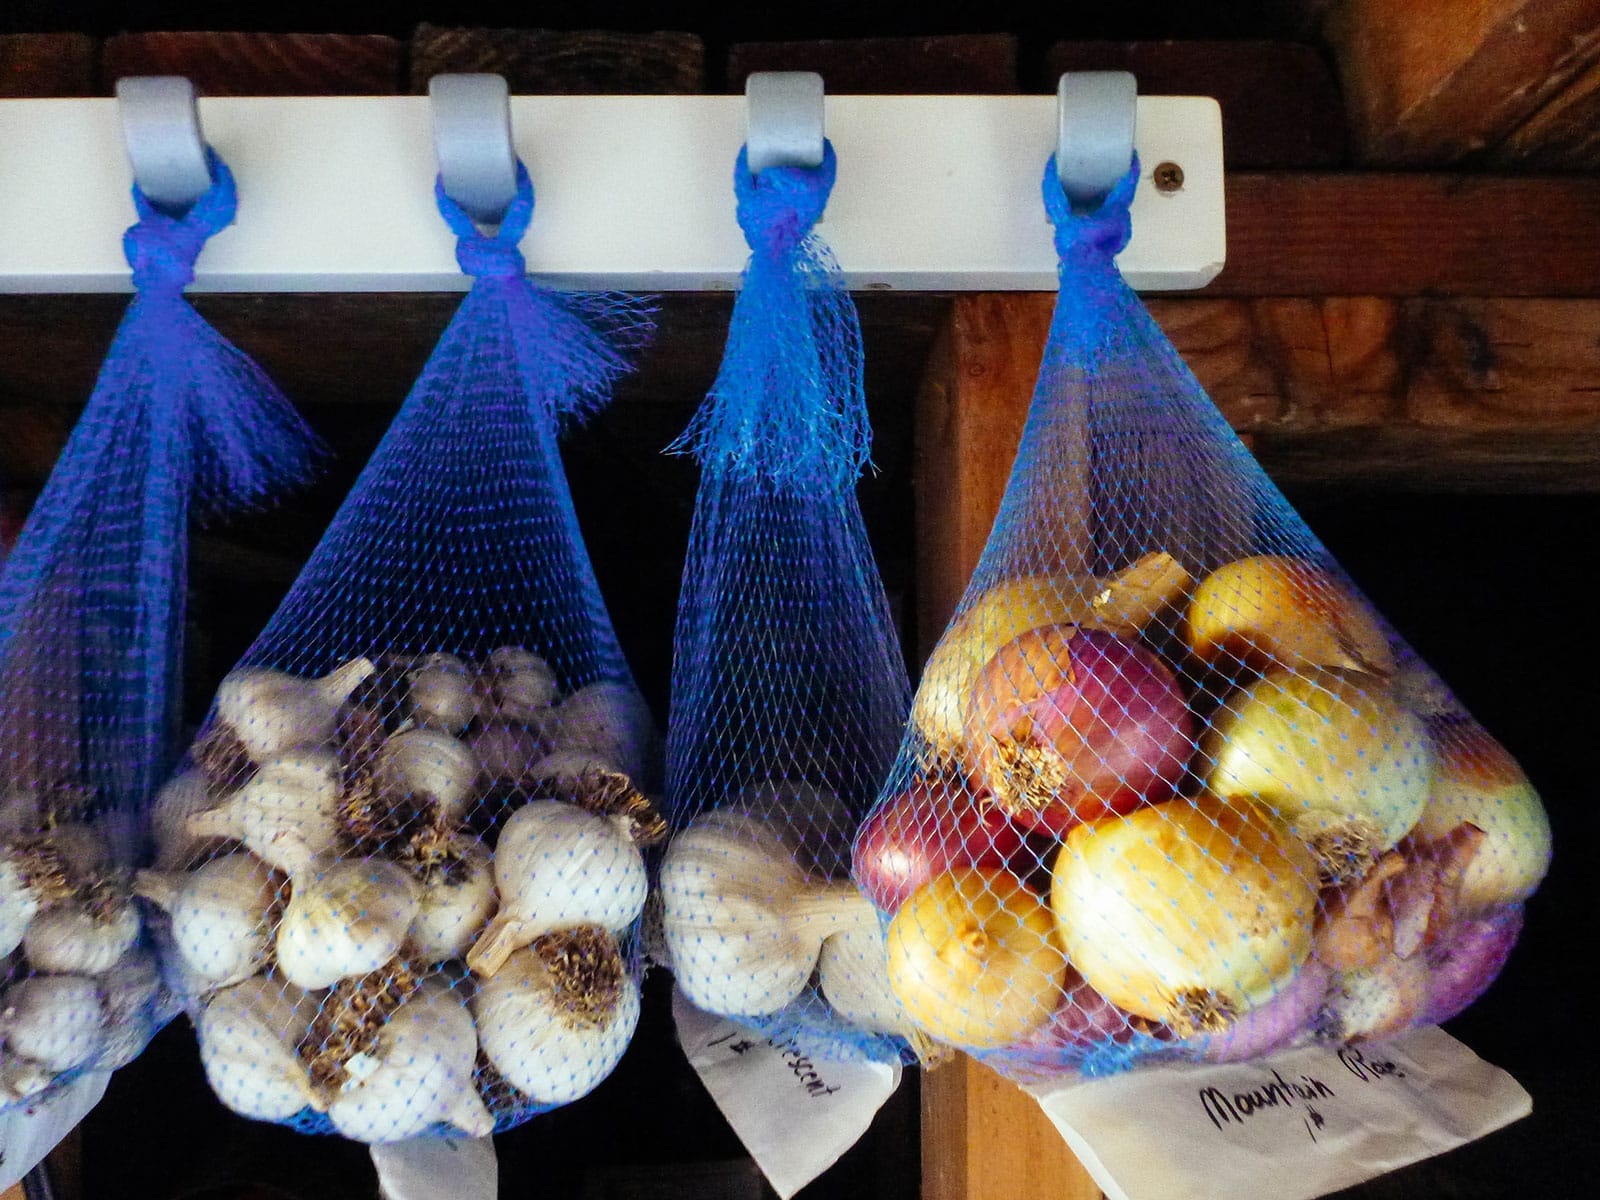
After you’ve cured your garlic harvest, gather the bulbs into mesh bags, paper bags, baskets or other breathable containers, and store them in a cool, dark and dry spot.
If you have softneck garlic, you can leave the stems intact and braid them for hanging. Hardneck garlic can simply be gathered and tied into beautiful bundles for storing vertically.
My favorite garlic storage bags: Reusable 100% Organic Cotton Mesh Produce Bags with Drawstrings
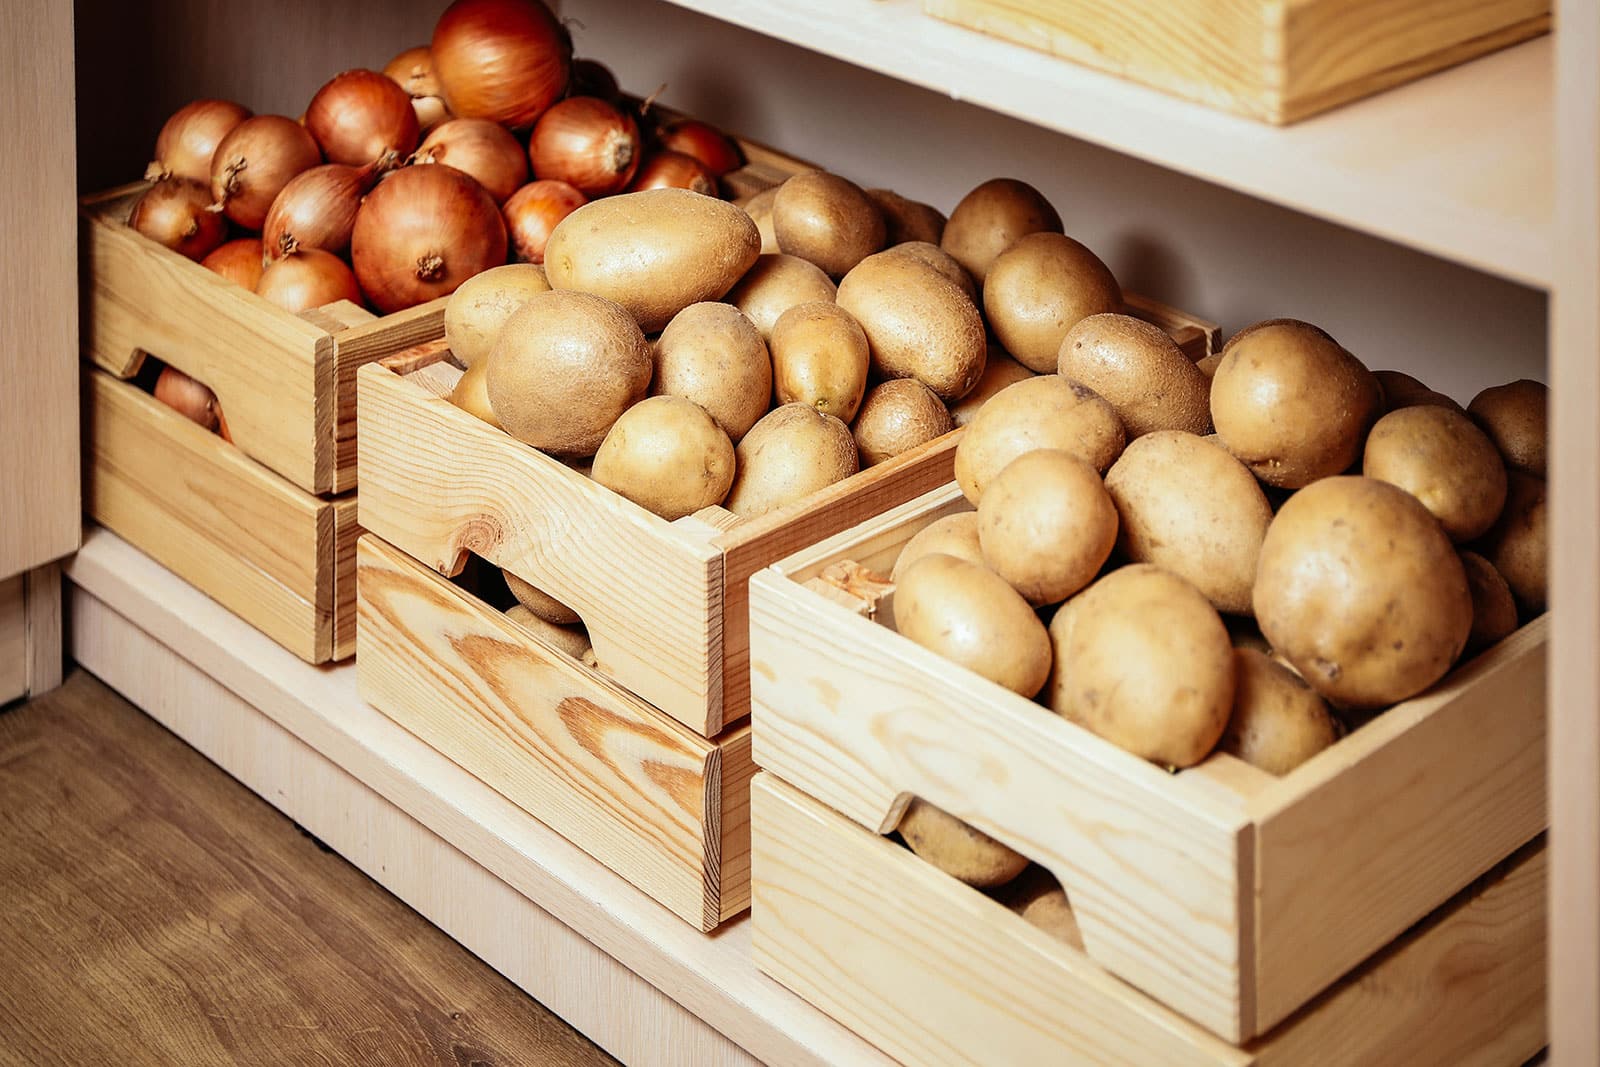
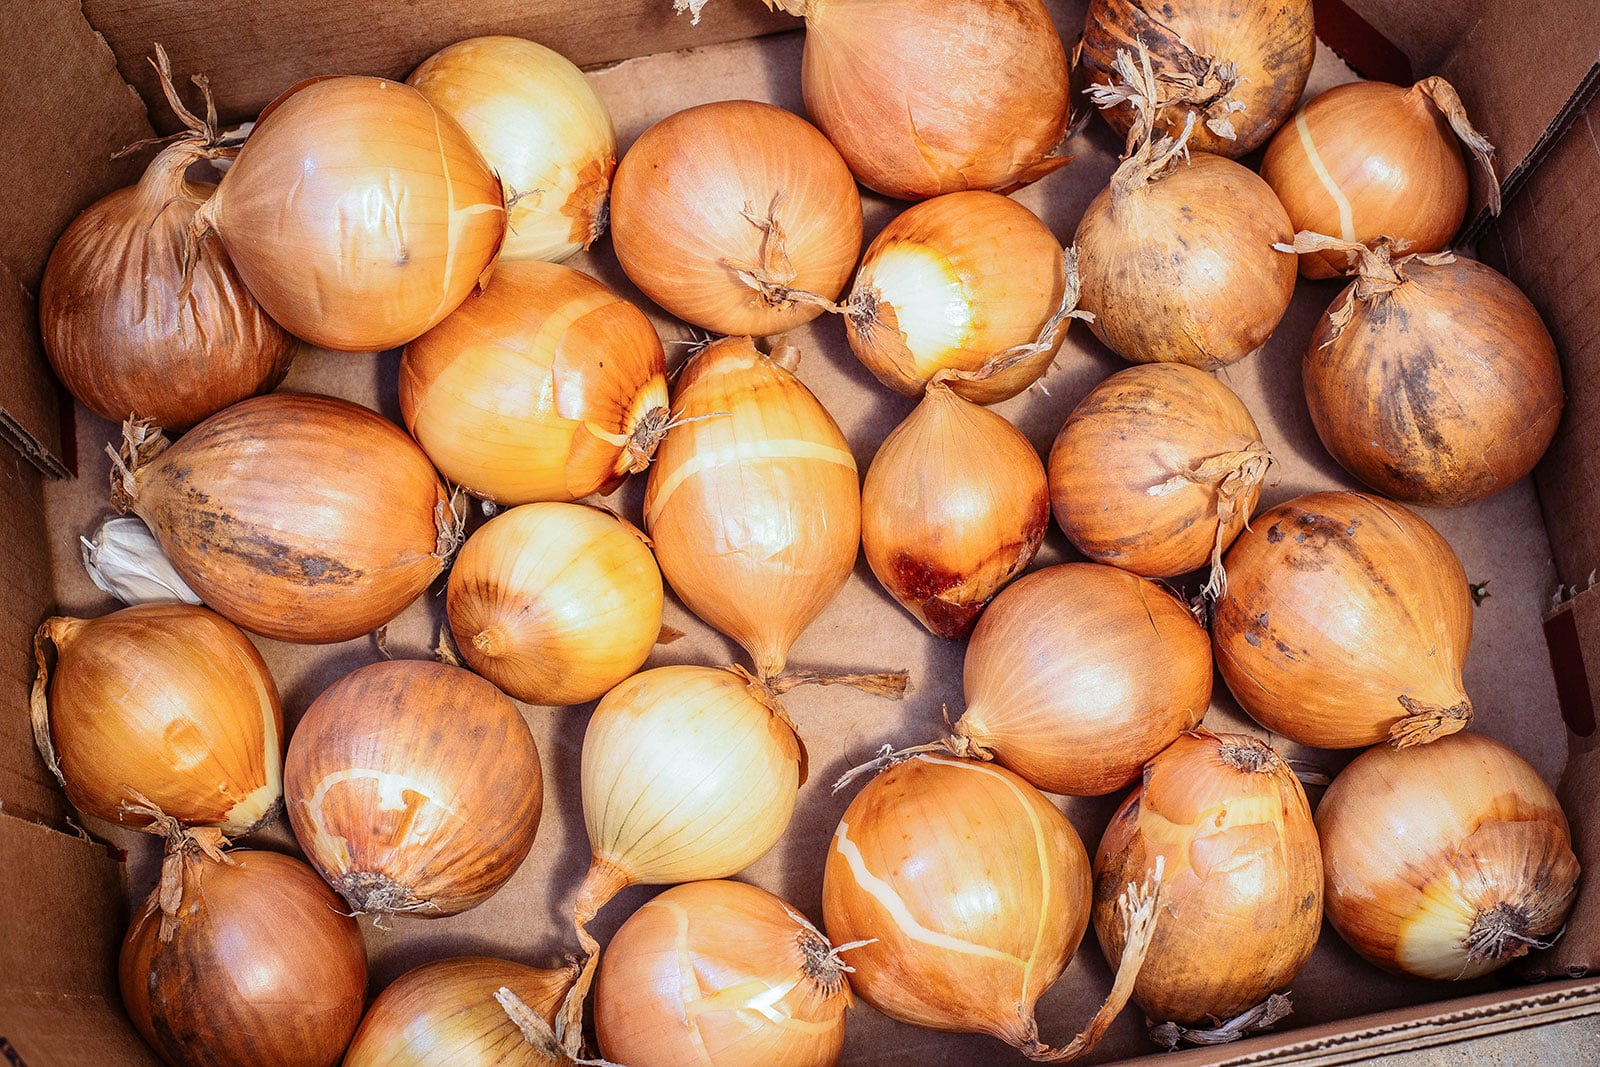
Onions
Onions like it cold (32° to 45°) and moderately humid (65 to 70 percent relative humidity).
For most homes, that means an unheated garage or basement is the best place to store a large harvest of onions once they’ve been cured. Keep the majority of your onions in that nice and cool, dark and dry area, and bring in only a few at a time to use in the kitchen.
Store them in mesh bags, paper bags, or crates so they have plenty of air circulating around them.
Like garlic, onions can also be braided or tied into bunches for hanging in storage. The trick is to start braiding while the stems are still green and pliable (they’ll finish drying as they cure).
A combination of warm temperatures and moisture will cause onions to break dormancy and sprout, so keep an eye on the thermostat if you want them to hold for a long period.
My favorite onion storage bags: Heavy Duty Mesh Sacks (30 lb Capacity)
Pumpkins and winter squash
After harvest, don’t forget to cure all your pumpkins and winter squash—a very important step you shouldn’t skip!
This goes for winter squash you grow at home as well as pumpkins you might pick on a farm (when you’re on a pumpkin patch adventure). If the fruit was mature and harvested off a vine, it needs to be cured to assure a good long shelf life.

Once cured, store your winter squash in a cool, dark and dry spot around 55°F (like a pantry or closet, or even a basement or garage), but don’t forget about them or let temperatures drop too much.
Once it gets below 50°F consistently, storage life starts to suffer and your squash won’t keep as long. (So for those of you in cold climates who like to display all your pumpkins on the porch, know that they might not survive beyond Halloween or Thanksgiving, even if they were cured.)
I also recommend storing winter squash in a single layer, if at all possible. Squash are still vulnerable, even in their cured and hardened state, and piling them all on top of each other (especially the biggies like pumpkins) make them more susceptible to damage.
By storing them side by side on a shelf, you’re also able to check on them more easily throughout the season and catch any prematurely-rotting squash before it affects the other squash.
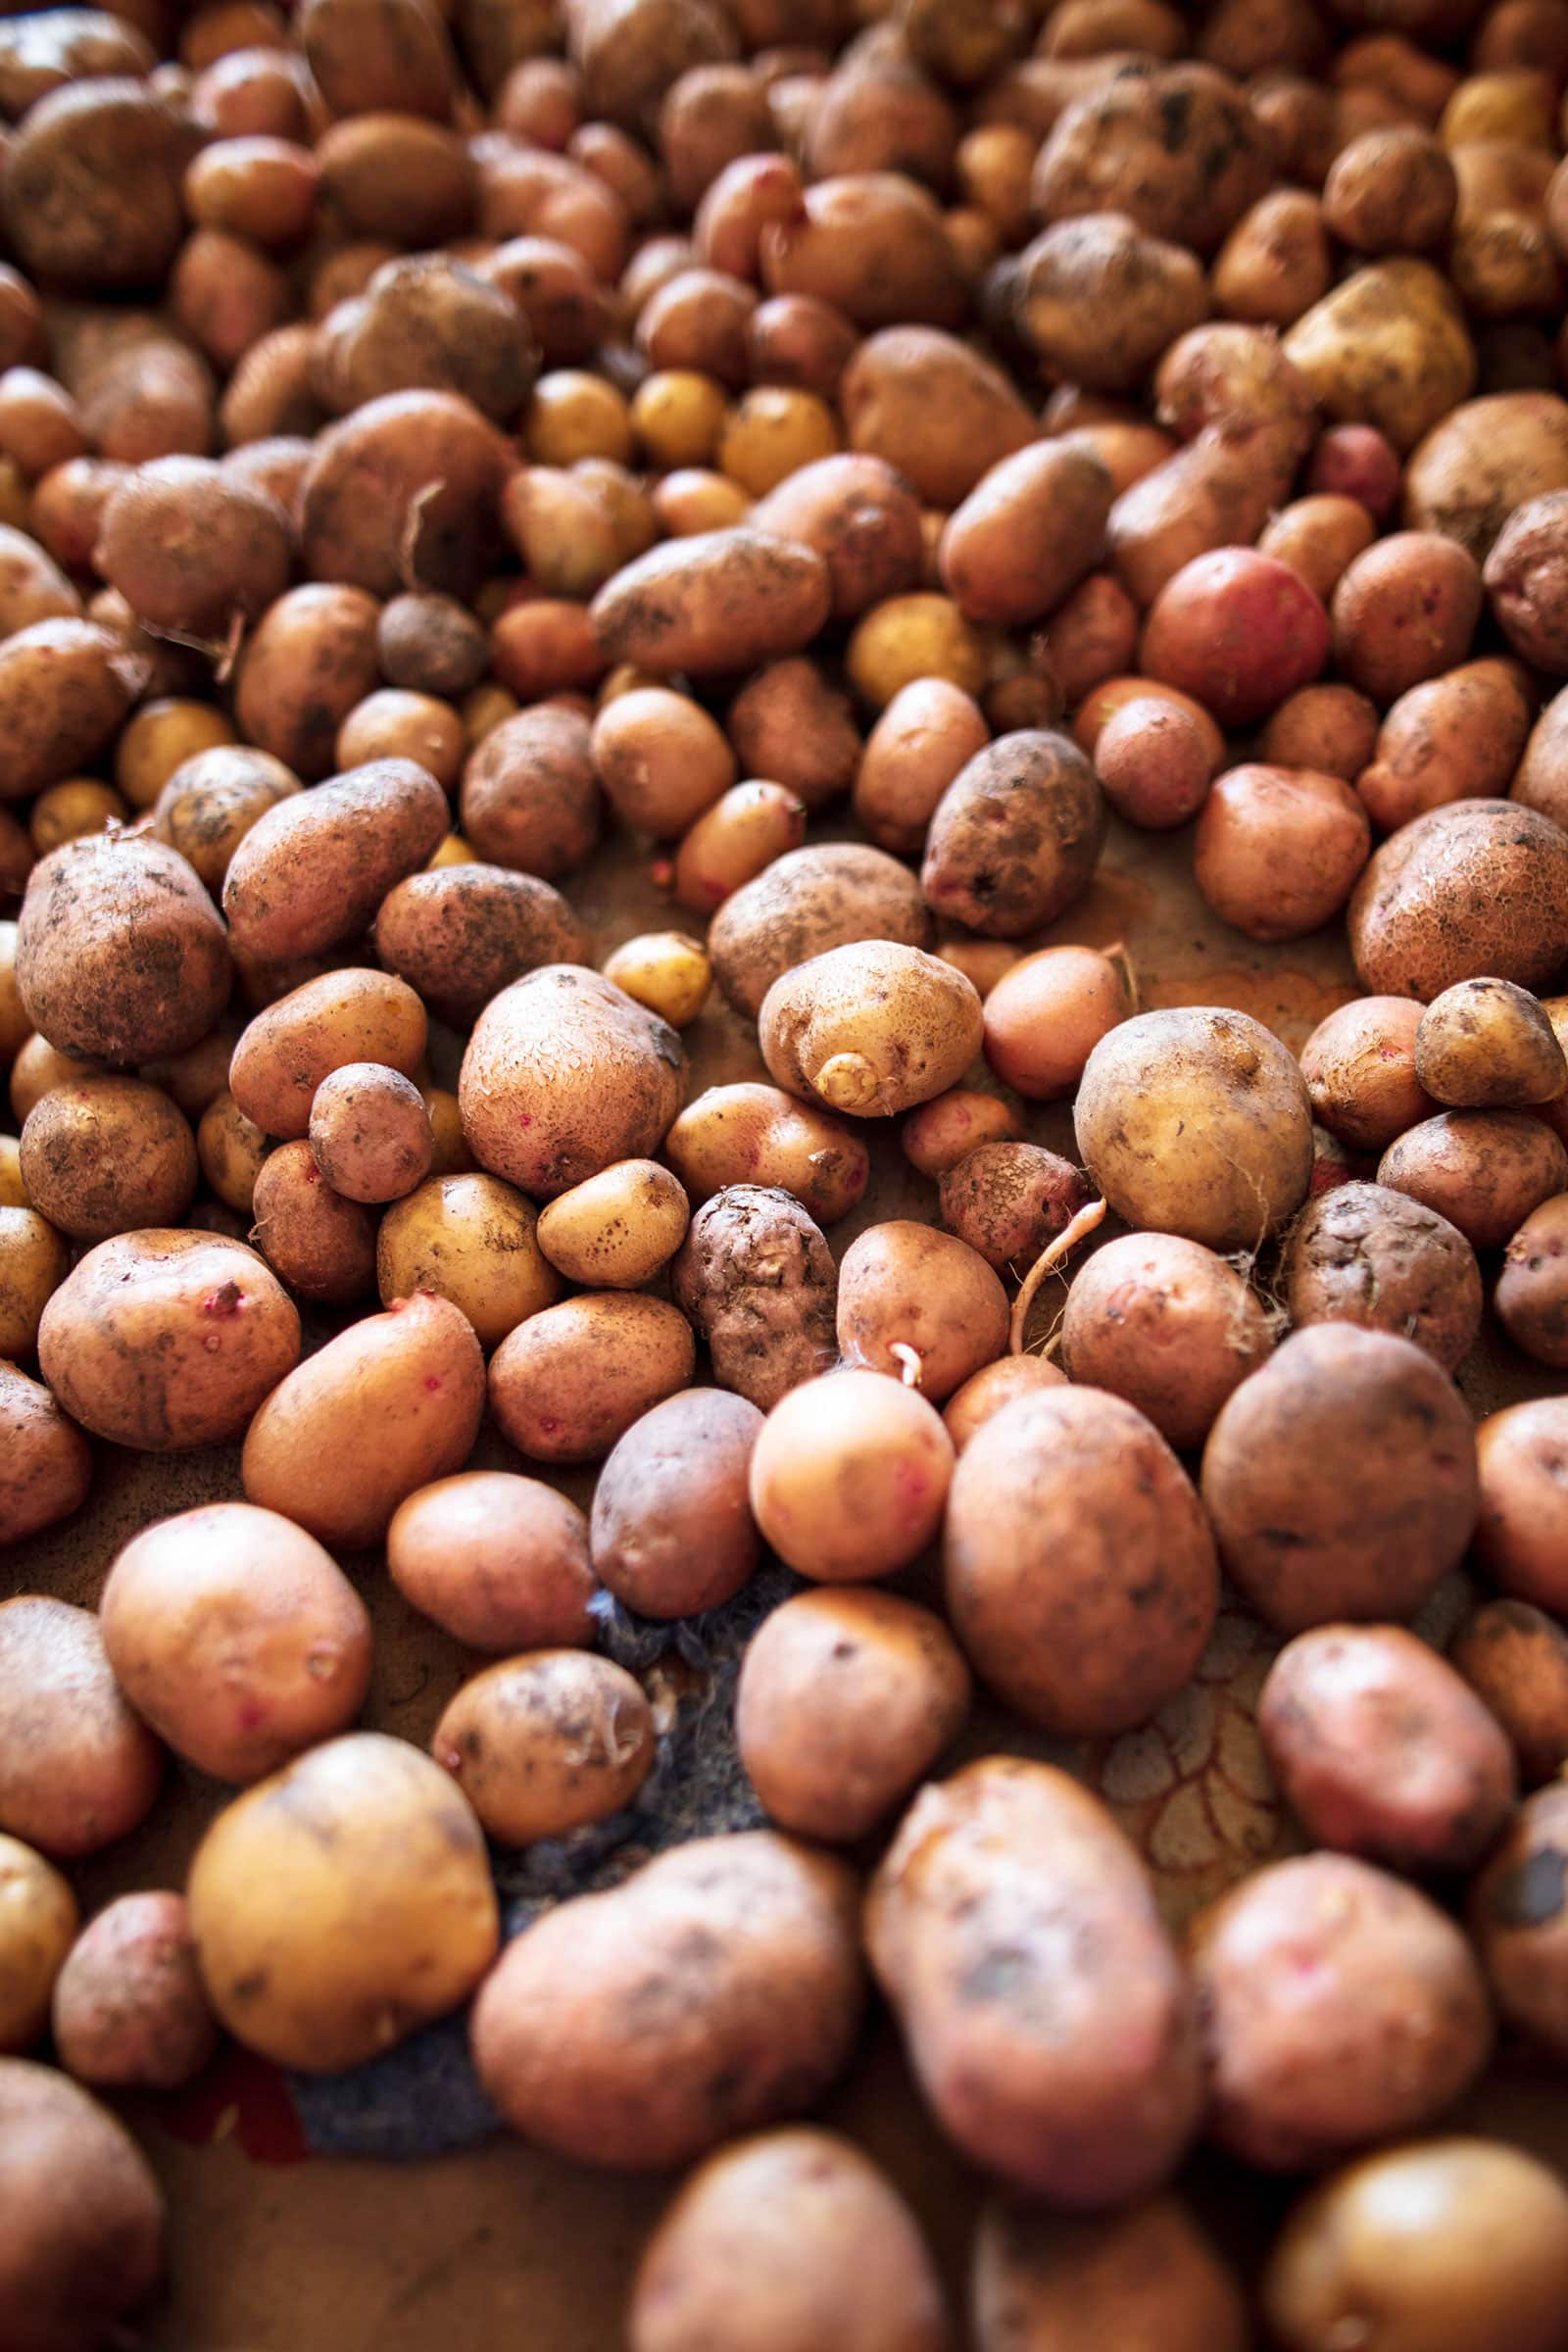
Potatoes
Once your potatoes have cured, store them in a cool, dark, and well-ventilated area in mesh bags, paper bags, or breathable baskets or bins.
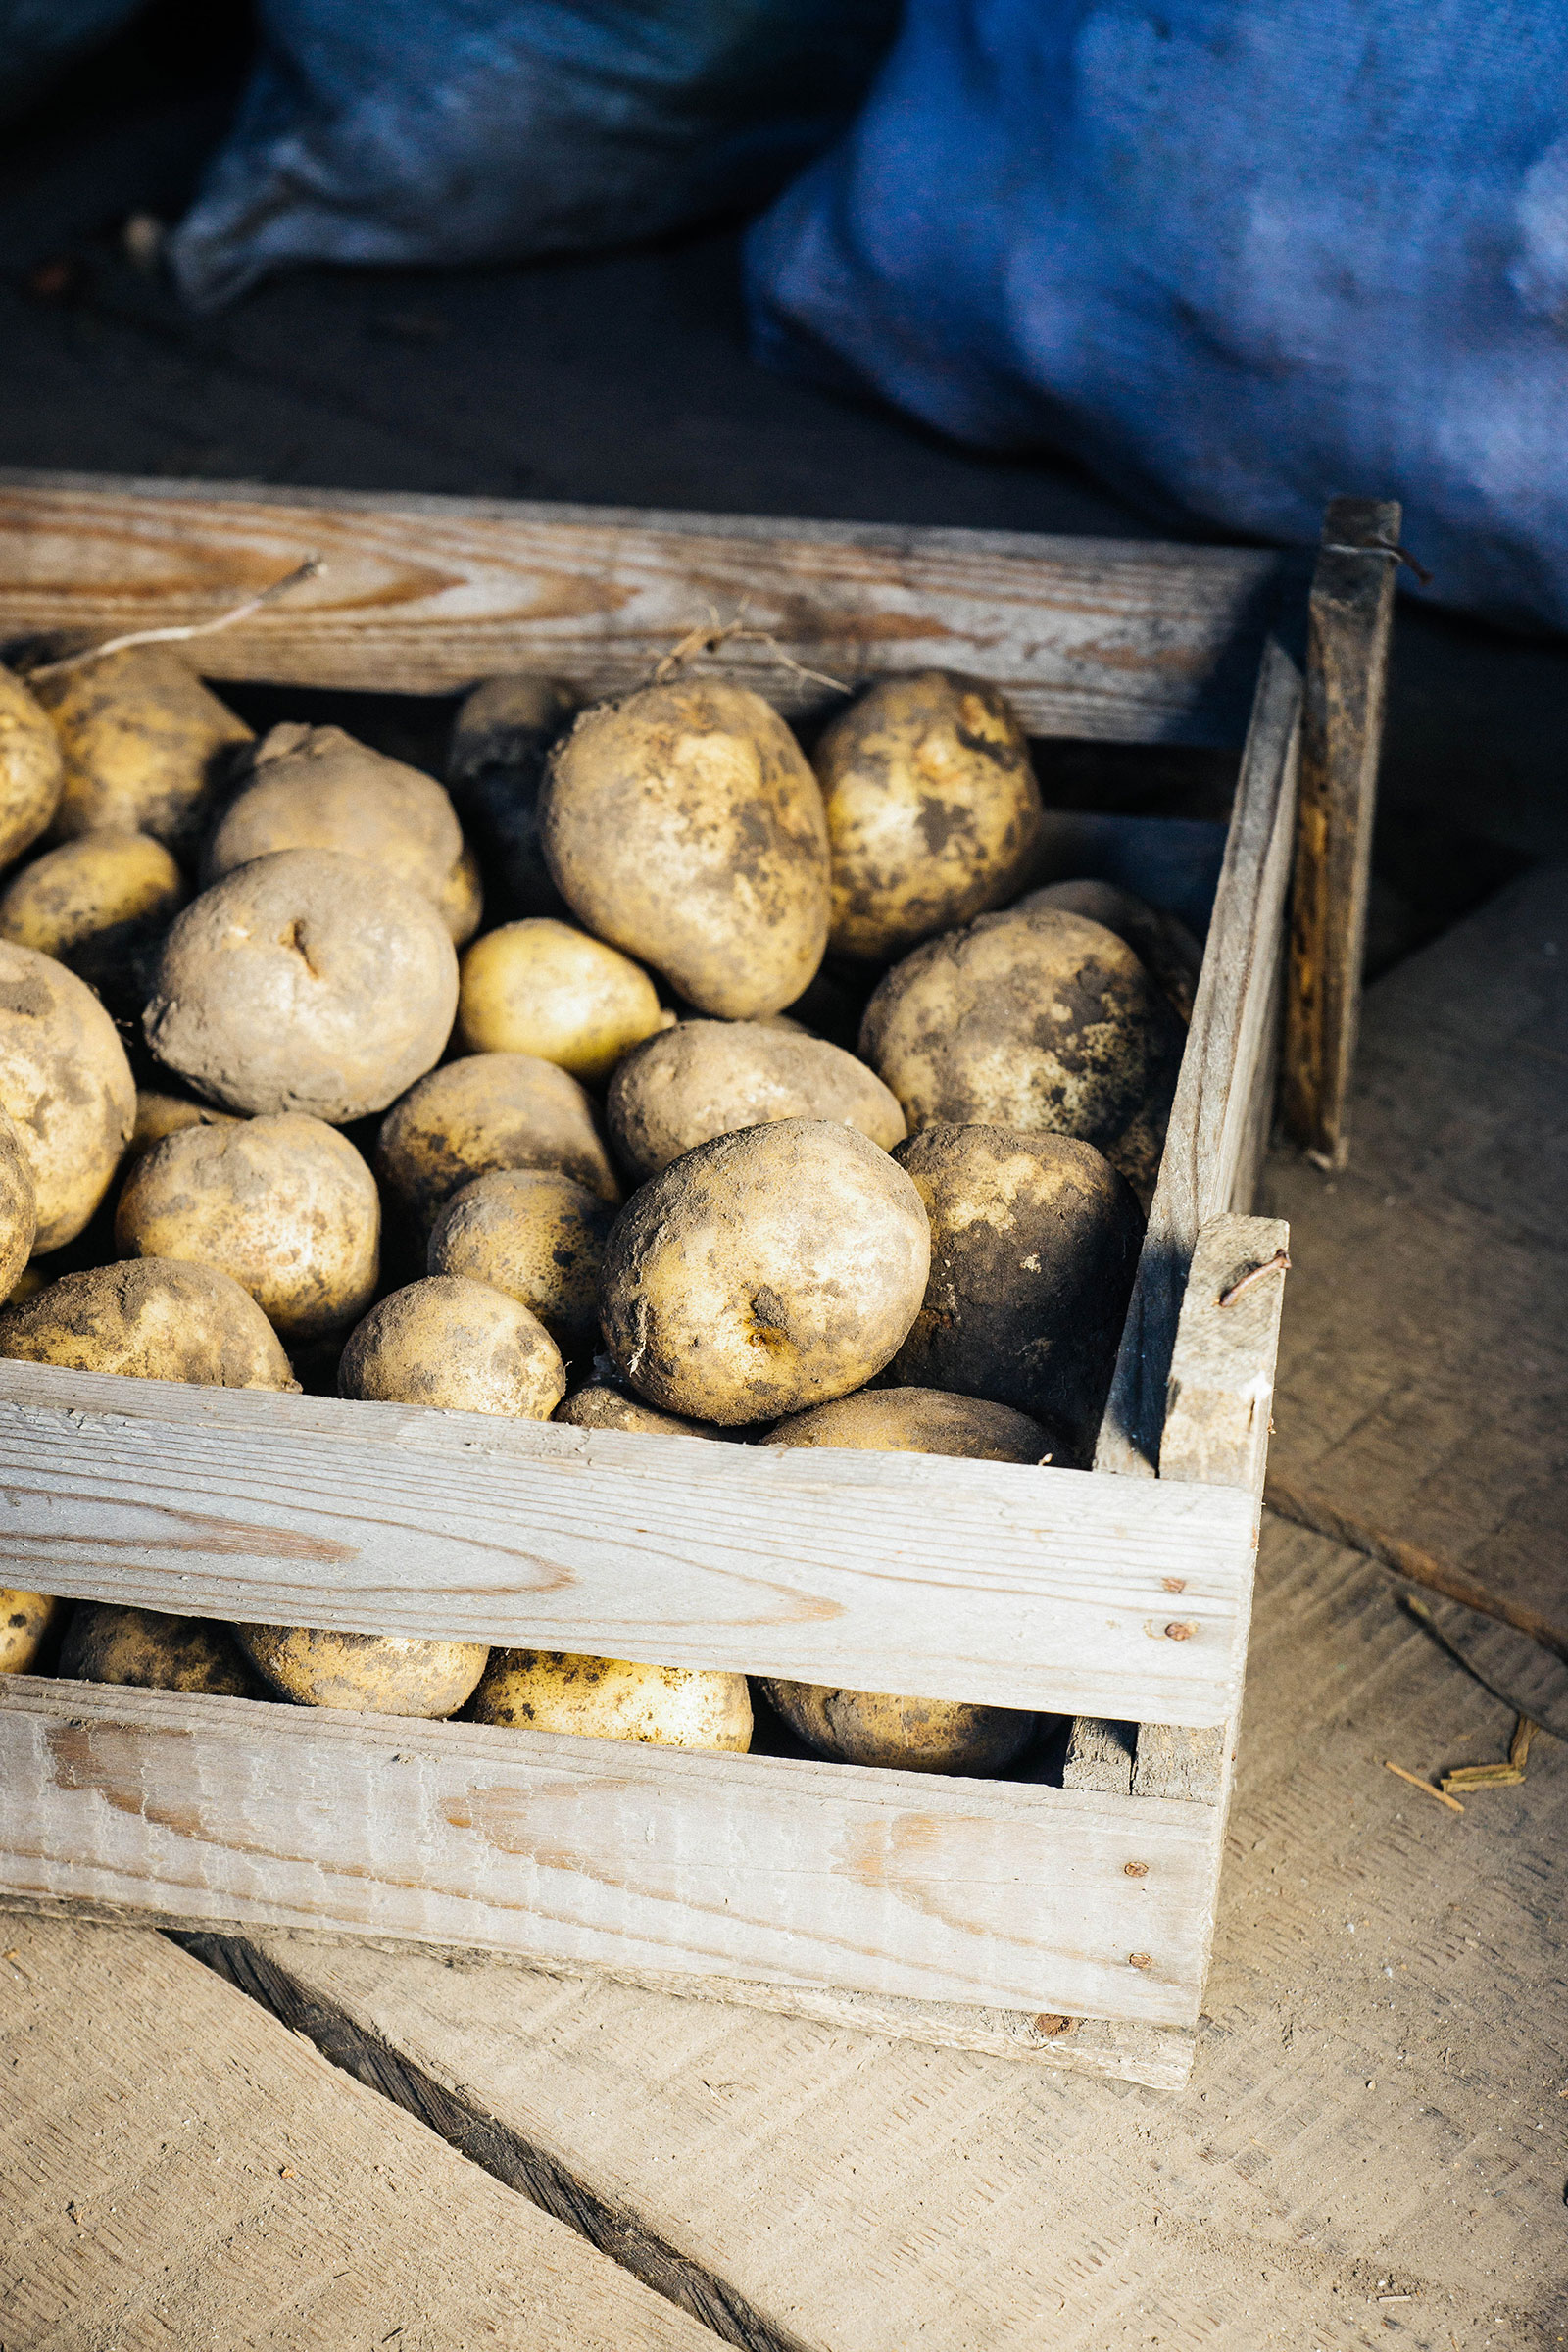
Potatoes like it surprisingly chilly (around 40°F or just a bit cooler) but also on the humid side (at least 90 percent relative humidity).
The perfect place for them is in a temperature-controlled root cellar—you know, the root cellar that’s right next to your wine cellar at home.
Oh wait, you don’t have a root cellar or a wine cellar? Yeah, neither do I, so it’s realistic to assume the potatoes you store at home aren’t going to last for many months, even though they’re capable of storing for up to eight months.
But, they will last for a month or two if you keep these tips in mind:
- Don’t store potatoes out in the open on your countertop. Store them in the above-mentioned bags or baskets so they don’t dry out as fast. (But don’t keep them sealed in plastic bags—like the ones they’re sold in—because you still want them to be able to breathe in storage.)
- If you have a lot of potatoes to store, stash them in crates and stack those crates on top of each other, maybe with a bed sheet or breathable cover on top for good measure.
- Make sure your potatoes are stored in the dark. Even though they’re no longer in the ground, they’re still very much alive. If they see sunlight, they’ll start to photosynthesize again.
- If your potatoes start to sprout in storage, that’s a sure sign the room is too warm.
My favorite potato storage crates: Stackable Collapsible Plastic Storage Crates
Sweet potatoes
Sweet potatoes, in contrast to potatoes, actually like things a bit warmer—though for most homes, they can be kept in the same storage conditions once they’re cured.
(I should take a moment here to remind folks that sweet potatoes are not related to potatoes at all, despite their similar appearance and growth habits. Sweet potatoes are actually a member of the morning glory family.)
To prolong shelf life, store sweet potatoes in a dark and cool area (around 55°F to 60°F) in well-ventilated bins, baskets, or crates, or in mesh bags or paper bags (not in plastic bags).
They also prefer high relative humidity of 85 to 90 percent, and you can use the same techniques mentioned above for storing potatoes to maintain a higher level of humidity to keep your sweet potatoes happy.
My favorite burlap bags for sweet potato storage: Natural Jute Burlap Sacks
Herbs
To store herbs for several months, you have three options:
- Dry them (here’s my trick for using the oven to dry oregano and other herbs fast)
- Freeze them (I freeze herbs like parsley, rosemary, cilantro, and chives in a variety of ways)
- Make frozen herb cubes (this is how I like to preserve basil in the freezer)
Try this: Get More Organized With This Simple DIY Spice Drawer Hack
This post updated from an article that originally appeared on November 12, 2022.
View the Web Story on how to store vegetables over winter.


Very useful information – thank you so much!
Thank you for all these storage instructions! Especially now with skyrocketing food prices, it’s a shame to let any food go to waste.
I love your garden tips.