
At some point in your homemaking journey—whether you’re a cook, gardener, or full-blown homesteader—you’ve probably learned how to preserve food. And for many people, boiling water bath canning is the gateway to all other methods of food preserving.
Though it requires more gear in the kitchen than, say, mason jar fermenting or oven dehydrating, there’s something about canning a batch of tomatoes, jams, or pickles that’s deeply satisfying.
Maybe it speaks to our off-grid fantasies of being a self-sufficient mountain mama (or mountain man). Maybe it’s because the distinctive pop of the lids brings a sense of accomplishment and joy, or the fact that we end up giving some of those jars away as gifts that brings even greater joy.
I learned how to preserve food just a couple months into tending an edible garden (before I learned how much I actually needed to grow to feed my family).
That first summer, I canned 24 jars of tomatoes and 40 jars of jams and jellies. (These feijoa-white peach preserves were one of my first batches in the kitchen, and the first canning recipe I ever posted on my blog. Wild, eh?)
More than a decade later, I’ve learned some useful tips and tricks for modern-day home canning, and even picked up a few time-saving habits as an ambassador for Ball Canning, America’s favorite mason jars.
Learn from these little nuggets of information I’ve gleaned from their test kitchen, as well as from my own experiences (hundreds of jars later).
Disclosure: If you shop from my article or make a purchase through one of my links, I may receive commissions on some of the products I recommend.
New and updated canning tips for beginners and experienced home canners
Tip #1: You don’t need to warm your lids ahead of time.
I first heard this from the Ball Canning test kitchen several years ago, and I was floored. (And it’s funny that I didn’t find out until 2017 but the old recommendation had been dropped since 2014—it just wasn’t very well-publicized by the company.)
I still come across countless canning recipes that tell you to preheat the lids in simmering water before using (to soften the sealing compound for better adhesion), and even Ball’s previous product packaging and older editions of their canning book have recommended preheating lids.
However—straight from the source—this is no longer necessary for Ball- or Kerr-branded lids. (Ball and Kerr are the same product, just named differently in different regions.)
After many years of research, it was determined that preheating Ball® and Kerr® lids is no longer necessary. The sealing compound used for our home canning lids performs equally well at room temperature as it does pre-heated in simmering water (180°F). Simply wash lids in hot, soapy water, dry, and set aside until needed.
So, as far as lid prep goes, all that’s needed is a soapy wash in hot water. Done!
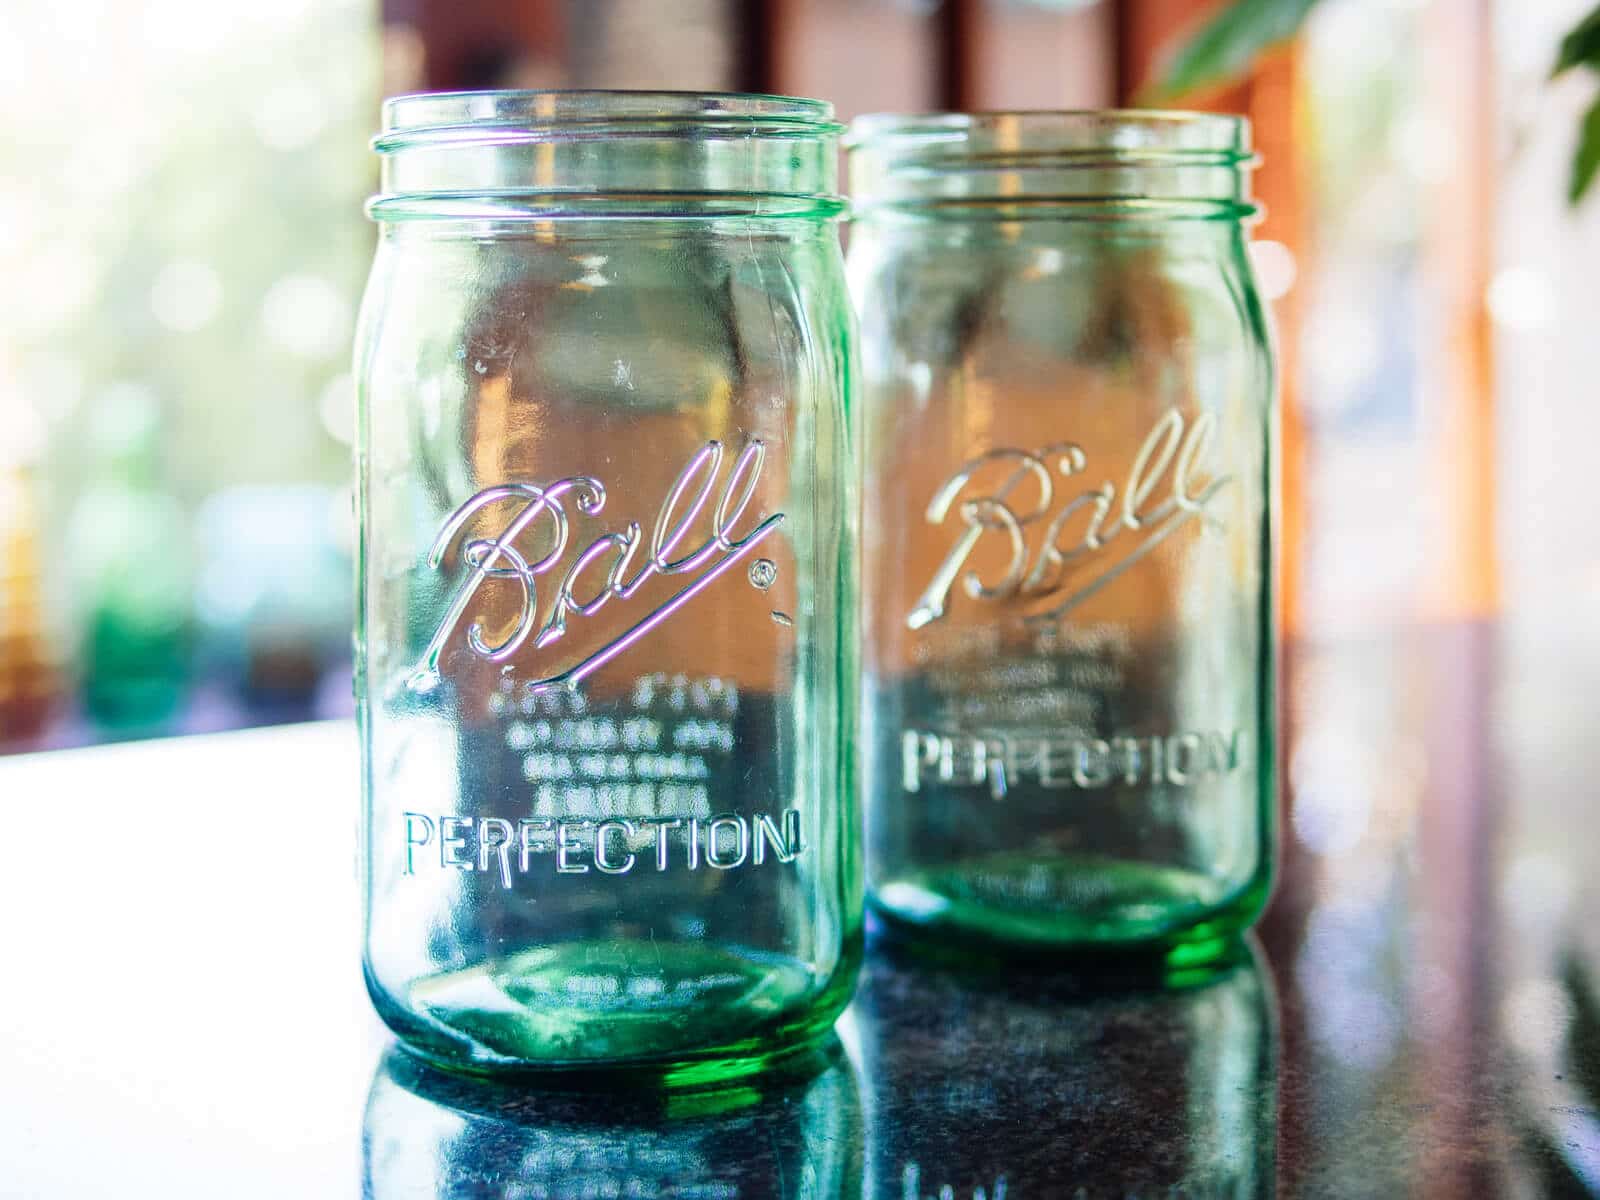
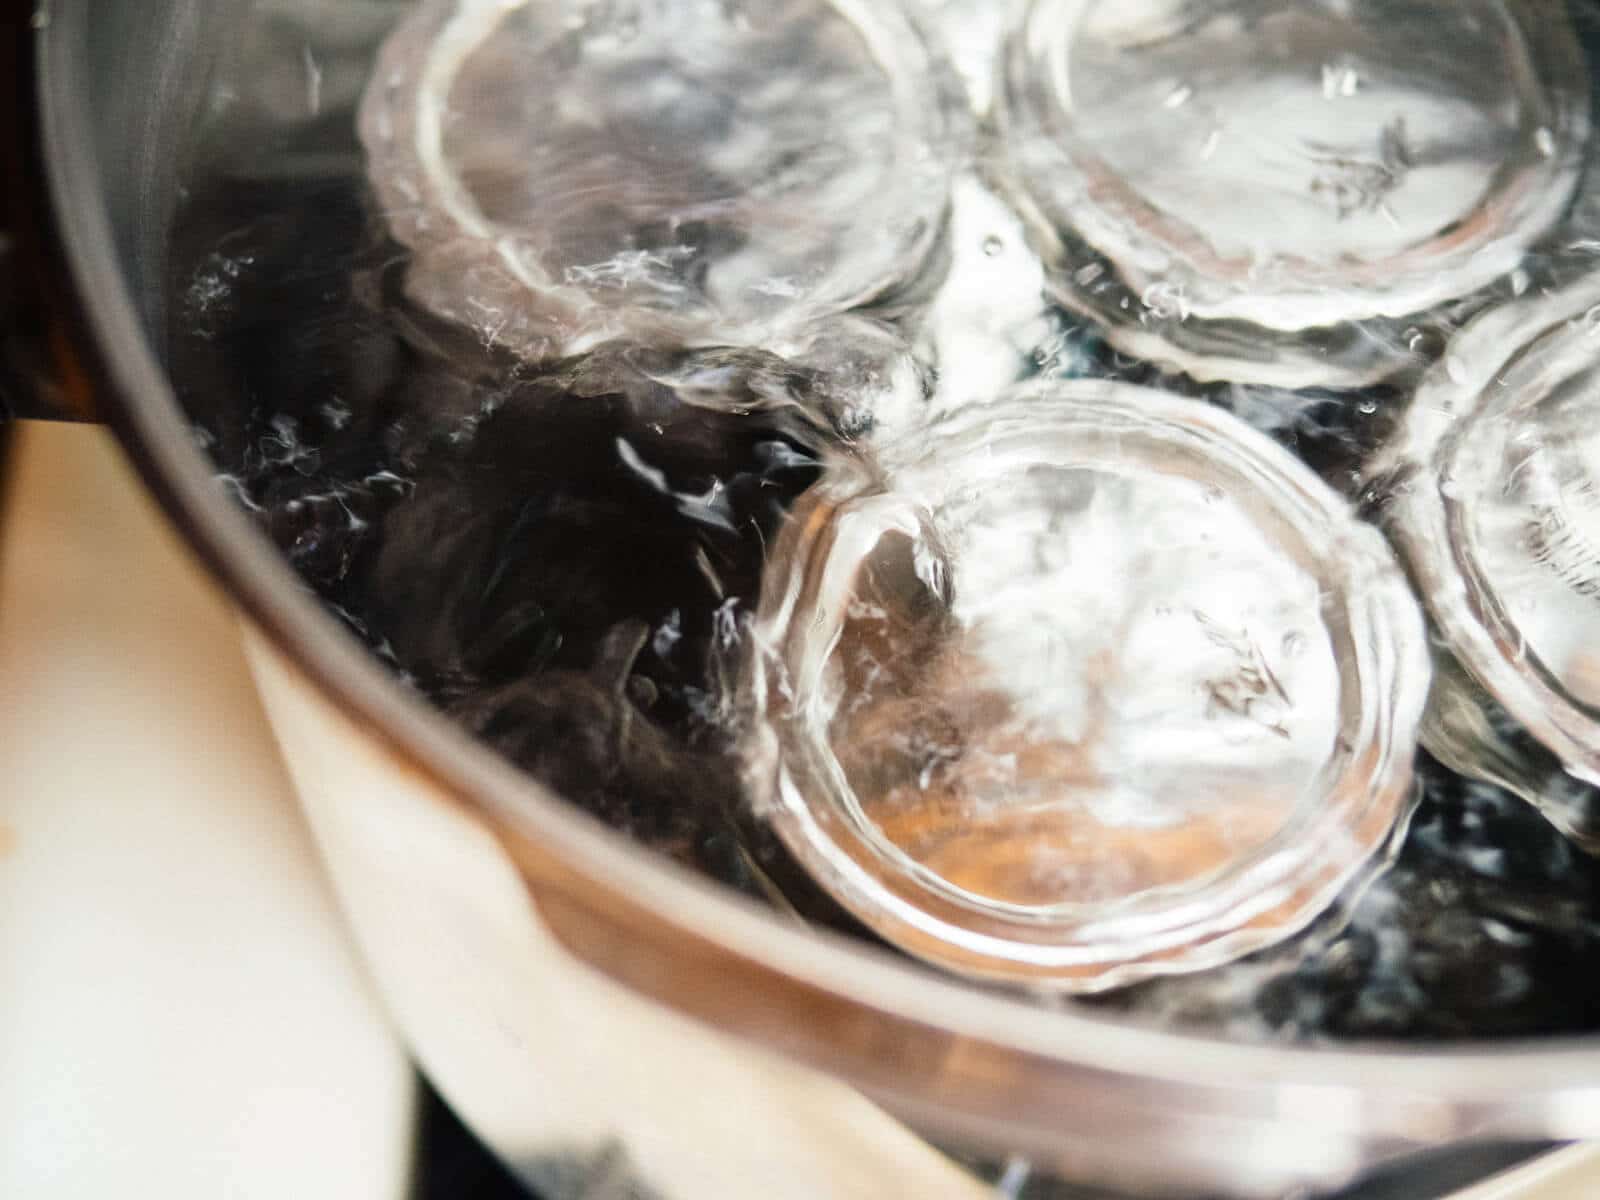
Tip #2: You don’t need to sterilize canning jars that will process for 10 minutes or more.
Again, mind blown when I learned this.
The official guideline was changed in 1988 (!) but many recipes still tell you to sterilize your jars when it’s usually not needed.
Sterilization is a slightly annoying step that involves either submerging the jars in boiling water for 10 minutes (at altitudes of less than 1,000 feet), or remembering to sanitize them in the dishwasher right before you start.
But, good news!
According to the National Center for Home Food Preservation, the go-to authority for all things canning, you do not need to sterilize jars if your processing time is 10 minutes or longer (at or below 1,000 feet elevation).
When the process time for canning a food is 10 minutes or more (at 0-1,000 feet elevation), the jars will be sterilized DURING processing in the canner. Therefore, when process times are 10 minutes or more at this altitude, pre-sterilization of jars is not needed. It doesn’t hurt your product to do it anyway, but it does require additional time and energy and is unnecessary.
Many canning recipes, with the exception of certain jams and jellies, already require at least 10 minutes in a boiling water bath, so there’s no need to sterilize these jars ahead of time—it would just be a waste of your time.
For certain jams and jellies that call for 5 minutes of processing time, there’s usually no harm in increasing that time to 10 minutes so you can skip the sterilization. The extra process time will not affect most gels.
Note that the 10-minute rule applies to those living at or near sea level, so you will need to adjust that time accordingly if you live above 1,000 feet, per HFP.
If you are processing above 1,000 feet elevation, then you need to consider the altitude adjustments needed to sterilize jars so you use the equivalent to 10 minutes of boiling at 0-1,000 feet elevation.
Note that sterilizing is not the same as cleaning—you should always wash your jars thoroughly in hot soapy water before using.
This was a fact that Ball emphasized when I toured their factory in Indiana, as the jars are made in an industrial environment that produces dust, chips of glass, and other manufacturing residue. You definitely don’t want any traces of that in your canned goods!
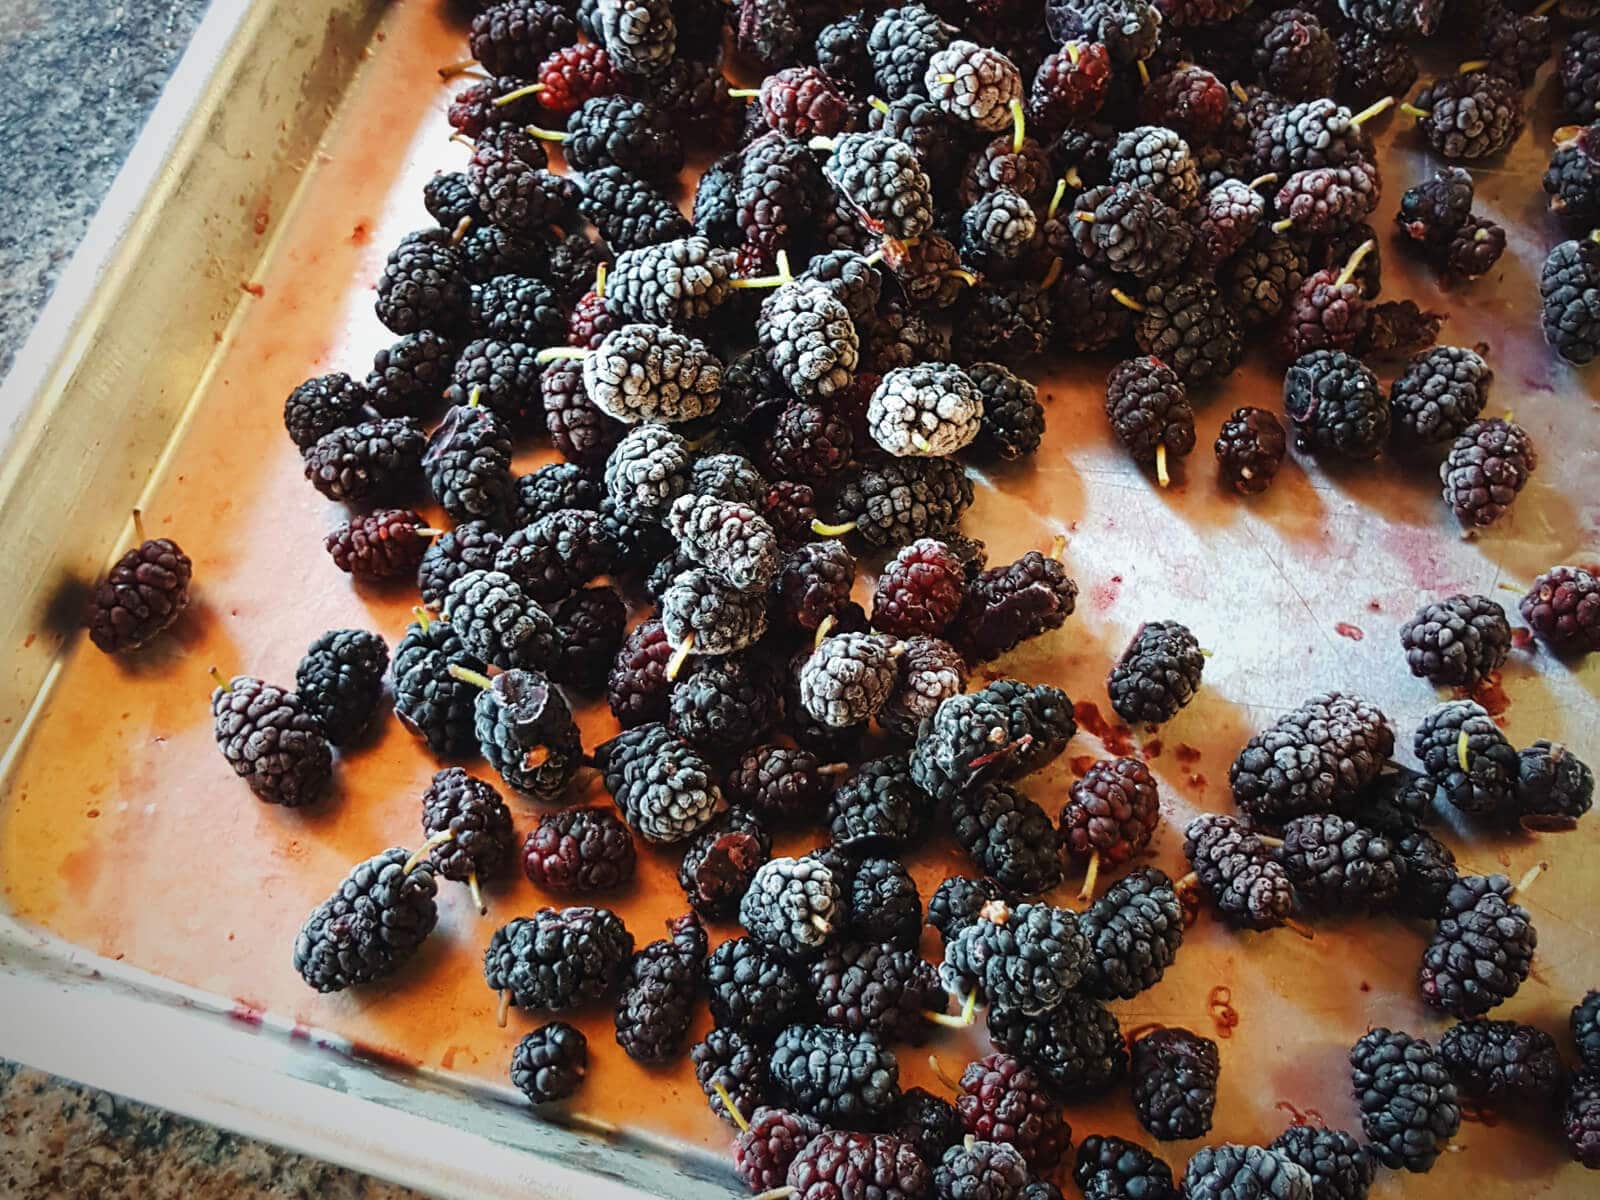
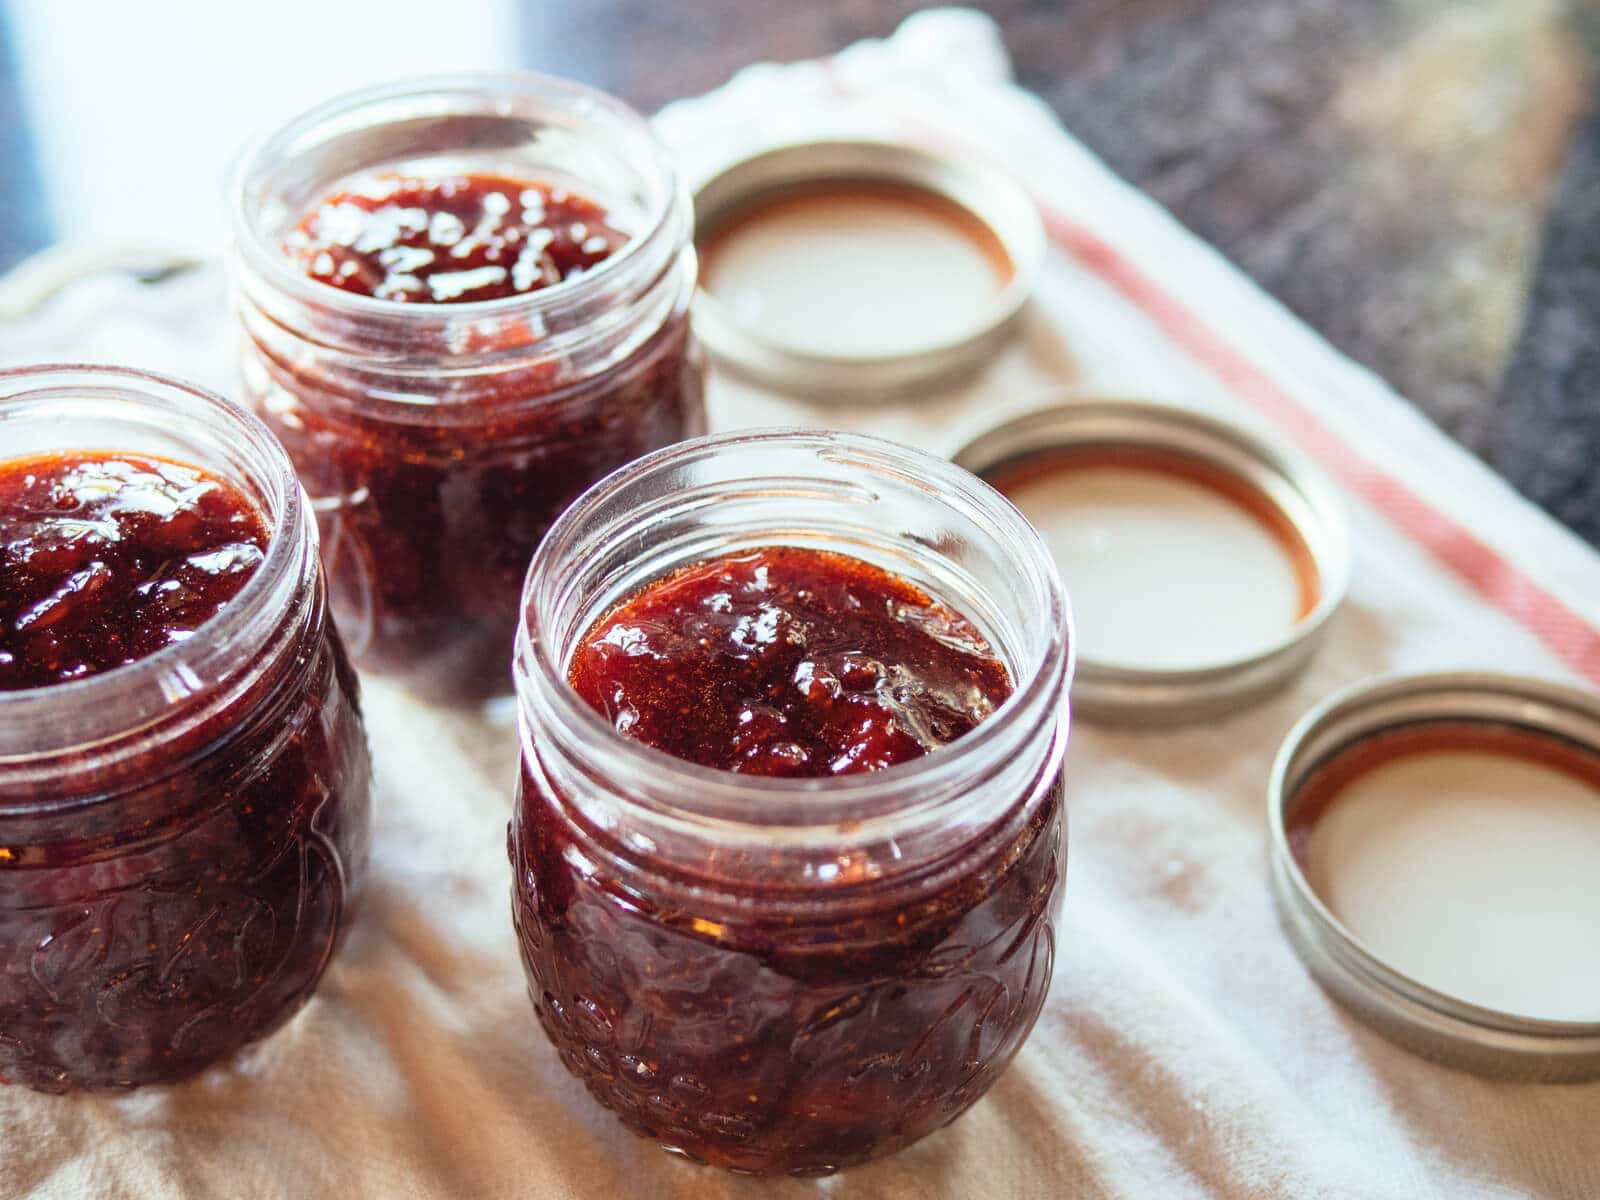
Tip #3: Frozen fruits make excellent jams and preserves.
In the summer, there’s often a lot of pressure that comes with preserving large amounts of fresh, ripe fruits from your garden, especially if you think preserving always means canning “in season” and right now.
But here’s a secret: You can make delicious jams and preserves with frozen fruit, and no one will be the wiser!
Realizing this simple fact has since saved me from stressing over abundant harvests that I couldn’t keep up with in the kitchen.
If I knew there was no way I’d be able to preserve my bounty of fruits within the week (including tomatoes, if their intended final use will be for tomato sauce), I spread them out across a baking sheet and put them in the freezer for a couple hours. (Doing this first keeps the fruits from clumping together in a bag.)
Once they’re frozen solid, I collect them into freezer bags and come back to them when the weather turns cooler and life is a little less chaotic.
Read more: This Is the Best Way to Freeze Fresh Tomatoes
Freezing your fruits locks in all their nutrients, so you won’t lose any of their benefits when you finally get around to canning them. The only loss will be in texture—but since canned fruits are meant to be soft or cooked, this is negligible.
Another tip: You can make jam with store-bought frozen fruit as well! So if you’re craving homemade blueberry jam in the middle of winter, this is a great way to go.
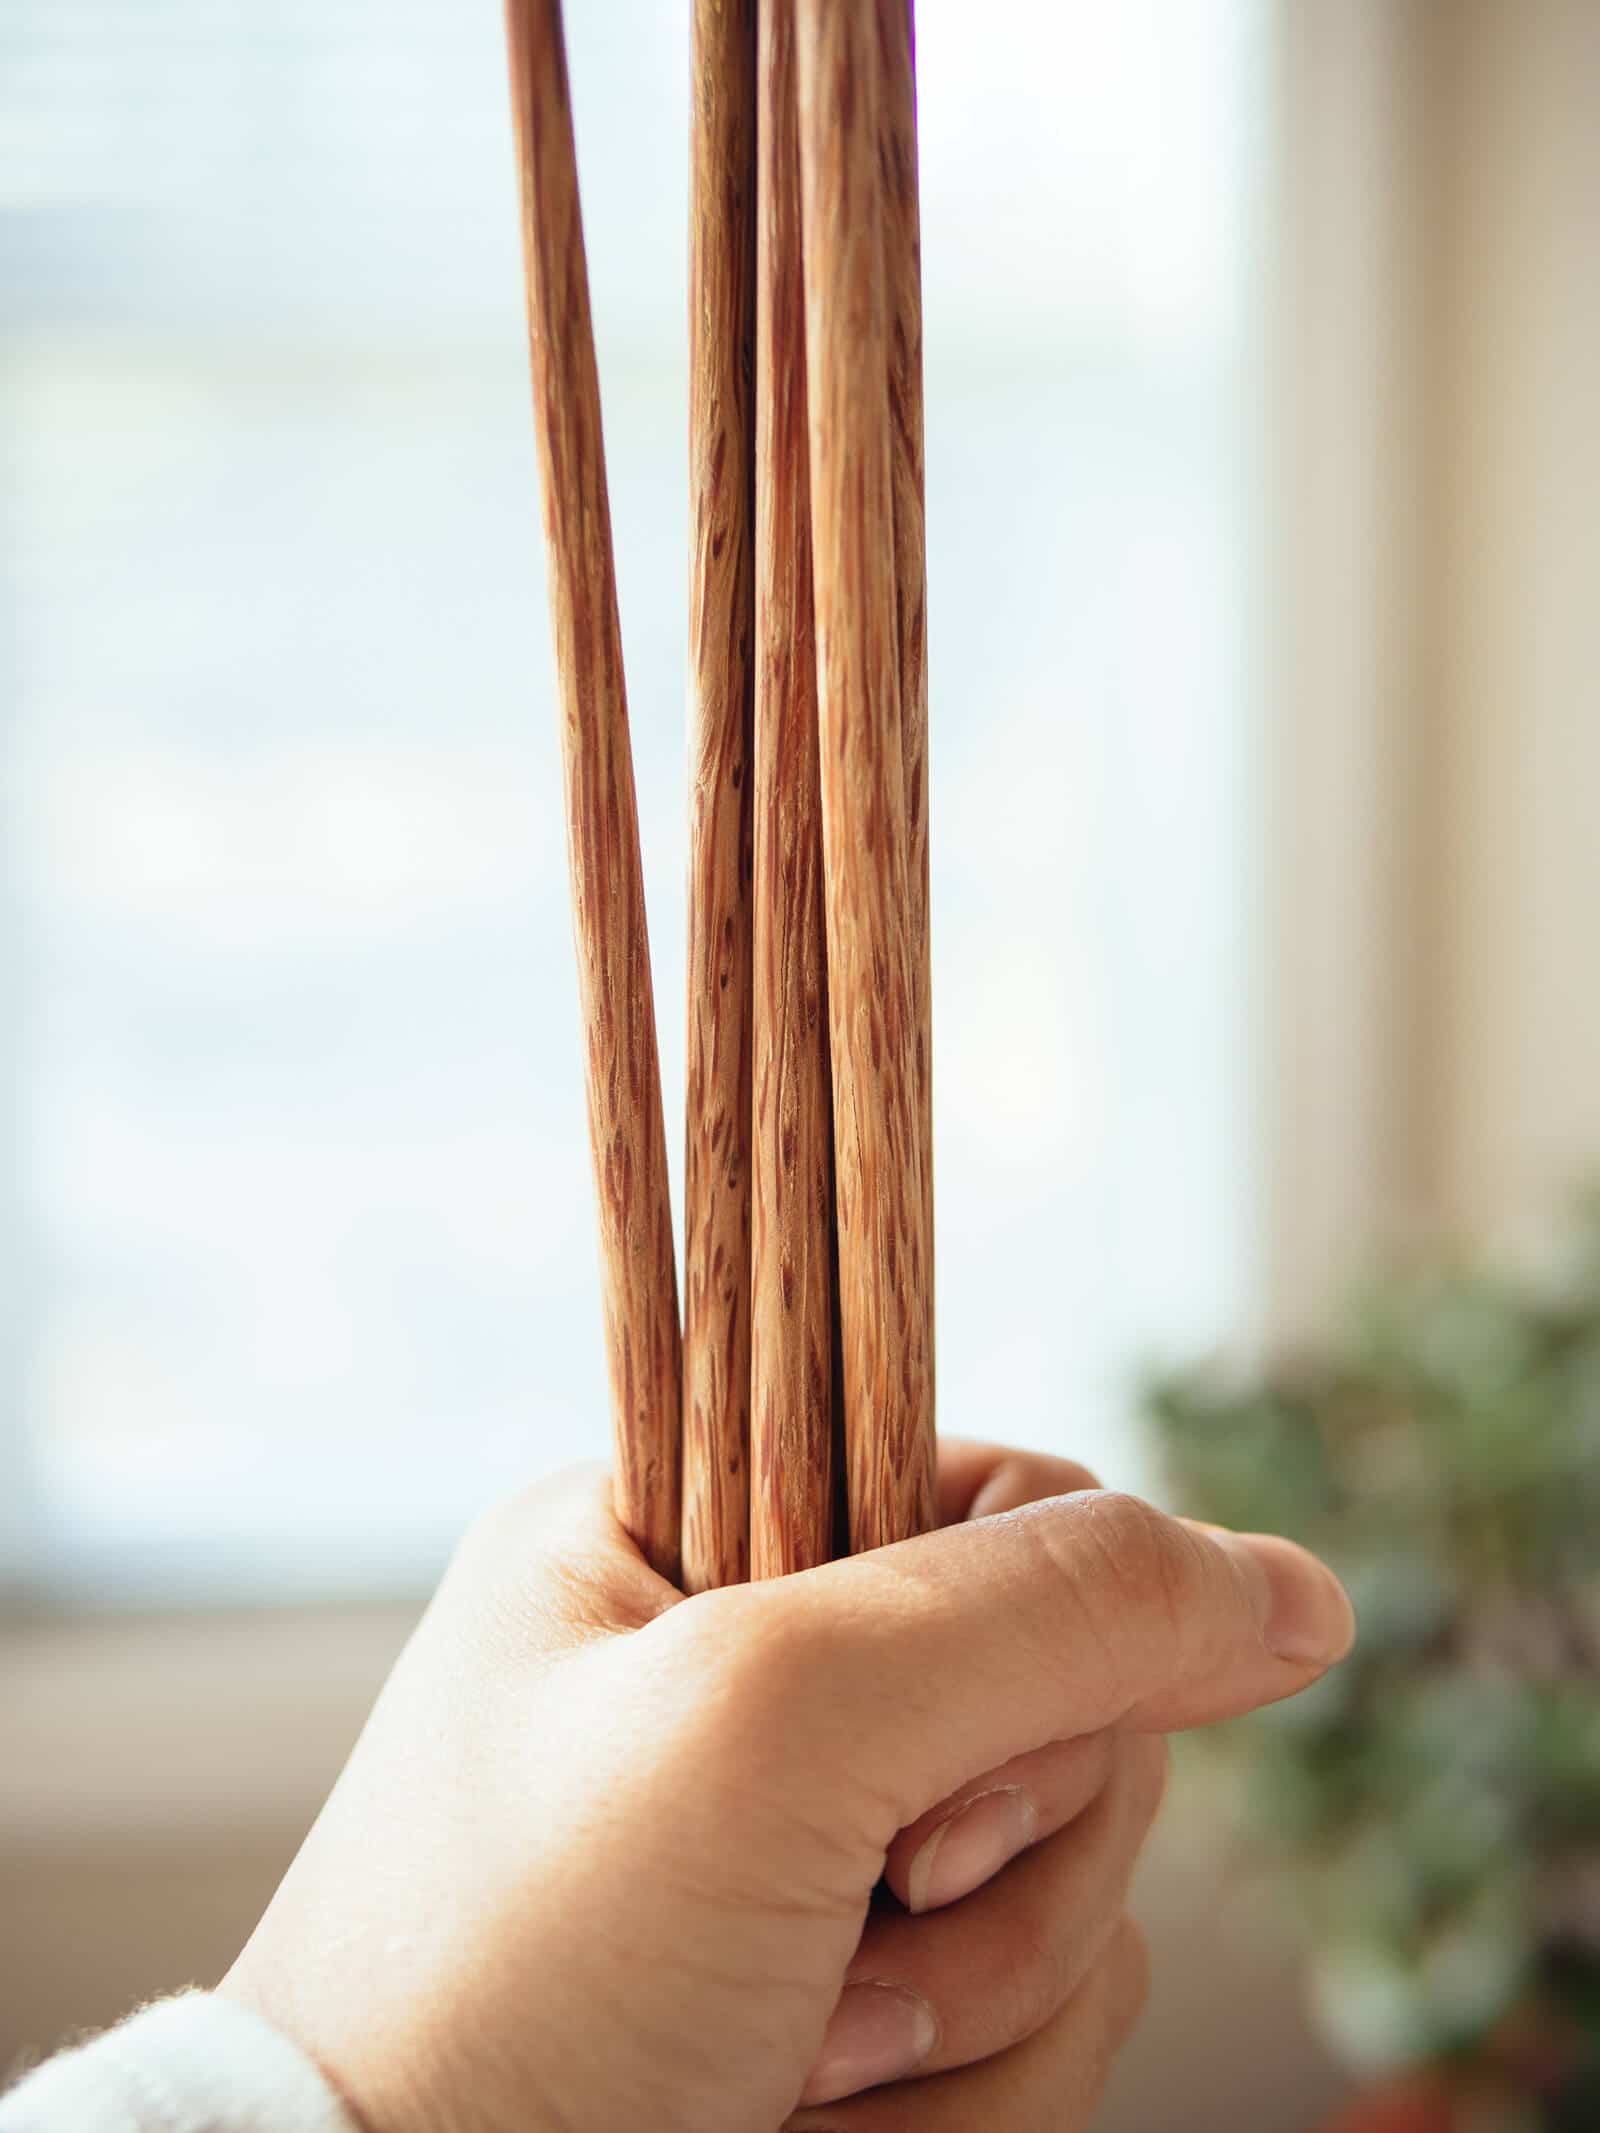
Tip #4: Chopsticks make great bubbling tools.
“Bubbling” refers to releasing trapped air bubbles in a jar before sealing it with a lid and band. It’s an important step in boiling water bath canning, as not removing air bubbles can lead to seal failures.
You can bubble your jars with any narrow utensil, and in my canning recipes, I often recommend using a chopstick because it’s the perfect profile and material for the job: long, thin, and usually wood or plastic.
However, I’ve had readers in the past ask for alternatives because they didn’t have chopsticks, and in a pinch, I suggested a butter knife could work if they were very careful using it.
Knives and other metal utensils aren’t ideal because they could potentially etch the glass or cause hairline cracks, thus increasing the chances of jar breakage during processing.
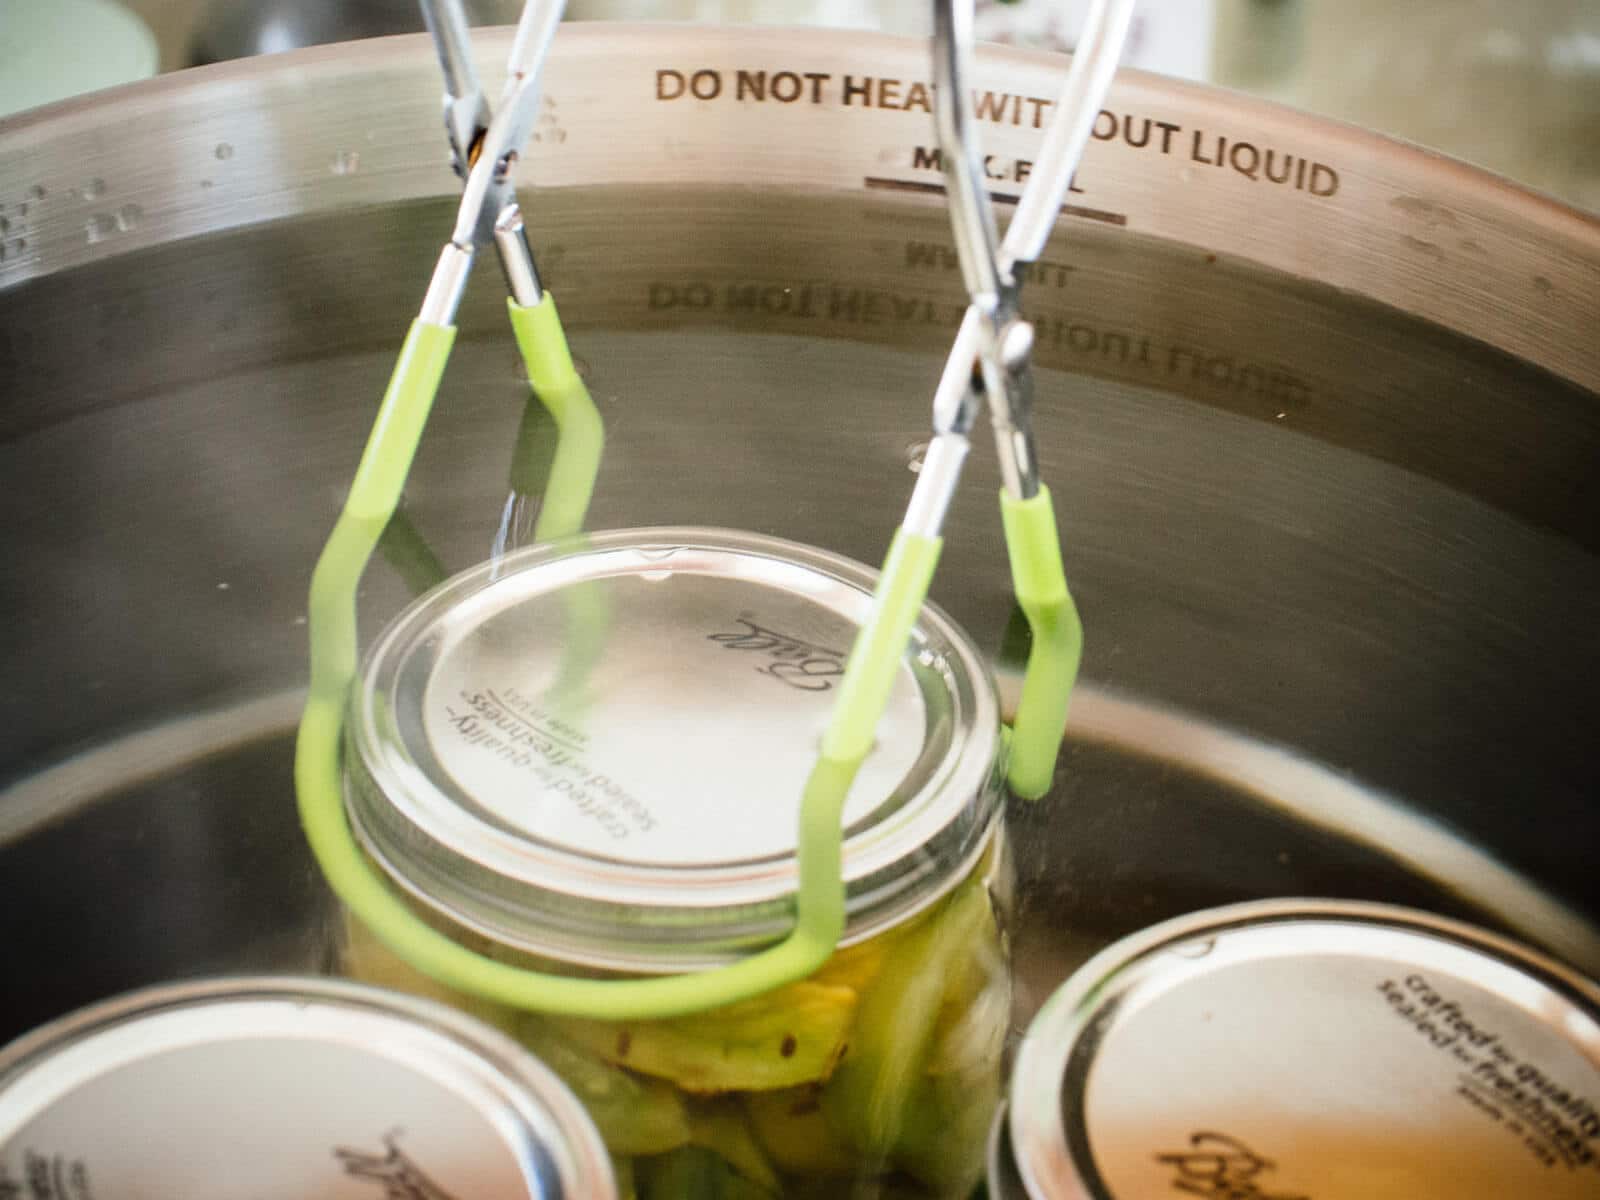
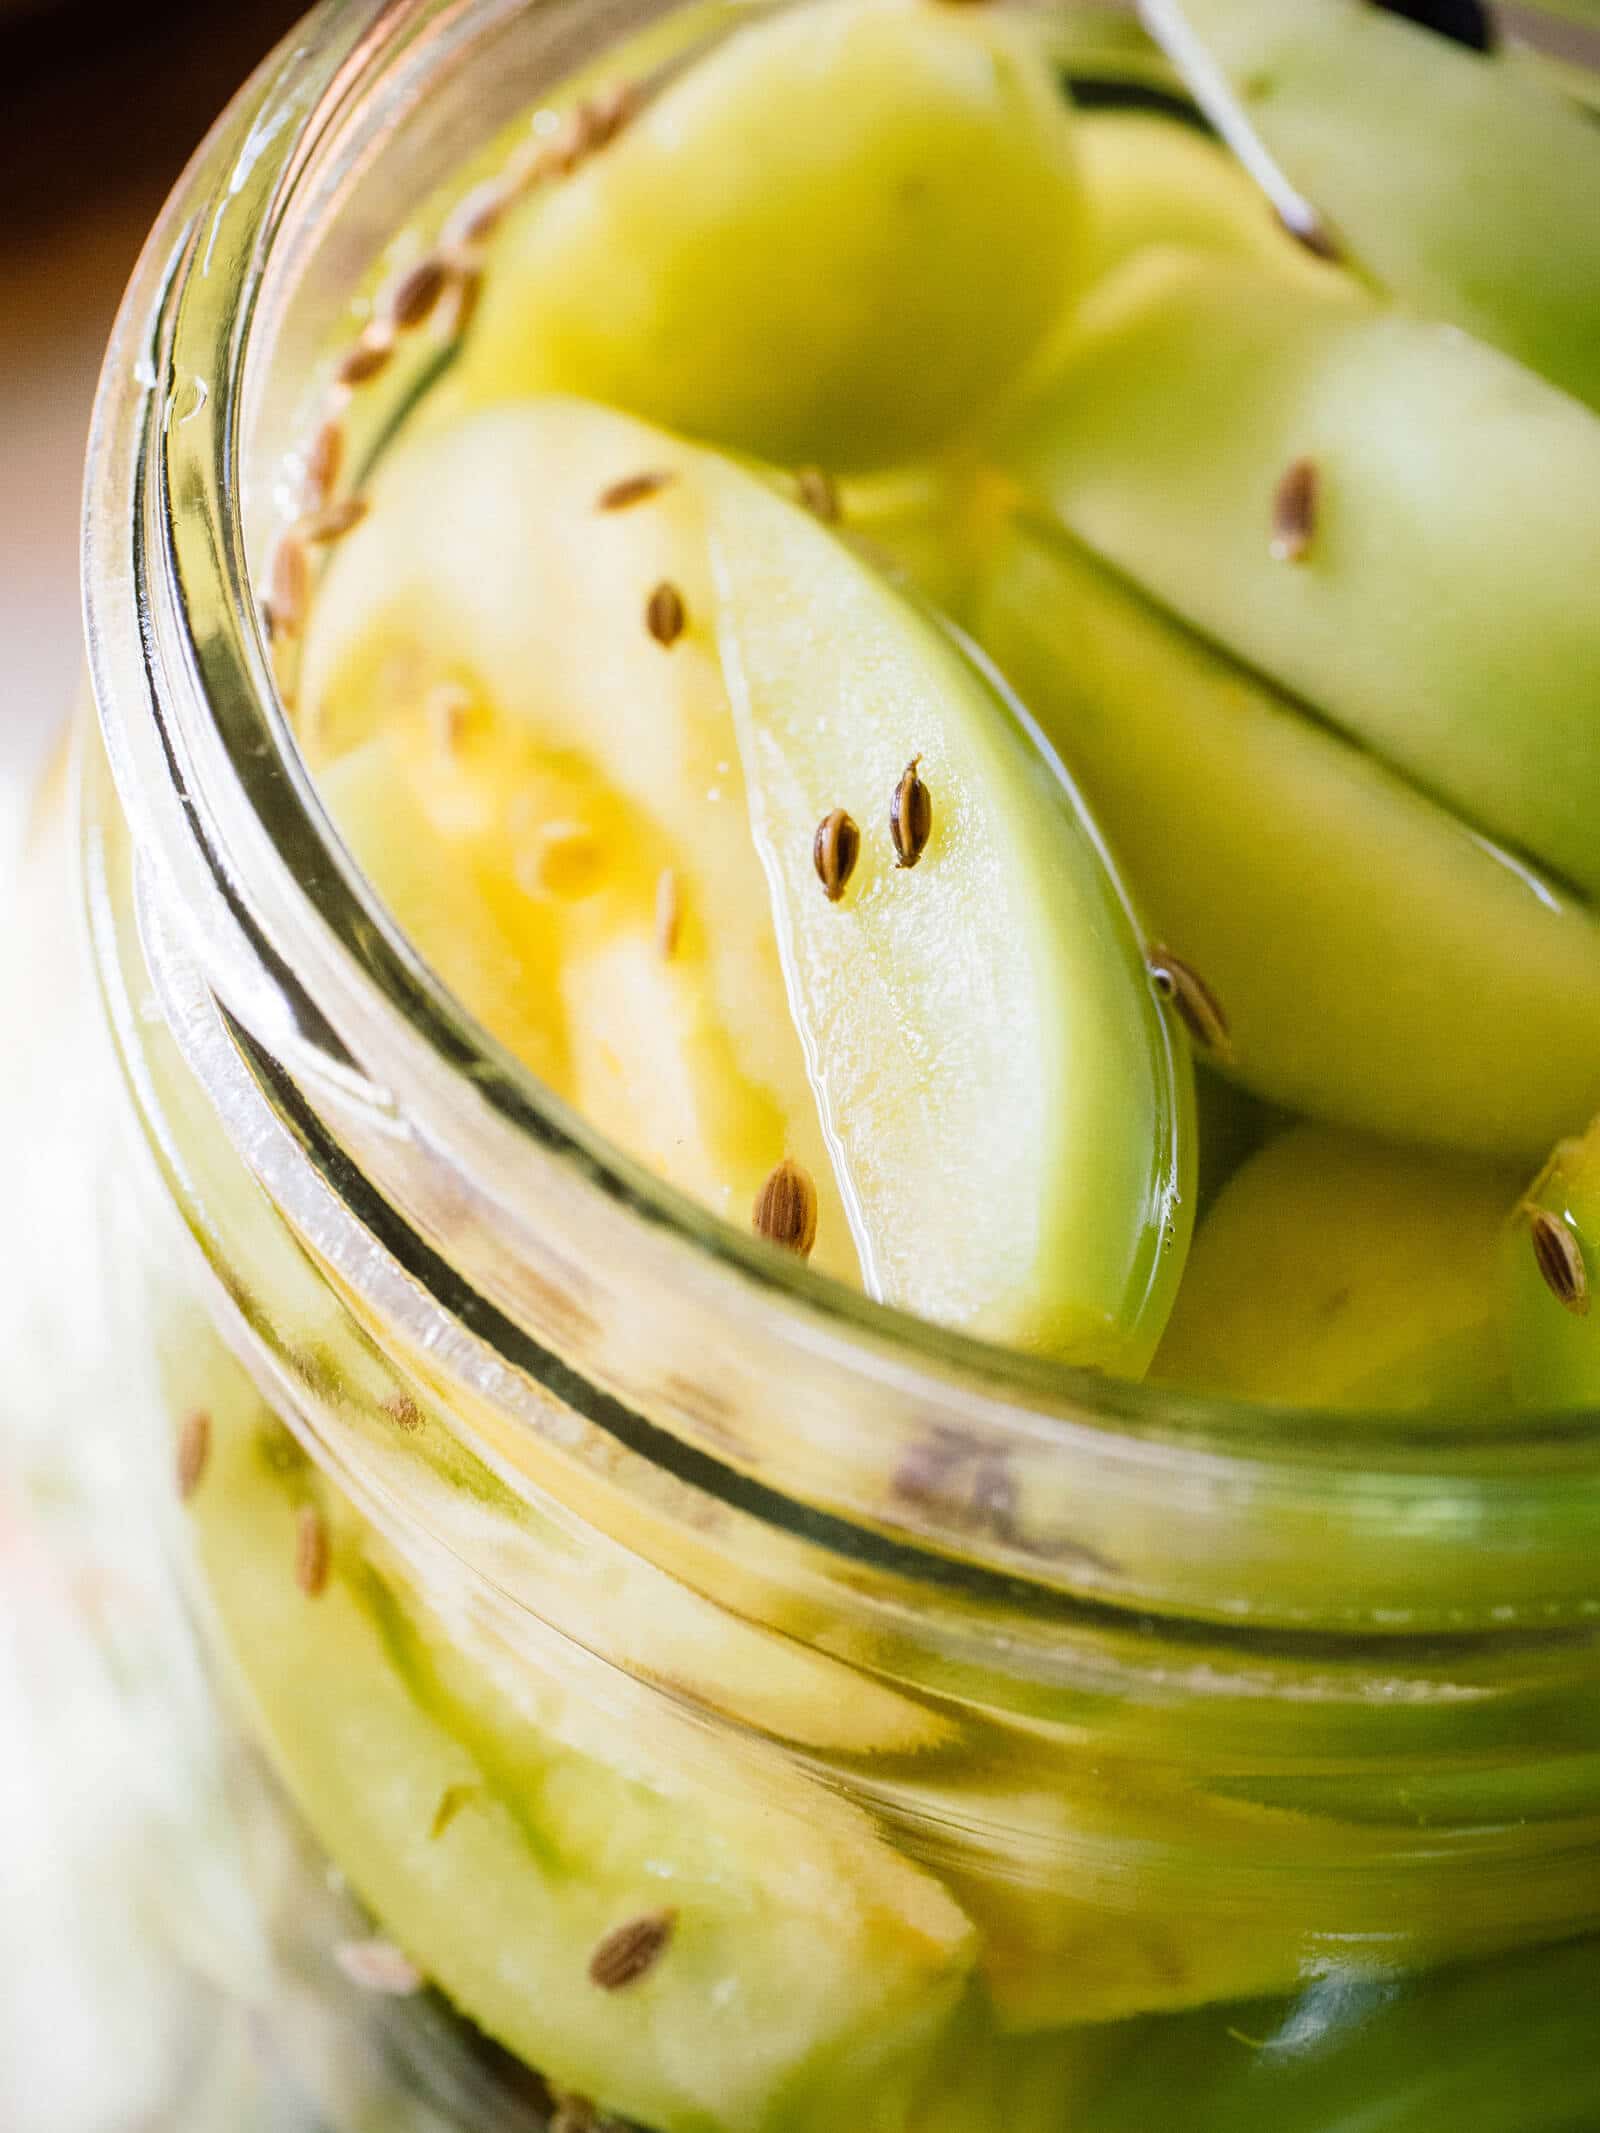
I love the official “bubble freer” that Ball makes specifically for this task, plus it doubles as a handy tool for measuring headspace. (You can see it in action in my recipe for pickled green tomatoes.)
This is a similar tool that also does double duty, as the thin tip on one end releases bubbles and the magnet on the other end lifts lids out of the water.
But, if you don’t want to buy another kitchen utensil, look in your junk drawer. Are there any disposable chopsticks lingering in there from your last Chinese takeout?
These wooden chopsticks are typically too flimsy for everyday meals and tend to gather dust in the back of my drawer, but they make great bubbling tools. Rather than throwing them out the next time you end up with a few pairs, set them aside for canning purposes.
Tip #5: An electric water bath canner can save space in the kitchen and save your glass cooktop, too.
Canning sessions at home used to mean taking over the kitchen for a whole afternoon, so no one else could be in there at the same time as me.
The kitchen counter would be crowded with jars and seasonings, dirty measuring cups and bowls would clutter the sink, and a behemoth of a canning pot would take up the entire stove, even though it only used one burner.
I never liked how the boiling water bath would steam up the kitchen on the hottest of days, and sometimes for multiple days if I had a lot of canning to do.
Then I discovered this electric water bath canner (while shooting a recipe demo in the Ball test kitchen) and it has changed my entire canning process for the better!
Now, I can move the cumbersome part of canning (the boiling water bath) to the dining table or even outside on the patio, as long as I can reach an outlet.
It’s freed up space in my kitchen so my husband can get in there and fix a snack without feeling like he’s in my way, and it lets me relax a little, as I don’t have to rush to clear the stove in time for dinner-making.
Let me tell you that canning outdoors is so much more enjoyable on those beautiful summer days when you can take in some fresh air and sunshine and not feel stuck inside, hovering over your stove.
My electric water bath canner also functions as a massive pot for making soup stock (again, so helpful if you can move what’s sometimes an all-day endeavor away from the kitchen) and keeping party-sized beverages, such as mulled cider, nice and hot.
There’s a spigot on the side for dispensing liquid, which also means you don’t need to lift a heavy pot full of water to empty it.
An electric water bath canner is a great solution if you have a smooth (glass or ceramic) cooktop where you’re worried about scratching the surface, or where the manufacturer advises against placing a canning pot on it.
As an alternative—especially if you like the idea of canning outside (or at least out of the kitchen)— you can get an induction burner and induction-compatible canning pot to use as a portable canning station.
The upside to going the induction route is how quickly you can get the water up to temperature for a boiling water bath (usually in half the time). And, the technology itself won’t heat up your entire kitchen while you’re canning.
Tip #6: No canning pot? No problem! Use a stockpot with a cooling rack.
I originally started canning with one of those ubiquitous enamel canning pots, and while it wasn’t bad, it wasn’t great.
The interior rack it came with was flimsy, the enamel was prone to denting, chipping, and rusting, and because of all these issues, the pot wasn’t really suitable for heavy-duty, general kitchen tasks.
I later found that using a large stainless steel stockpot with a round cooling rack that fits on the bottom was a much better option.
I could use the stockpot for actual cooking (seafood boils, bone broth, and the like) and reuse the cooling rack for its intended purpose (as well as for steaming or holding hot items as a trivet).
This was before I got an electric water bath canner (see my previous tip), and while I primarily use that canner now, the stockpot still has a place in my kitchen because it’s so versatile and durable.
Tip #7: Steam canning is just as good as (if not better than) boiling water bath canning.
Have you ever tried steam canning?
Though the method was approved in 2015 by the National Center for Home Food Preservation as a viable equivalent to boiling water bath canning, steam canning still hasn’t made it into mainstream practice by home canners.
If you’re an early adopter or current user of steam canning, however, then you know how much better it is over traditional water baths!
Steam canning is a method in which canning jars are processed in an enclosed pot using the heat of the steam.
It’s not the same as a pressure canner. In fact, in the past this method was referred to as “atmospheric steam canning” to clarify that the process happens at a normal atmosphere (pressure), rather than the artificial induced pressure of a pressure canner.
In a steam canner, the pure steam environments gets up to 212°F, giving it the same sterilizing heat as a boiling water bath canner.
Because it takes much less time (and water) to bring a pot up to boiling, steam canning saves on processing time and energy usage—oftentimes up to 30 minutes per batch and a decent reduction in cooking fuel costs (since a burner would have to be high enough to maintain a vigorous boil for water bath canning).
In addition, there’s no risk of boil-over with steam canning and no need to manage a heavy pot filled with water (a plus for people with physical limitations or people trying to reduce water usage at home).
The caveat is that steam canning only works for high-acid foods (pH of 4.6 and under) such as jams, jellies, chutneys, pickles, most fruits, and acidified tomatoes.
But, this point is null since the list of foods suitable for steam canning is the same as for water bath canning. (Only a pressure canner can be used for low-acid foods—no exceptions.)
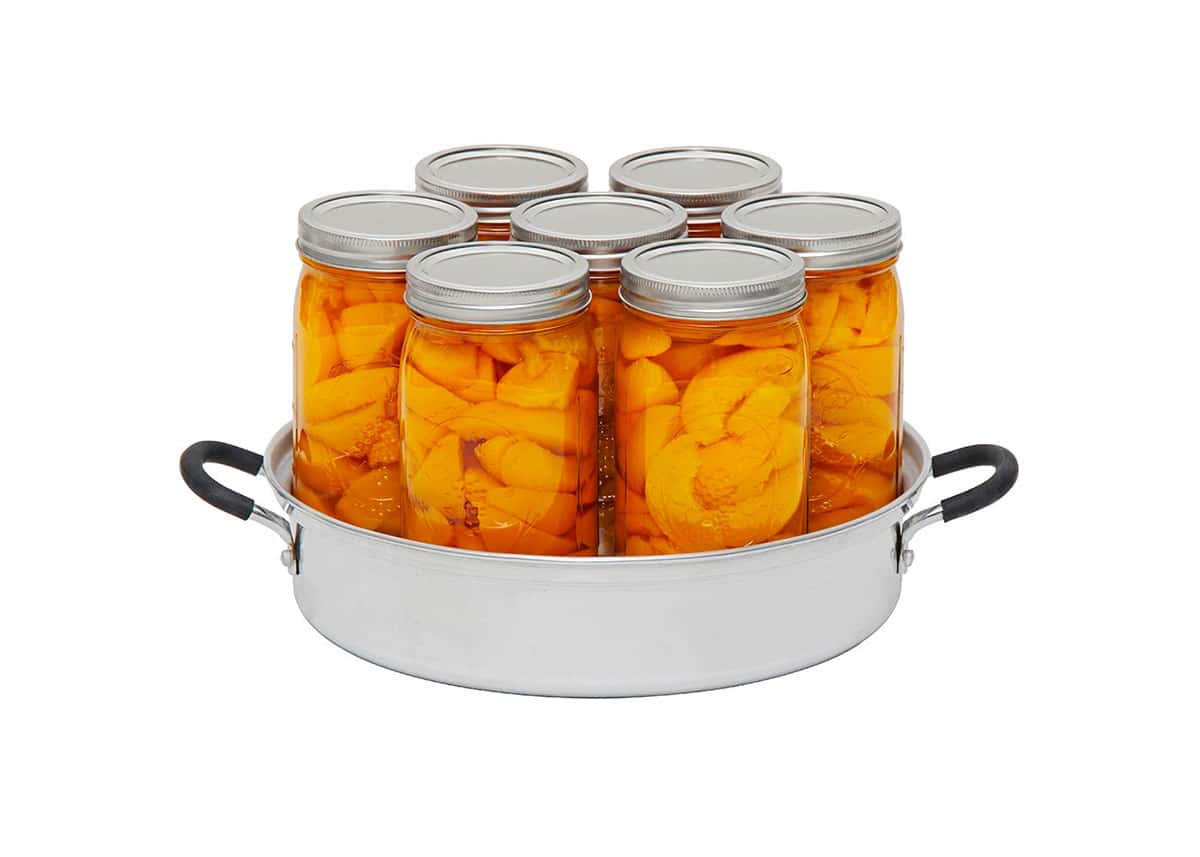
If you want to try steam canning, this standard aluminum steam canning pot is a great choice, or you can go for a stainless steel multi-use canner like this one, which can be used for both steam canning and boiling water bath canning and is also compatible with induction cooktops.
(And no, you should not use an ordinary stockpot or repurpose a canning pot to steam your jars. The steam canners linked above were specifically tested by the University of Wisconsin-Madison to be safe for steam canning.)

Tip #8: Don’t store your processed jars with the bands on.
The bands (canning rings) are meant to hold the lids in place during processing (and again when you open the jar).
Once the jars have cooled and the lids are sealed, you should unscrew the bands, rinse, dry, and store them. (I corral all of mine in a basket near my other canning supplies.)
Doing so will not only keep the bands from corroding onto the lids and making them hard to get off (it happens, especially if you don’t get to the jars for a while), it’ll extend their useful life because they won’t rust as quickly.
You can reuse those same bands for the next round of canning without needing to buy more. Unlike the lids, which are one-time use only (as far as canning goes), the bands can be used over and over again until they rust or become damaged.
(If you find yourself canning frequently, you might want to consider replacement canning rings, which are made of more durable stainless steel that should resist rusting and warping.)
Another reason I recommend removing the bands is to ensure you have a good seal on the jar. If there were problems during processing, you’ll know because gases from bacteria and spoilage will break the seal on the lid.
If a band is holding that lid in place, however, you might not find out for weeks or months (when you’re looking for the jar).
As long as the boiling water bath created a good vacuum seal on the lids, unscrewing the bands after processing will not cause your jars to unseal.
Quick tip: After you open a jar, don’t just use the lid and band to reseal it. I’m a big fan of one-piece, screw-on mason jar lids (like these wide-mouth caps and regular-mouth caps made by Ball) that make opening and closing a jar much simpler (and cleaner, since they’re leakproof). This third-party version works great too (if you prefer white lids).
Tip #9: Properly canned foods can actually last longer than a year on the shelf.
The general rule with home-canned goods is that a proper vacuum seal, along with storage in a dry, dark, and cool place (between 50°F and 70°F), will ensure a shelf life of at least one year.
The National Center for Home Food Preservation recommends that “for best quality, can no more food than you will use within a year.”
This ambiguous statement can be a little confusing, as many people take it to mean their home-canned goods will suddenly “expire” on day 366.
On the contrary, HFP’s recommendation is based on the quality of the food in terms of texture, color, and flavor, and not how well your jars are sealed.
If your jars have been stored under ideal conditions and the lids are still on tight, they can theoretically keep indefinitely. Those pickles may no longer be as crisp as the day they were canned, and certain nuances of the food (such as a subtle sweetness or spice) may be lost, but they’re indeed edible.
With good canning practices, there’s no reason the jam you made two or three years ago isn’t still safe to eat (and is probably still delicious, as I’ve personally experienced).
As with any food, inspect your canned goods before using and trust your instincts if the smell or appearance seems off.
The problem that some people do run into, however, is that the seals on the lids may fail for one reason or another after a year. This is why you should remove the bands (canning rings) from processed jars before putting them away, as you’ll be able to tell if any of the lids end up popping off in storage.
In 2017, Ball Canning announced that beginning in May of that year, all Ball (and Kerr) jars would ship with SureTight lids, which were guaranteed for a shelf life of up to 18 months. This was pretty surprising in the canning world because prior to that, the company never specified how long the seal on its lids would last.
Remember, though, this only means the lids should stay sealed for 18 months, but the “expiration date” of your food is likely longer.
Canning recipes you might like:
- Balsamic Strawberry Jam
- Chipotle Tomato Jam
- Vanilla-Peach Preserves
- Spiced Fig Jam with Ginger
- Balsamic Fig Jam with Black Peppercorn
- Spiced Apple-Pear Butter in a Slow Cooker
- Feijoa-Pear Chutney (and a Master Recipe for Making Any Chutney)
Where to buy home canning supplies
[show_shopthepost_widget id=”4179464″]
Ball FreshTech Electric Water Bath Canner | Duxtop Professional Portable Induction Cooktop | Roots & Branches Induction-Ready Stainless Steel Multi-Use Canner | Cooks Standard 20-Quart Stainless Steel Classic Stockpot | Turbokey 12-Inch Stainless Steel Cooling Rack | Ball Wide-Mouth Pint Jars | Ball Wide-Mouth Quart Jars | Ball Wide-Mouth Lids and Bands | Trellis & Co. Wide-Mouth Stainless Steel Replacement Rings | Ball Bubble Remover and Headspace Tool | Roots & Branches Magnetic Canning Lid Lifter and Bubble Remover | Norpro Canning Bubble Popper/Measurer | Ball 4-Piece Canning Utensil Set | Roots & Branches 5-Piece Canning Kit | Bamber Bamboo Chopsticks | Ball Blue Book Guide to Preserving | Ball Back to Basics: A Foolproof Guide to Canning Jams, Jellies, Pickles, and More | Marisa McClellan Naturally Sweet Food in Jars
This post updated from an article that originally appeared on November 12, 2018.
View the Web Story on canning tips and tricks.


How are the Instapot and an electric canner different?
Size is the main difference. The electric canner allows you to can several quart jars at a time. It is made specifically for water bath canning so it has the height needed. But if you’re just canning jam or jelly jars, you can probably use an Instant Pot as long as your jars are covered by at least an inch or two of water (after they’re placed on some kind of rack), and the IP can maintain a full boil for the entire processing time (without cycling up or down). I believe there’s also an older Instant Pot with a canning feature, but it’s supposed to be for pressure canning. The National Center for Home Food Preservation has advised against using it for pressure canning, since the temperature can fluctuate during processing.
These really aren’t any new tips … been doing this for years. The only new item is the electric waterbath pot. Jars, however, don’t need to be sterilized but do need to be hot … hot product, hot jars, hot water bath. You don’t want to break your jars.
Mostly accurate and helpful information. I would now that freezing did not preserve nutrients but I’m fact damages them, especially deep freezing. It’s a great idea to freeze until things are less hectic but it will do the opposite of preserving nutritional content.
Credible sources across the web (including the USDA site) state that freezing, when done properly, does preserve nutrients. But the nutritional makeup of the food ultimately depends on the type of food being preserved and whether it was blanched first.
Sterilizing is still the way to go. The canning jars must be boiling hot, to accept the boiling hot food. So, jars in boiling water is also sterilizing them. Never put hot food in a lukewarm jar and then place in boiling water.
Great info, Linda — thank you!
Have you ever come across an official recipe for canning tomatoes using a pressure canner that does not require lemon juice? I’d love to be able to just can the tomatoes, and it seems like the whole point of a pressure canner is to can low-acid foods. I’ve read that the testing just hasn’t been done. Any inside info?
Thanks for your always-helpful suggestions!
Best,
Ann
Hi Ann, I’m not familiar with pressure canning but I’ve heard that acidification is still required for tomatoes that are pressure-canned. I just don’t know the reason. But I’ll refer you to the National Center for Home Food Preservation which may cover why: https://nchfp.uga.edu/how/can3_tomato.html
You can also use citric acid in lieu of lemon juice in all canning recipes (to acidify tomatoes).
This is interesting. My mom has pressure canned tomatoes for over 30 years without adding acid and has never had any problems. Learned it from her mom. She usually uses Romas, quartered or cubed and blanches them in boiling water to remove the skins first. Then she packs them warm with the skins removed in warm clean jars without added water and pressure cans with a gauged pressure canner at 5 lbs for 5 minutes, much less than the time recommended on the NCHFP tables. We live below 1000 ft elevation. That said, it appears no official research has been done to confirm less processing times or pressure canning without acid. If you want to try without acid I would use the longer processing times as recommended by the NCHFP.
Thanks for all the great tips!! It’s sometimes daunting to get into canning, you help a lot!!
You’re very welcome! Enjoy the process!
You’re welcome! I’m glad this was helpful for you.
Thank you… such great tips… especially the ones about not simmering the lids and sterilizing the jars! Using frozen fruit is a great idea too!
The one thing I’ve had to be careful with is that if not sterilizing the jars, they should still be VERY hot before adding hot jam, beets, pickles, okra, etc. And quickly get the hot filled jars into the boiling canner.
Not having done that a couple of times, I’ve lifted out jars after processing in the canner only to have the bottoms fall out due to cracking.
Absolutely. I let my jars simmer in my electric canner as it heats up so they’re nice and warm before I fill them. Thermal shock is no fun to deal with!