This post is in partnership with 3-IN-ONE®. All thoughts and words are my own.
Is it just me, or does it feel like fall chores vastly outnumber my spring garden checklist?
Maybe it’s because I’ve moved to a climate that actually freezes in winter, so there’s a lot more to do to “batten down the hatches” this time of year.
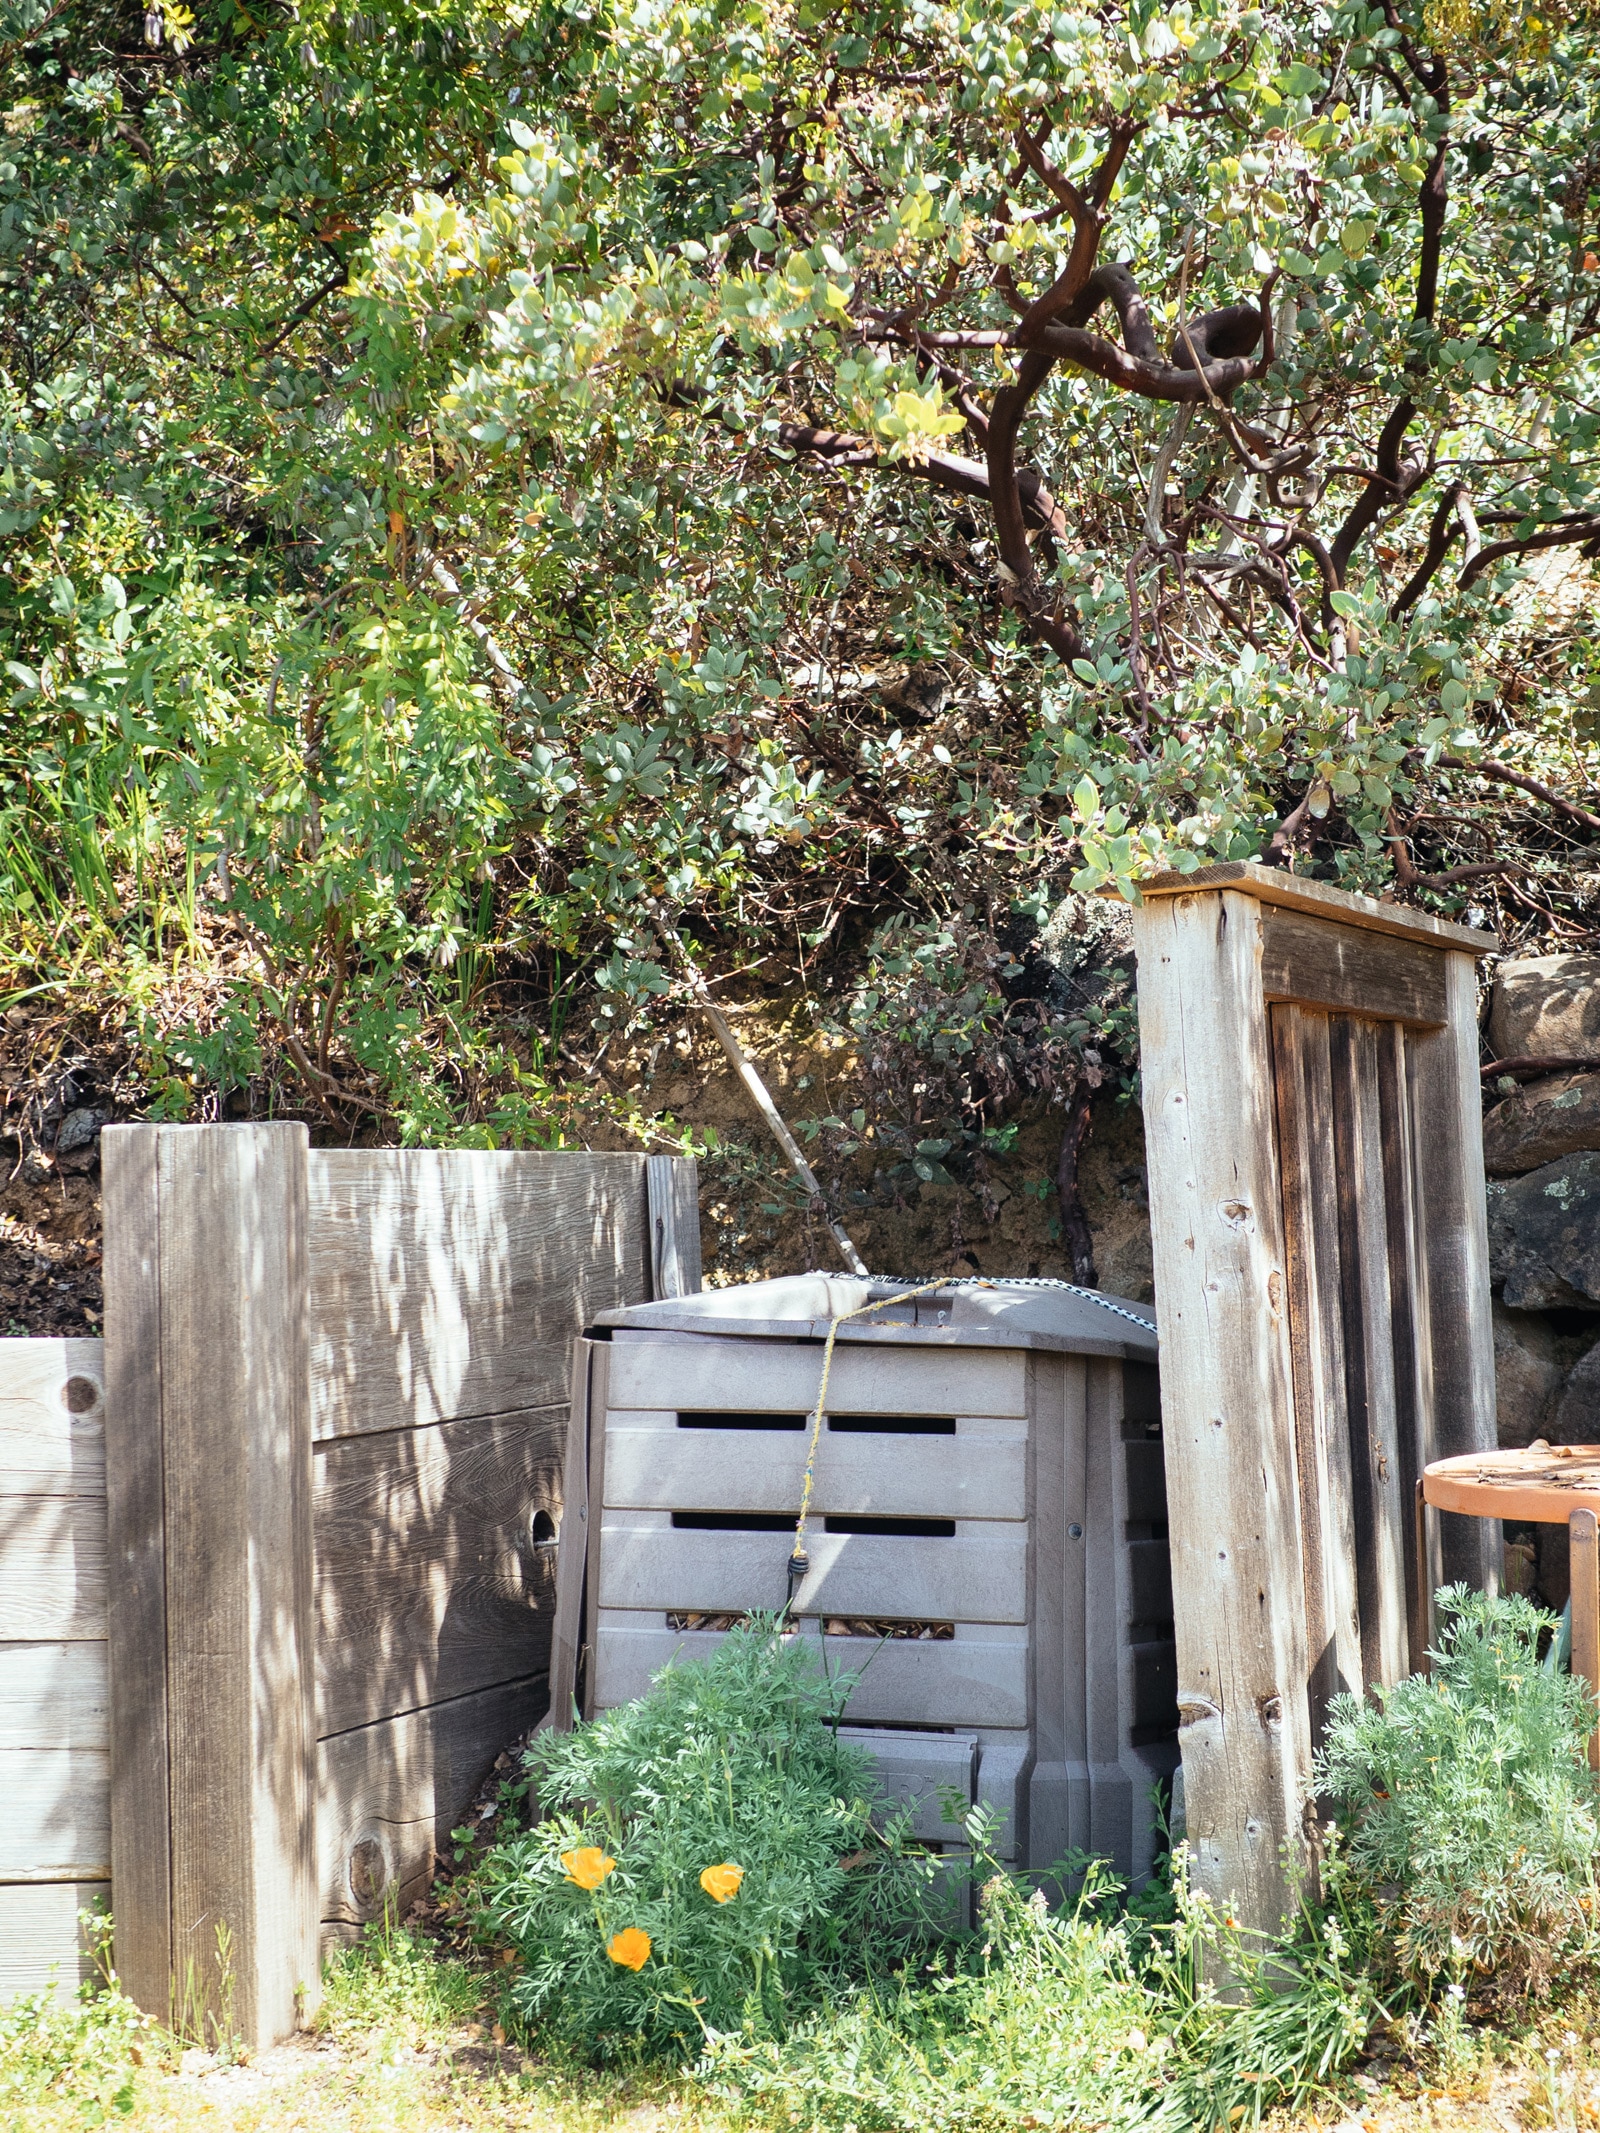
We’re tidying the greenhouse, piling up the compost, and putting away the majority of our planters, trellises, and tools to give the garden a good rest.
It feels nice knowing that things are slowing down after several months of toiling outside, but before that happens, there’s one last push in the garden to get it ready for winter.
By putting in the work now (especially while the weather is still pleasant and mild), you’re laying the foundation for a healthy garden next spring.
Here’s my recommended fall garden checklist for the next month!
1. Clean up your vegetable garden and annual flower beds.
☐ Save seeds from favorite varieties.
Seeds from open-pollinated plants can be saved and stored for the following year.
Not only is this a great way to keep growing your favorite crops, continue their “bloodline” in your garden, and save a little money, it improves those varieties as they become adapted to your specific climate and growing conditions.
Learn how to save seeds and how to save and ferment tomato seeds. (The extra step for tomato seeds is worth the effort!)
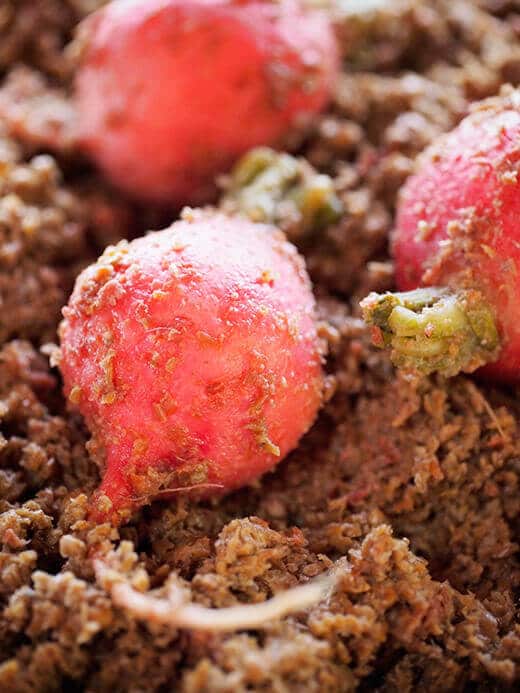
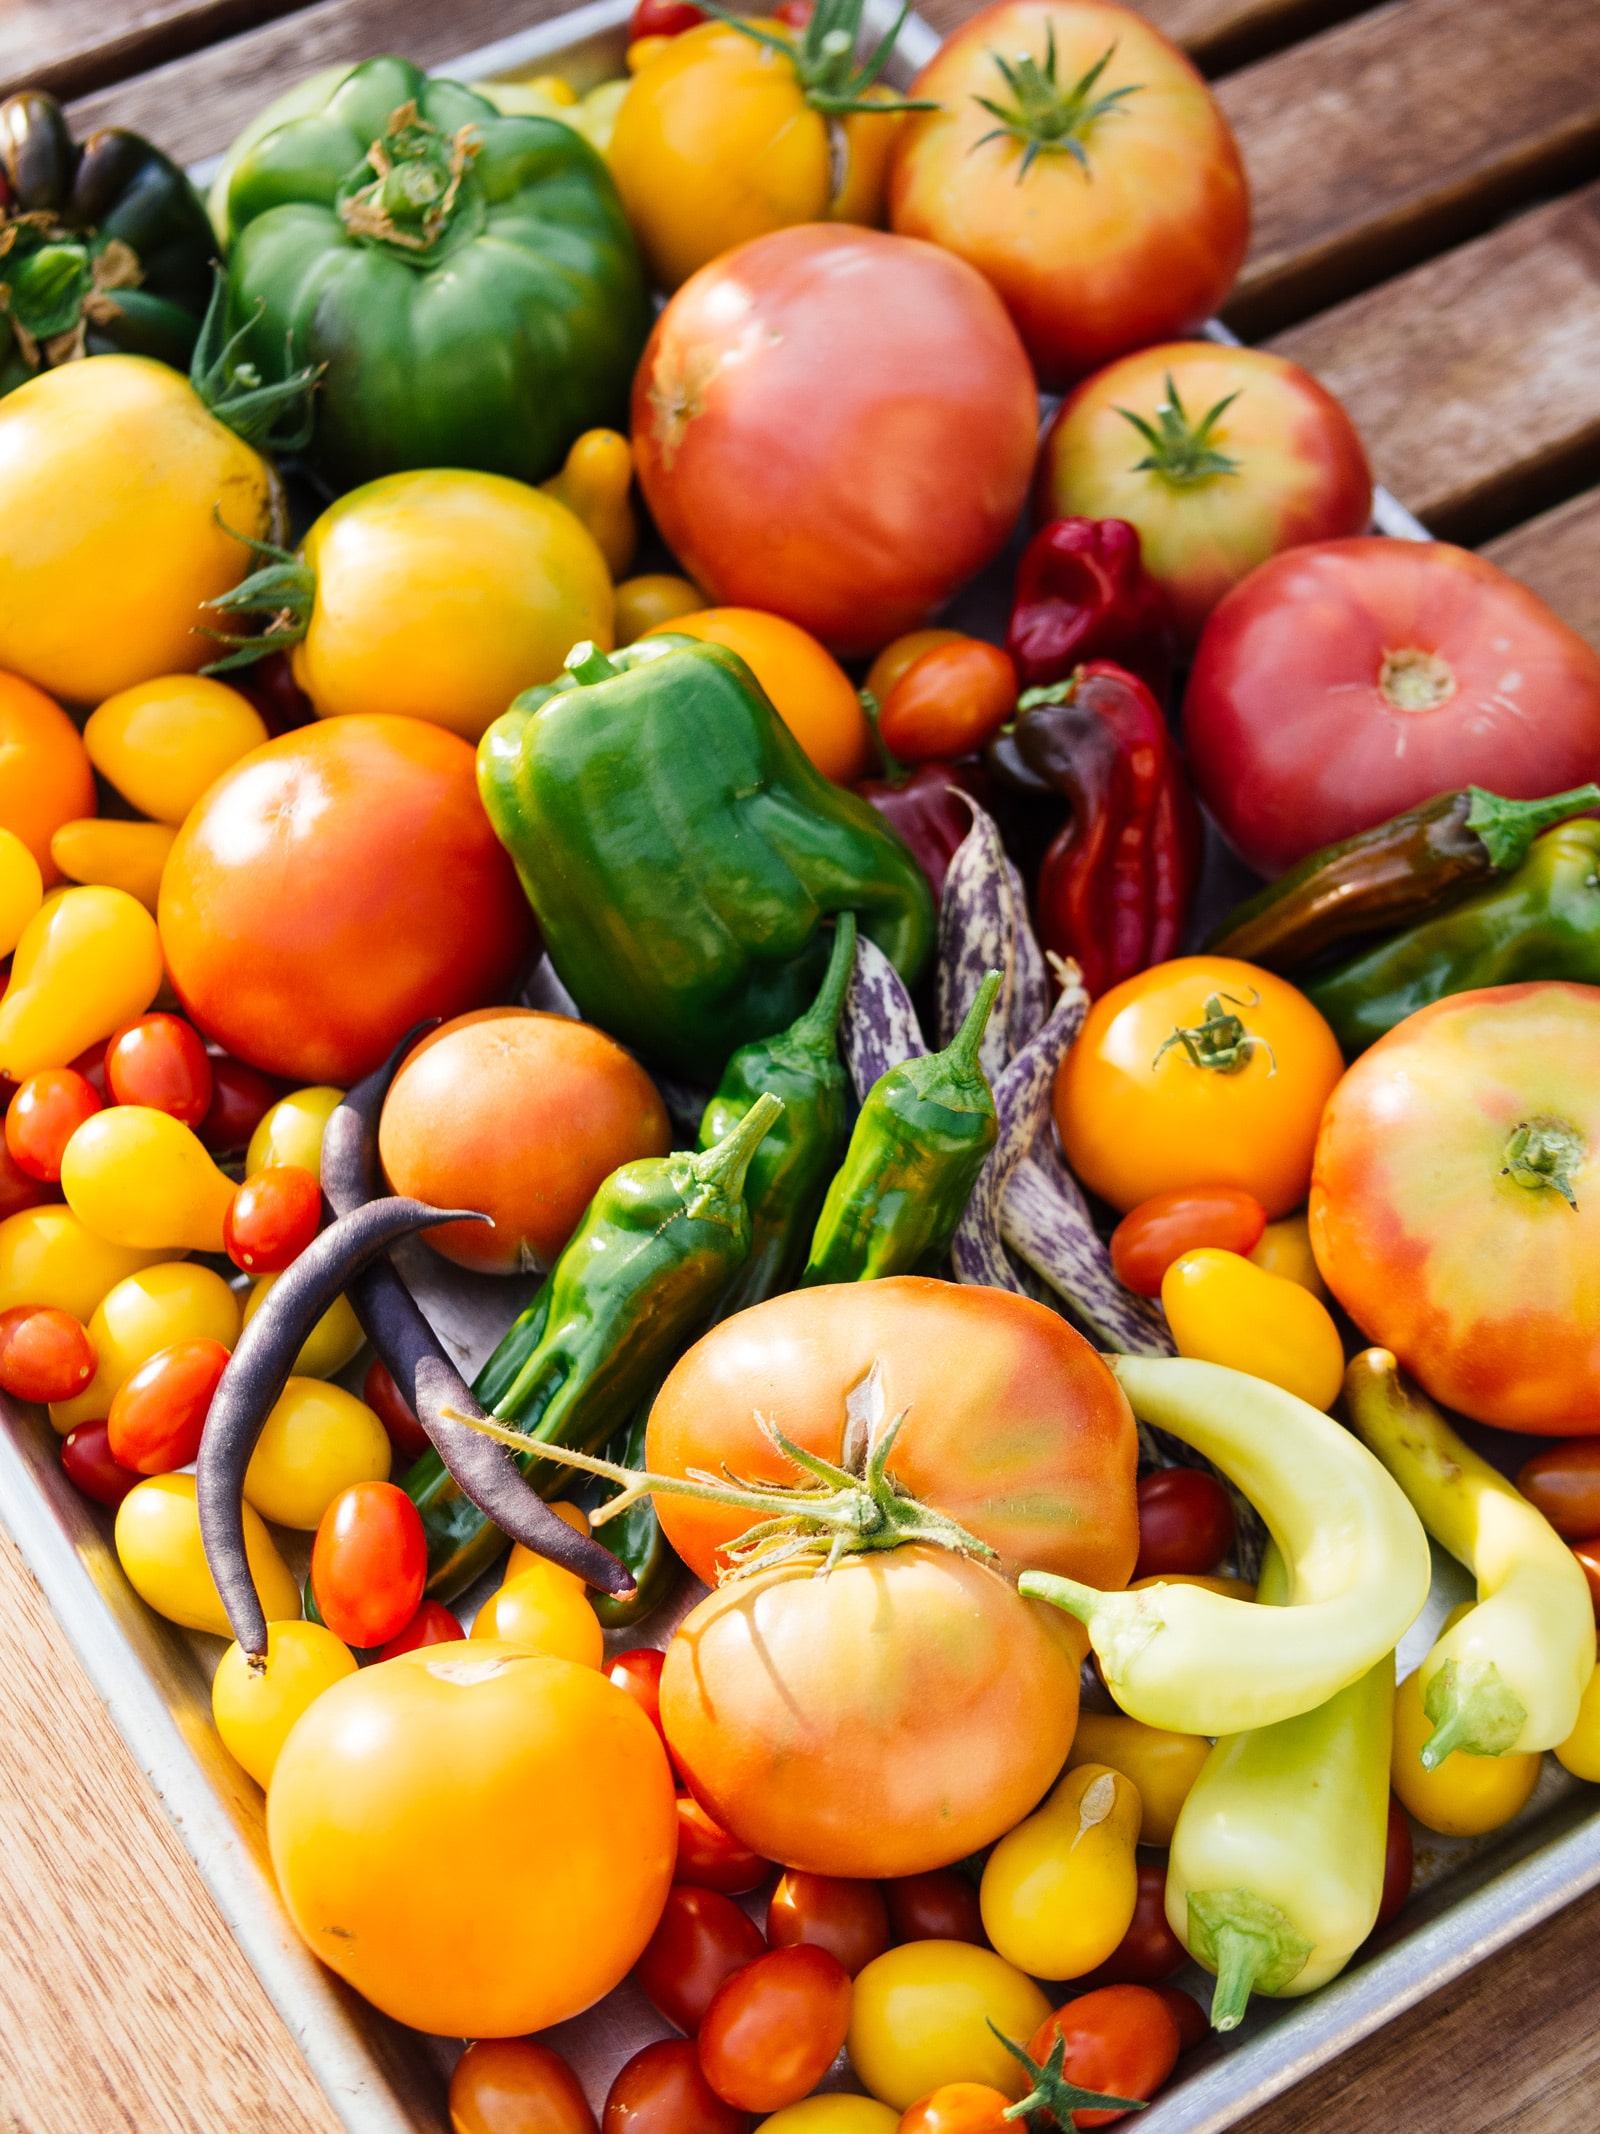
☐ Harvest any remaining warm-weather vegetables before the first freeze.
If frost is imminent and your tomatoes are still green, here are a few easy tricks for getting them to ripen faster on the vine. Or if there’s an early frost warning, you can pick your tomatoes early to ripen indoors.
Any excess harvests can be shared with friends or donated to local food banks, or you can initiate a food swap with other gardeners.
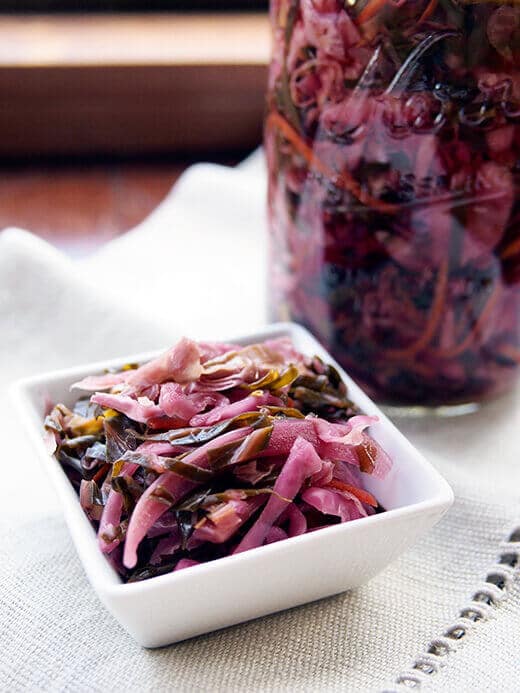
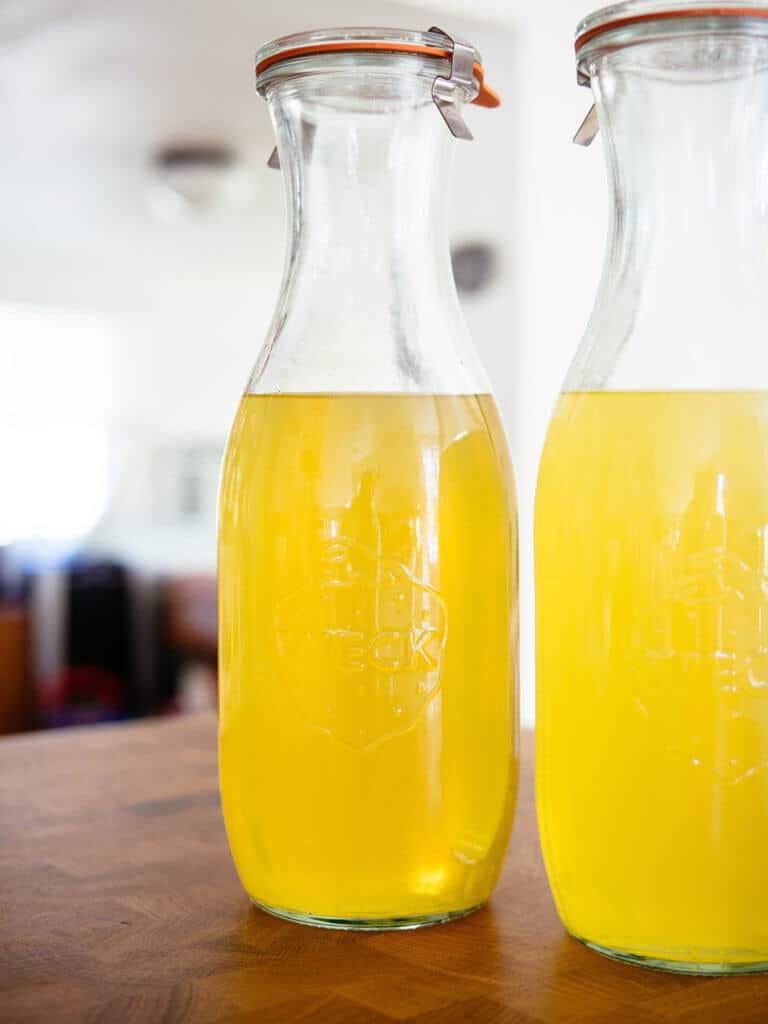
You can also preserve your vegetables and continue to enjoy the bounty through the depths of winter when there’s not much going on in the garden.
This is my favorite way to make tomato sauce with skins on, but you can also freeze tomatoes, make sun-dried tomatoes in the oven, pickle green tomatoes, or make a batch of fermented salsa.
If you’ve got a bumper crop of hot peppers to go through, try my fermented hot sauce recipe (which is delicious when made with a blend of peppers).
☐ Gather stakes, trellises, and tomato cages.
Discard any support structures that can’t be repaired or reused the following season, and organize and store them in a shed or garage.
Keeping them sheltered from the elements will help prolong their useful lifespan.
☐ Clean up detritus in garden beds.
Remove weeds and other unwanted plants before they go to seed and add them to your compost pile.
Diseased plants should be bagged and discarded in the trash. (I always recommend doing this versus putting them in your compost, as most home compost piles don’t get hot enough to kill pathogens.)
Cut down old plants (that are otherwise healthy and free of pests and diseases) and spread them across your garden beds as mulch. Let the roots rot in place to feed the microbes and replenish the soil.
This is especially important if you grew legumes (like beans and peas), which release all their stored nitrogen from the roots.
If you won’t be planting in the beds again, add a fresh, thick layer of mulch to prevent erosion over winter.
2. Take care of perennial plants.
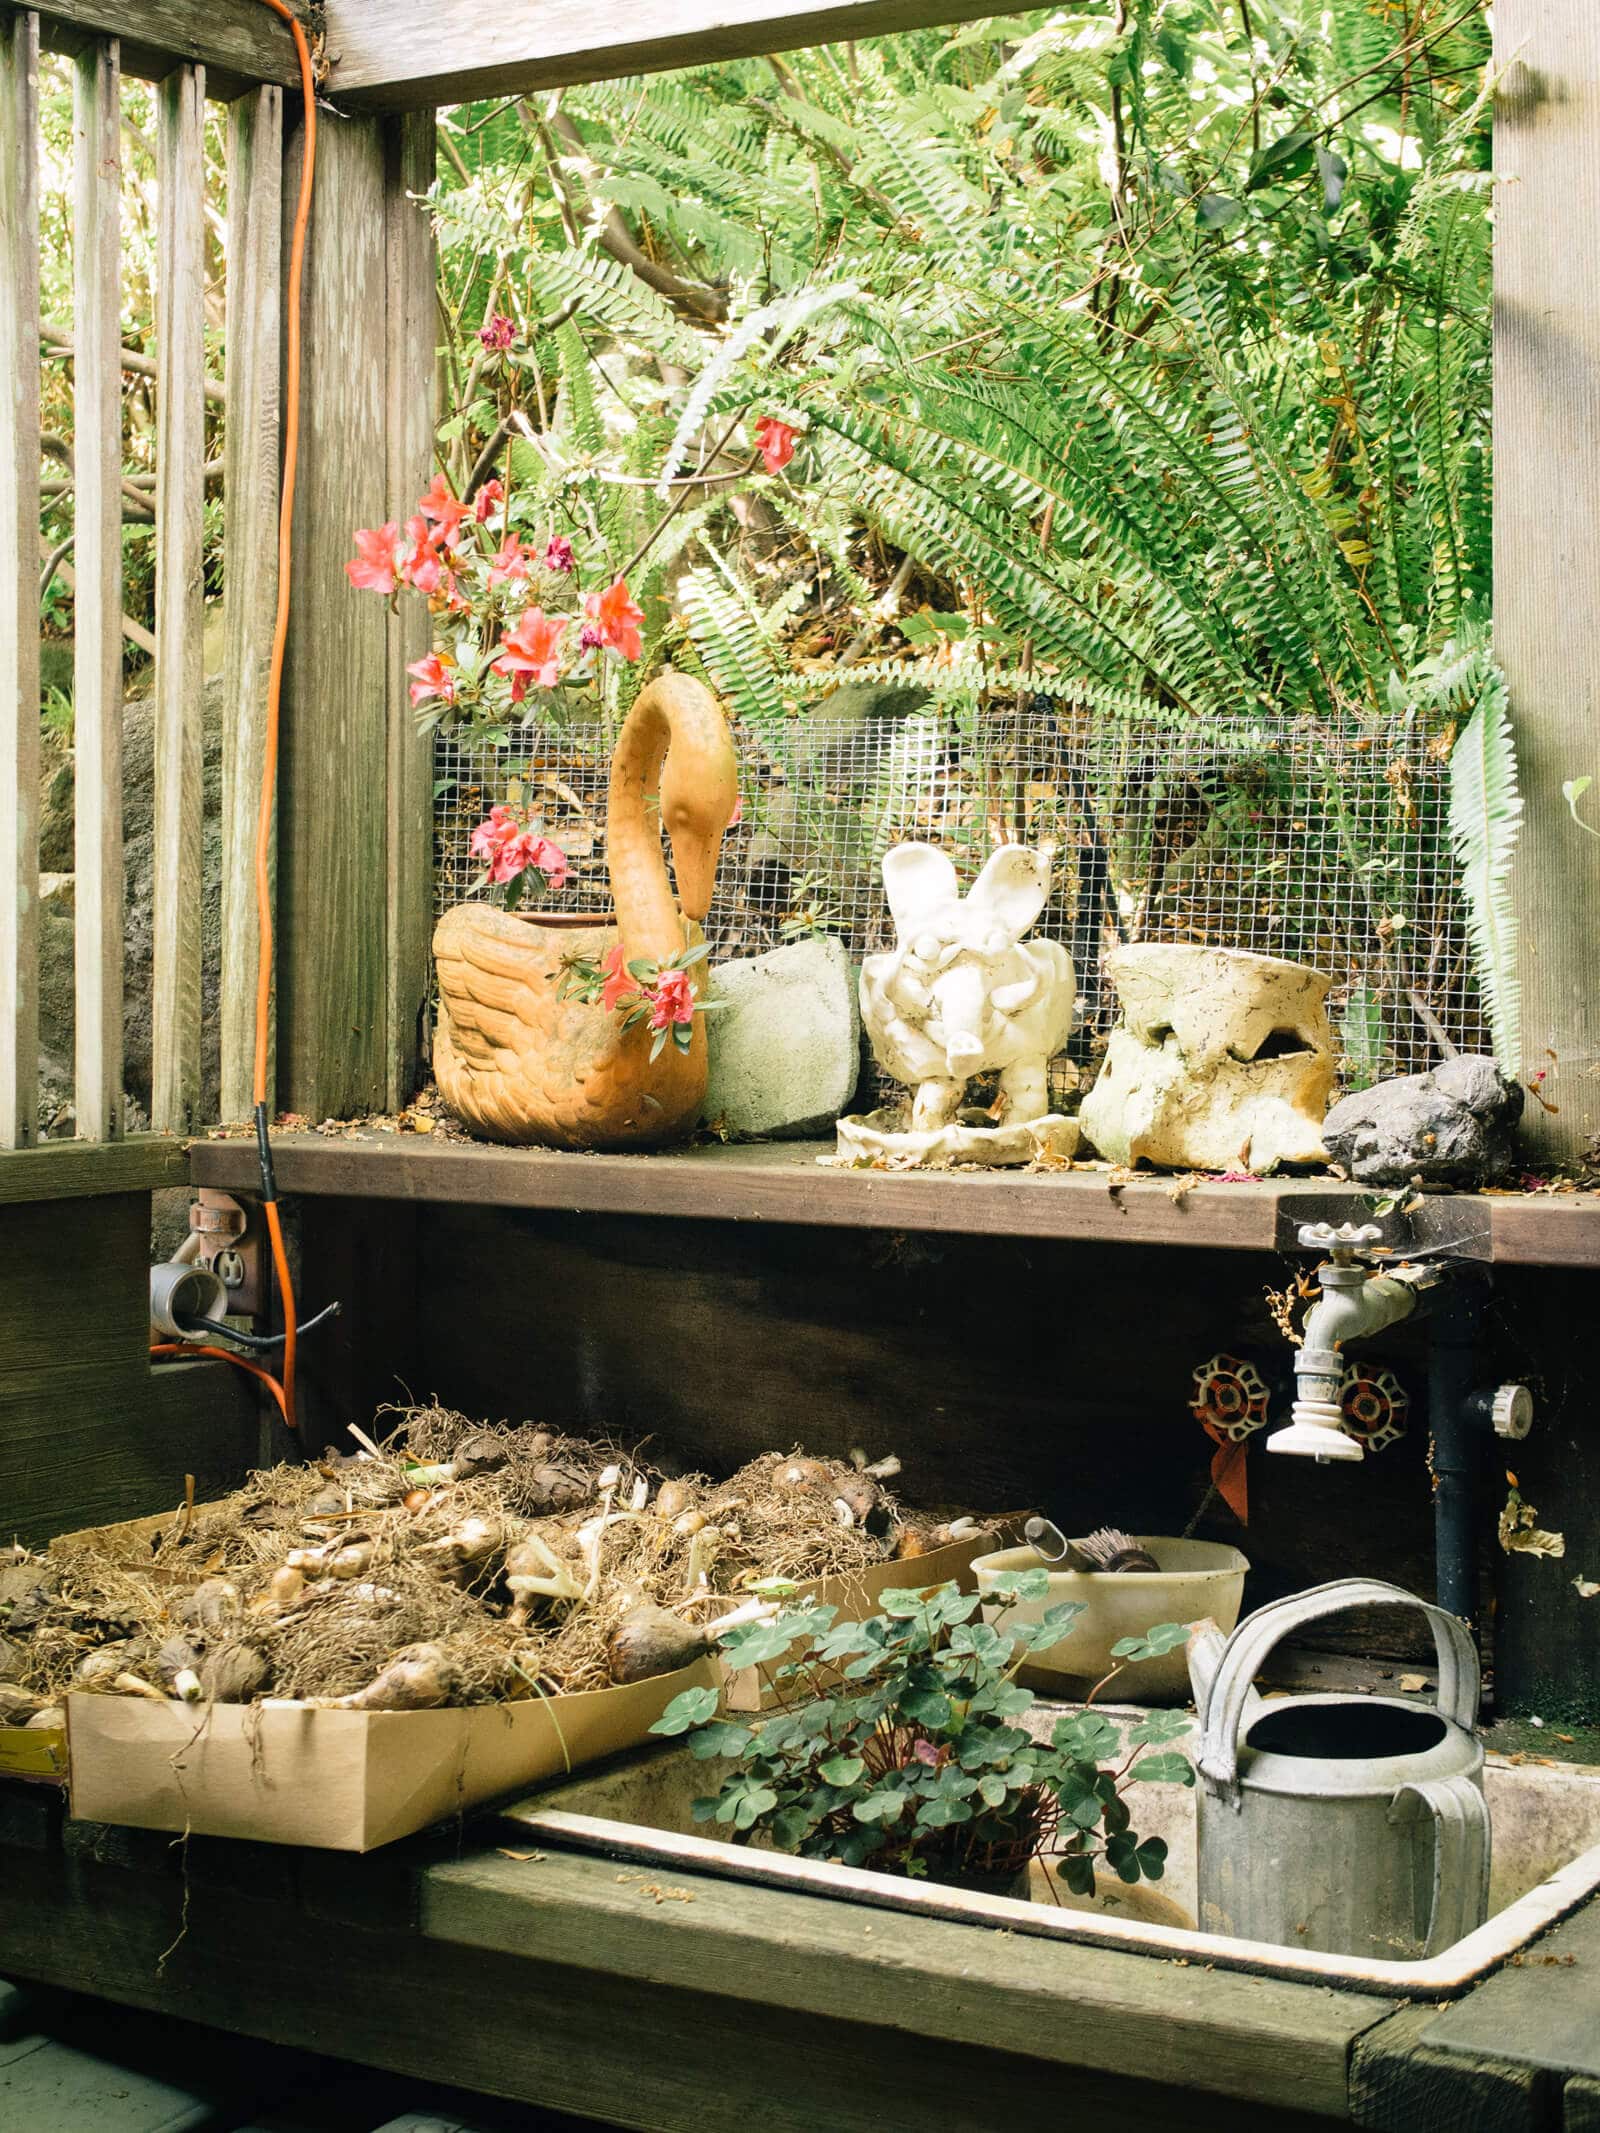
☐ Dig and store tender bulbs.
After the leaves die off but before the first frost, carefully dig up frost-sensitive bulbs like dahlias, caladiums, cannas, and begonias and cut the foliage back to a couple of inches.
Shake the dirt loose and lay the bulbs out to dry in a shady, protected, well-ventilated area for a few weeks. Once they’re fully dry, store them in a cardboard box in a shed or garage.
If you planted cucamelons (Mexican sour gherkins), this is also a good time to dig up cucamelon tubers and store them in pots over winter.
☐ Divide clumps of perennials.
If your plants seem overcrowded, now is a good time to lift, divide, and gift them to other gardeners. This is especially important for chives, which need to be divided every two to three years (depending on how large the clumps are) to ensure good growth in spring.
With plants that haven’t seemed to work in their current locations, consider transplanting them elsewhere in the garden.
☐ Prune trees and shrubs.
Most species are dormant from late fall to early spring. Since they need to be cut back anyway, it’s easier to give them a light prune in fall than deal with dead soggy leaves in spring.
What I like to do is cut back my woody plants at least halfway (to remove the most straggly ends), but keep a few inches of dead growth above ground as shelter for small wildlife.
If the plants have seed heads, I leave those for a couple of weeks as a food source before cutting them back. (That said, if you don’t want your plants to reseed freely, be sure to prune them before the flowers go to seed.)
☐ Weed the garden beds.
Save time (and save your back) and wait for a good rain so the ground is nice and soft before you start weeding.
If you won’t be planting in your beds until spring, cover empty beds with a good organic mulch or grow a cover crop to keep the soil healthy.
3. Get garden beds ready for the next cycle.
☐ Amend the soil.
Add a top dressing of 2 to 3 inches of compost to refresh your beds for new plantings. Do a soil test, if needed (your local Extension office can assist with this), and add in any nutrients that your soil falls short on.
☐ Plant trees, shrubs, evergreens, and other perennials.
Did you know that fall is actually the best time to plant trees?
Doing so in the fall will give their roots enough time to establish before winter sets in. The soil is still warm (much warmer than it is in early spring, when most planting usually takes place) but the weather is cooler, so in most areas, it’s easier for plants to acclimatize in fall conditions.
Read more: Why It’s Better to Plant Trees in Fall (Here’s How)
☐ Plant spring-flowering bulbs.
Choose a mix of early, mid, and late-blooming bulbs like crocus, tulips, daffodils, and bearded irises to give your garden a dramatic burst of color in the spring.
If you’re planting a new flower bed, consider layering your flower bulbs for a continuous show of blooms all year.
Most tutorials for this “lasagna style” of flower planting focus on layering bulbs in containers, but the same concept applies to in-ground garden beds as well. As a bonus, the new foliage hides the old foliage as it grows.
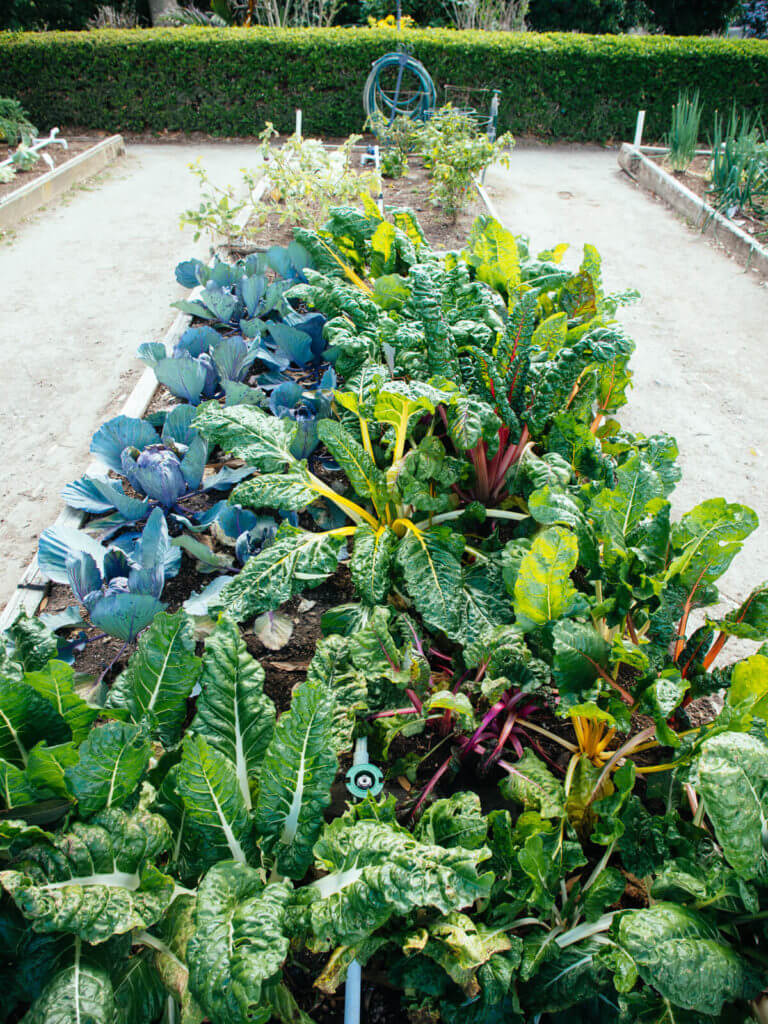
☐ Plant fall vegetable crops.
Garlic gets planted in October for most growing regions. If you haven’t purchased seed garlic yet, find out which garlic varieties will do best in your climate.
In cold winter areas, you still have time to plant quick-growing fall crops like spinach, arugula, turnips, and baby beets that mature in 40 days or less, or you can keep a cold-hardy vegetable garden producing all winter with my recommended varieties.
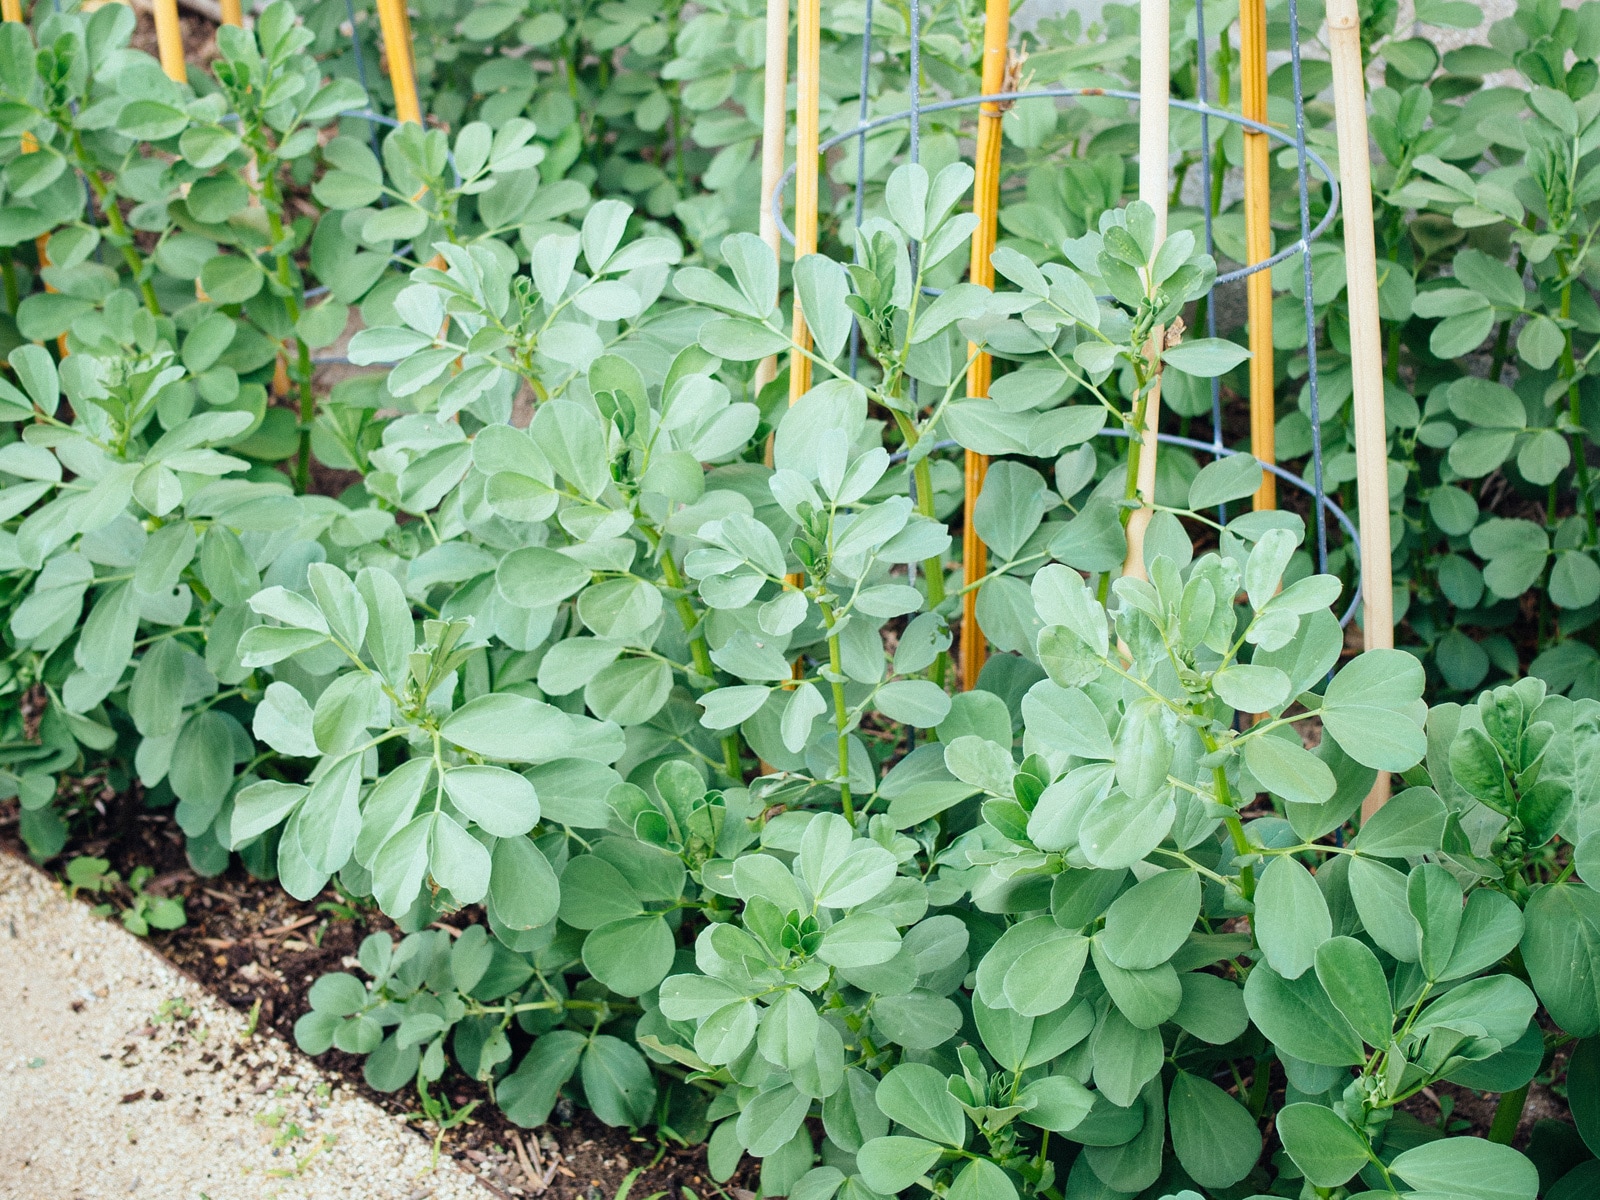
☐ Plant cover crops.
Instead of leaving garden beds fallow, consider planting cover crops.
Also called green manure, cover crops (which include legumes like clovers, fava beans, and Austrian winter peas, as well as grasses like winter rye, barley, and oats) enhance soil fertility, reduce soil erosion, improve drainage as well as water-holding capacity, increase biodiversity, and smother weeds.
Most cover crops should be sown a month before the first frost, though cold-hardy varieties (like Dutch white clover and hairy vetch) can be sown right up to the first frost.
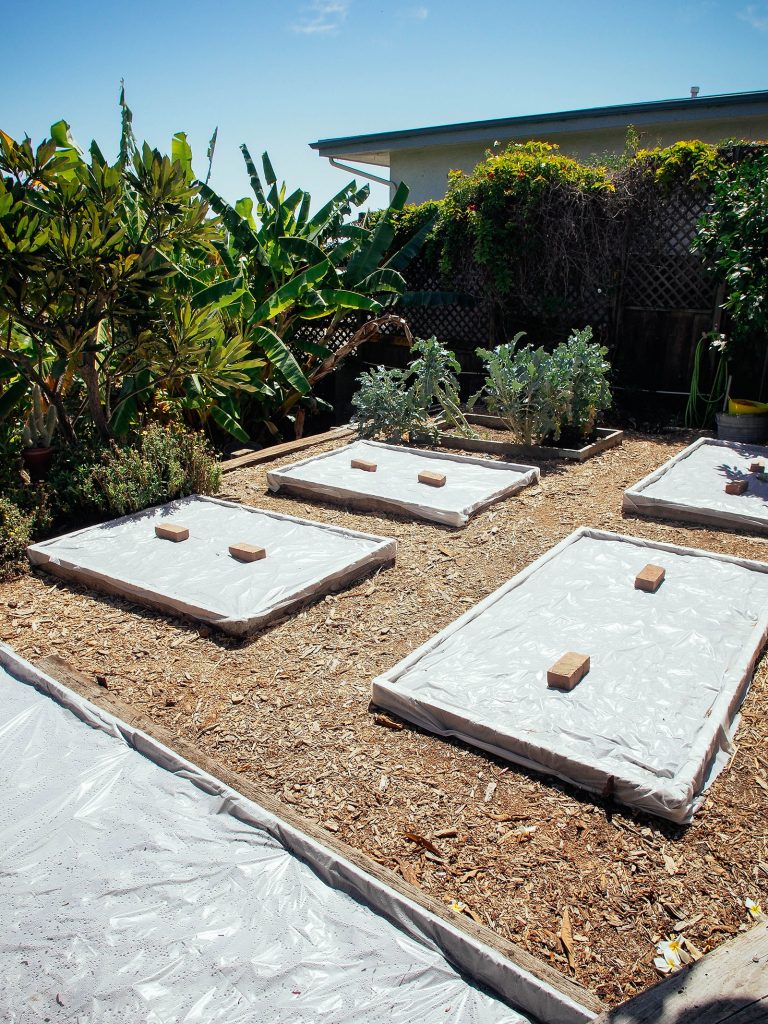
☐ Prepare new garden beds.
It might seem counterintuitive, but fall is actually the best time of year to prepare a new garden bed from scratch.
Rather than relying on bagged soil, which adds up quickly, you can make your own soil using freely available materials in fall: grass clippings, fallen leaves, tree trimmings, downed branches, pine cones and pine needles, and old plant foliage.
Let these materials decompose naturally over winter, and by spring, you’ll have a bed full of rich humus to plant in.
I teach various methods for making your own soil in my online course, Lazy Gardening Academy, but you can also try one of my favorite no-dig gardening techniques inspired by Esther Deans.

Grow more food—with less work.
I’ll teach you how to be the most productive Lazy Gardener ever with my time-tested, beginner-friendly techniques. You’ll get more out of your garden than you ever thought possible!
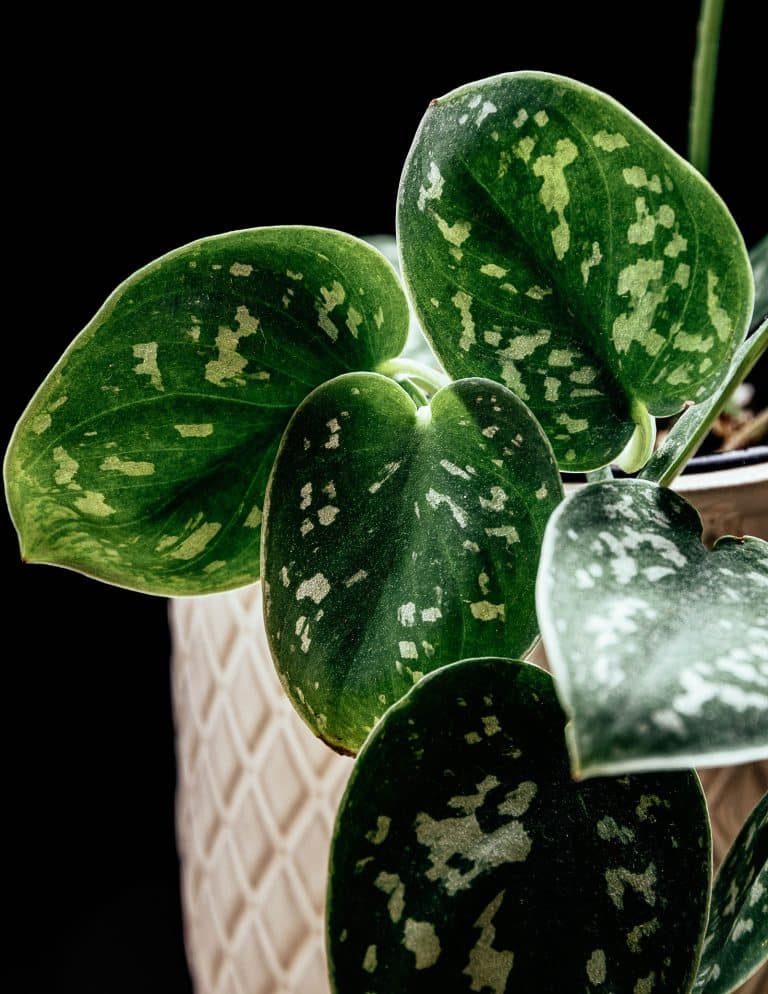
4. Transition tender container plants and houseplants back indoors.
☐ Trim faded foliage.
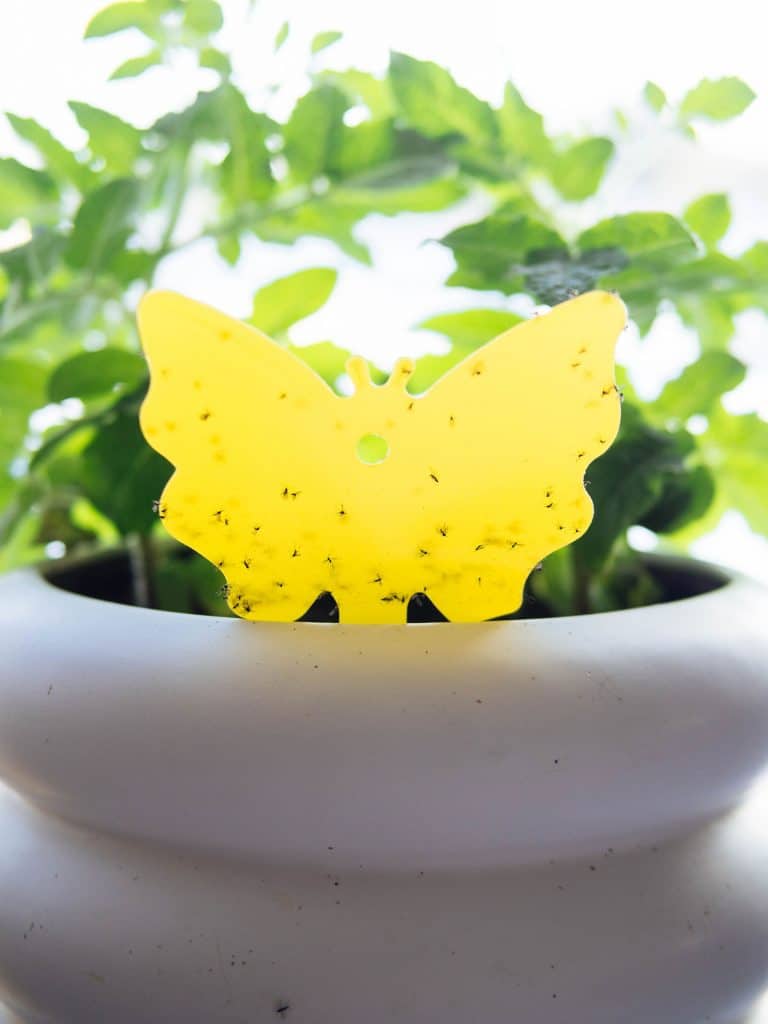
Remove any dead or diseased leaves and spray the tops and undersides of leaves with water to dislodge any hitchhiking pests and their eggs.
Use my homemade insecticidal soap to treat overwintering houseplants as needed.
☐ Break up hardened soil.
Refresh the soil with soil amendments or new potting soil altogether.
If you have a large number of pots to refill, you can easily (and economically) make your own potting soil at home with just a few common ingredients from the garden center.
☐ Re-pot plants.
If your plants have outgrown their pots, transplant them into larger containers before moving them inside.
5. Organize and winterize garden tools and equipment.
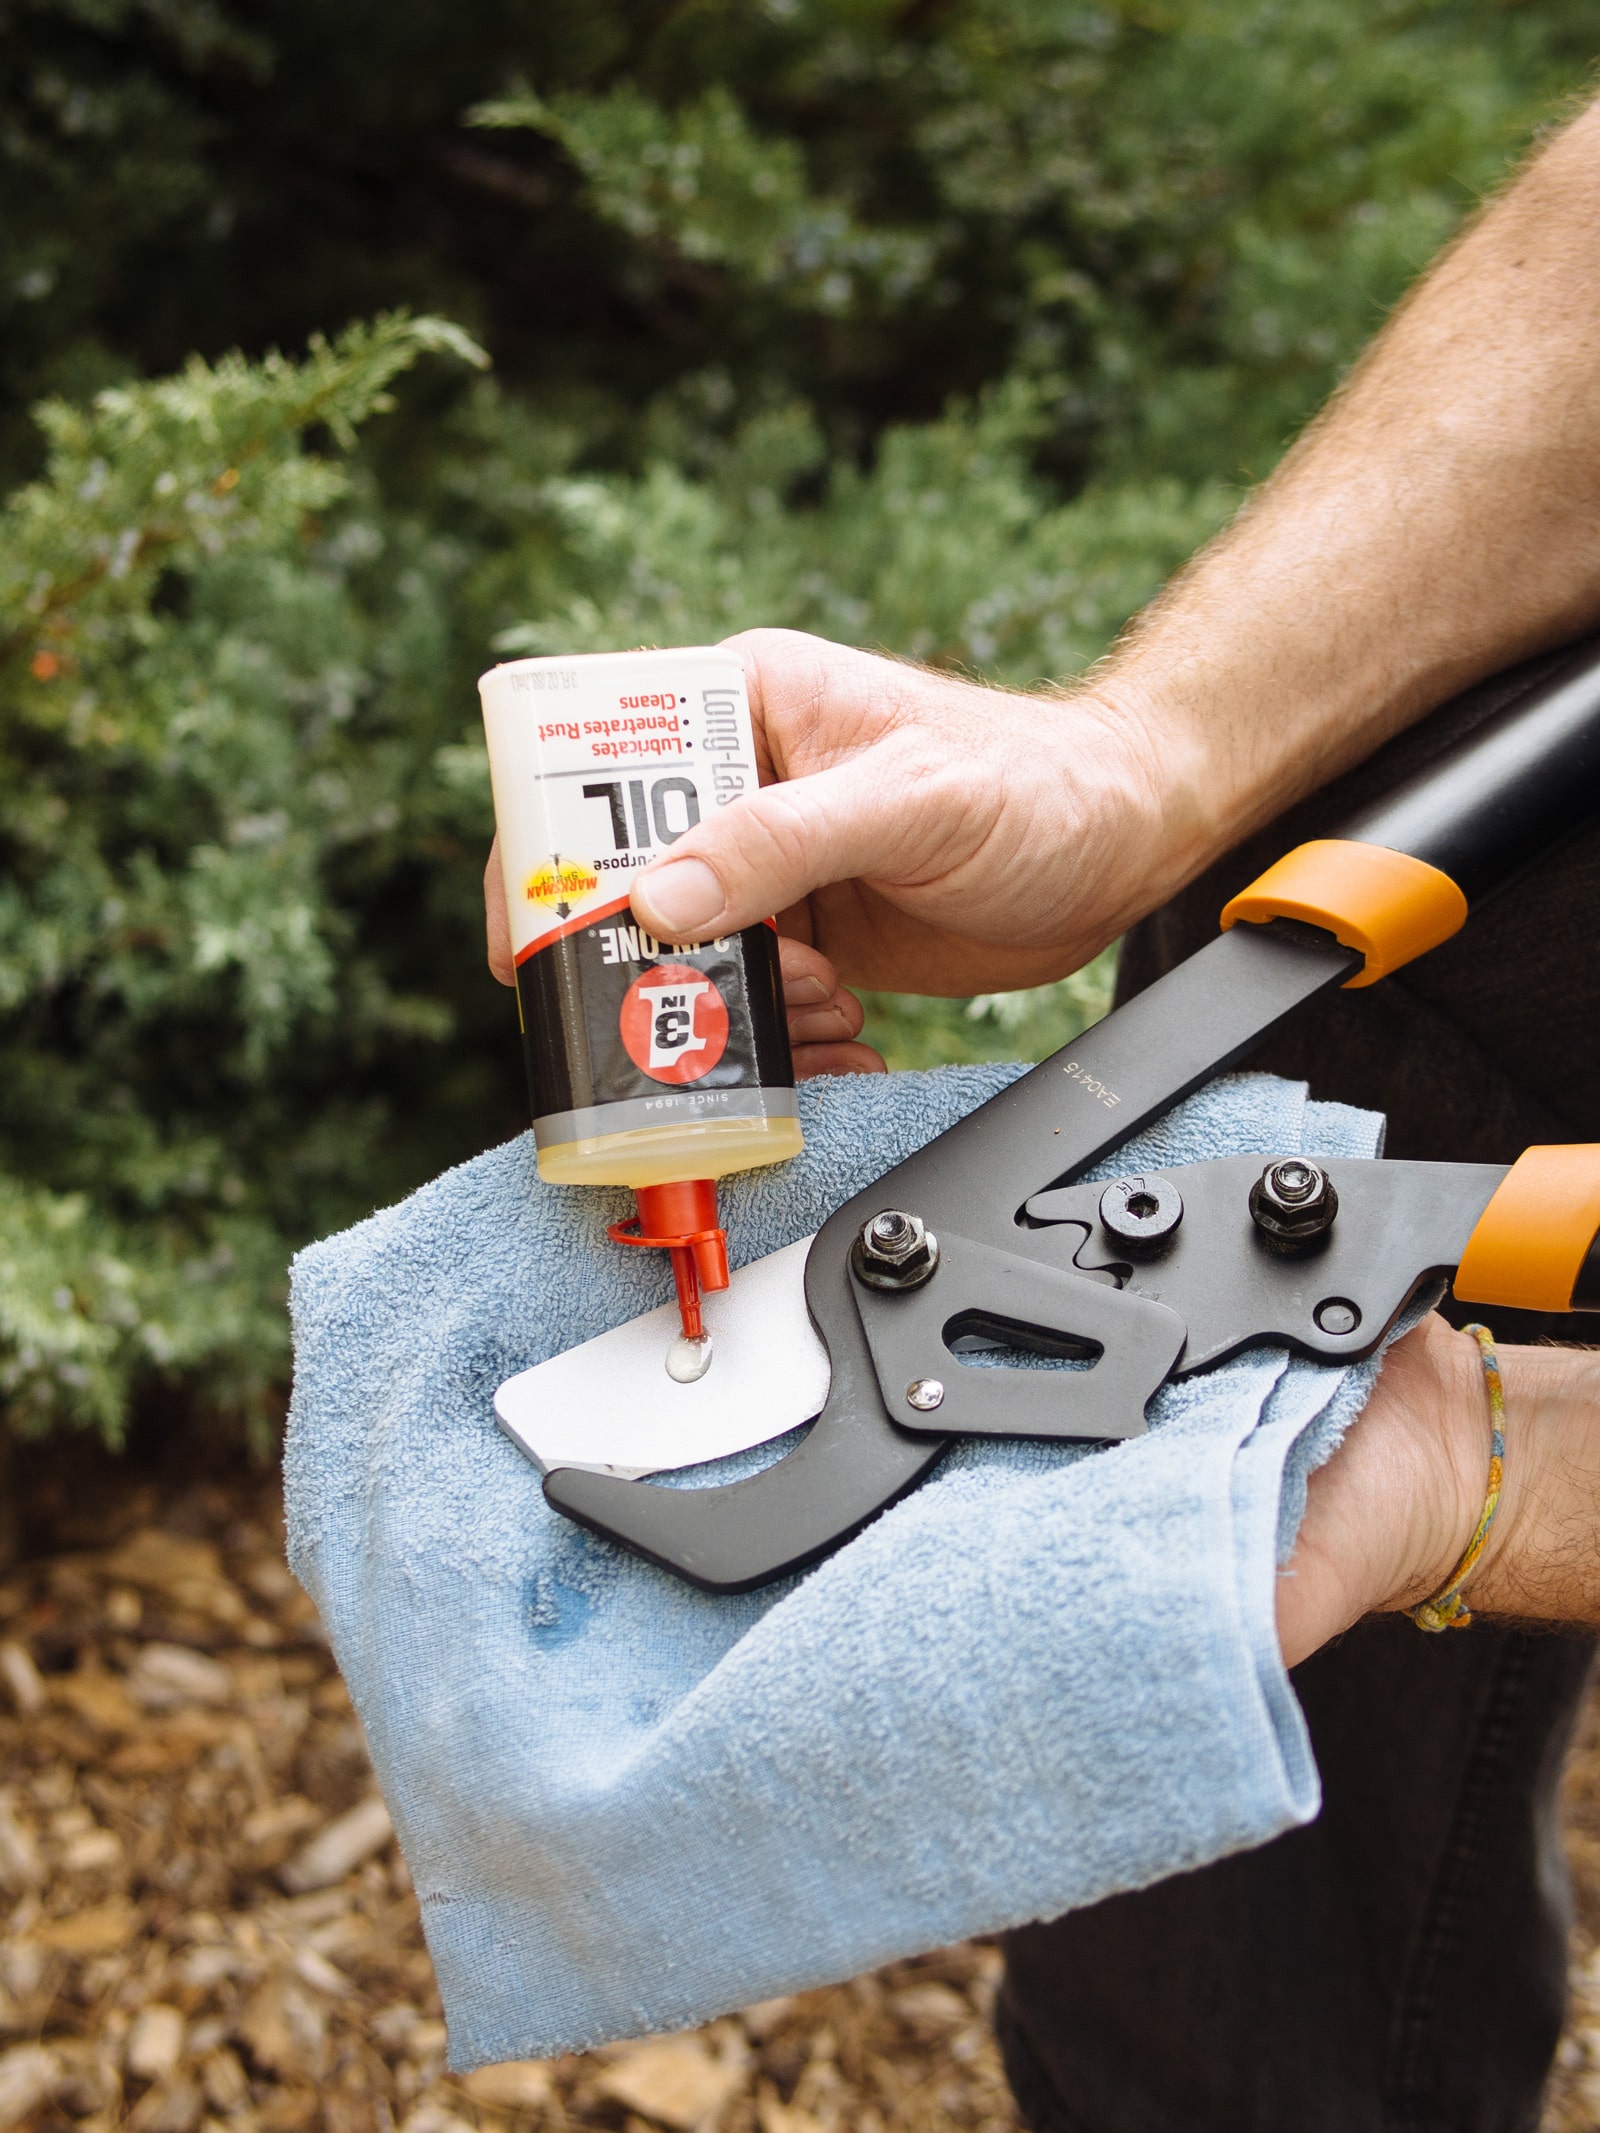
☐ Clean, sharpen, and store tools.
I like to use 3-IN-ONE® Multi-Purpose Oil on my tools to remove surface rust as well as prevent rust. This household product is a must-have in my garden toolbox because it’s an effective cleaner, lubricant, and protectant.
A few drops on your steel blades and other metal tools will dissolve rust and keep the moving parts on your pruners and loppers clean and smooth. Just wipe it on and wipe off the excess.
On your shovels, spades, and blades, apply a thin coat of 3-IN-ONE® Multi-Purpose Oil to the metal surfaces to create a barrier against oxidation so your tools stay protected in storage.
If you’ve been a little negligent with your gardening tools, here’s a simple way to remove rust without scrubbing. (It works on all metal tools of all sizes.)
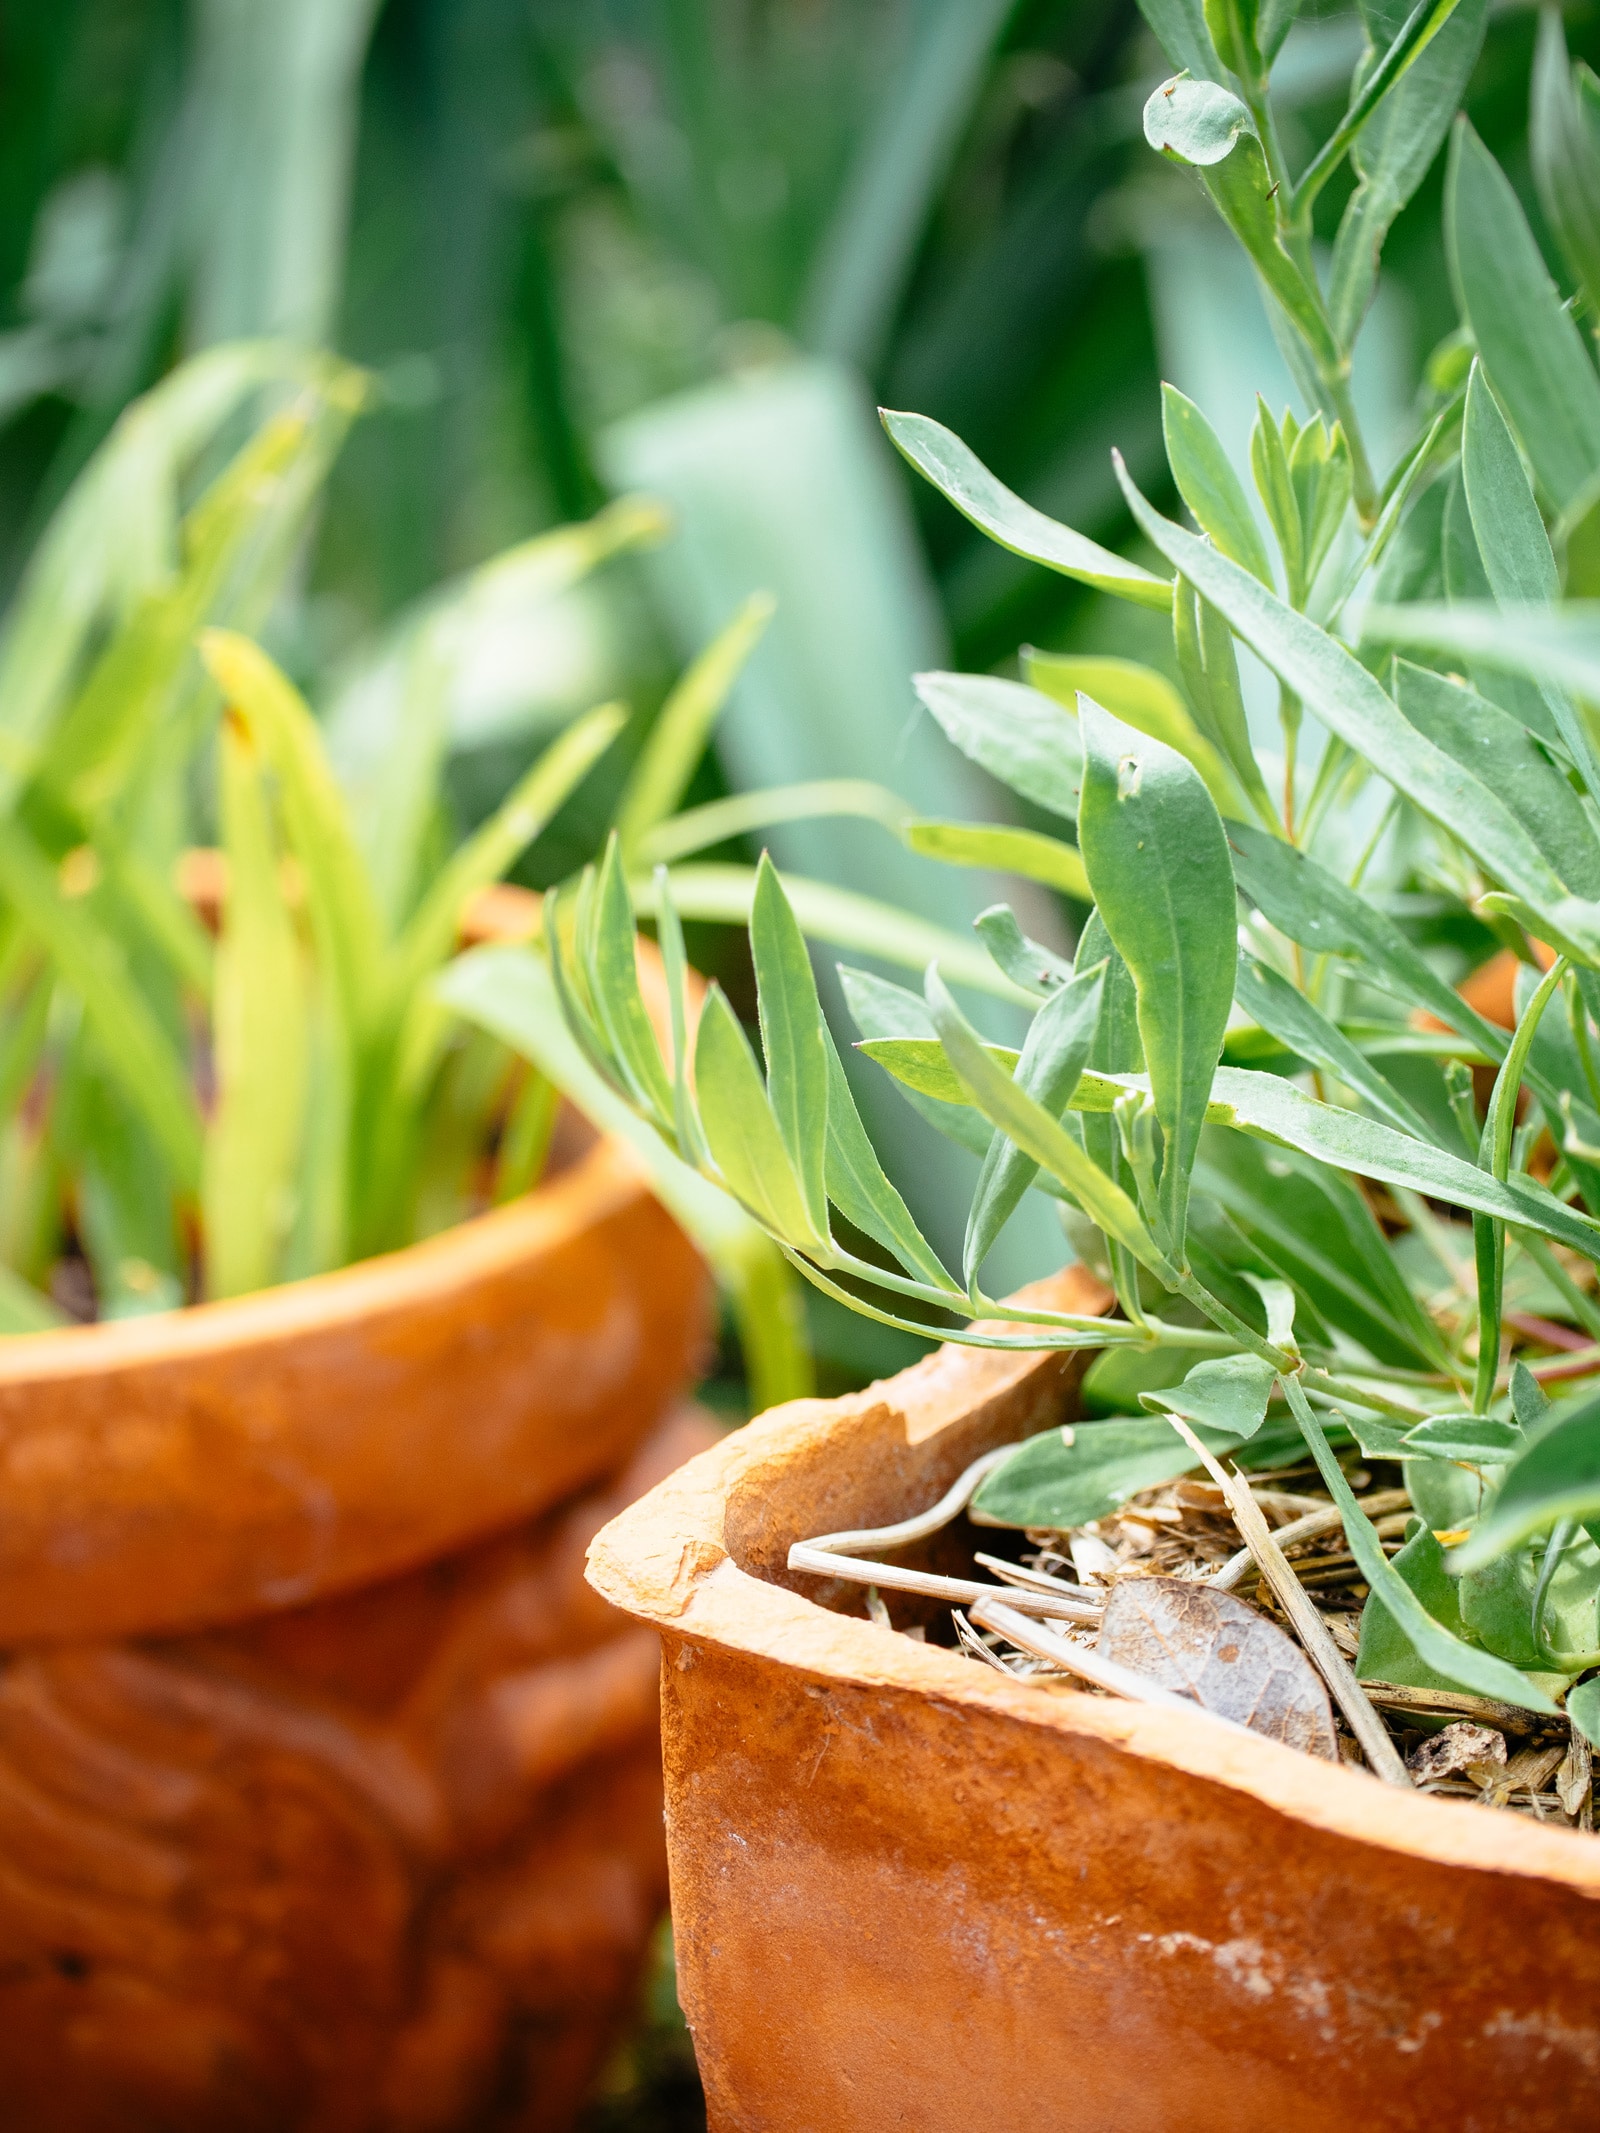
☐ Empty and store unused pots and planters.
You don’t even have to wash your pots (unless they housed diseased plants).
This is also a good time to inspect your inventory and discard any pots that have seen better days. Personally, I’ve started replacing all my plastic pots (especially black nursery pots) with fabric and terra cotta pots for better breathability.
Read more: Best Grow Bags for Your Garden
☐ Drain and empty hoses and drip irrigation systems.
Shut off the main water supply and remove the faucet assembly at the start of your irrigation system. Have underground watering systems winterized (blown out).
If you have drip irrigation lines in your raised beds, there’s no need to disassemble them for winter—just get them blown out, then spread a thick layer of mulch over the tubes and emitters.
Related: Drip Irrigation: Assembling and Installing Your System
6. Prepare your yard for winter.
☐ Assess cold-weather structures.
Pull your cold frames, hoops, and frost cloth out of storage and give them a good once-over. You’ll need them for your fall, winter, and early spring vegetable growing.
☐ Protect frost-sensitive plants.
Keep an eye on nightly lows and shield sensitive plants and their roots with burlap, frost covers, mulch, or other protective barriers.
Here’s how: 6 Best (and Easiest) Ways to Protect Trees and Shrubs in Winter
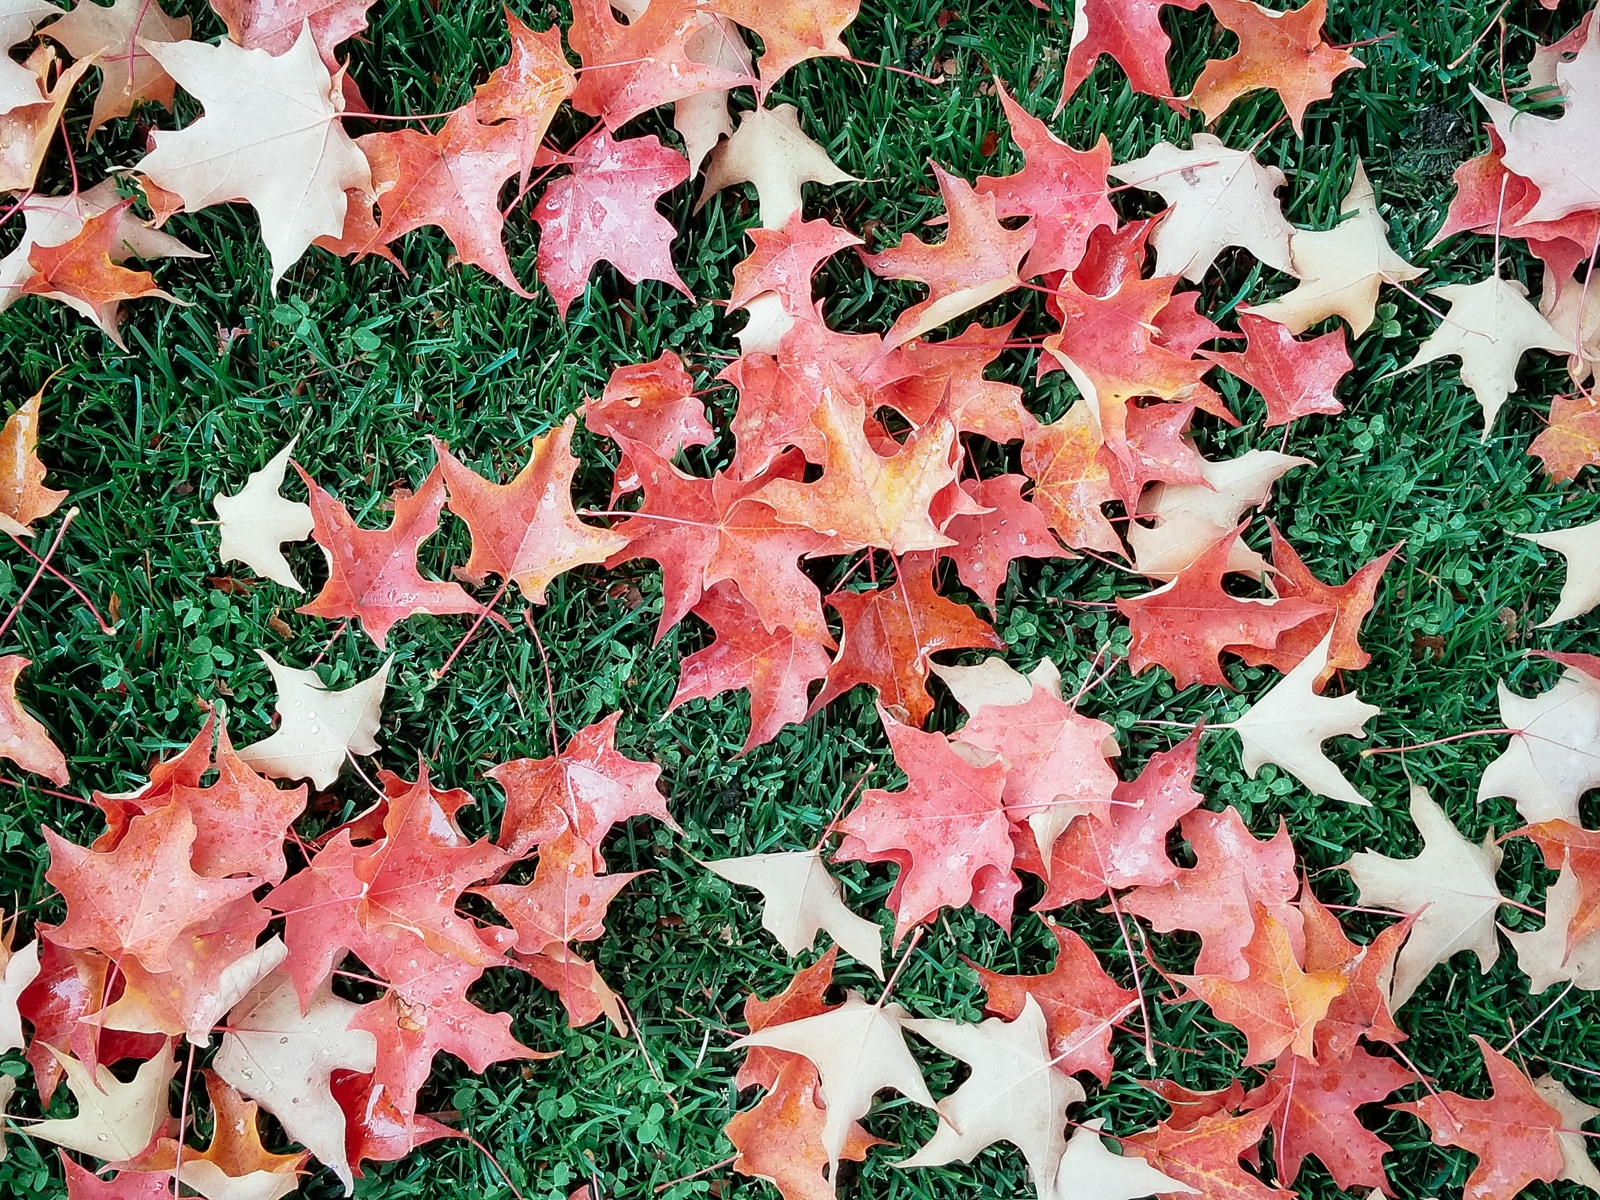
☐ Compost fallen leaves.
Generally, it’s best to let fallen leaves lay where they are, since they provide natural (and free) mulch for your yard and habitat for overwintering insects and wildlife.
On the flip side, large leaves or thick layers of leaves can do more harm than good, as they create a dense mat that makes it hard for air and water to pass through. So if your lawn is covered in piles of leaves, shred them with a lawn mower and let them decompose in place over winter.
Or, rake the leaves and heap them into a sheltered corner of the yard to make your own leaf compost (also known as leaf mold).
You can also keep a few bags of dried leaves around to add to your compost pile as needed to balance the greens (nitrogen) from your kitchen scraps.
If you have a leaf shredder, you can turn your fallen leaves into a nutrient-rich mulch for your garden beds. Just spread a couple inches of shredded leaves around your plants (no need to compost them first, they’ll do it on their own).
For more tips, follow 3-IN-ONE® on Facebook and Instagram. Click here to find a local or online store where you can buy 3-IN-ONE® Multi-Purpose Oil. Thank you for supporting the brands that support Garden Betty.
This post updated from an article that originally appeared on October 10, 2021.
View the Web Story on this fall garden checklist.