
You waited seven, maybe nine months, for all that homegrown garlic to finish growing. Now that you’ve dug it all up, you want to savor it for as long as possible until the next garlic crop is ready.
This is when curing becomes your friend.
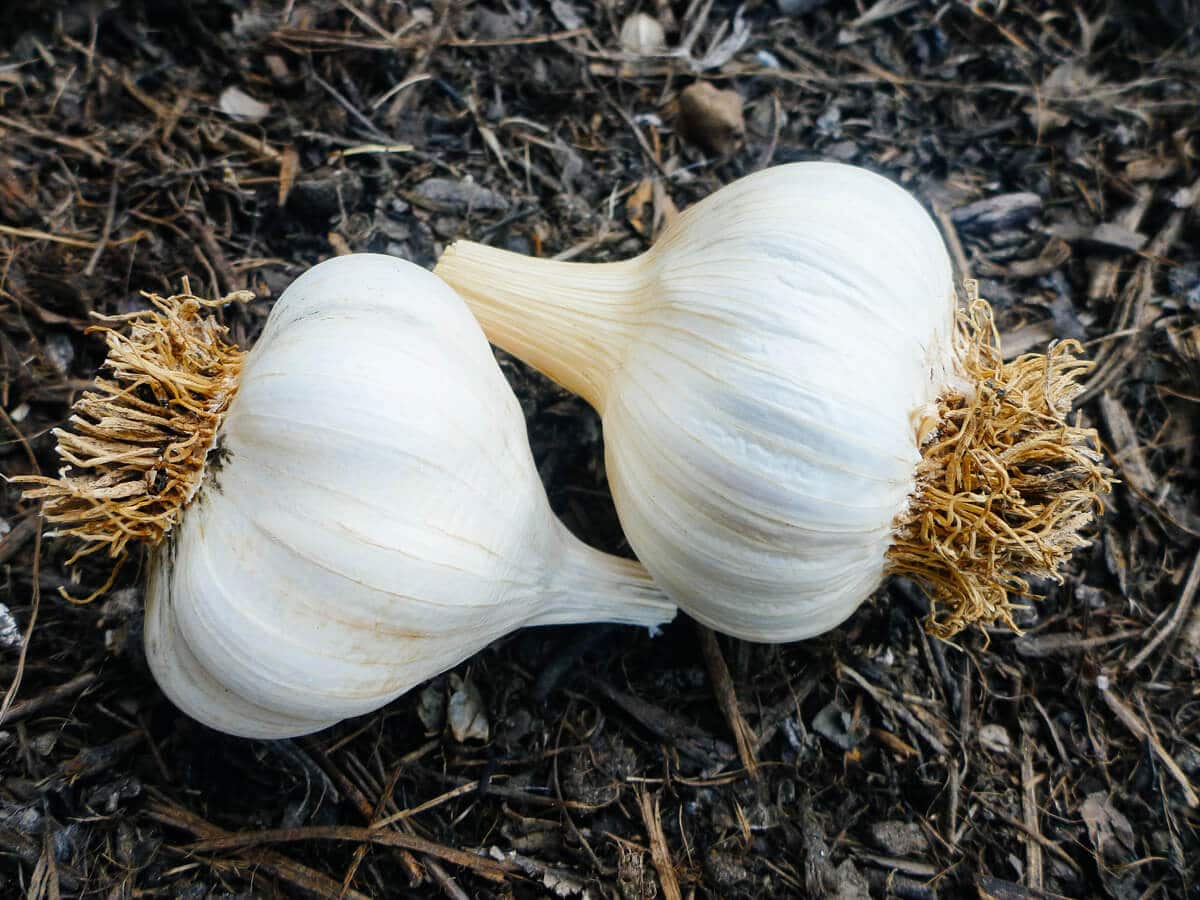
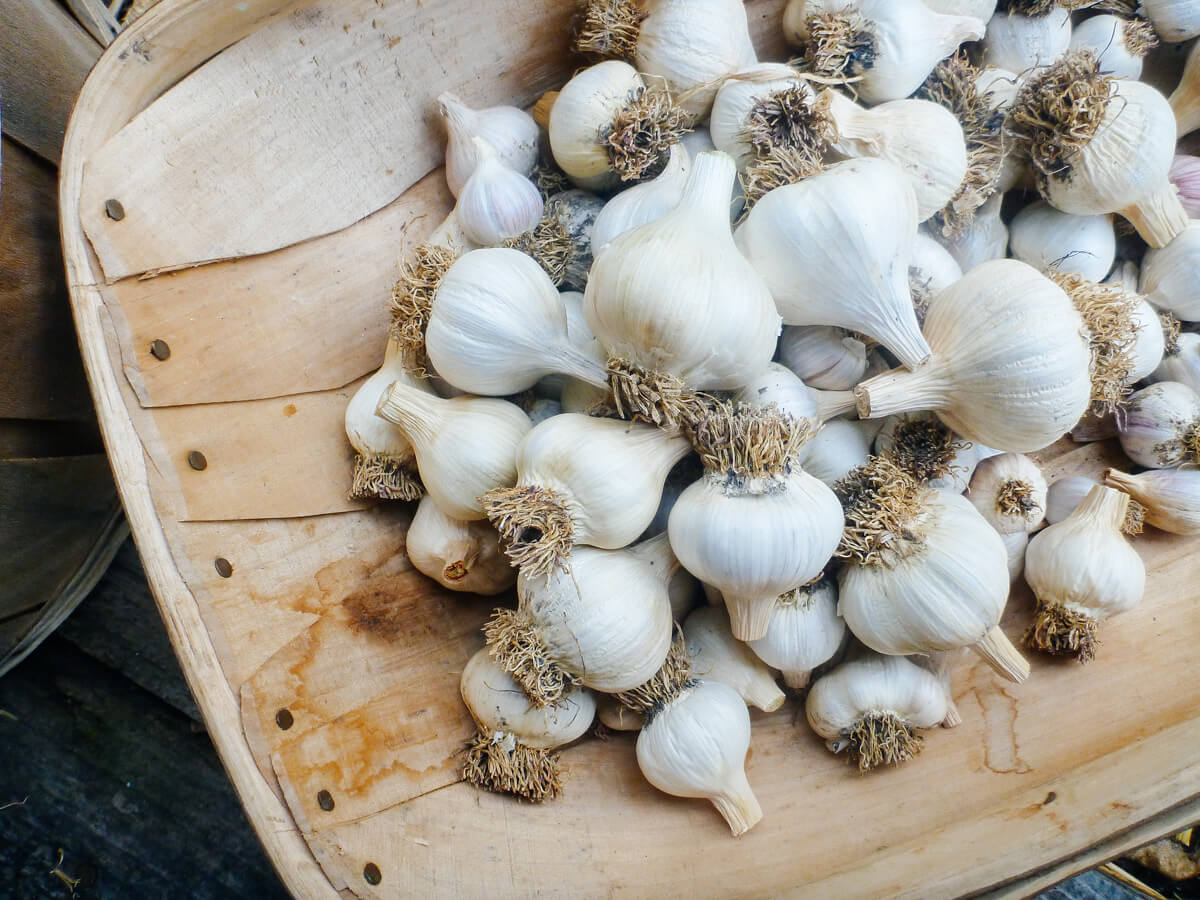
Curing is the process of letting your garlic dry down in preparation for long-term storage. Curing and storing garlic allows you to enjoy the flavor of your summer harvest well into winter.
One of my favorite things about garlic is that it still stays fresh long after it’s been plucked from the ground without traditional preservation methods. No pickling, no canning, no freezing. Just a simple head of garlic that looks and tastes the same as the day you pulled it.
Does garlic have to be cured?
Garlic does not need to be cured. It’s edible right out of the ground.
But if you want it to stay fresh in the pantry for a good long while, you have to take it through the process of curing—essentially just letting it dry. As the garlic dries, the skin shrinks and turns papery, forming a protective barrier against moisture and mold.
In this dried down state, under optimal conditions, cured garlic can store for several months after harvest (which means you can use the garlic cloves from your garlic harvest as seed for the following year’s crop).
Related: Get Your Garlic On: Planting and Growing Garlic the Easy Way
You don’t have to cure your entire crop, either.
Garlic that you want to eat right away can be used right away, straight from the garden. I usually set aside a couple of bulbs I can use up in three to four weeks (especially bulbs that may have been damaged during harvest, but are otherwise edible).
Garlic that you want to store should be moved to a dry, shady, airy place once they’re harvested to begin curing.
How to cure your garlic crop
First, determine whether your garlic is ready to harvest using this simple trick.
Garlic stops growing once the soil temperature reaches 90°F so if you have a hot, early summer, your garlic will mature faster (though it’ll also have smaller bulbs).
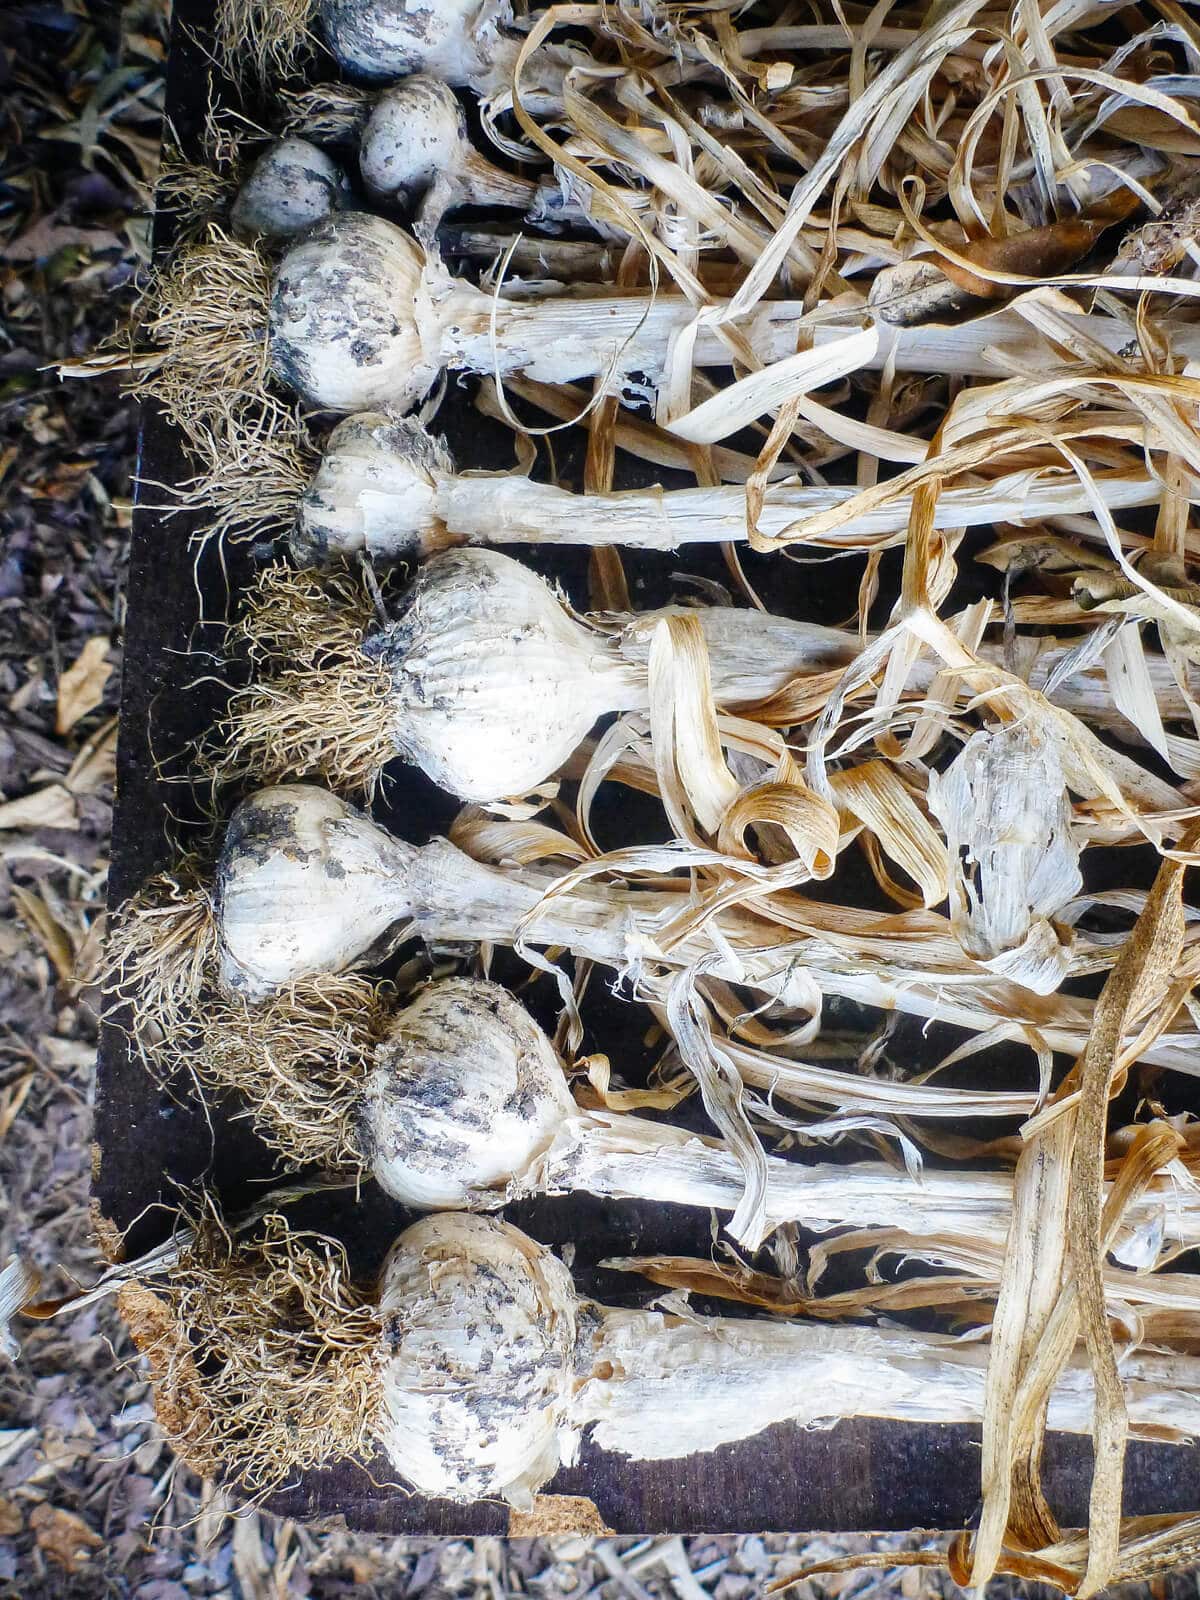
Once you’ve pulled all the bulbs out of the soil, lay them out one by one on an elevated surface (like a large table or shelving rack) that gets filtered or indirect light. This could be under a tree, on a covered porch, or in a well-ventilated garage.
There’s no need to clean off all that dirt for now—you’ll tidy them up when you trim them.
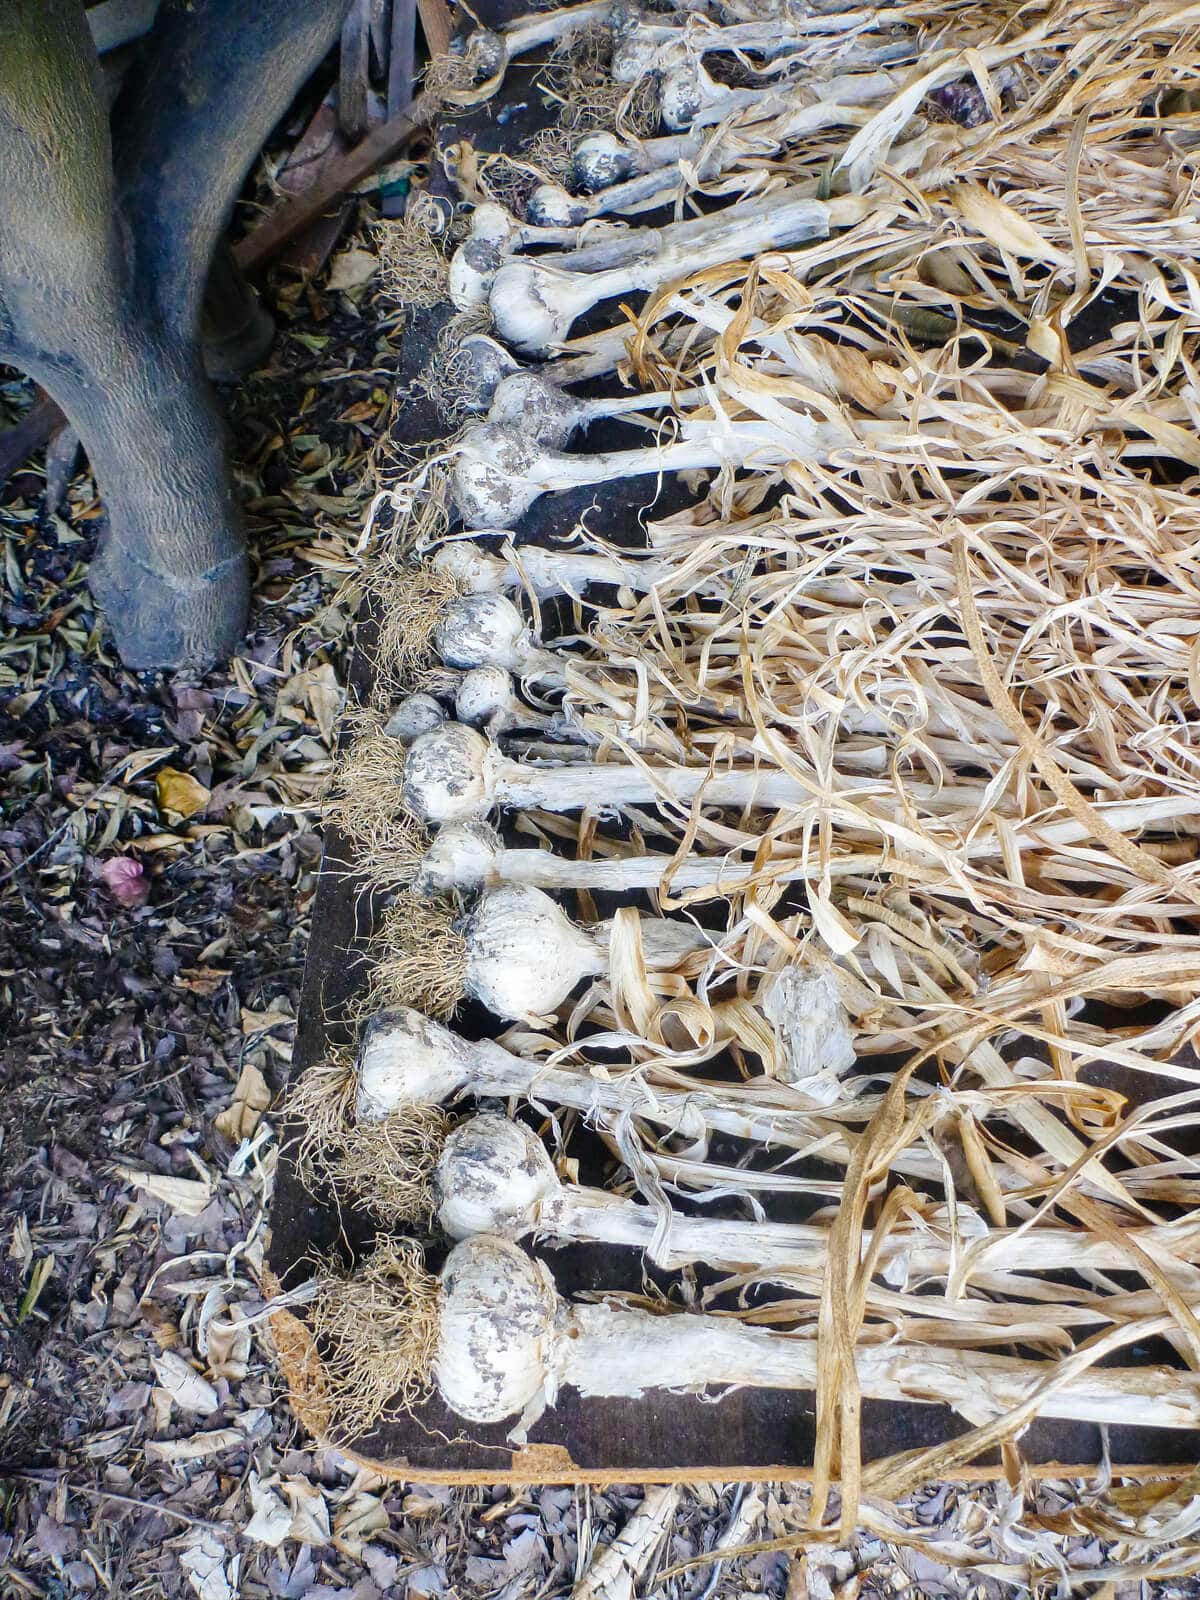
If you don’t have a table to spare, you can DIY one out of 1×6 planks (or fence boards) laid across two sawhorses. Or, build a large frame out of 1×3 lumber, stretch and staple a piece of hardware cloth or chicken wire across the frame, and prop it up on sawhorses or cinder blocks.
Foolproof tips for curing your garlic
Don’t pile them on top of each other. The key to proper curing is providing good air circulation between the bulbs.
Don’t spread them out in the sun. Garlic is susceptible to sunburn and can literally cook under the sun, which deteriorates flavor. So you want to minimize the amount of direct sunlight it gets during the curing process.
Don’t wash your garlic. After all, the point is to dry them out!
Don’t remove the leaves while the garlic is curing. The bulb continues to draw energy from the leaves and roots until all that moisture evaporates. Keeping the leaves intact also helps to prevent fungi or other lurking garden contaminants from spoiling the garlic before it’s fully cured.
Can you hang garlic to dry?
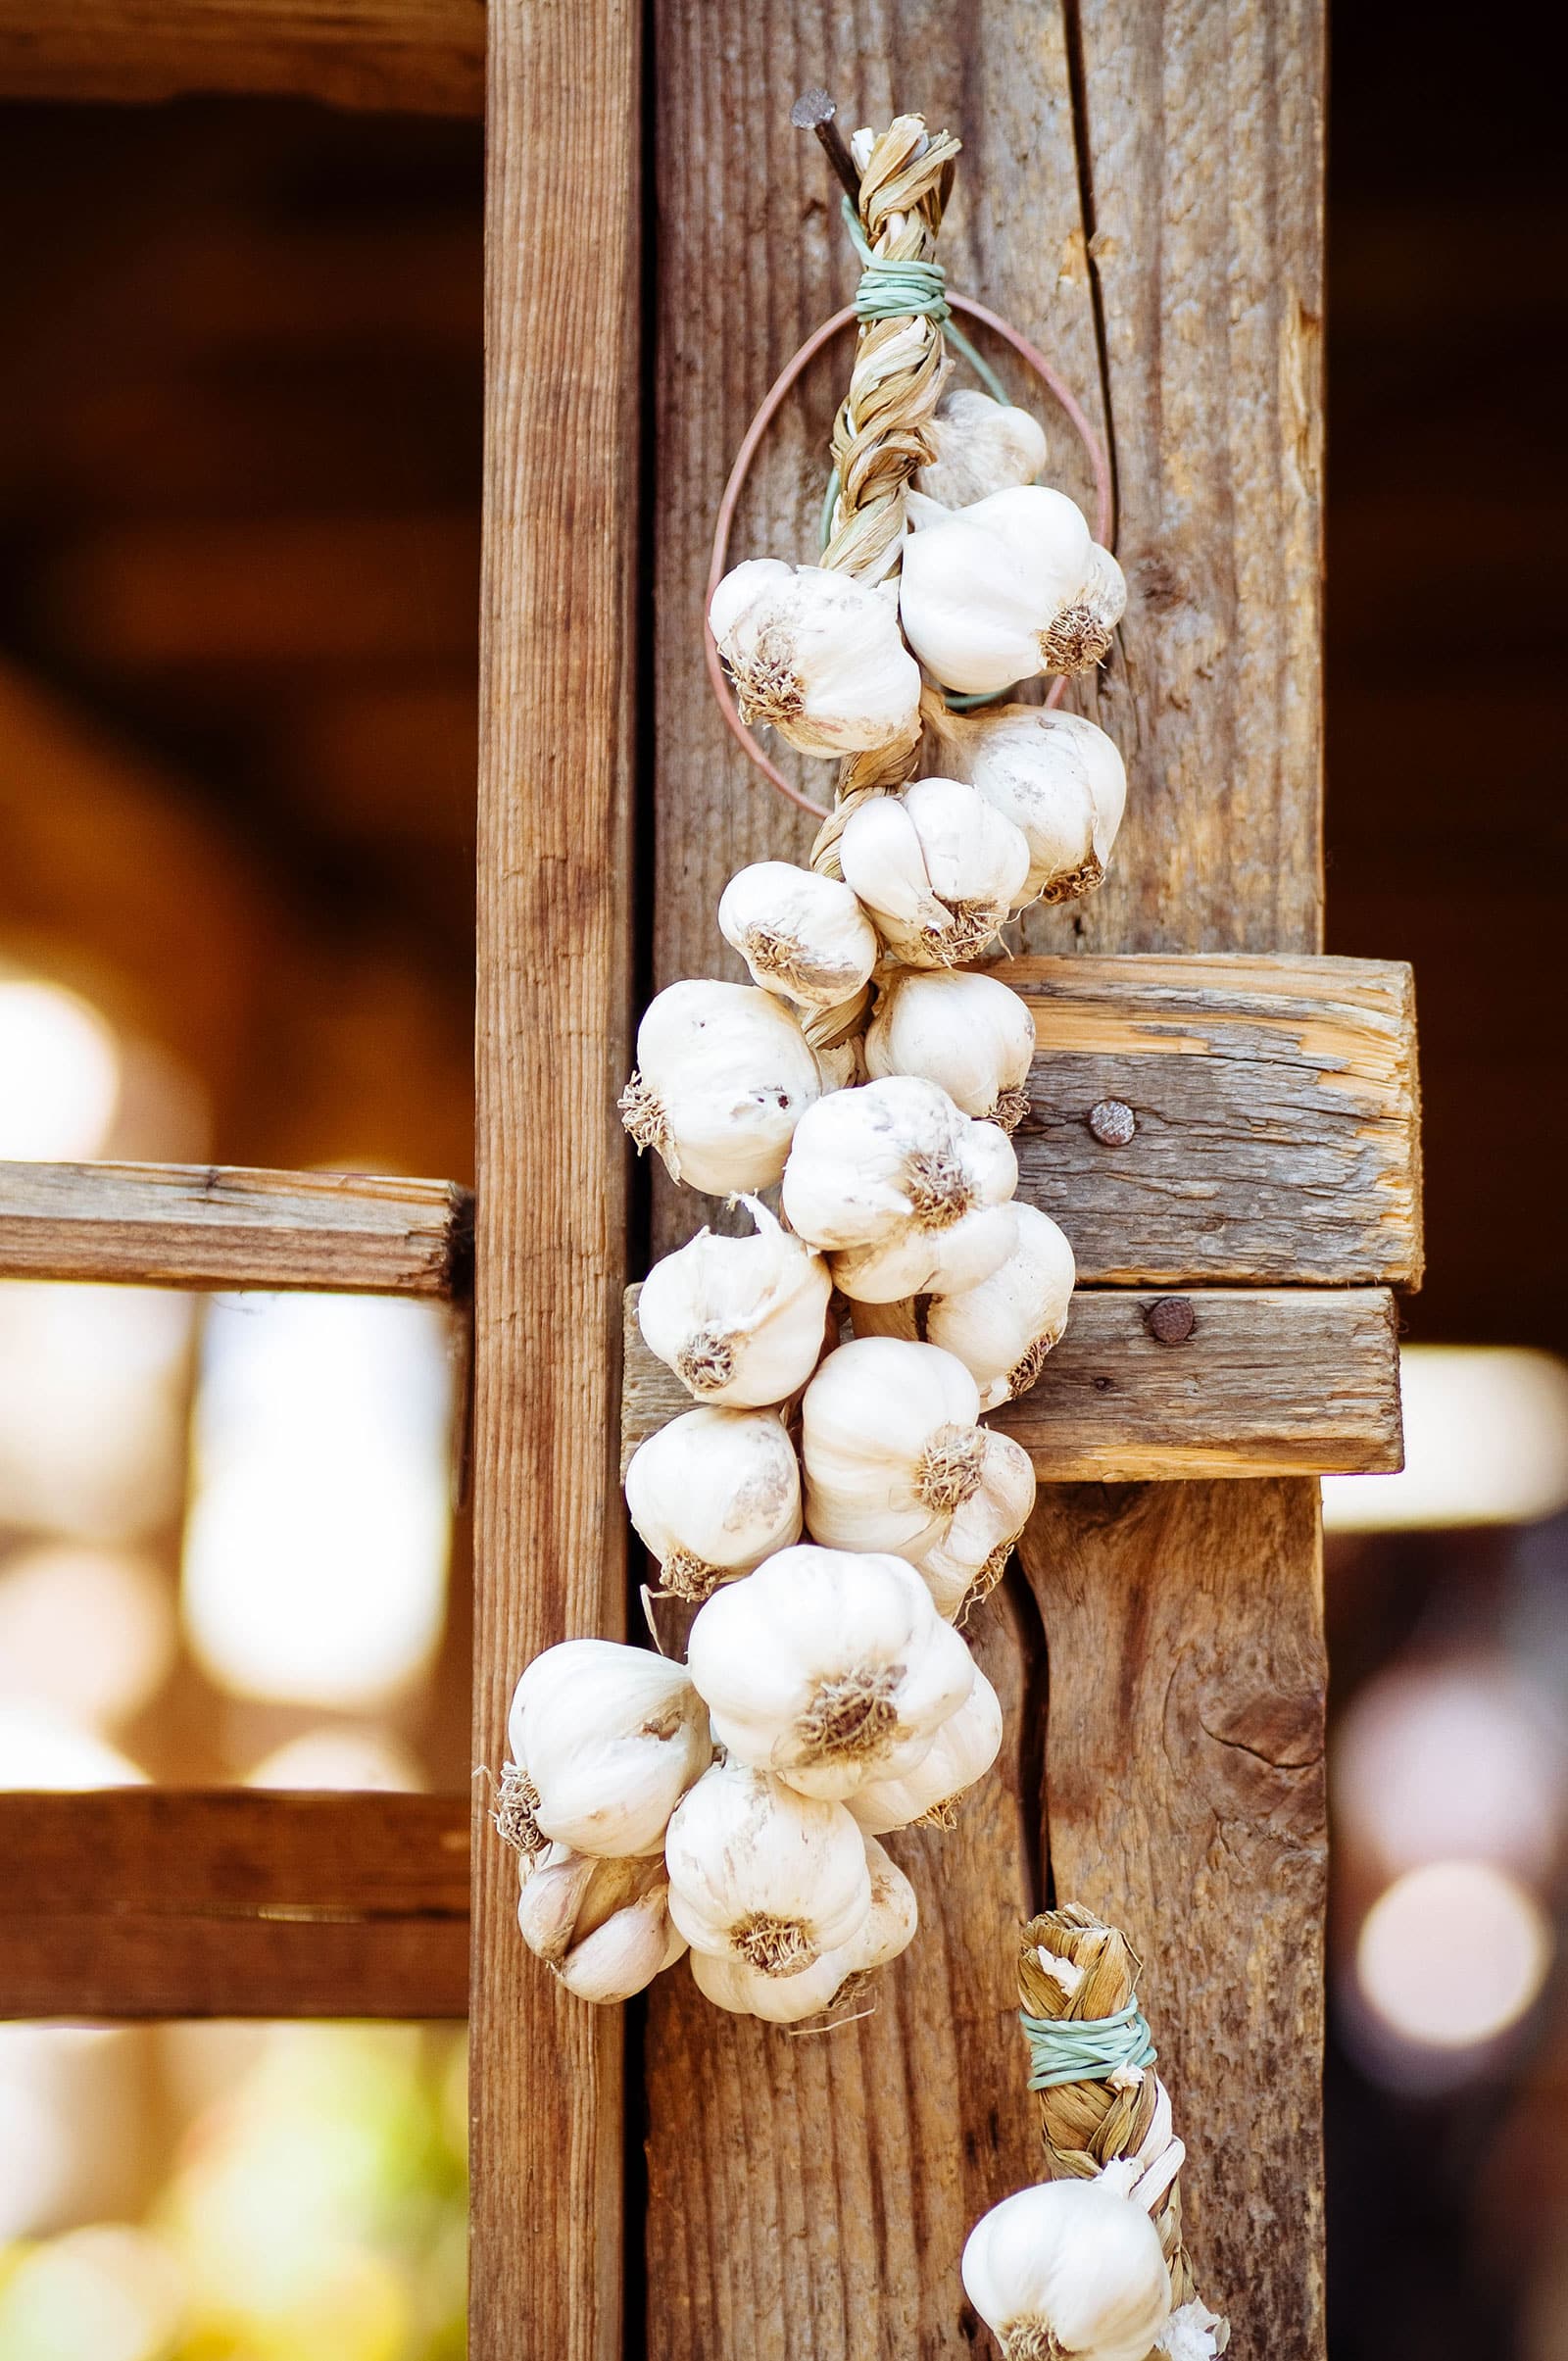
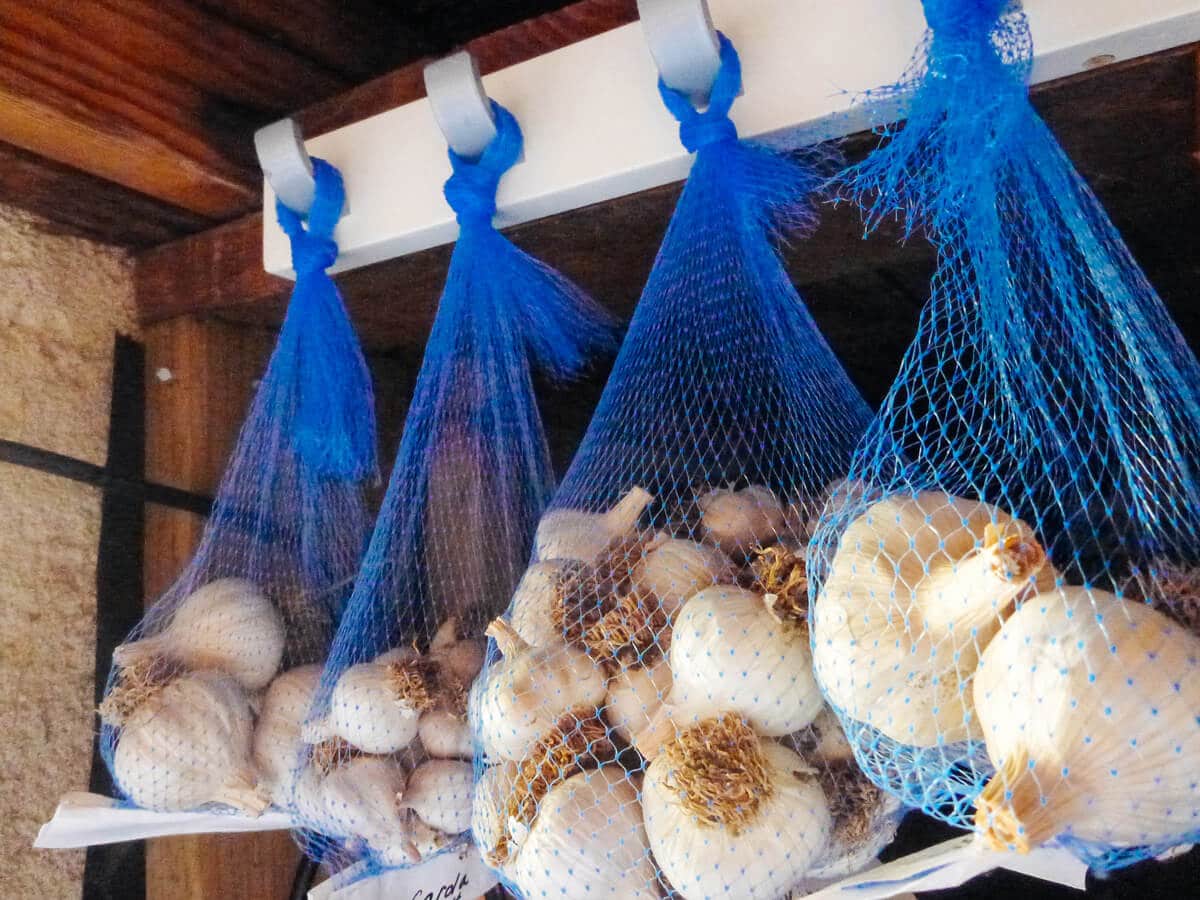
If you’re short on space, you can cure your garlic vertically by gathering the garlic into bundles, tying the leaves together with twine, and hanging them from their stems to dry.
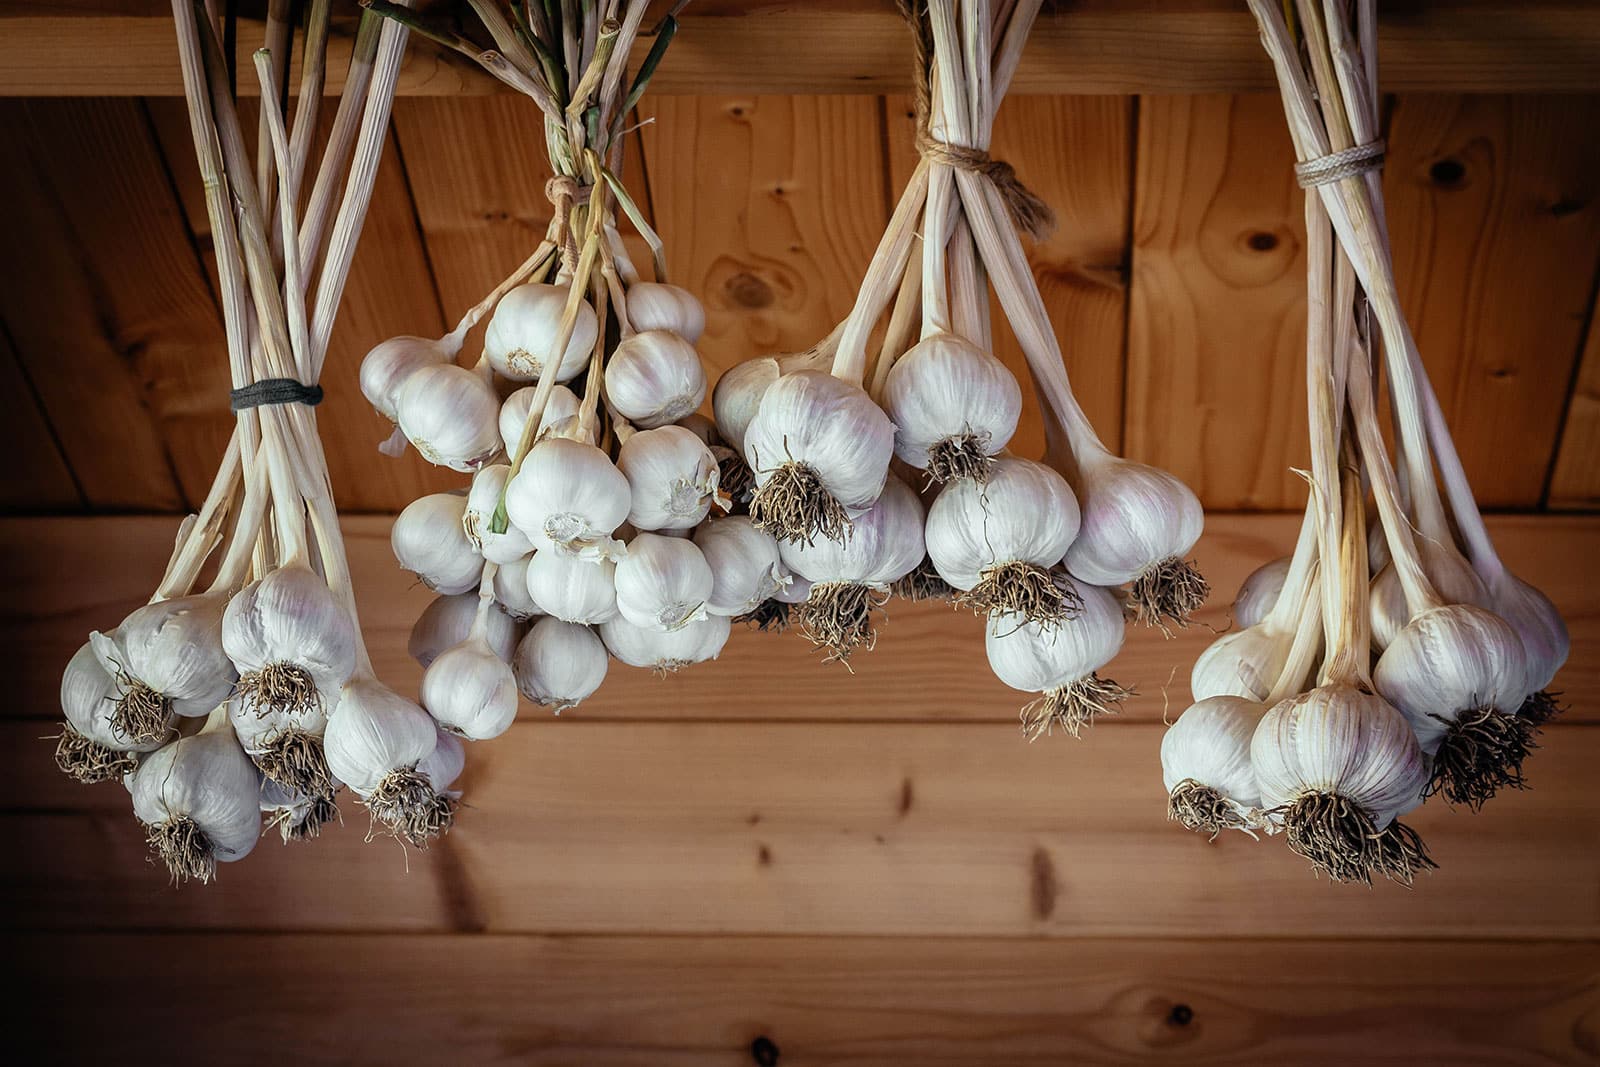
You can even braid (plait) your garlic for storage, just like the beautiful ones you see hanging in Italian restaurants.
Braiding only works with nimble softneck garlics, since the stems of hardnecks are too stiff. Braid your softneck garlic while the leaves are still green and pliable, and hang the bundle to dry in a shady spot (like a pantry or a corner of the kitchen).
How do you know when garlic is cured?
Garlic is usually ready for long-term storage about a month after harvest. But curing can take as little as two weeks in warm, dry climates, or as long as two months in rainy, humid weather.
Large bulbs (and bulbs with large cloves) generally take longer to cure. During this time, the flavor continues to mellow and improve.
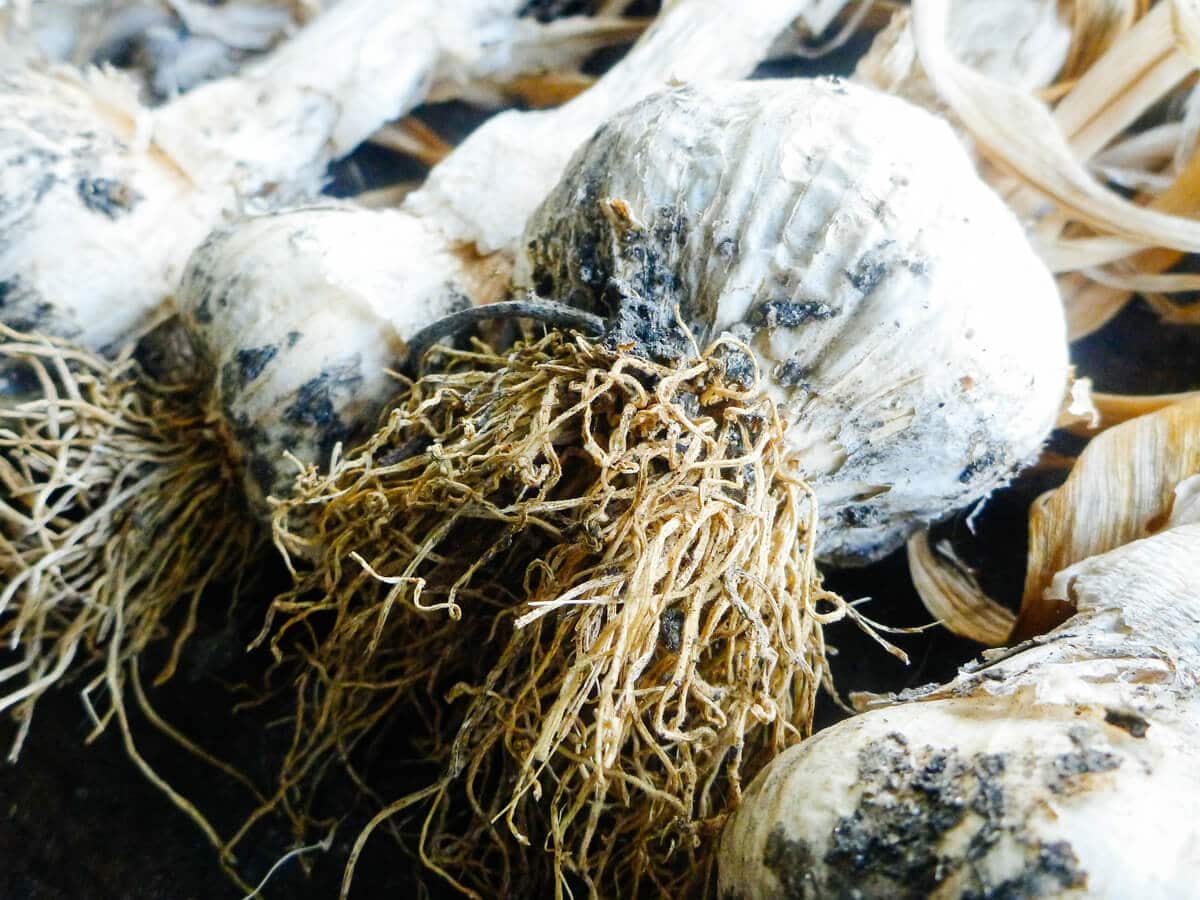
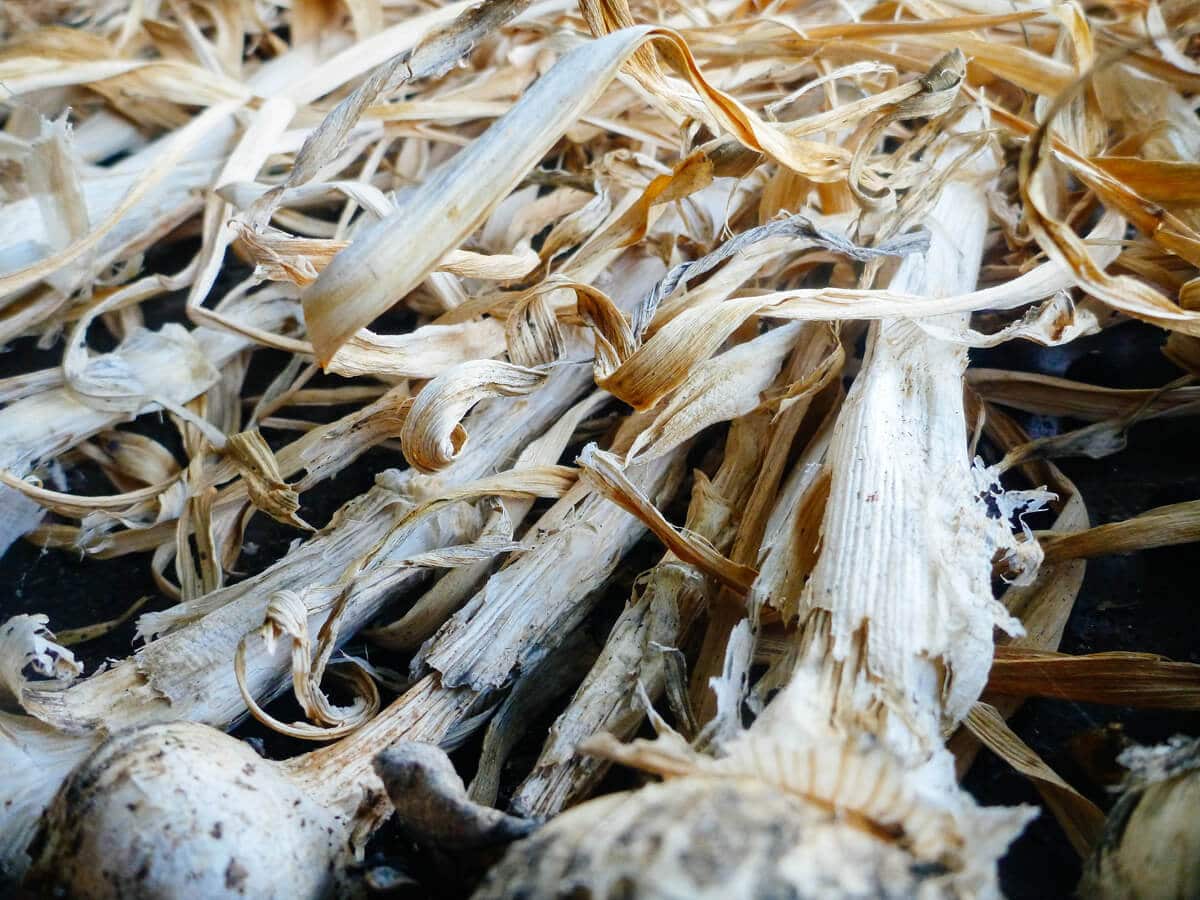
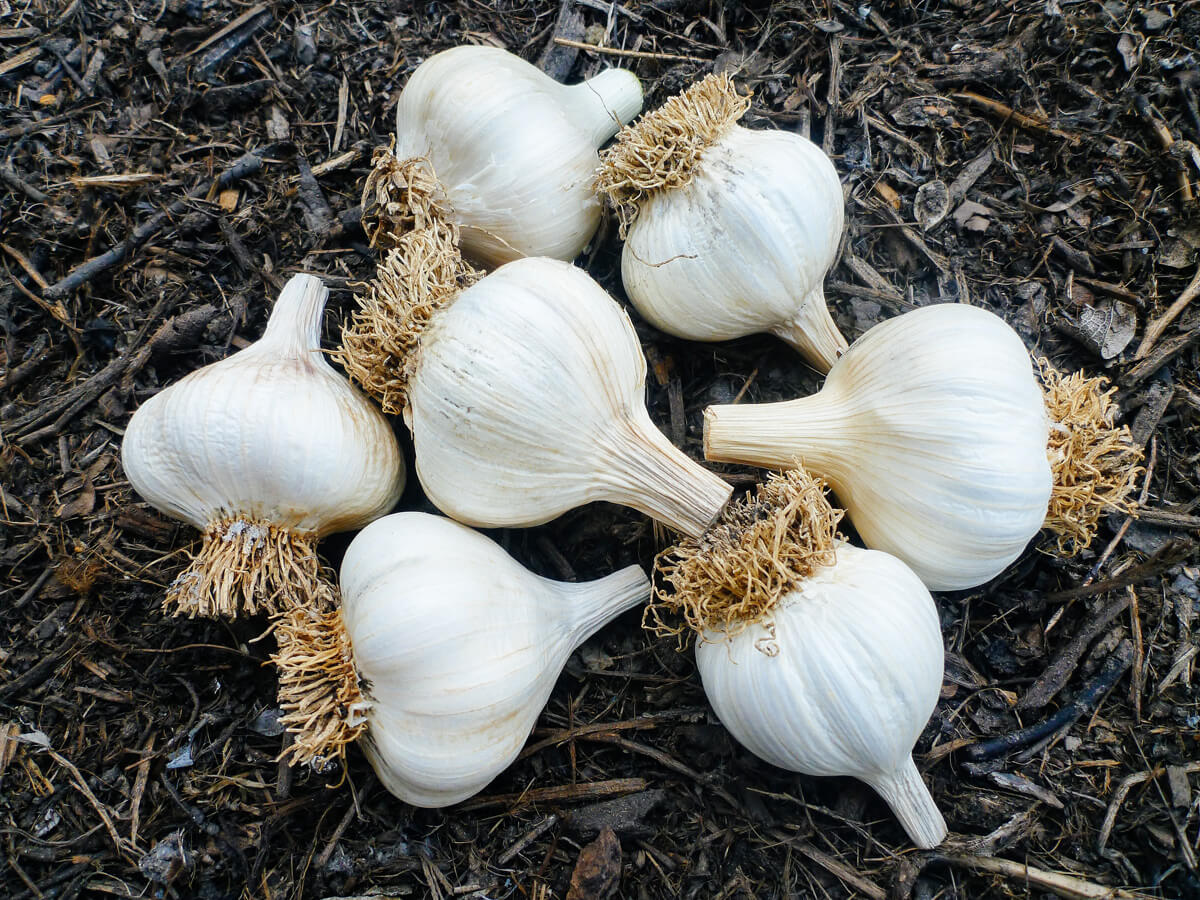
Curing is complete when the roots look shriveled and feel stiff like a bottle brush, and the leaves are completely brown and dried.
Disclosure: If you shop from my article or make a purchase through one of my links, I may receive commissions on some of the products I recommend.
The best way to store garlic
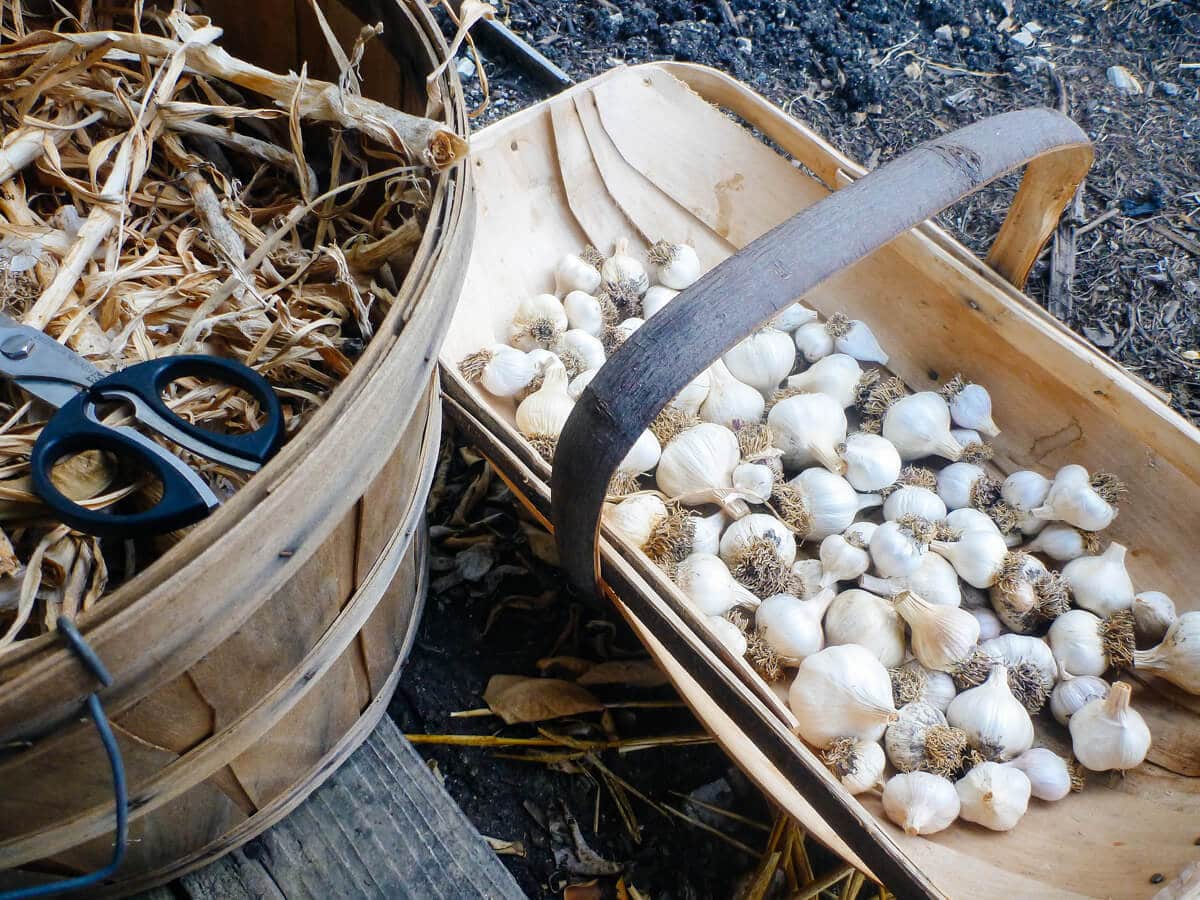
Once the garlic is fully cured, clean it up by removing the leaves at the neck and trimming the roots (with a pair of scissors or pruners) to 1/4 inch or 1/2 inch long. More dirt will dislodge and a couple layers of bulb wrappers may flake off, giving you a nice and neatly packaged bulb.
Remember not to remove too many wrappers in case you expose the cloves.
If you braided your garlic, you saved yourself an extra step and can simply snip a bulb off the braid when you need it.
Set aside your most beautiful heads of garlic with the biggest cloves to use as seed garlic the following season.
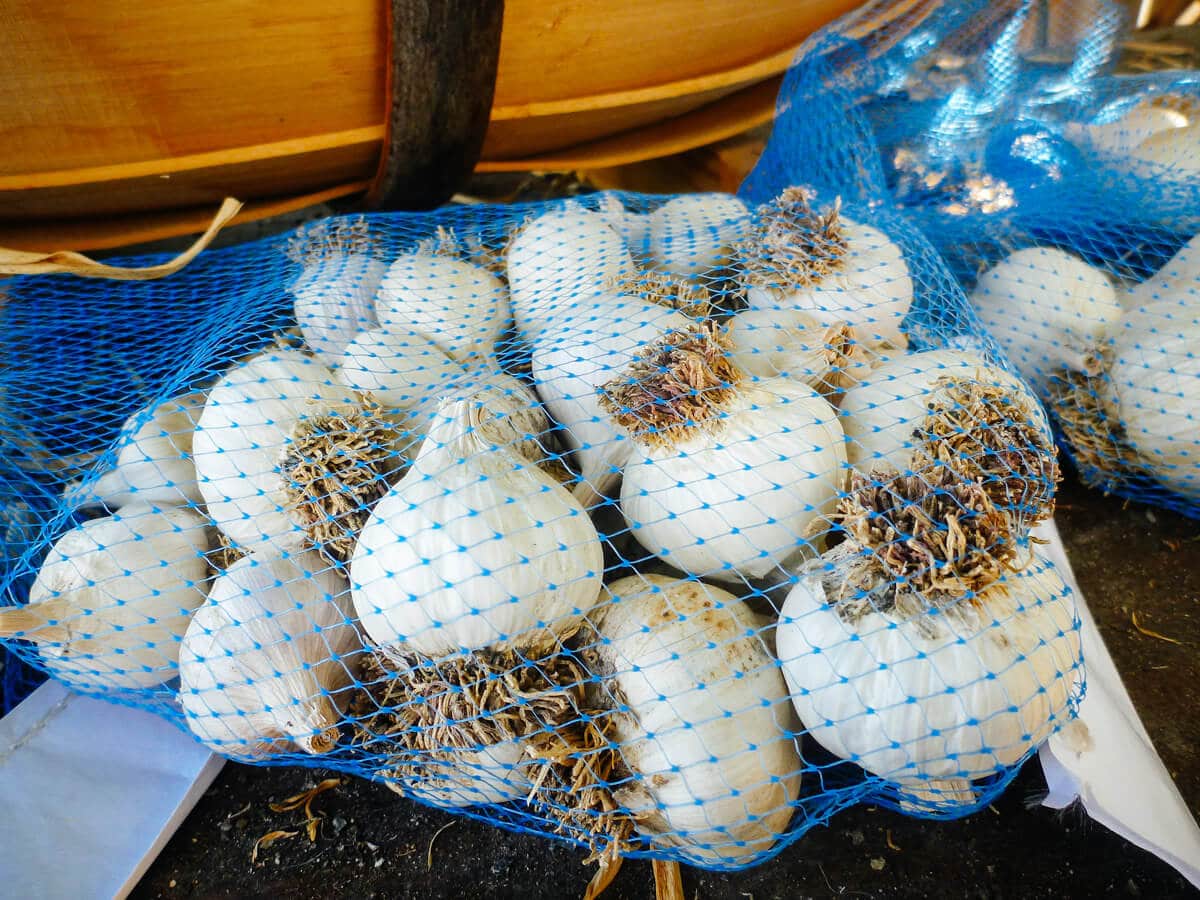
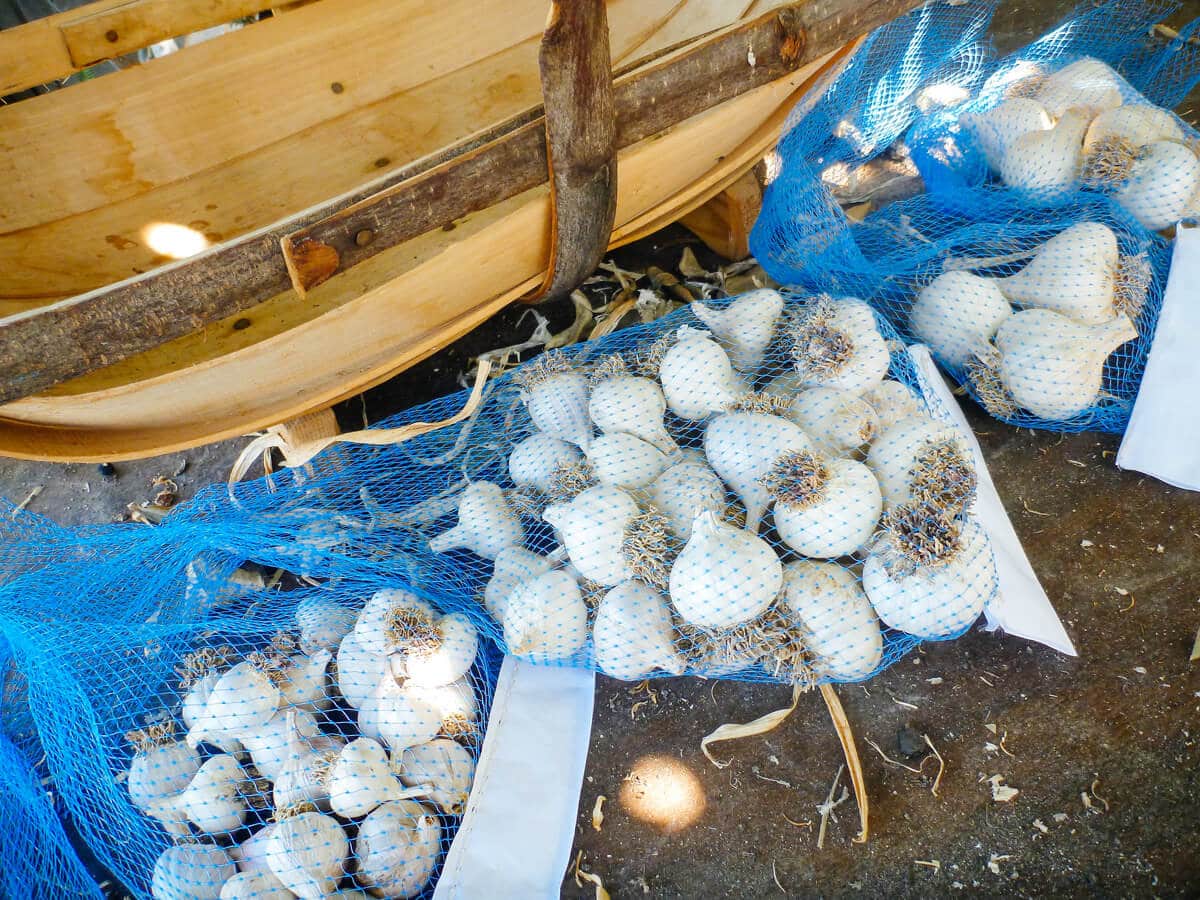
Stash the garlic in mesh bags, woven baskets, old terracotta pots, brown paper bags, or even cardboard beer/soda cases—as long as the container is breathable and the environment stays dry.
I’ve even heard of people storing garlic in old pantyhose by hanging it from the ceiling, putting a knot between each garlic head, and scissoring off a knot when needed—but really, who has pantyhose lying around these days?!
Temperature, humidity, and ventilation all play important roles in determining how well your garlic will store. A “cool, dark place” is the general recommendation, and it doesn’t get any easier than a spare cupboard or closet shelf at room temperature.
But if you want to maximize the longevity of your garlic?
Keep it between 50°F and 60°F, around 60 percent humidity, in low to no light with good air circulation.
Garlic tends to sprout at colder temps (thus, no refrigerators!) and dry out in warmer temps.
Lower humidity may cause dehydration (especially in Rocamboles, which are more finicky than other varieties), while higher humidity may bring in fungus and mold. Light is not a factor in storage, as long as you keep your garlic away from direct sun.
Exclusive guide
Don’t let good food go to waste
Download my Fruit & Vegetable Storage Guide for printable charts, helpful tips, and little-known tricks for keeping your produce super fresh for as long as possible.
All that said, there is no exact science to storing garlic. Sometimes I store my garlic in wire or wicker baskets in the pantry, and sometimes (on a big harvest year) I save and reuse nylon mesh bags (the kind that potatoes and onions come in), sort my garlic into them, and hang them in a well-ventilated utility room.
How long does garlic last?
Once it’s cured, a whole bulb of garlic (with no blemishes or bruises) will last several months in storage. Softneck garlics tend to have a longer shelf life than hardneck garlics.
In general, Silverskins and Creoles are the longest-storing garlic (often keeping up to a full year), followed by Porcelains, Artichokes, Purple Stripes, Rocamboles, and lastly, Asiatics and Turbans, which have the shortest shelf life (up to five months under the most optimal conditions).
| Cultivar | Average Shelf Life |
|---|---|
| Silverskin | 1 year |
| Creole | 1 year |
| Porcelain | 8 to 10 months |
| Artichoke | 8 to 10 months |
| Purple Stripe | 6 months |
| Rocambole | 6 months |
| Asiatic | 3 to 5 months |
| Turban | 3 to 5 months |
If you’re lucky, you’ll be breaking out fresh cloves in winter and perhaps even through the following spring!
As soon as you remove the paper wrappers, break the bulb apart, or peel the cloves, however, the quality starts to decline quickly.
Individual unpeeled cloves will keep for about three weeks on the counter. Peeled cloves will keep for up to a week in the fridge. And chopped garlic will only last a day or two, so if you have leftover chopped garlic, it’s best to freeze it to retain freshness.
Common questions about harvesting and storing garlic
How do you harvest garlic scapes?
Garlic scapes appear in late spring to early summer on hardneck garlic plants. They are 100 percent edible and delicious! And they should be harvested to help promote bulb development below ground.
To cut the scape, wait until the stalk is fully formed and grow above the rest of the plant. When it starts to curl and spiral, cut the stalk as close to the base as possible without cutting any leaves off.
Garlic scapes keep well in a plastic bag for two to three weeks in the fridge. They can also be stored upright in a jar of cool water on the counter (the way you’d display flowers), where they’ll last for a few days.
Can you store garlic in the refrigerator?
Storing whole garlic bulbs long-term in the fridge (at 35°F to 40°F) is not recommended because holding garlic at those temperatures stimulates sprouting (in the same way garlic sprouts when it’s planted in the cooler soil and cooler weather of fall).
If you’ve already peeled the cloves, however, you can keep them in the fridge for up to a week before they start to lose moisture (and eventually decay).
For more tips on storing your produce and helping them last longer, download Garden Betty’s Fruit & Vegetable Storage Guide.
Can you freeze garlic?
Yes, garlic is quite versatile when it comes to freezing it. You can freeze whole bulbs that have cured, individual cloves (peeled or unpeeled), or chopped garlic. While it won’t retain its crispness after thawing, it still has all the flavor of fresh garlic.
Can garlic go bad?
When stored for too long, garlic will either sprout or shrivel. Neither makes the garlic harmful if you eat it, but they’re an indication that the garlic is past its peak in flavor and quality.
It’s time to discard (or compost) the garlic if the cloves have browned, turned soft, or shrunken in size.
Why is my garlic sprouting?
Sprouted garlic is the first sign that the garlic is about deteriorate, either from being old or being exposed to too much moisture or cold.
You can still eat sprouted garlic if the flesh is smooth and firm. The young green shoots are slightly bitter but can be chopped and used alongside the cloves when you cook. Just don’t try to put a bunch of garlic shoots in recipes where they’re the star of the dish (like garlic bread), as the difference in flavor could be noticeable.
Can you plant garlic that has sprouted?
Sprouted garlic (as well as garlic that’s still intact) can be planted in the fall for harvest the following year.
Simply plant the unpeeled garlic clove (sprouted side or pointy side up) about an inch deep in well-draining soil. Allow 2 to 3 inches of spacing between each clove and keep the plants consistently moist (but not waterlogged) while the shoots are growing.
Though the shoots are somewhat bitter when they start to sprout, they actually turn milder and sweeter as they grow. This makes those tall, tender garlic shoots a delicacy in spring when they’re picked as immature plants called green garlic (also known as spring garlic or baby garlic). There won’t be a divided bulb on the end of the green garlic, but the entire plant at that point is edible.
Or, wait for the leaves to start dying off as the crop matures so you can harvest fully divided bulbs in summer.
Where to buy garlic curing and storage supplies
[show_shopthepost_widget id=”4097394″]
Retail Resource Half Bushel Basket | Okatsune Garden Scissors | Charlton Home Set of 3 Sussex Trugs | Pike’s Original Maine Garden Hod | Sajid Nylon Mesh Bags | Organic Cotton Mart Reusable Cotton Mesh Produce Bags | Ahyuan Hanging Mesh Storage Bags | Trademark Innovations Foldable Water Hyacinth Storage Basket | BlueMake Woven Seagrass Belly Basket | VNCraft Foldable Black Bottom Seagrass Belly Basket
More posts you might find helpful:
- How to Choose the Best Garlic Varieties For Your Garden
- How to Grow, Harvest, and Use Green Garlic In Spring
- 7 Secrets to Harvesting, Curing, and Storing Onions
- 200+ Deer-Resistant Plants and Flowers For Your Garden
This post updated from an article that originally appeared on July 14, 2011.
View the Web Story on harvesting, curing, and storing garlic.


I have garlic that I planted on Halloween. According to Burpee it should be ready at the end of June. I am unfortunately going away for 2 weeks at the end of June. Right now only a two out of eleven plants have ONE brown bottom leaf. A couple questions:
1. Is it better to harvest a little early or a little late? (I can also have someone pull them for me while I’m gone)
2. Can I eat them if they are still in the curing process? Or is it either fresh out of the garden or fully cured?
A lot can happen in these next couple weeks, so you should wait and see! But I would probably wait to pull them until after you get back; just stop watering before you leave on your trip. Garlic can be eaten fresh out of the ground; you only need to cure it if you want to store it long-term. (But yes, you can eat any garlic WHILE it’s being cured.)
A few garlic bulbs I just pulled are so large the cloves are separated, almost as if ready to plant, but it’s not time to plant. Can I save them until November to plant, or should I use them up first in cooking?
Yes you can save them to plant in fall.
I have planted my soft neck garlic in a raised bed with other plants that need the water. I can’t stop watering for a week prior to harvest. Any suggestions?
I loved your insights on harvesting and curing garlic! The step-by-step guide makes it feel so manageable. I can’t wait to try your techniques and enjoy fresh garlic for months to come. Thanks for sharing these tips!
Hi Linda. I’m a big fan of your gardening tips and tricks and always take away something new. Thanks for sharing your kernels of wisdom and best organic practices. I am not, however, a fan of Amazon where most of your links to materials and resources lead. Their record on employee treatment is abysmal and their anti-union tactics are beyond offensive. I’m surprised you’re not more of a supporter of local small businesses that could provide the same or similar resources. Is it possible to provide other source links? Thanks for considering alternative options!
I do appreciate your feedback and will take it under consideration. Currently, I try to streamline my resources so that readers can make most of their purchases from one vendor, rather than visit five different sites to buy five different things. I do link to small businesses for seeds, plants, and other products that I personally use, where applicable, but oftentimes these businesses don’t carry everything I recommend.
Thank you for your in-depth articles.
You’re welcome!
I love getting your email updates and all the great growing information. I have grown garlic for years now but last year I was told if I want to grow large garlic I need to start with latg cloves, and this year I tried this and yes the large cloves have grown about 8 to 10 inches taller. Not sure how big they will be when I dig them up, but can ot wait. Keep up the great worm. I will be in Bend in July this year visiting family, is it posable to drop by and visit?
I’m glad to hear your garlic is thriving! My garden is not open to the public, but enjoy your Bend visit, summer is beautiful there!
What if I had to harvest my garlic early before the leaves died?
Do garlic cloves lose their viability and vigor if planted year after year from their original parent plants? Thanks!
I haven’t found this to be the case with my own garlic.
Thank you for all your valuable information and how straightforwardly it is presented! I’ve been growing garlic for years and each year, after selecting the largest bulbs to replant, they seem to get bigger and bigger! This yr I planted 150 bulbs. For the last couple years I made fermented garlic. It’s the most heavenly thing – sweet and slightly garlicky. Last yr I ran out in the middle of the winter. As they aged, they did gradually become slightly drier but still good. I bought some fresh garlic from my local health food store and fermented them. They weren’t nearly as good as mine. Fermented garlic sells there for $20 for 2 heads! This yr I bought a second fermenter. I’m hoping to get through till summer!
Live in north florida. I planted garlic in early March. Some leaves are turning brown on the bottom. The bulbs seem to be growing good. How long should I wait t.o pull them?
Please read this article: https://gardenbetty.com/the-trick-of-knowing-when-to-harvest-garlic/
Why does garlic go green similar to potatoes
Garlic occasionally turns green or blue due to enzyme reactions.
Linda,
I’ve grown garlic in a raised box several years. This year, every bulb’s outer paper stayed dark with dirt. As I’ve been curing them, the dark layer isn’t coming off. Thoughts? And solution?
I took my garlic out of the ground late this season, Oct06th. Where I live this is probably the last chance I have to plant the garlic before the ground is frozen. Can I plant my freshly harvested garlic before it has had time to cure?
Can’t find anything on this online. Many of my home grown bulbs have cloves that are just a gray, powdery dry nothing, and other half is fine. What have I done wrong?! Thanks
Sounds like maybe they got infected with a fungus or bacteria.
I planted garlic for the first time last year. Not sure if I have elephant garlic but the bulb are big. They have been curing since July 5. Peeled one yesterday and they were bitter. Also the clove had a greenish tint to them. Do you know why they are bitter? Could it be that they need to cure longer?
Can garlic still cure if the roots and stalks were cut off after being pulled?
I want to know the answer to this also! Thats why I cam here 🙂
Thanks for this! So.. I damaged a couple heads while harvesting. I know to use them up soon, but do I clean them up? Cut leaves off? Wash and dry them? I’m not sure how to prep and store those until I use them all up.
THANK YOU FOR ALL THE HELPFUL INFORMATION I HAVE GROWEN GARLIC FOR A FEW YEARS BUT ALWAYS HAVE GUESSED WHEN TO HARVEST NOW I KNOW. THANK YOU AGAIN.
Linda Ly, we have garlic that grows wild in the yard. It is a sweet, mild garlic. Up until now I have not known the correct method of harvesting or curing. Thanks for the information. I think I shall spread some of the seed heads elsewhere in the yard. Most of the garlic grows in the same area so that will change this year. Once I used too much of it in a sauce and was surprised how sweet it became. Any idea what variety we may have?