

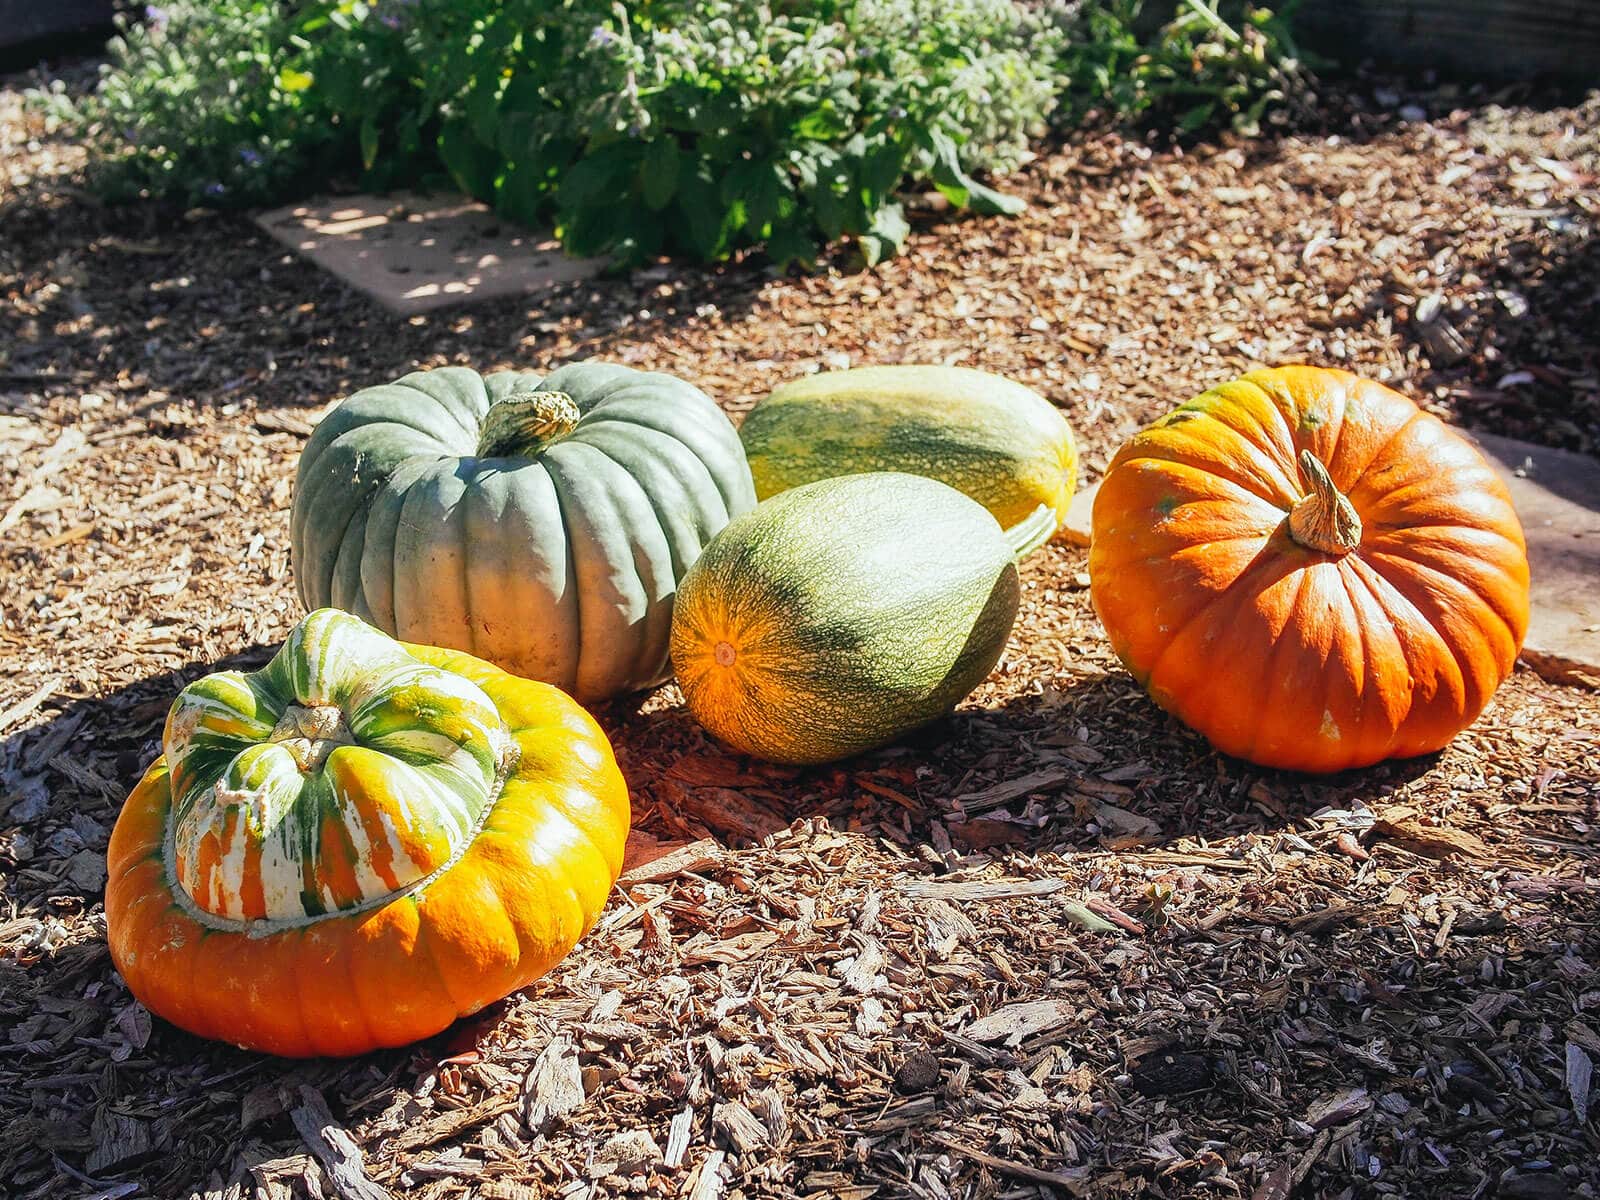
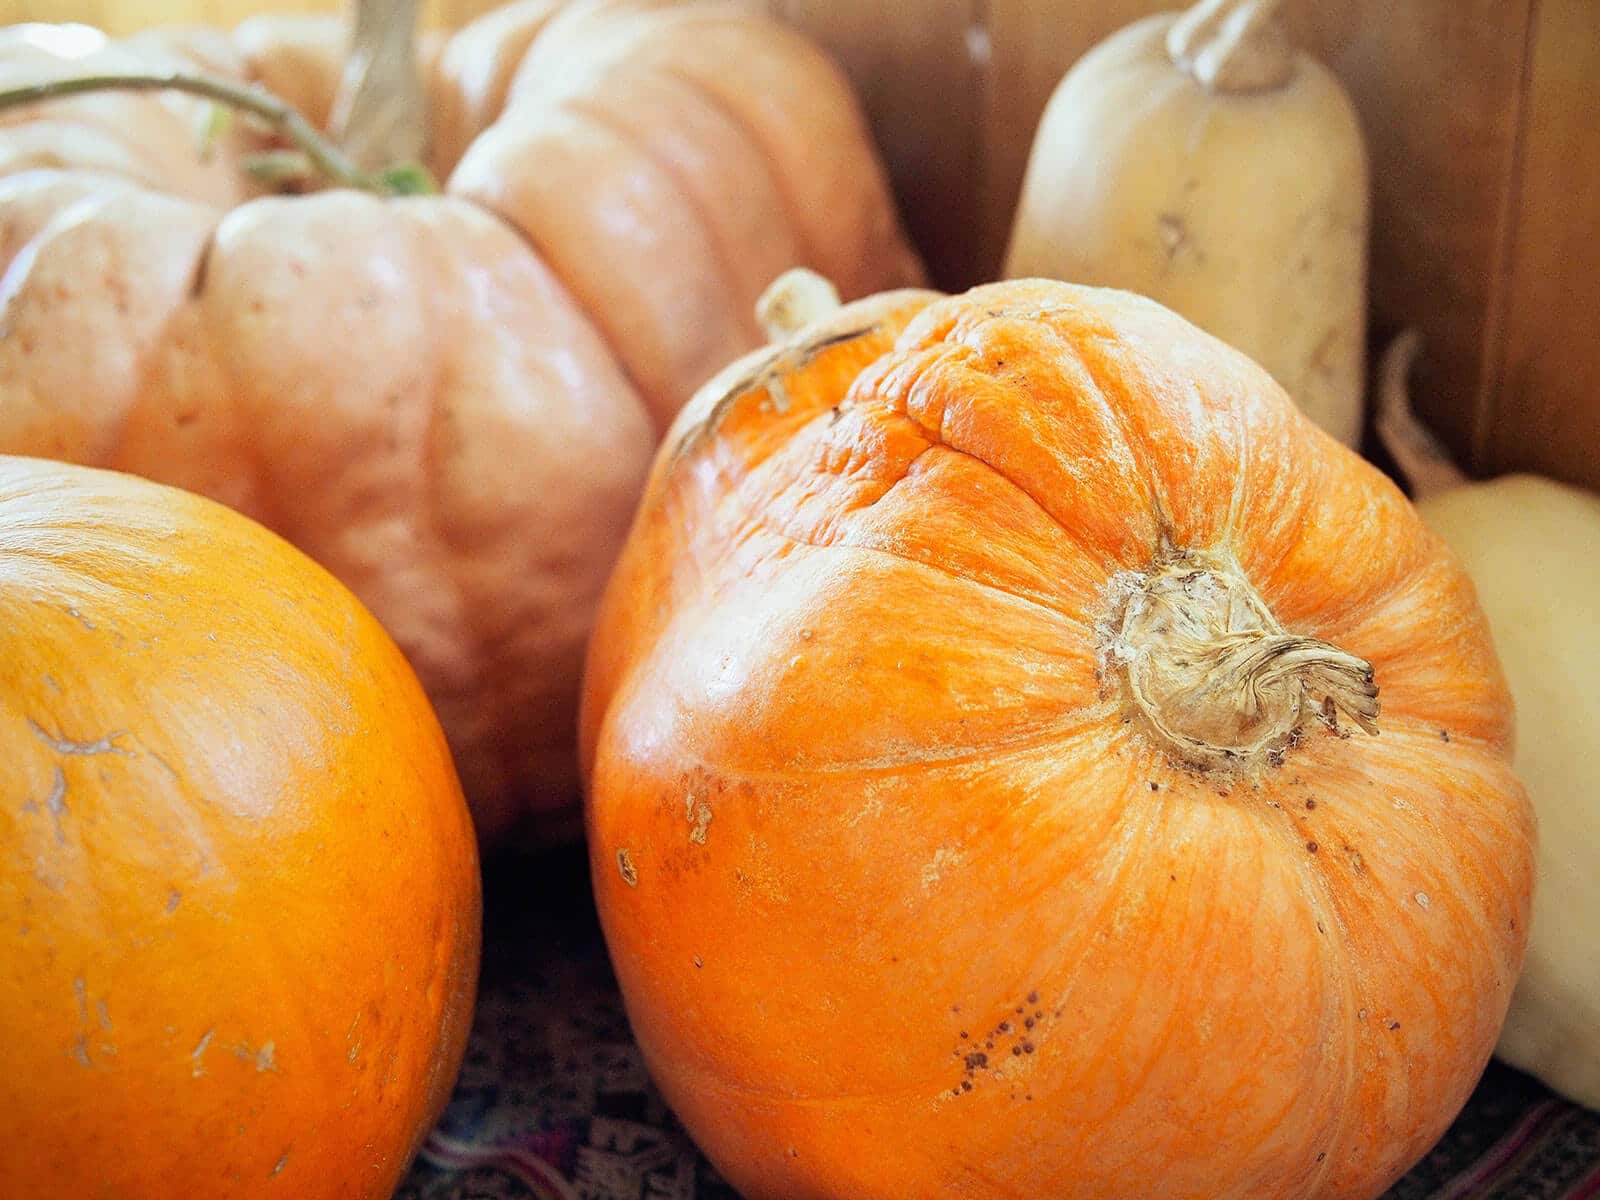
Before I started gardening, I used to think winter squash referred to a squash that grew over winter. Only after harvesting my very first “winter” squash did I realize it’s simply stored over winter. (And despite the name, winter squash is not cold-hardy at all.)
These long-keeping vegetables can stay fresh for months without refrigeration, but their shelf life depends on three key things: harvesting not too early and not too late, allowing the rind to harden properly, and storing the pumpkin or winter squash in the right conditions.
The trick to most pumpkins keeping for three, four, or even six months from now is a natural process called curing. You don’t need any extra equipment to do this. I’ll show you when to harvest your pumpkins for the best chance at long-term storage, how to easily cure them, and how to store them afterward for maximum shelf life.
The best time to harvest
Winter squashes usually take about 90 to 120 days from seed to harvest and are usually ready between early September and mid October. By this time, their rinds have toughened up, their seeds have fully developed, and their vines have started to yellow.
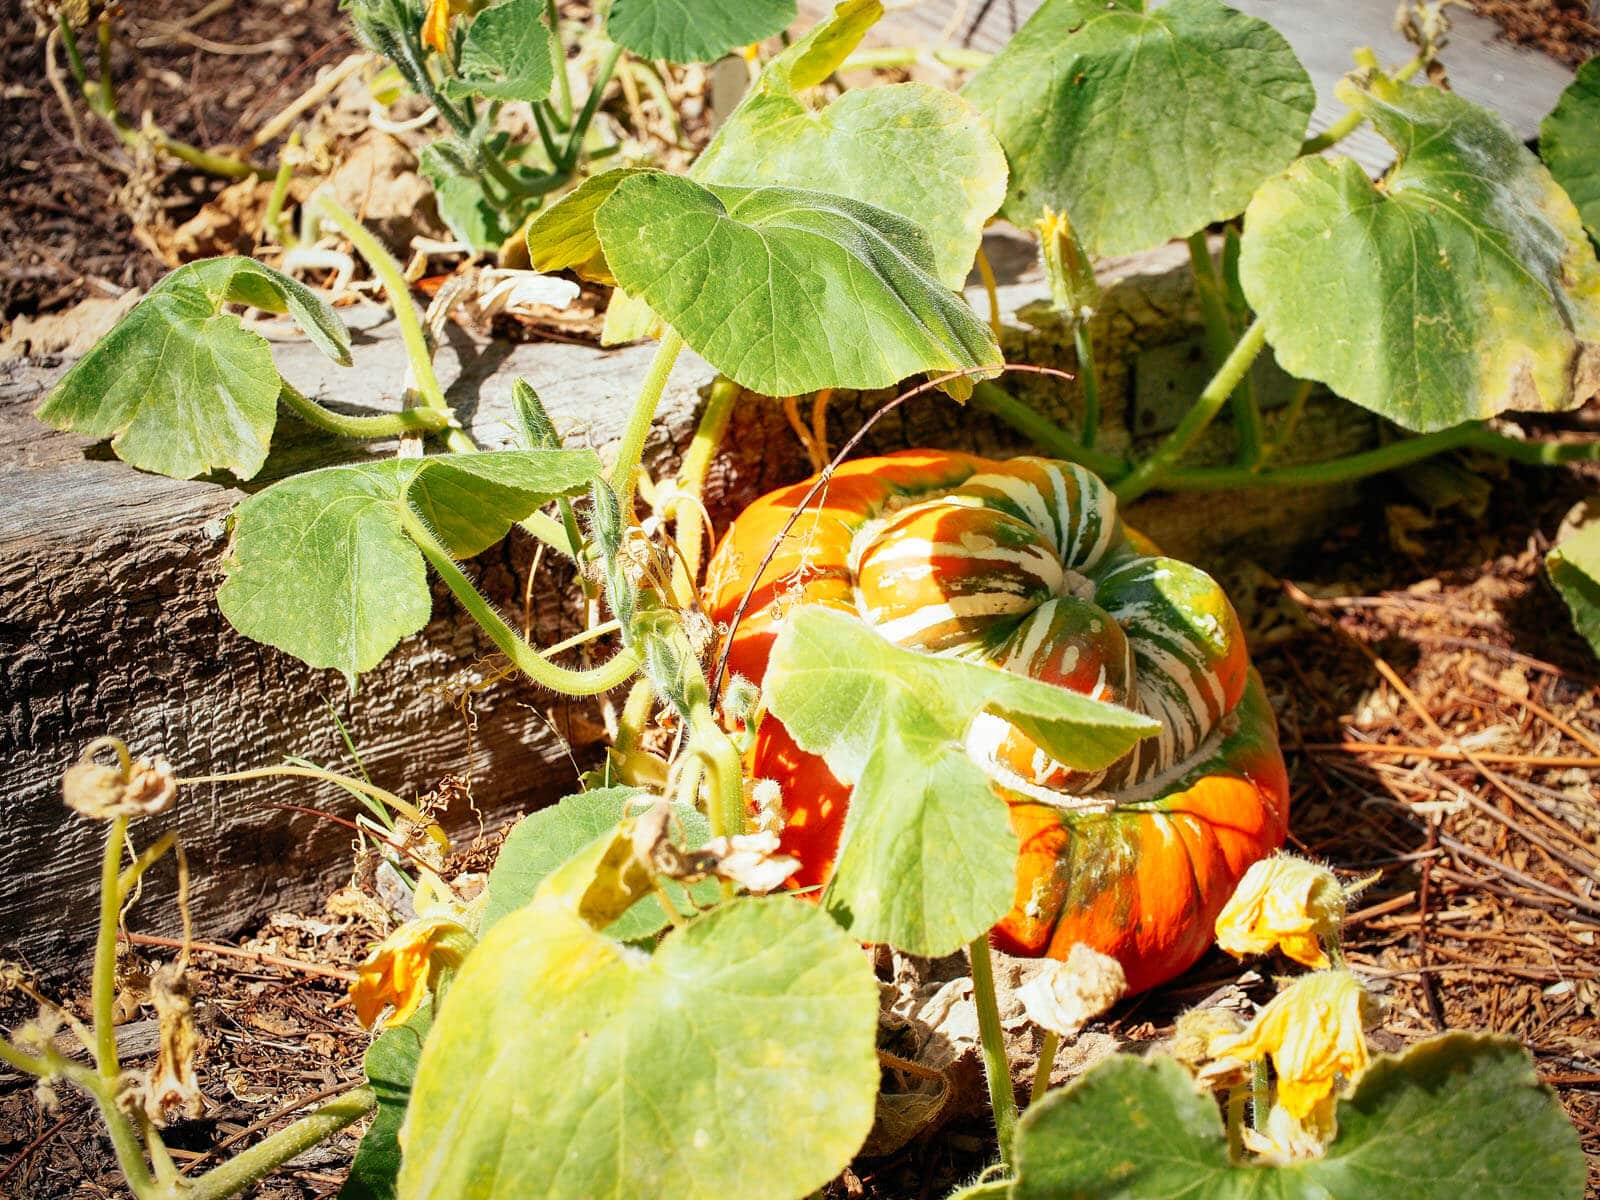
The leaves and tendrils are often the first signs of fruit maturity. Once they turn yellow on their own and the vines look like they’re on their way out (before frost hits), the squash should be fully ripe.
But don’t wait until the first frost! Squashes that have been hit with frost will not ripen or store well.
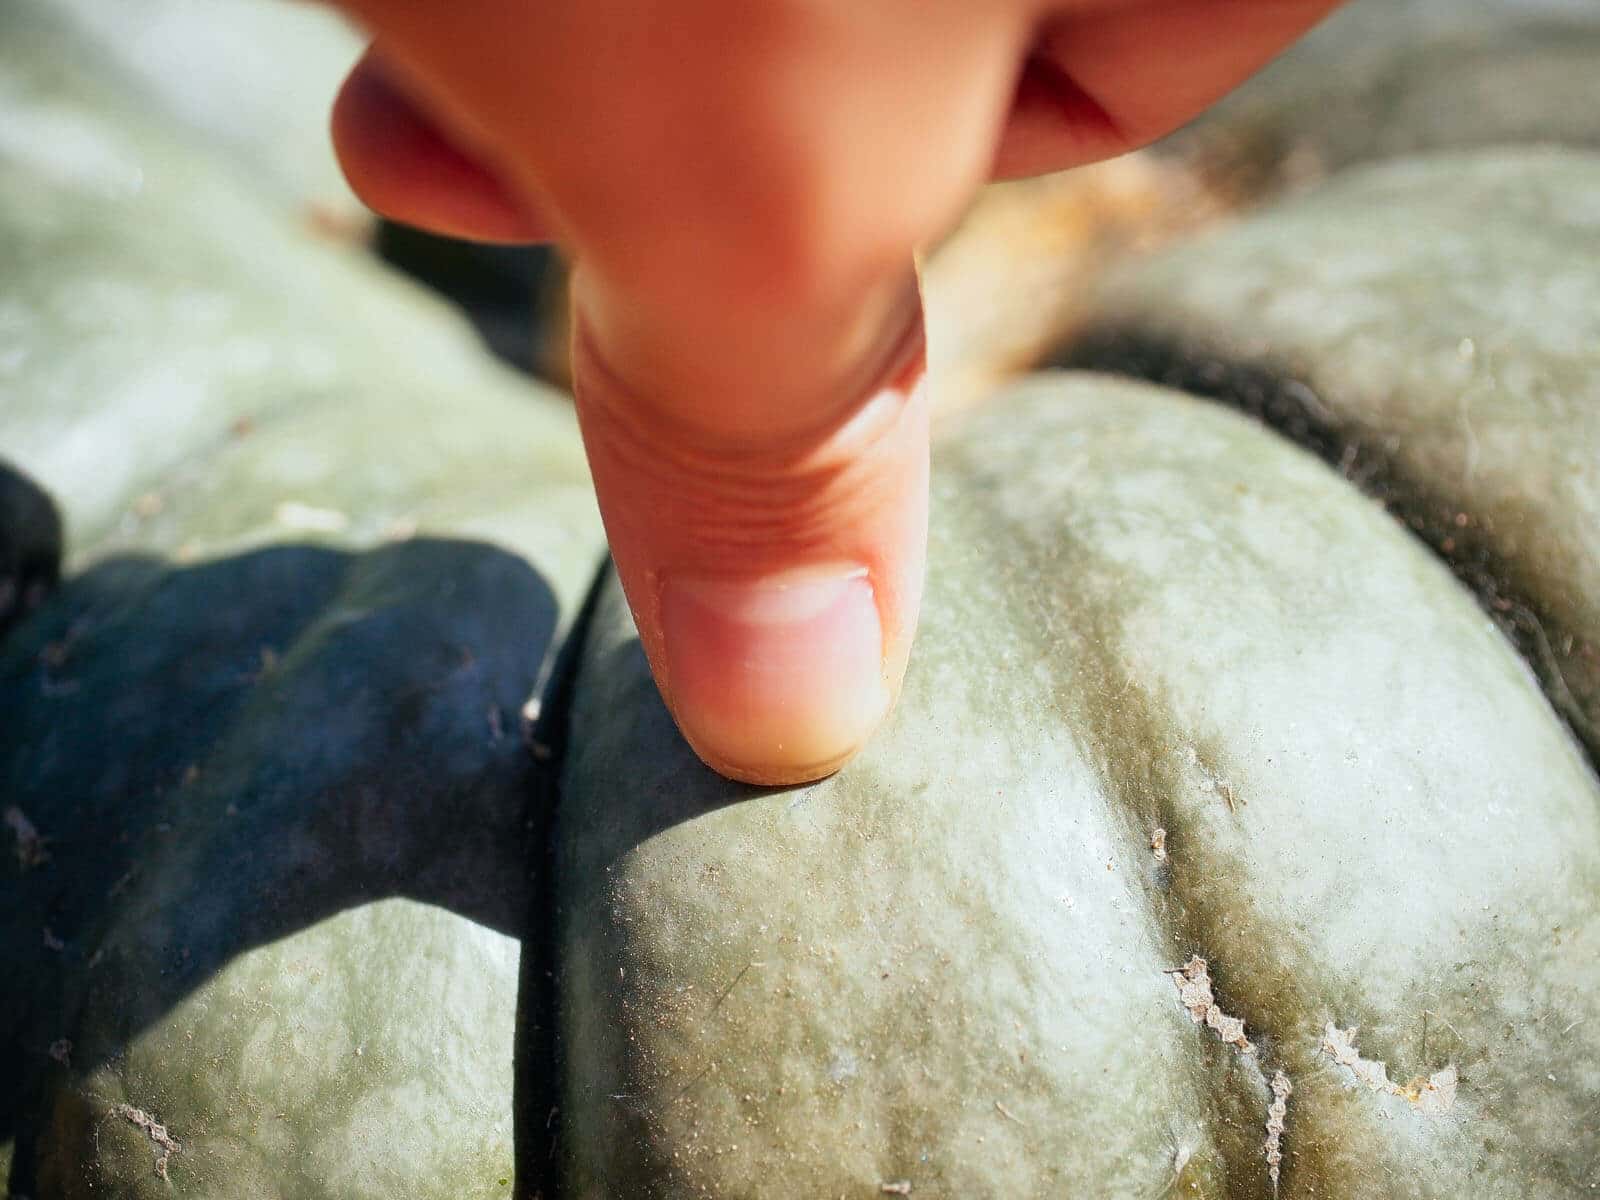
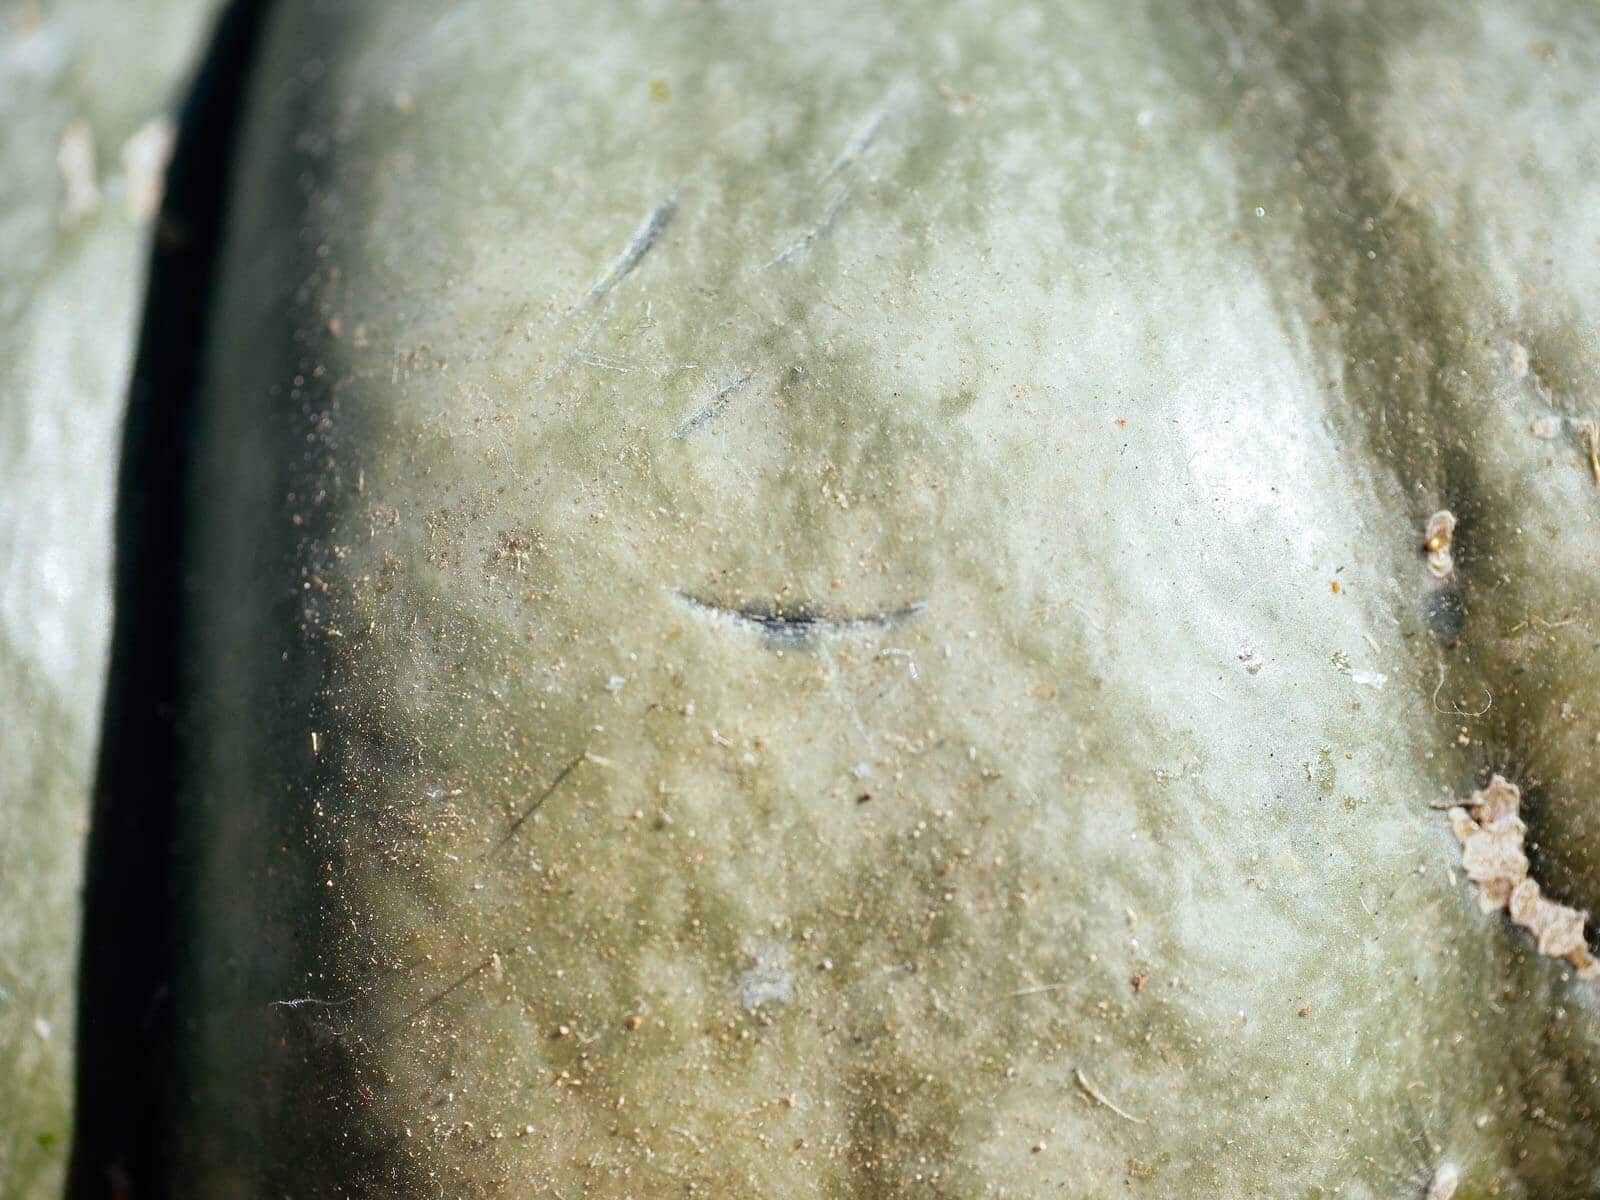
A tan, cracked, and hardened stem that’s died off is a good clue. So is resistance to the stab of a fingernail. You might make a slight dent in the skin, but you shouldn’t be able to puncture all the way through to the flesh.
There are other reliable ways you can tell your pumpkins are ready. (Just don’t count on the ever-popular “knock test” to be accurate, which I cover in that post.)
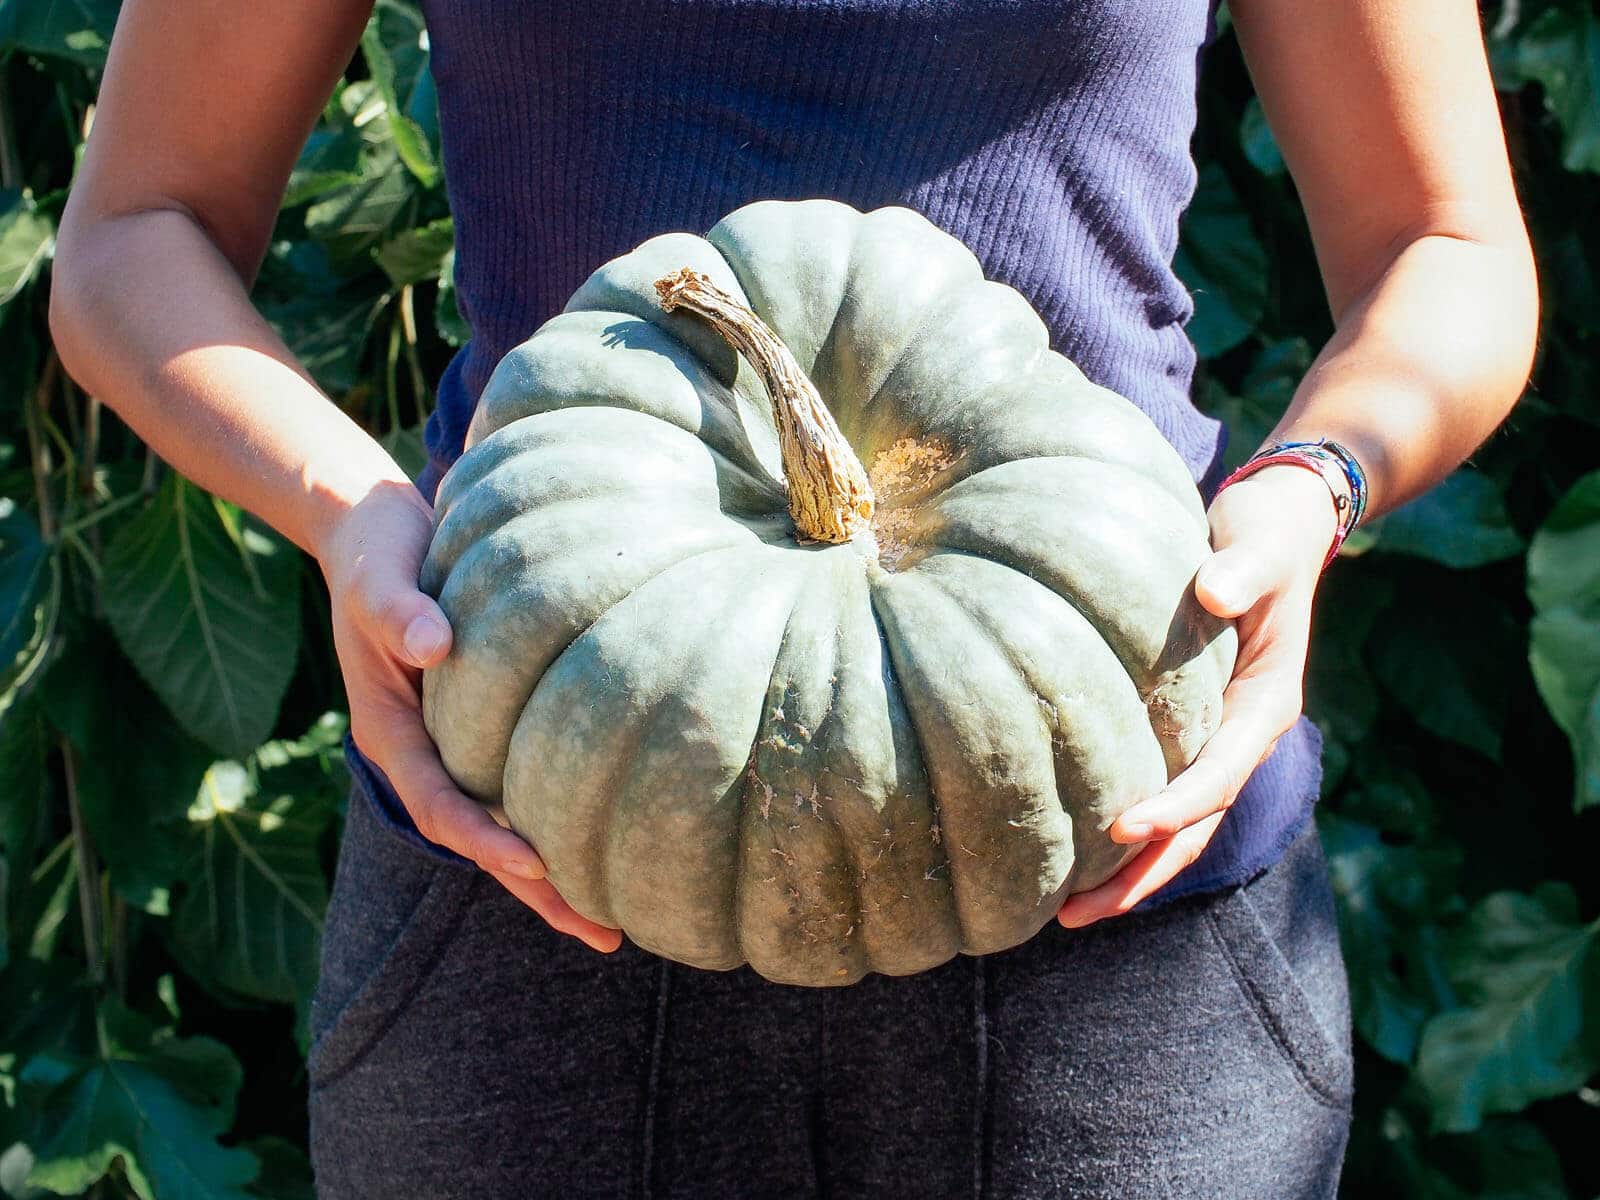
How to cure your pumpkins
Once your pumpkin has fully matured, cut the fruit from the plant, leaving at least 3 inches of stem. The stem is the pumpkin’s fail-safe seal against rot and disease, so avoid lifting it by the stem and instead hold it from the bottom.
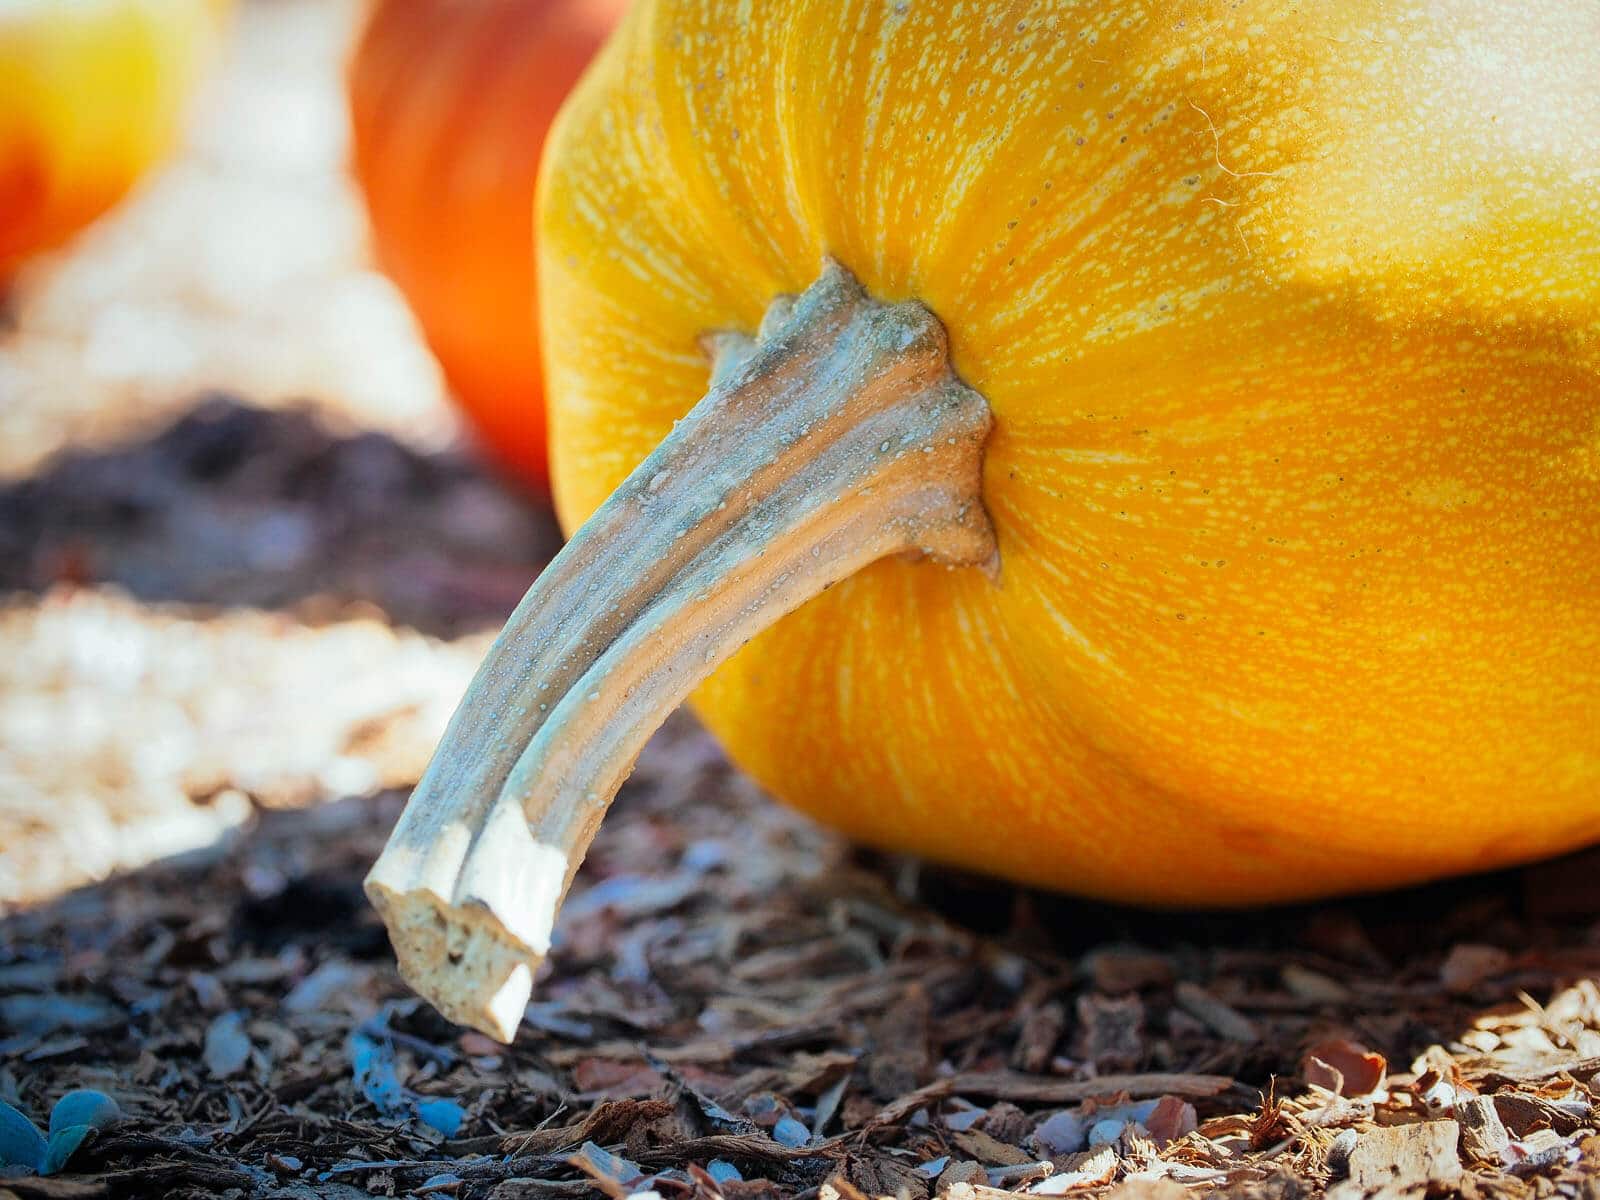
Despite their burly appearance, pumpkins and other winter squashes actually require a little babying to keep them from spoiling. Treat them gently while their skins continue to harden and the curing process heals any cuts or cracks that could lead to rotting later.
Subscribe to Garden Betty
Sign up to get my free weekly emails and I’ll teach you how to keep your plants alive, maximize your garden bounty, and preserve the harvest.
Pumpkins may develop ground stains on their skin, which indicate where they laid on the ground while growing. These superficial spots are merely discolorations and have no effect on the flesh underneath.
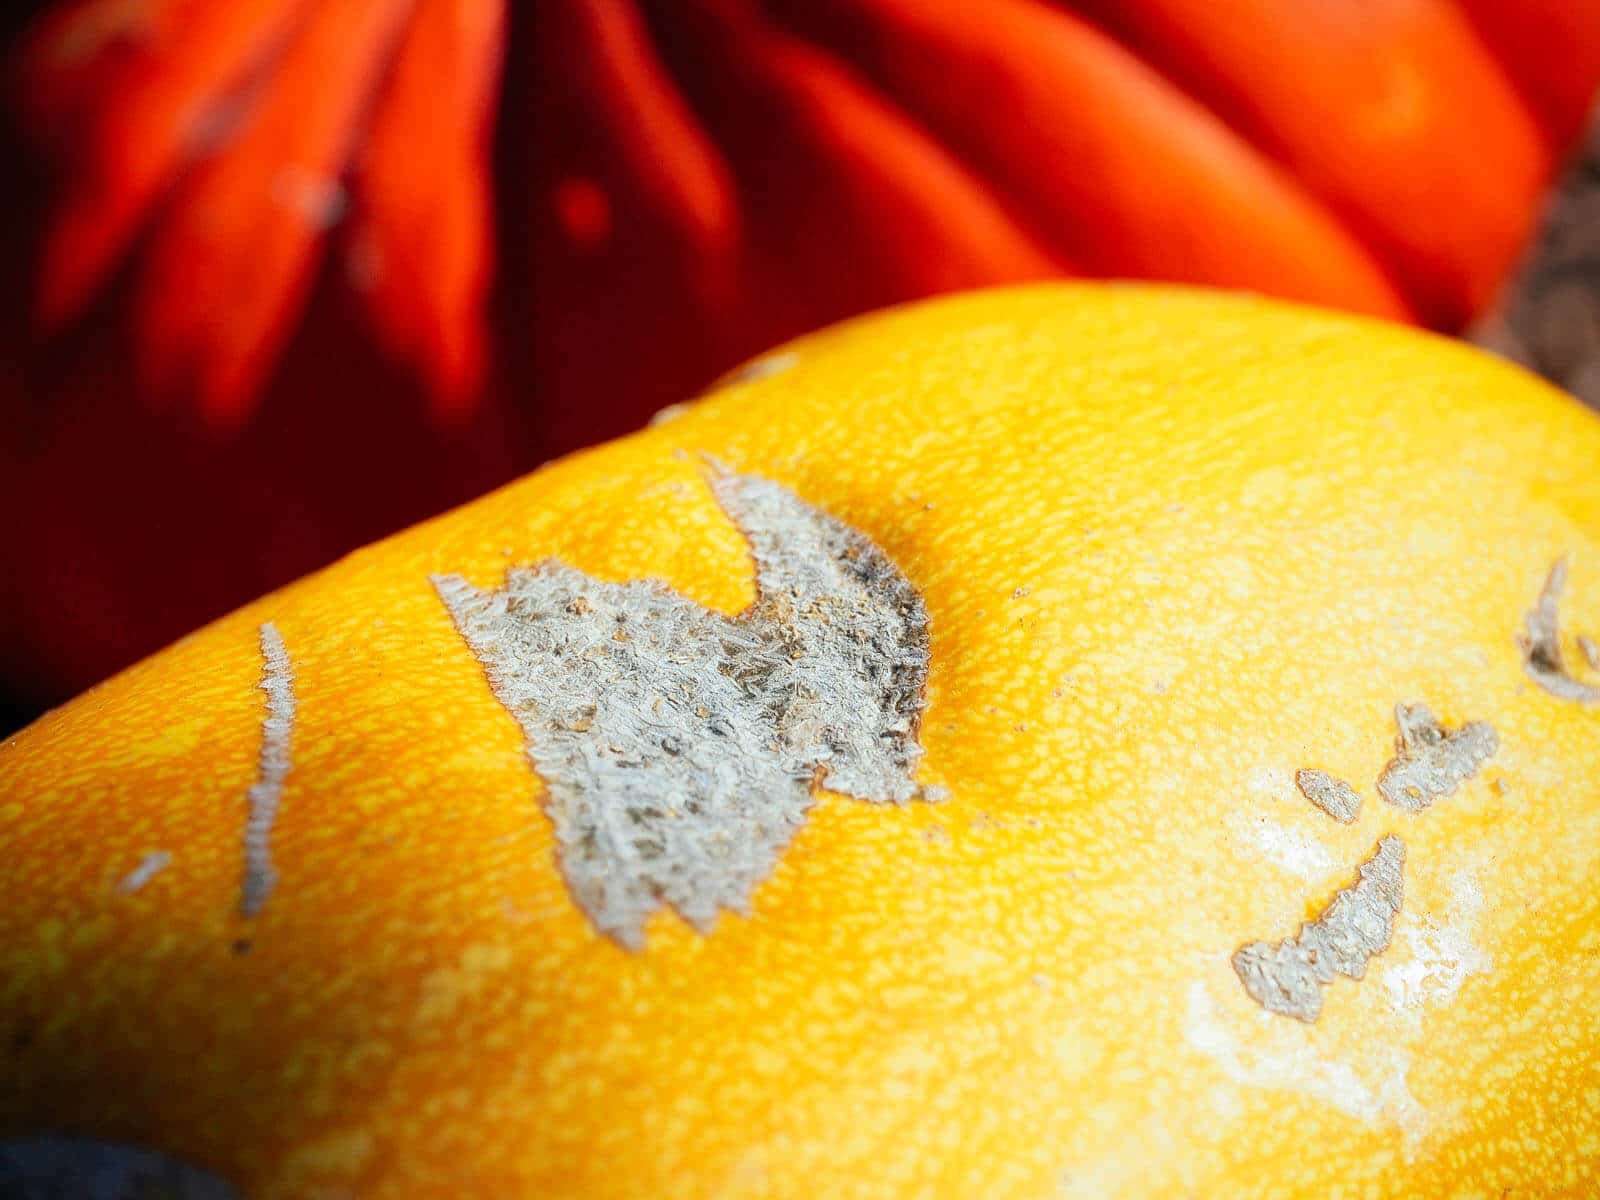
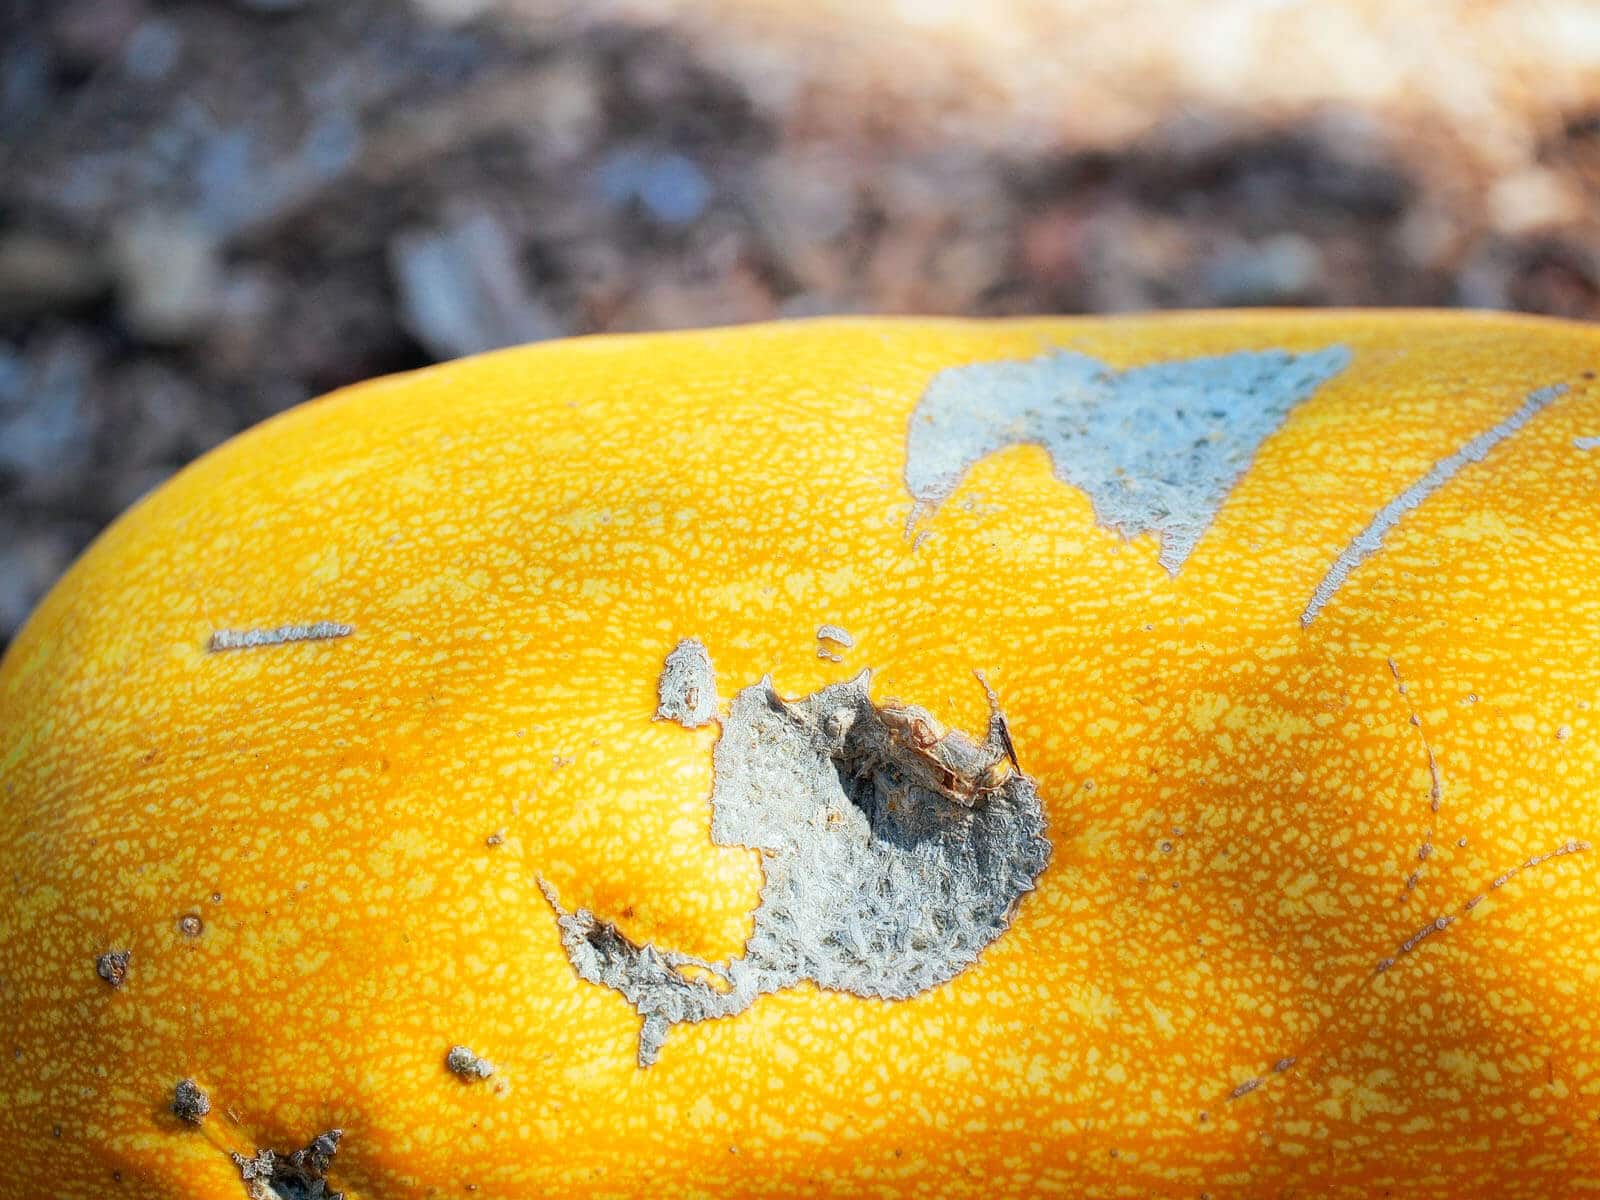
A few minor marks on the surface are generally nothing to worry about, but these are the pumpkins that should eventually be eaten first.
The same goes for pumpkins that might be bruised or broken; they won’t keep well. Remember that any little ding will only get worse in storage and may also affect the quality of your other pumpkins in the pantry.
Note
Not all winter squashes need to be cured. Cucurbita pepo (acorn, delicata, and some pie pumpkins) should never be cured because doing so may shorten their lifespan in storage. They can be eaten at harvest time and will store for two to three months regardless.
Once you’ve harvested all your ripe pumpkins, lay them out in the yard in a warm, well-ventilated area, so long as your nighttime temperatures don’t dip below 60°F. The ideal conditions for curing are on the higher end: around 80°F to 85°F with 80 to 85 percent relative humidity.
Since most people don’t live in very warm and humid climates like this, you can get away with curing your pumpkins wherever it’s warmest outside. Sun helps, but isn’t a requirement. Sunshine simply provides the warmth that pumpkins like when they’re curing. (Although in very hot climates, pumpkins should be cured in a shadier spot so they don’t get sunburn.)
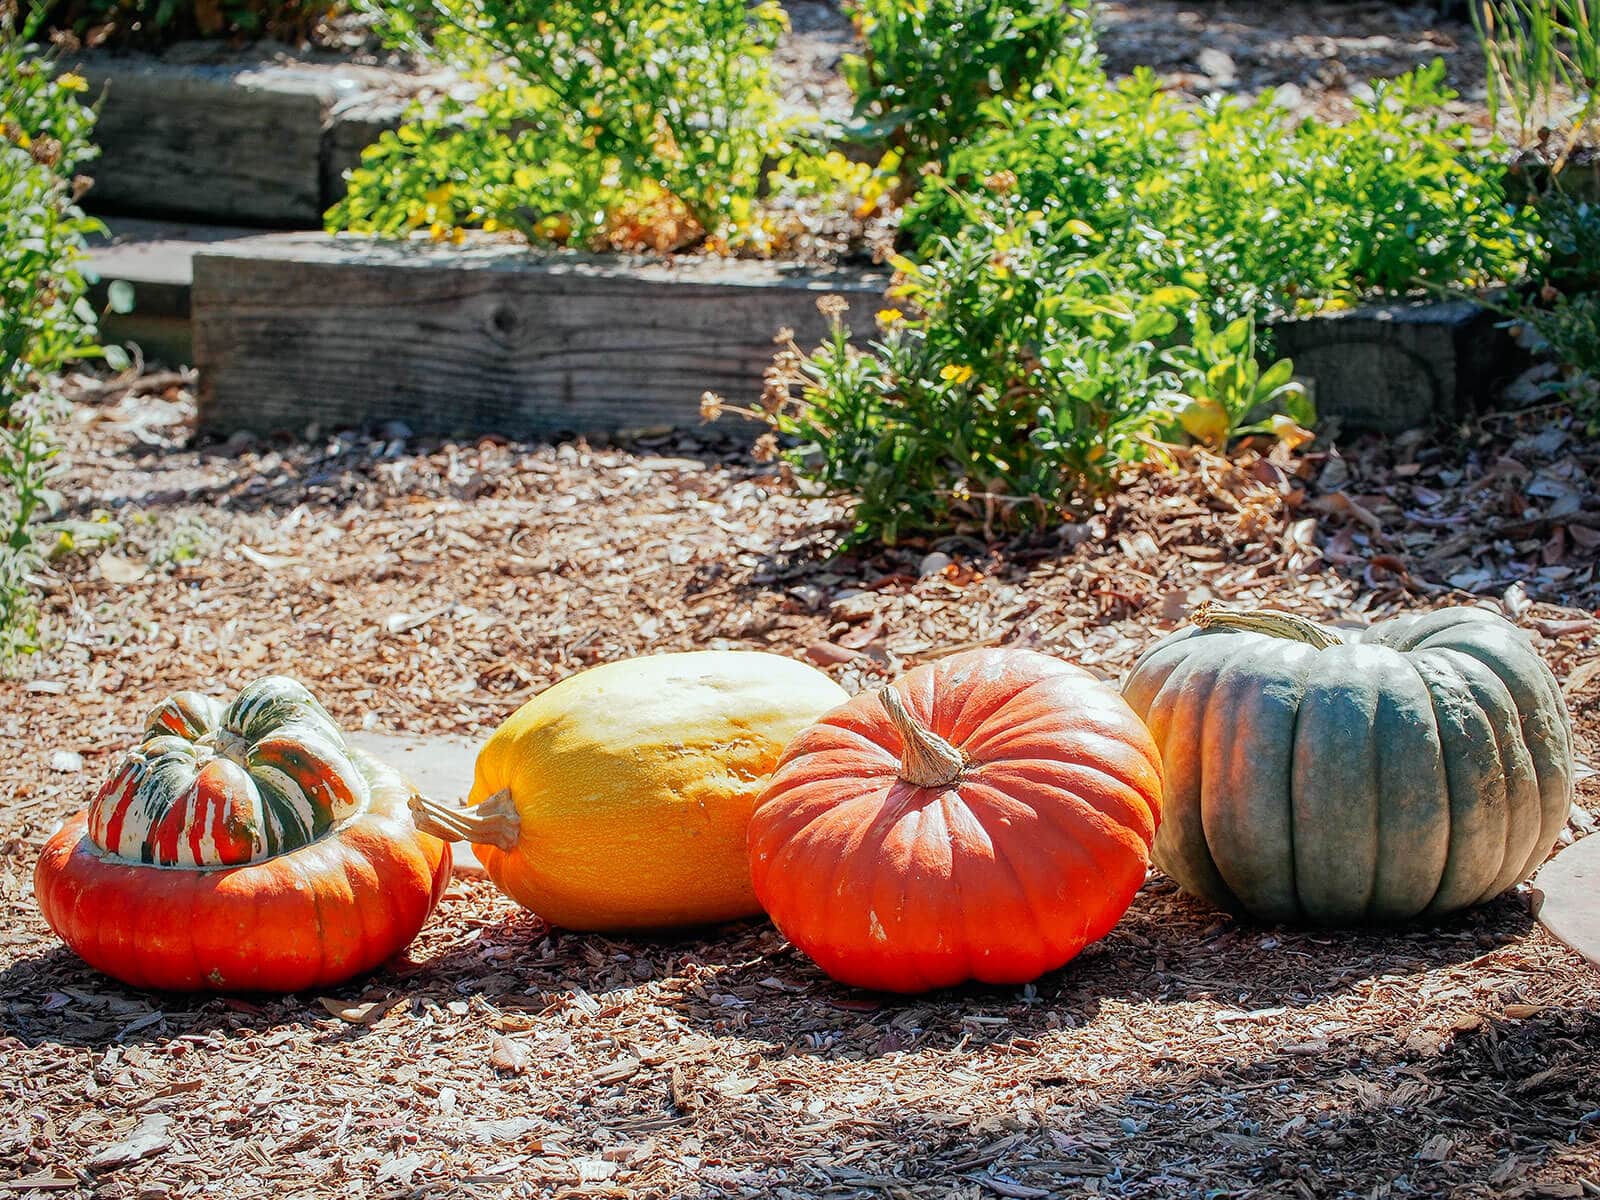
I usually leave mine in place in their garden bed, or if I need the space for fall planting, I’ll move my pumpkins to an area where they’ll stay nice and dry. Keep your pumpkins and other winter squashes away from any overhead irrigation or areas where water is likely to pool.
Related: Bookmark this checklist of fall garden chores and winterization tips
If there’s a threat of rain coming, move them under a covered porch or inside to a warm and ventilated space like your house, garage, greenhouse, or shed. (Remember: the warmer the better.) Just don’t forget about them!
Pumpkins and winter squashes need about a week of warm air to properly cure.
During that time, the fruit continues to “breathe” but as its rind hardens, the rate of respiration (and thus the rate of spoilage) slows down. The harder the rind is, the more impervious it is to mold and bacteria and the longer it will keep in storage.
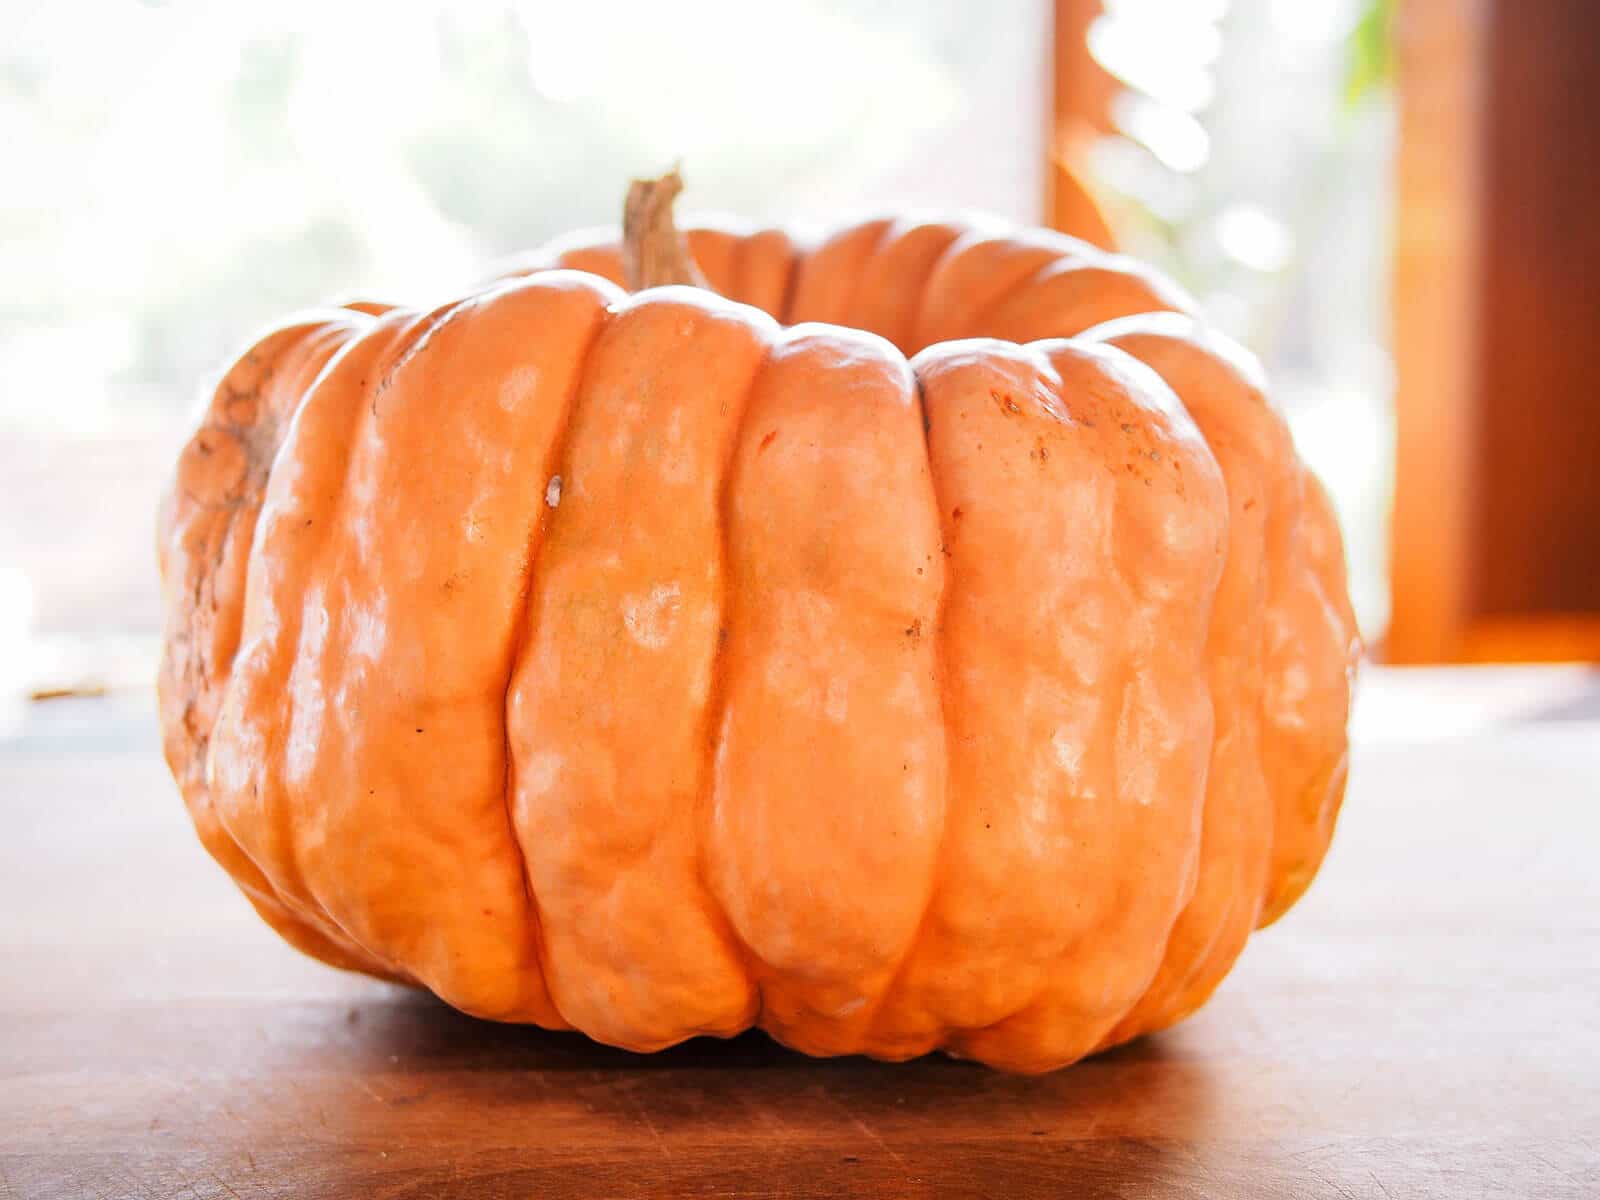
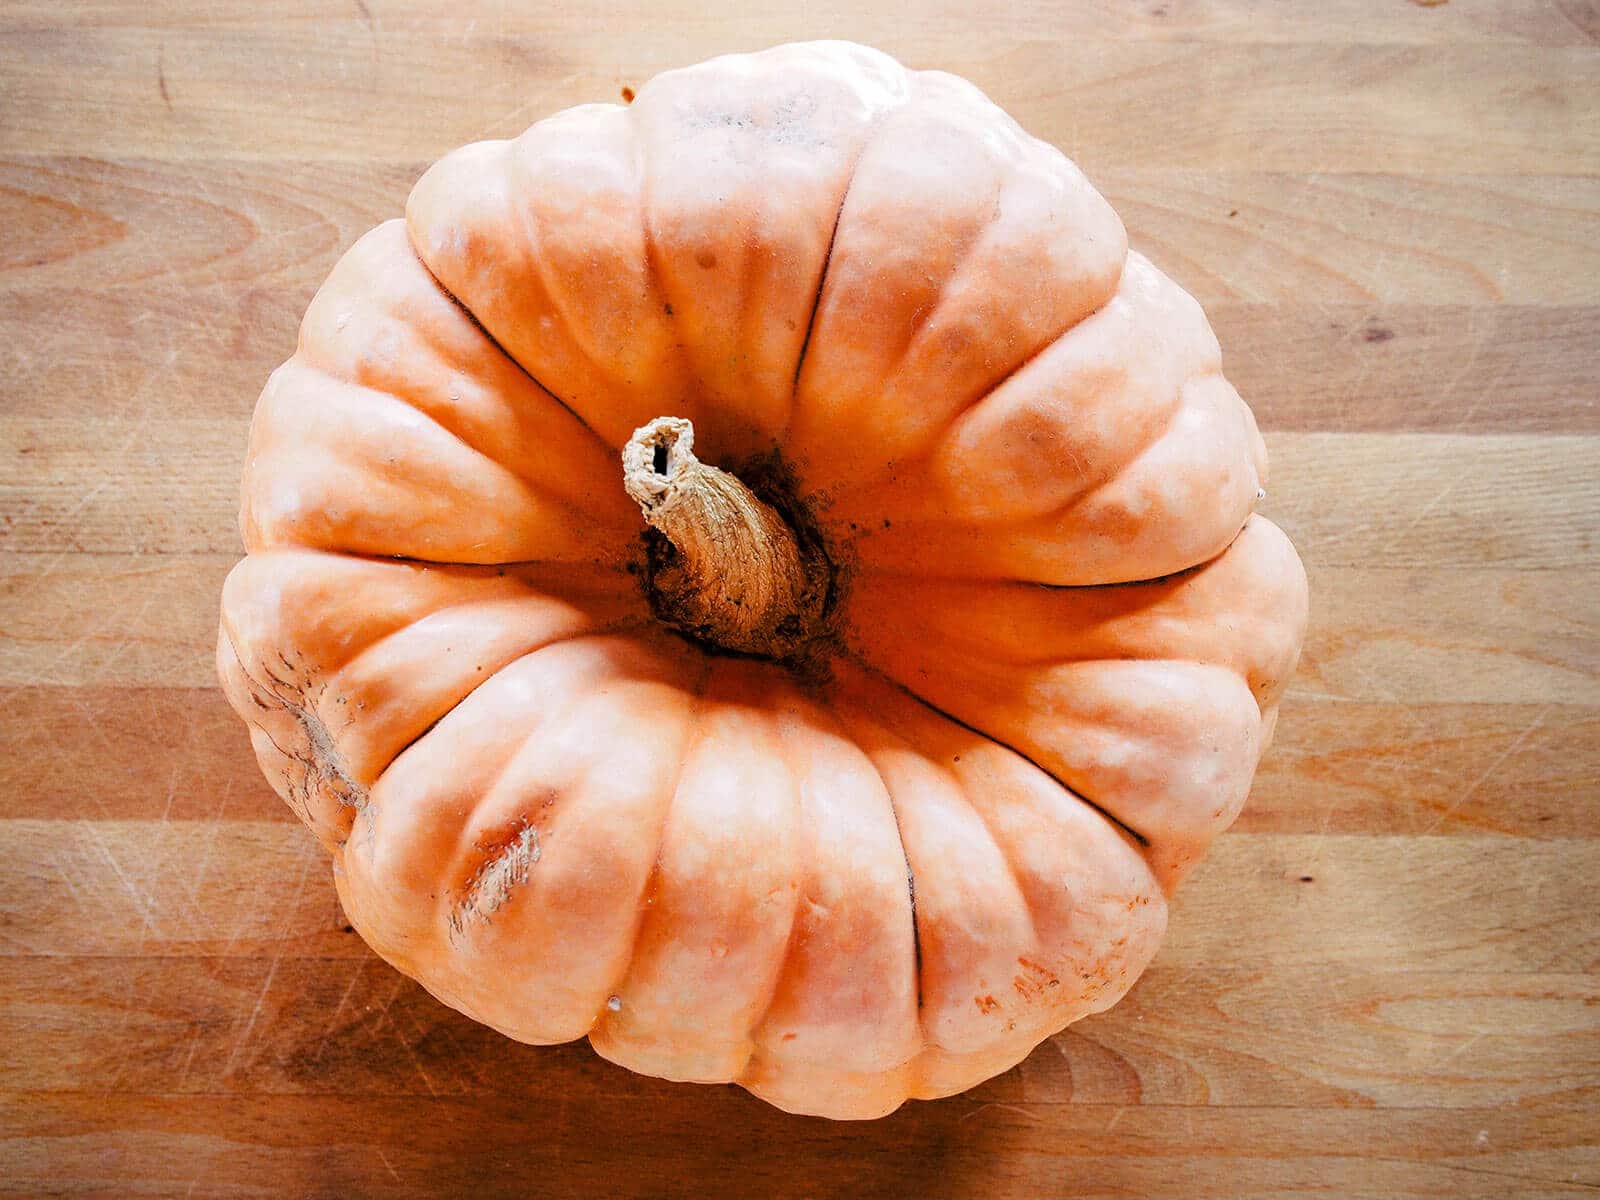
The curing process concentrates the natural sugars in pumpkins, giving them their rich, sweet flavor. Many pumpkins only need a week of curing to reach optimal flavor, but certain varieties need to be stored a bit longer after curing to fully convert all the starches to sugars.
These include Cucurbita maxima (buttercup, hubbard, and kabocha) and Cucurbita moschata (butternut), which have high starch content and benefit from being stored for a month or two after curing so they can reach peak eating quality. The exceptions are mini kabochas, red-skinned kabochas, and mini butternuts, which can be eaten right at harvest time.
How to store pumpkins for the long term
Once your pumpkin is fully cured, store it in a cool, dry, and well-ventilated area with an ambient room temperature between 50°F and 60°F, ideally with 50 to 70 percent humidity. Humidity levels below 50 percent can cause your pumpkin to dry out faster (ask me how I know—I live in the driest of the dry high desert climate).
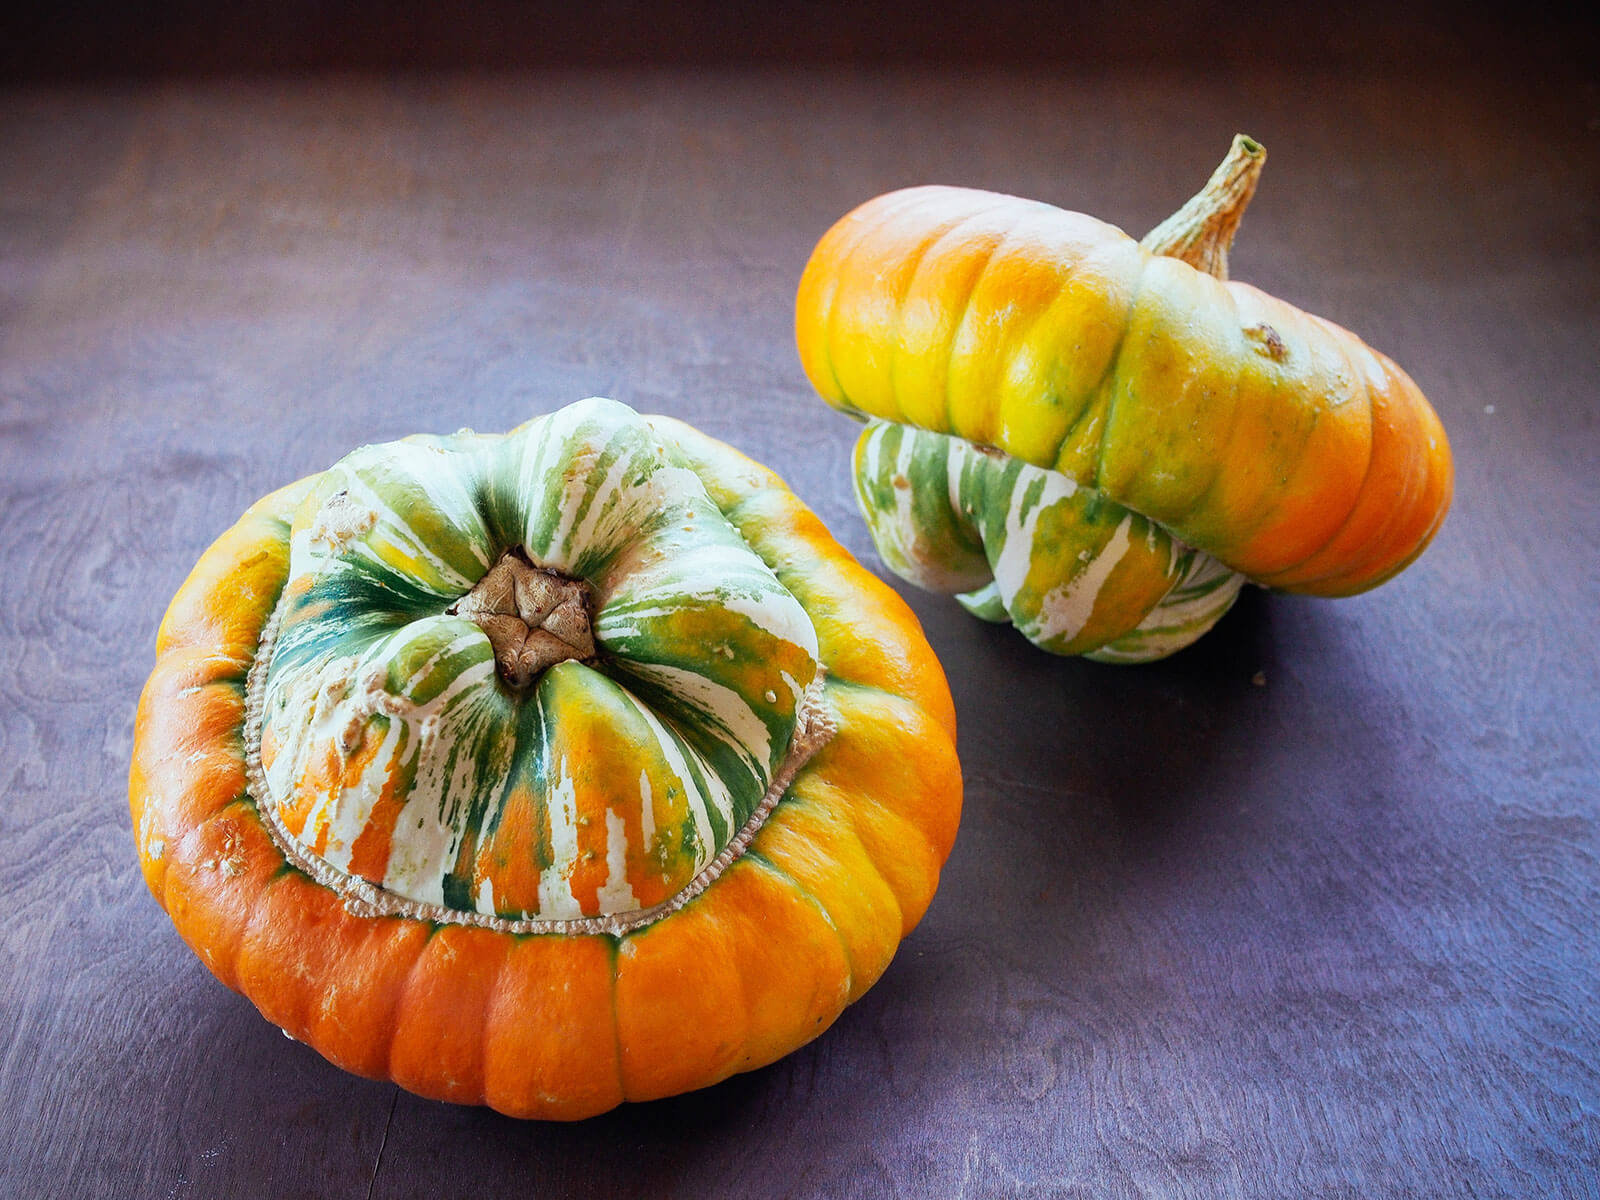
Very cold conditions (anything under 50°F) will shorten storage life, so keep this mind if you want to use an uninsulated garage for long-term storage.
Don’t just lump all your pumpkins together into a large bin and call it good. Arrange them in a single layer on a shelf, in a spot where they’re easy to check on throughout the season.
Exclusive guide
Don’t let good food go to waste
Download my Fruit & Vegetable Storage Guide for printable charts, helpful tips, and little-known tricks for keeping your produce super fresh for as long as possible.
You want to keep an eye out for blemishes and soft spots. If any dark marks begin to appear on a pumpkin, move it away from the other pumpkins and plan to use it up first. Those marks (which resemble water stains) will eventually coalesce and become water-soaked, causing the entire pumpkin to collapse in rot.
Winter Squash Storage Chart
| Squash Variety | Average Shelf Life |
|---|---|
| Acorn (do not cure) | 1 to 2 months |
| Delicata | 2 to 3 months |
| Spaghetti | 2 to 3 months |
| Pumpkin | 2 to 3 months |
| Butternut | 3 to 6 months |
| Buttercup | 3 to 6 months |
| Turban | 3 to 6 months |
| Banana | 3 to 6 months |
| Kabocha | 4 to 6 months |
| Hubbard | 4 to 6 months |
| Red-Skinned Hubbard (Red Kuri) | 4 to 6 months |
| Cushaw | 4 to 6 months |
In general, the harder and thicker the rind, the longer it will store.
Sometimes I’ll get lucky and a squash will store longer than expected. I love to pull out, say, a hubbard in March—a squash that I’d harvested back in September! With only a couple of winter squash plants, you could be set on soups and roasts until the following spring when the weather finally turns warmer.
Frequently asked questions
This post updated from an article that originally appeared on August 20, 2014.





Living in the high desert mountains of Idaho- warm weather is long gone early September
So curing what’s mostly ripe and ripe in a windowsill will work?
What about seed saving?
With the shorter growing season here I am having a hard time getting winter squash to be ready for harvest… so would the seeds of ‘kinda ripe’ work for next years garden?
Thank you
Thanks for this great information. I once read that handling the Skins too much at Harvest was bad for them is this true?
If your family wants to come ski in Salt Lake I have space for you no charge; I’d love to meet you and show you all my garden if you are visiting.
You’re just the greatest! This is so helpful. In all my years of growing squashes, this is the first time I’ve heard of curing squash out in the sun. Question: So I live in Nebraska. I just (today!) bought a bunch of squash and pumpkins from a farm nearby. They had cut a bunch of them today. It is October, and the forecast for the next couple of weeks is in the 60s for the high temps. No more 80-degree temps. Should I still be attempting to cure my squash out in the sun, in those cooler temps? Thanks for your advice!
Thanks you for all
the info John
I live in a cool and cloudy area of the PNW which makes curing squash difficult. Can it be don inside under a grow light in leu of a sunny window?
But what if I’m planning to roast pie pumpkins to freeze the pulp? No need to cure? Thanks!
I just picked about 8 beautiful delicata squash. I did not plant it! It grew from my compost. Yay! I’m unclear on curing delicata squash. Can it or should it be cured like other squash varieties? Or should it just be kept at 55-65 degrees after being picked? Thank you for your advice!
Hi Sandy, I generally bring them in, wash them up and wipe with a weak bleach/water solution. I cure them I my sunny sun room for a couple of weeks and then they go down to my basement where it is a bit cooler. I have had them last for months this way. Delicatas are one of our favorites and we harvested 102 of them yesterday…..and there are still more in the garden waiting for me! I hope you had good luck. God Bless!
How would you cure squash in a northern area where the weather doesn’t get into the 80s anymore any sept/oct harvest time?
lovely thank you
I have zucchini coming out my ears, and need a great recipe to let my family enjoy its taste. HELP and Thanks patty
Hmmm I feel like my kabocha are already cured in the sun properly even though I haven’t cut their vines yet. IS that… is that how it can work? My current plan is just to wait for the temperature to get cold enough to threaten frost, then harvest and store where it’s cool. do I really have to heat them first? Improper storage cost me some pumpkins in the past.
Yes, they need heat and sun to properly cure. Just follow all the steps detailed in this post.
Your squash are stunning! I’m so envious. I moved and no longer have the space to grow them but they were my favorite garden vegetable. The last two years I grew them though, the leaves all turned yellow and wilted far far too early and I lost all my squash. Do you know why that would happen??
Unfortunately I don’t, as yellow leaves could mean any number of things: overwatering, underwatering, some kind of bacterial wilt or other fungus. I recommend growing squash in a large container if you no longer have ground space; they do very well as container plants, especially bush zucchini (whose vines don’t sprawl).
RT @theGardenBetty: Ready to harvest? Take this extra step to make it last. Curing Your Winter Squash for Storage http://t.co/IvySvnPTVS < …
Ready to harvest? Take this extra step to make it last. Curing Your Winter Squash for Storage http://t.co/IvySvnPTVS < TY for RT! @BG_garden
Proper curing will keep them delicious until spring. Curing Your Winter Squash for Storage http://t.co/hyf4rN92Wh < TY for RT! @jchapstk
Curing Your Winter Squash for Storage | Garden Betty http://t.co/ZSmnQvu6nn
Good info for winter squash loving gardeners. http://t.co/uofwnnxGnC
To make your squash last for up to six months, give them some sun: Curing Your Winter Squash for Storage http://t.co/qypNz4XkR0 #gardenchat
Some varieties will store for at least six months! Here’s how: Curing Your Winter Squash for Storage http://t.co/IES4vagQEQ #gardenchat
Great tips! My wife has a knack for saving our various squash/pumpkin plants. She stores them in our garage, off the floor but in a dark area and they do wonderful.
Curing Your Winter Squash for Storage | Garden Betty http://t.co/omNeSZGgby
Perfect timing, as usual! Bambi just at some leaves of my Delicata plants (first time growing these), but crop yield looks great. Think next year I’ll grow more types, maybe 1-2 plants of each type and compare characteristics. In Whittier one year, we had a wonderful crop of Queensland Blues that climbed up our pool fence, all by themselves and heavily hung unsupported, until ripe. Amazing! Your crop looks fabulous! Congratulations! 🙂
Thanks! I love trying new varieties of squash every year. Each one is so unique!
http://t.co/OKc0UVahwv
How much do you know about curing winter squash!!
I live in the desert. It is still about 100 here. how should I cure my squash?
Leave them out for an extra week or two in an area that gets mostly morning sun or late afternoon sun.
Did you know? “Despite their burly appearance, winter squash actually require a little babying to keep them from… http://t.co/h3yxEZolhY
Cure them well and you can keep eating them until spring. Curing Your Winter Squash for Storage http://t.co/auG9jGb5Rw #gardenchat
MT”@adamcortell: #Curing Your #Winter #Squash for Storage http://t.co/0CWzrOFk6q from Garden Betty by Linda Ly” #gardening #gardenchat
RT @adamcortell: Curing Your Winter Squash for Storage http://t.co/dfHFUsjYai from Garden Betty by Linda Ly
Curing Your Winter Squash for Storage http://t.co/dfHFUsjYai from Garden Betty by Linda Ly
RT @theGardenBetty: Proper curing will keep them delicious until the following spring. Curing Your Winter Squash for Storage http://t.co/hy…
Proper curing will keep them delicious until the following spring. Curing Your Winter Squash for Storage http://t.co/hyf4rN92Wh #gardenchat
RT @theGardenBetty: Ready to harvest? Take this extra step to make your squash last. Curing Your Winter Squash for Storage http://t.co/IvyS…
Ready to harvest? Take this extra step to make your squash last. Curing Your Winter Squash for Storage http://t.co/IvySvo83a0 #gardenchat
Blogged on Garden Betty: Curing Your Winter Squash for Storage http://t.co/fJCk2OF7s0