
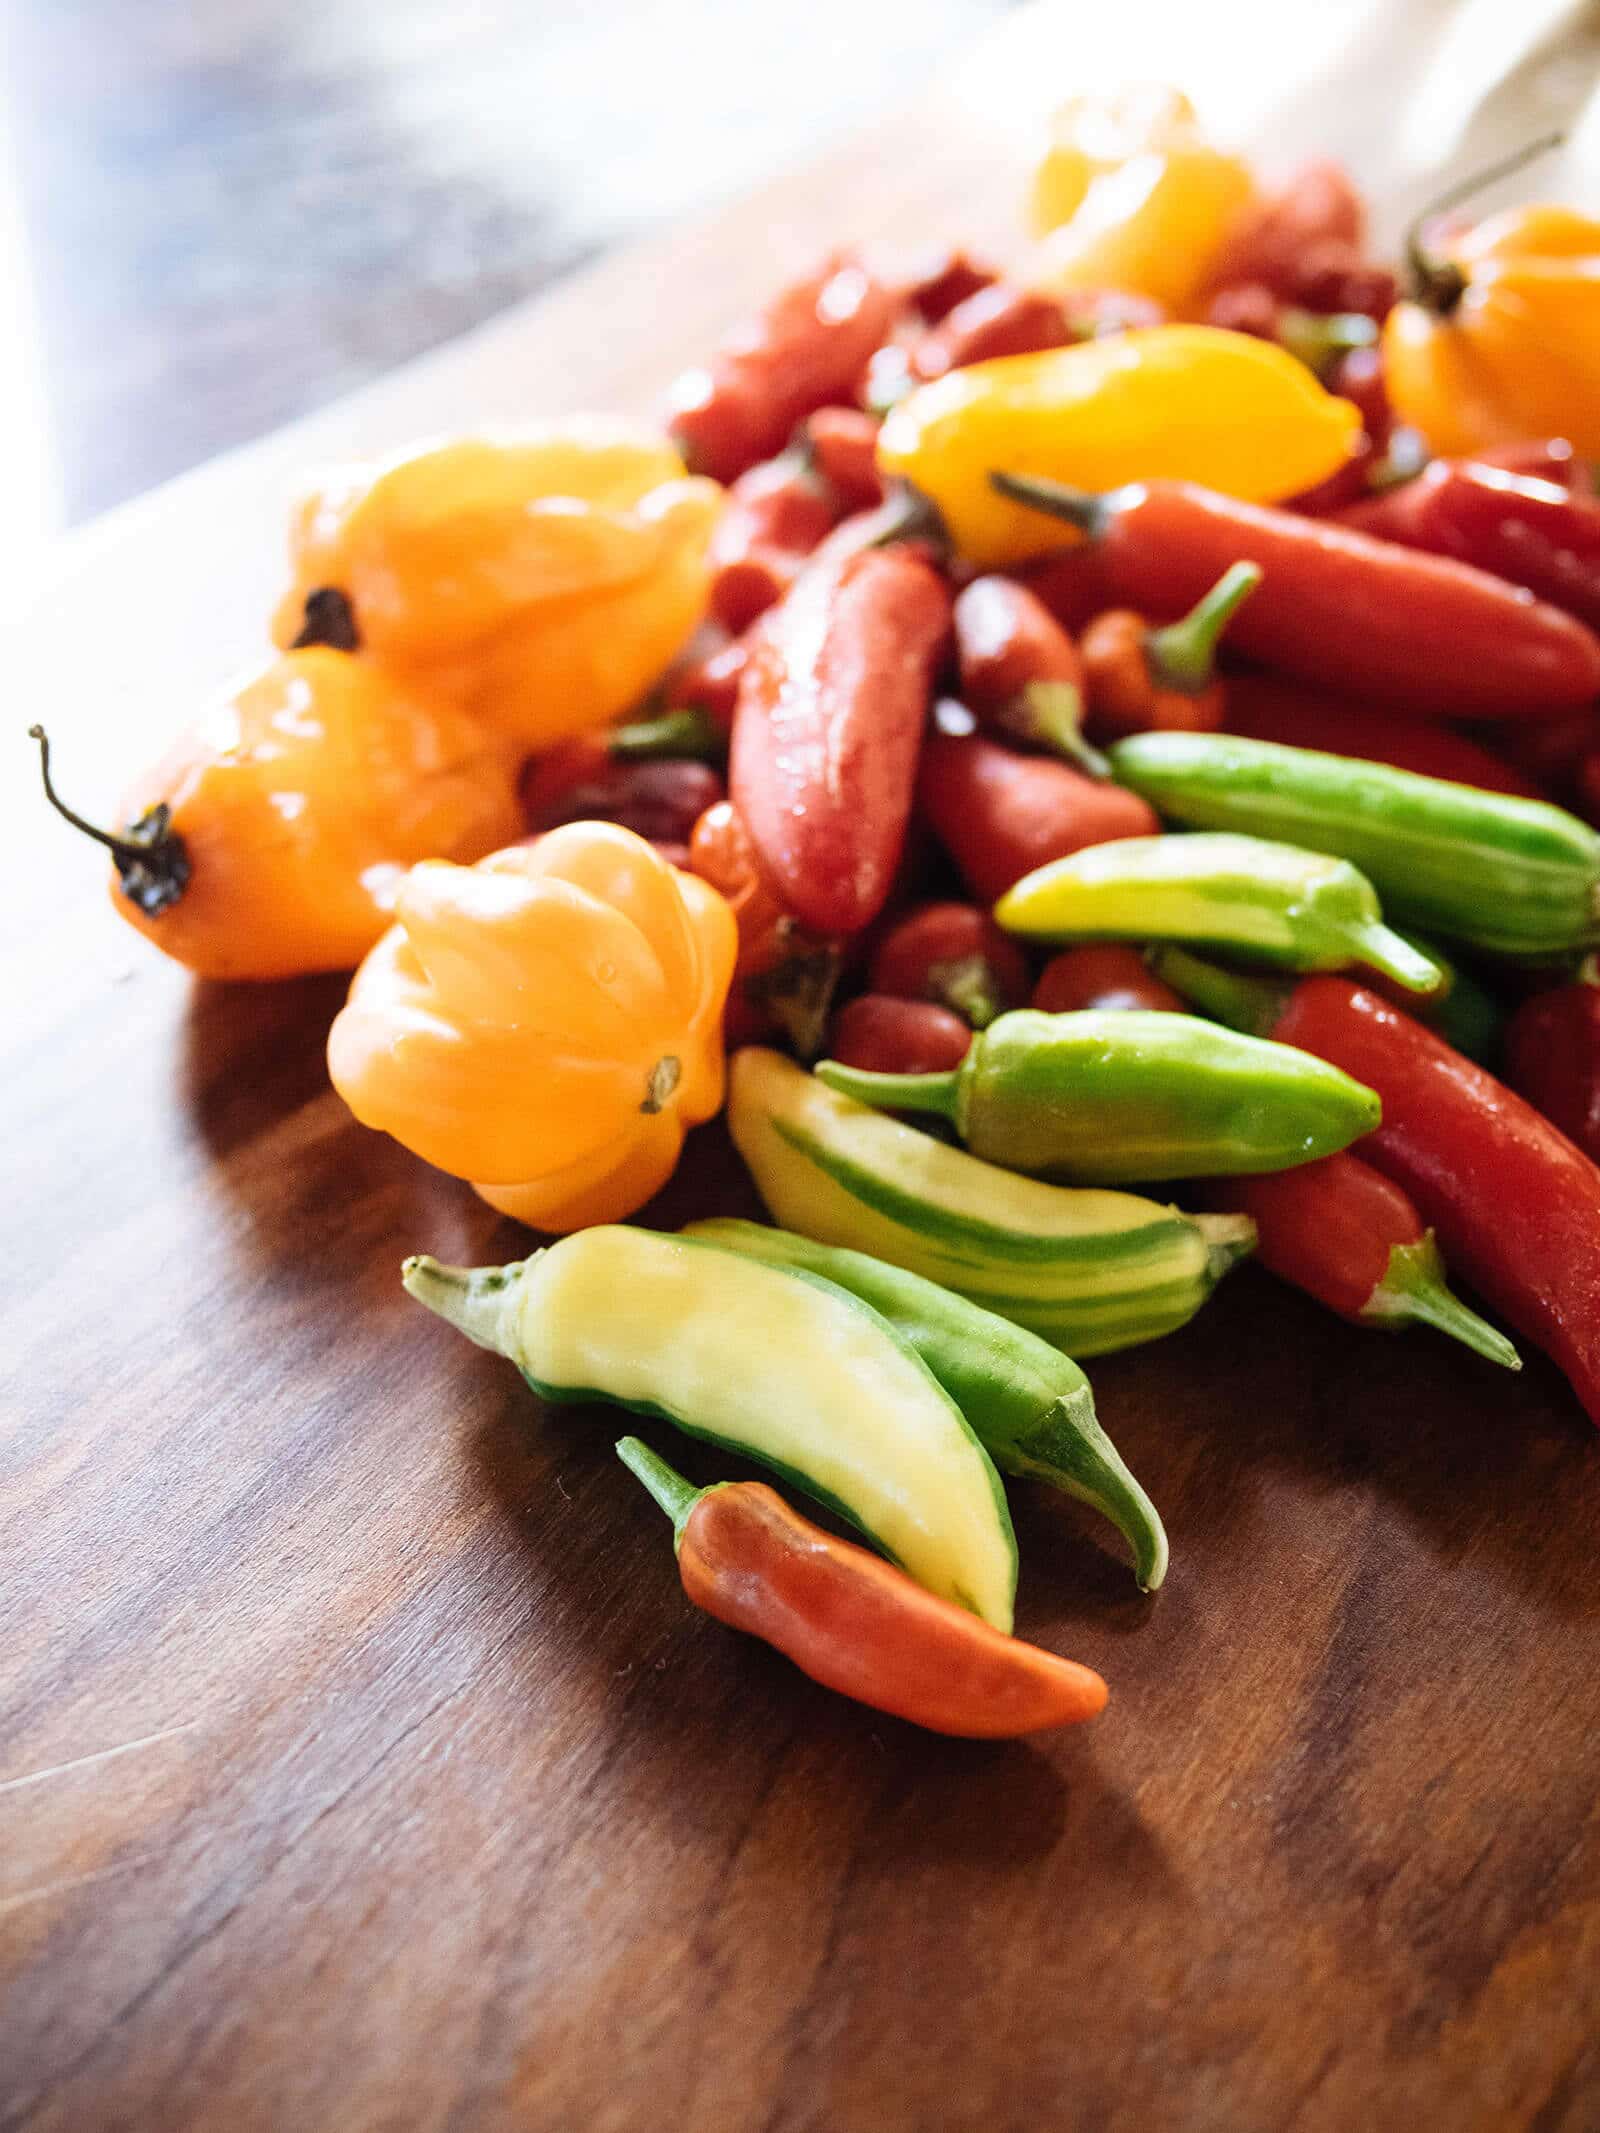
Around this time of year, as our Indian summer is winding down, there’s always a big burst of chile peppers from the garden.
It seems like they know they’re going to sleep soon, so they put their all into producing pods before retreating into dormancy.
I wouldn’t say my pepper plants are at the end of their season just yet, but as we creep closer to winter and our weather is (finally) cooling down, I’ve noticed the flowers are fewer and farther in between.
Chile pepper plants are perennials (though most people grow them as annuals) and in mild climates, they start fruiting in spring, go gangbusters all summer and fall, and overwinter easily outside.
I’ve been harvesting heaping bowls of hot peppers all year long among the Chinese Five-Color, Filius Blue, fish pepper, jalapeño, serrano, and habanero plants I keep in pots all over the yard.
Whatever wasn’t used fresh was laid out to dry, and with my last couple of pounds, I decided to preserve them a different way: by fermenting them into hot sauce.
Related: Spicy Fermented Salsa: Take Tomatoes to the Next Level
Why do you ferment hot sauce?
Fermented hot sauce has a deeper and more complex tangy flavor that you won’t find in vinegar-based hot sauces. And since it’s a “living” product, the flavor continues to develop in the fridge and become even more delicious as it ages.
Time is your friend, as the fermentation process produces more flavor than you could ever get without it.
Plus, fermented hot sauce contains all that wild bacteria that’s so good for you!
Read more: Ruby Kraut (and Why It’s So Good For You)
Several store-bought brands of hot sauce are fermented, including Tabasco, Huy Fong’s Sriracha, and Frank’s RedHot.
However, you can make your own at home (easily!) with just three ingredients: chile peppers, salt, and garlic. (Anything else you add would only be for flavor.)
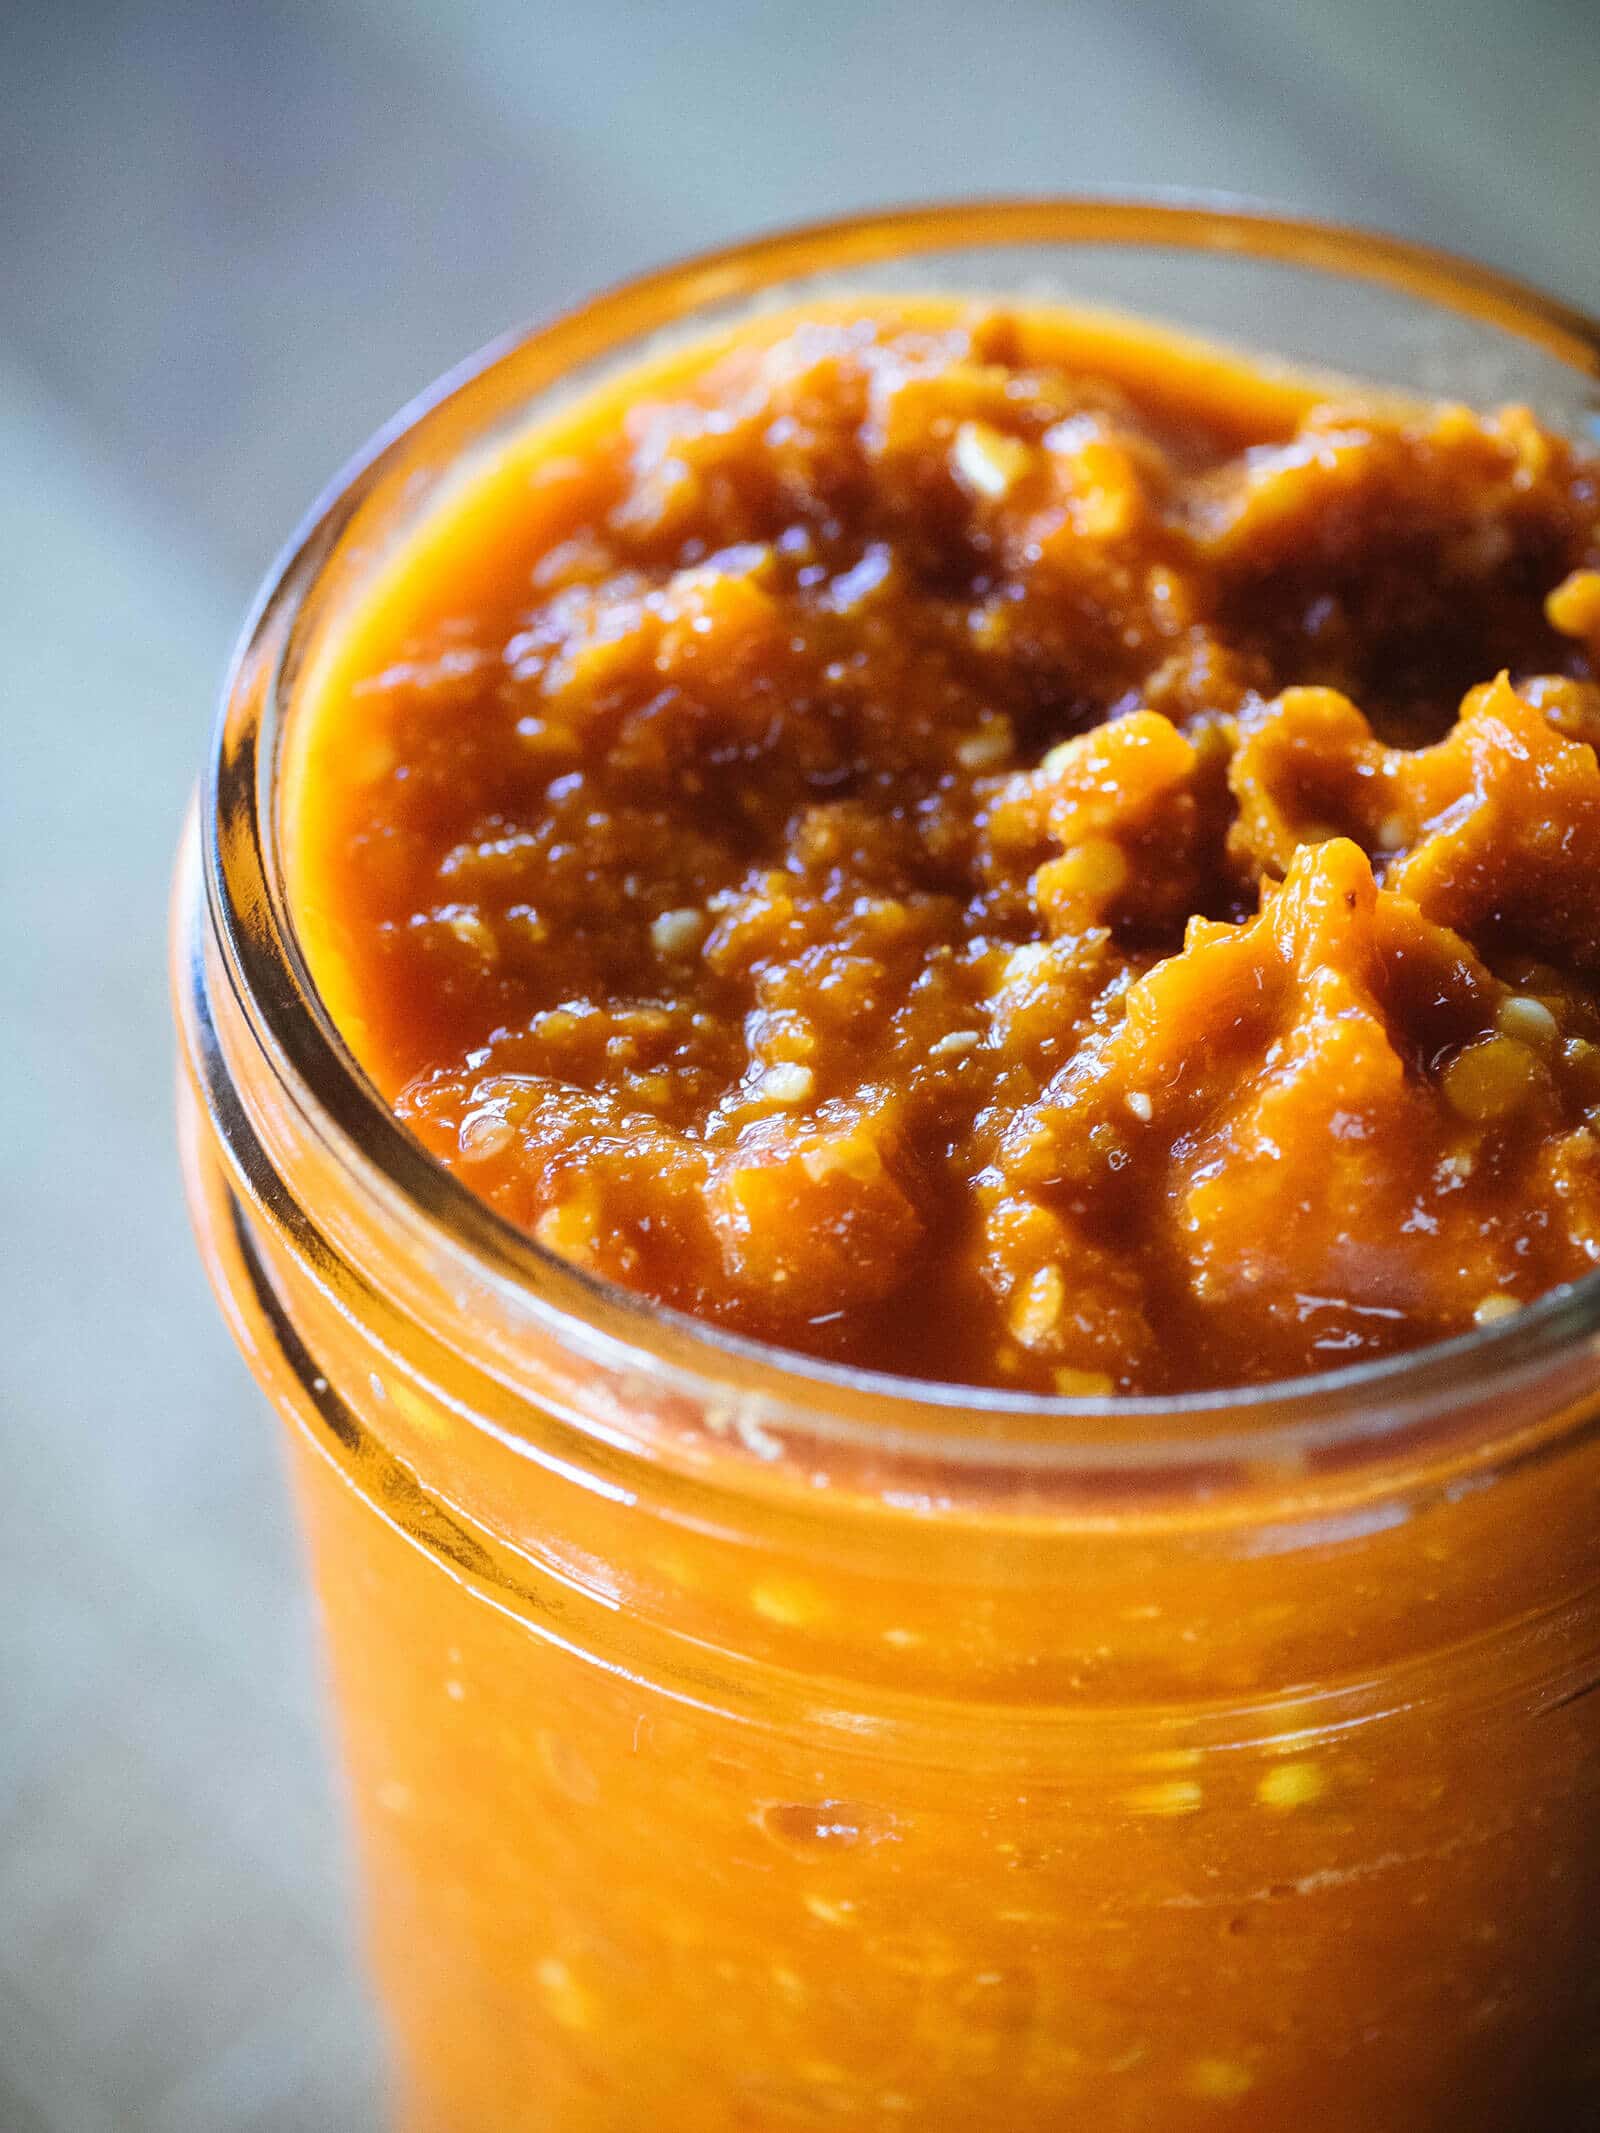
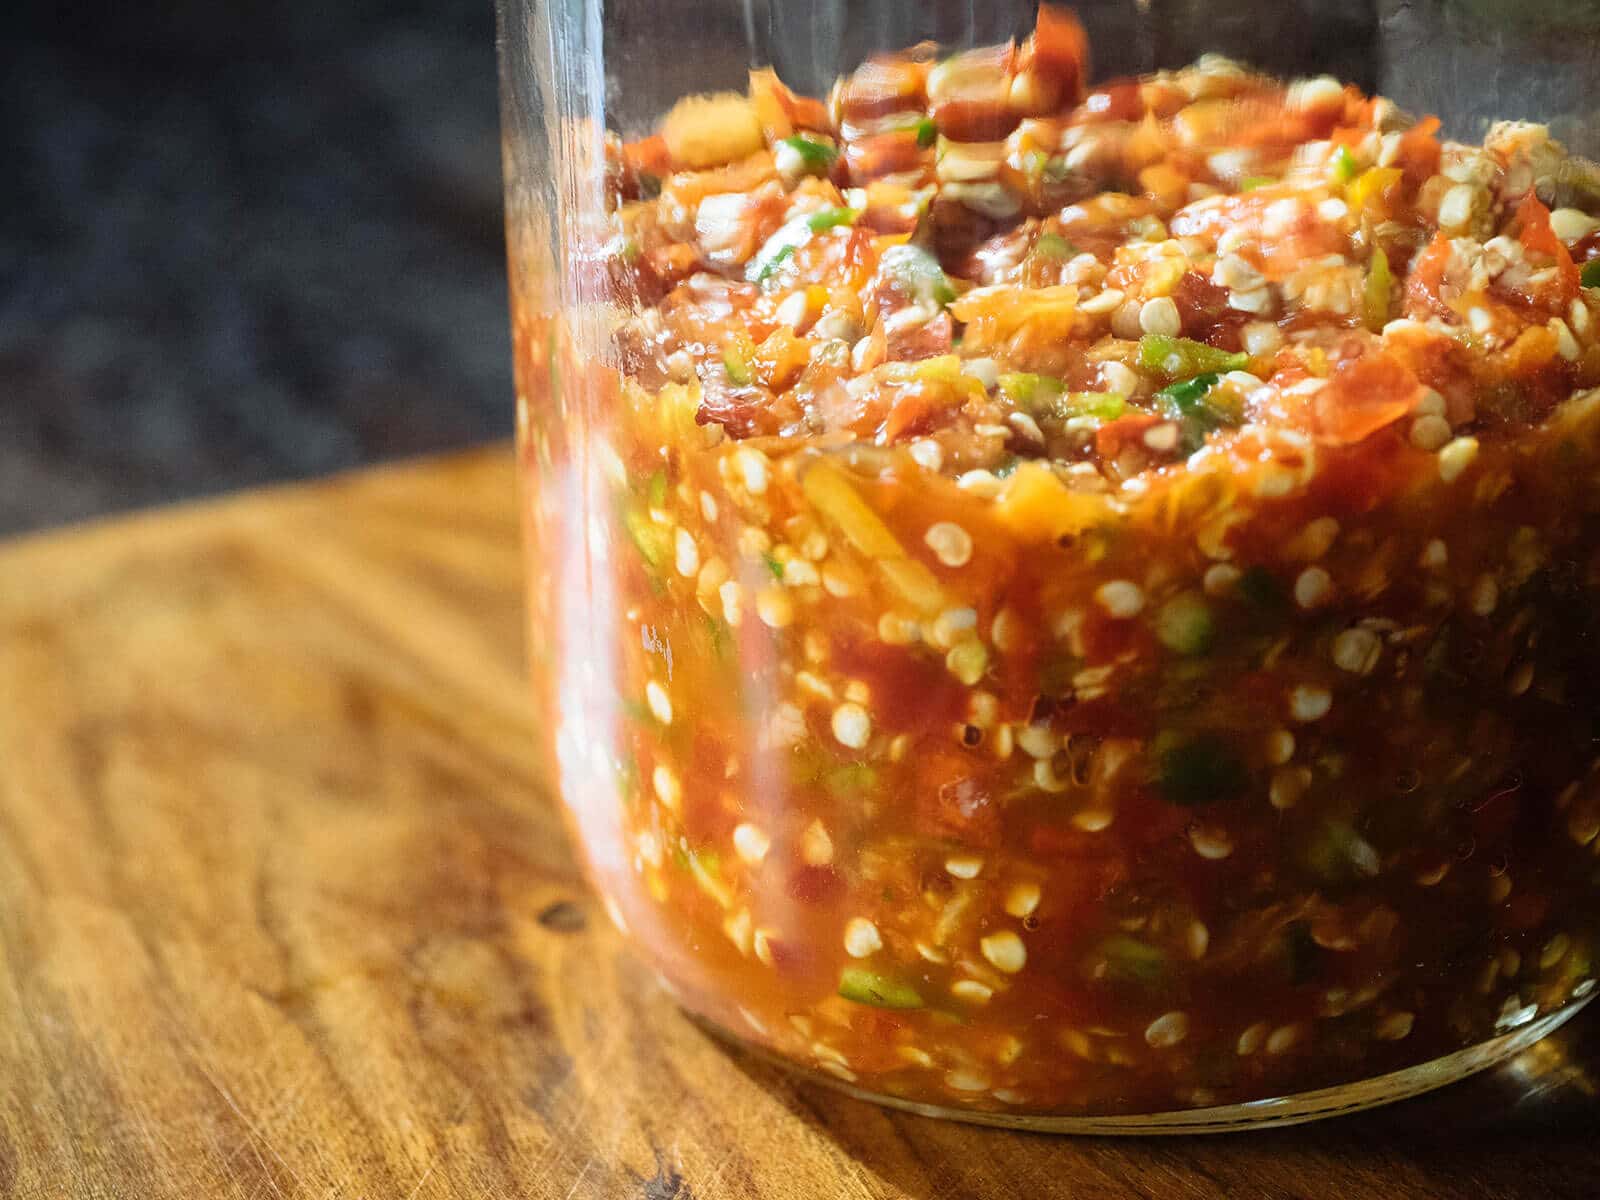
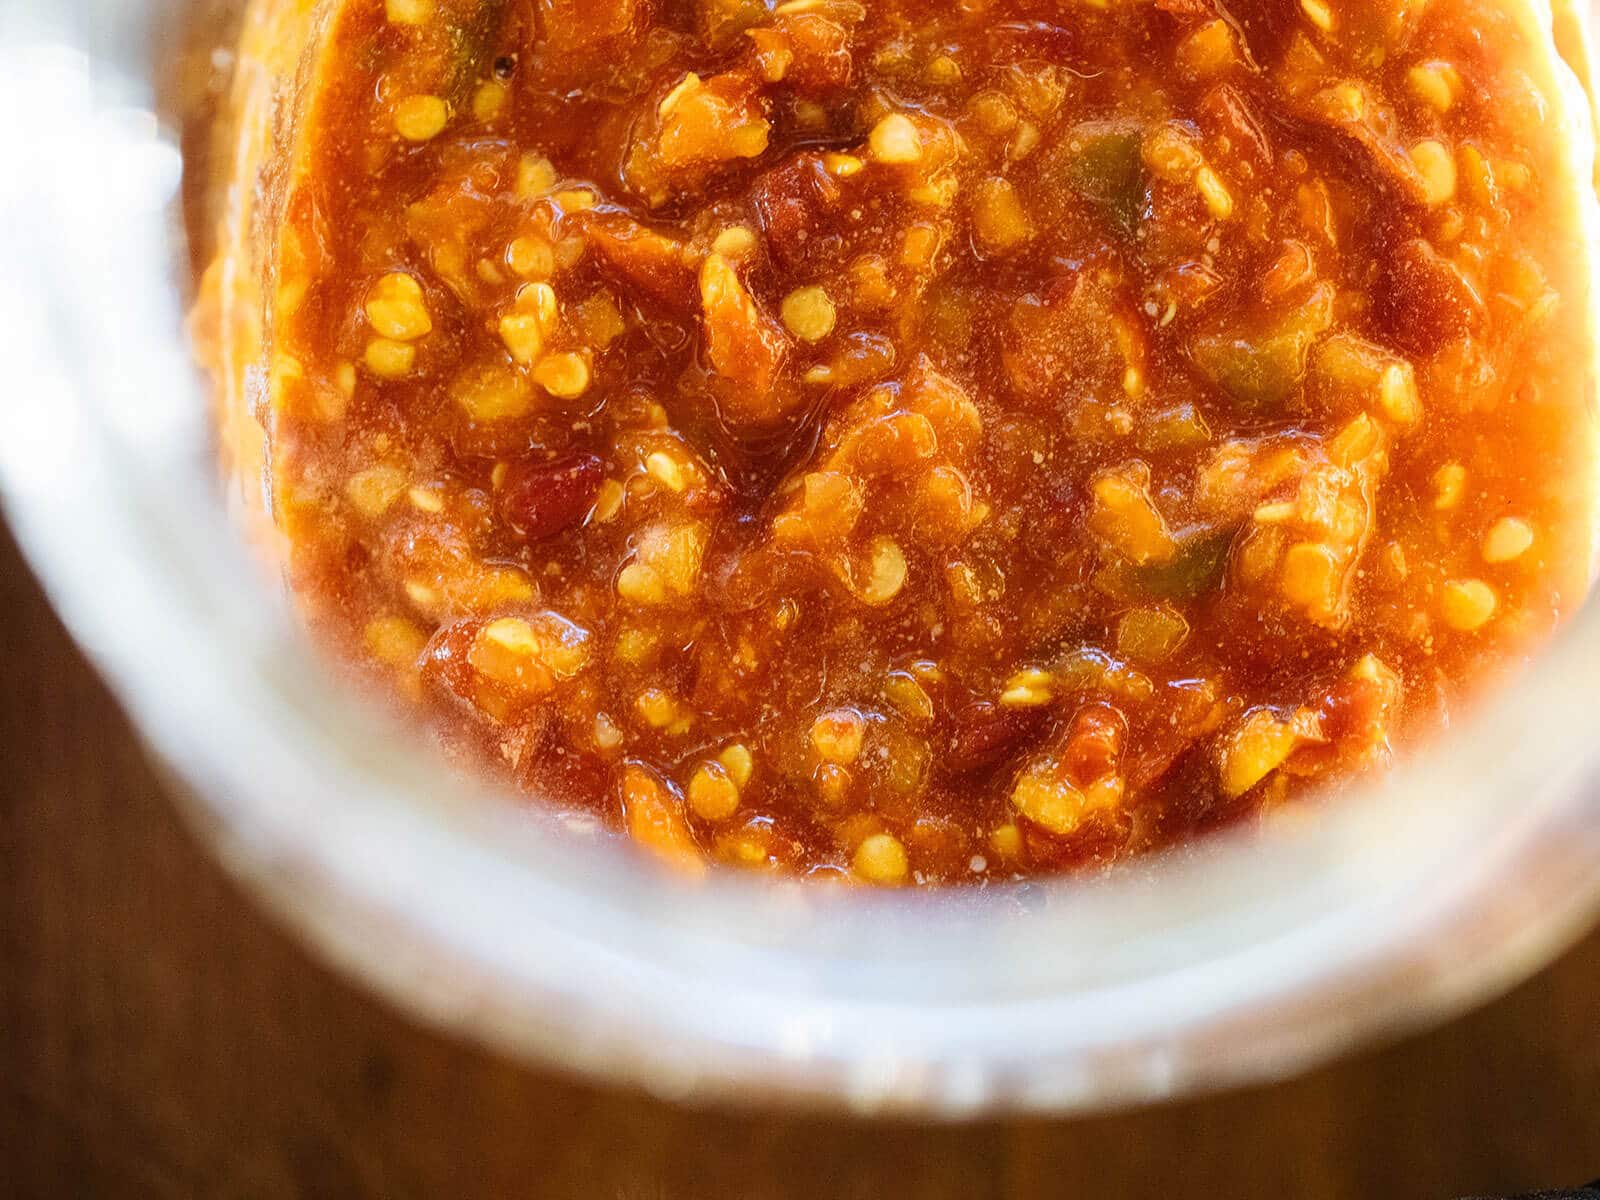
Though I call this a hot sauce, you can actually keep the fermented product more as a paste (as pictured here), or turn it into a thin and pourable hot sauce or Louisiana-style hot sauce.
The recipe also doubles/triples/quadruples easily, so if you find yourself flush with peppers, you can ferment a big batch and make a few different styles of hot sauce for yourself, or divide it into smaller jars for gifts.
Homemade hot sauce is one of those things that people really delight in (assuming they like hot and spicy things), because, well, it’s not another jar of jam.
Try this: Balsamic Fig Jam With Black Peppercorn
(Not that there’s anything wrong with jam, by the way… but I’ve collected enough jam from crafty friends, wedding favors, and my own canning sessions to last through a few zombie apocalypses at this point.)
The key ratio to keep in mind is 2 percent salt of the total weight of the peppers.
This ensures the proper balance of bacteria in the peppers, as the salt will be just enough to inhibit bad bacteria, but not so much that it prevents all the good bacteria from getting their ferment on. I recommend using a sea salt, pickling salt, or kosher salt without any additives.
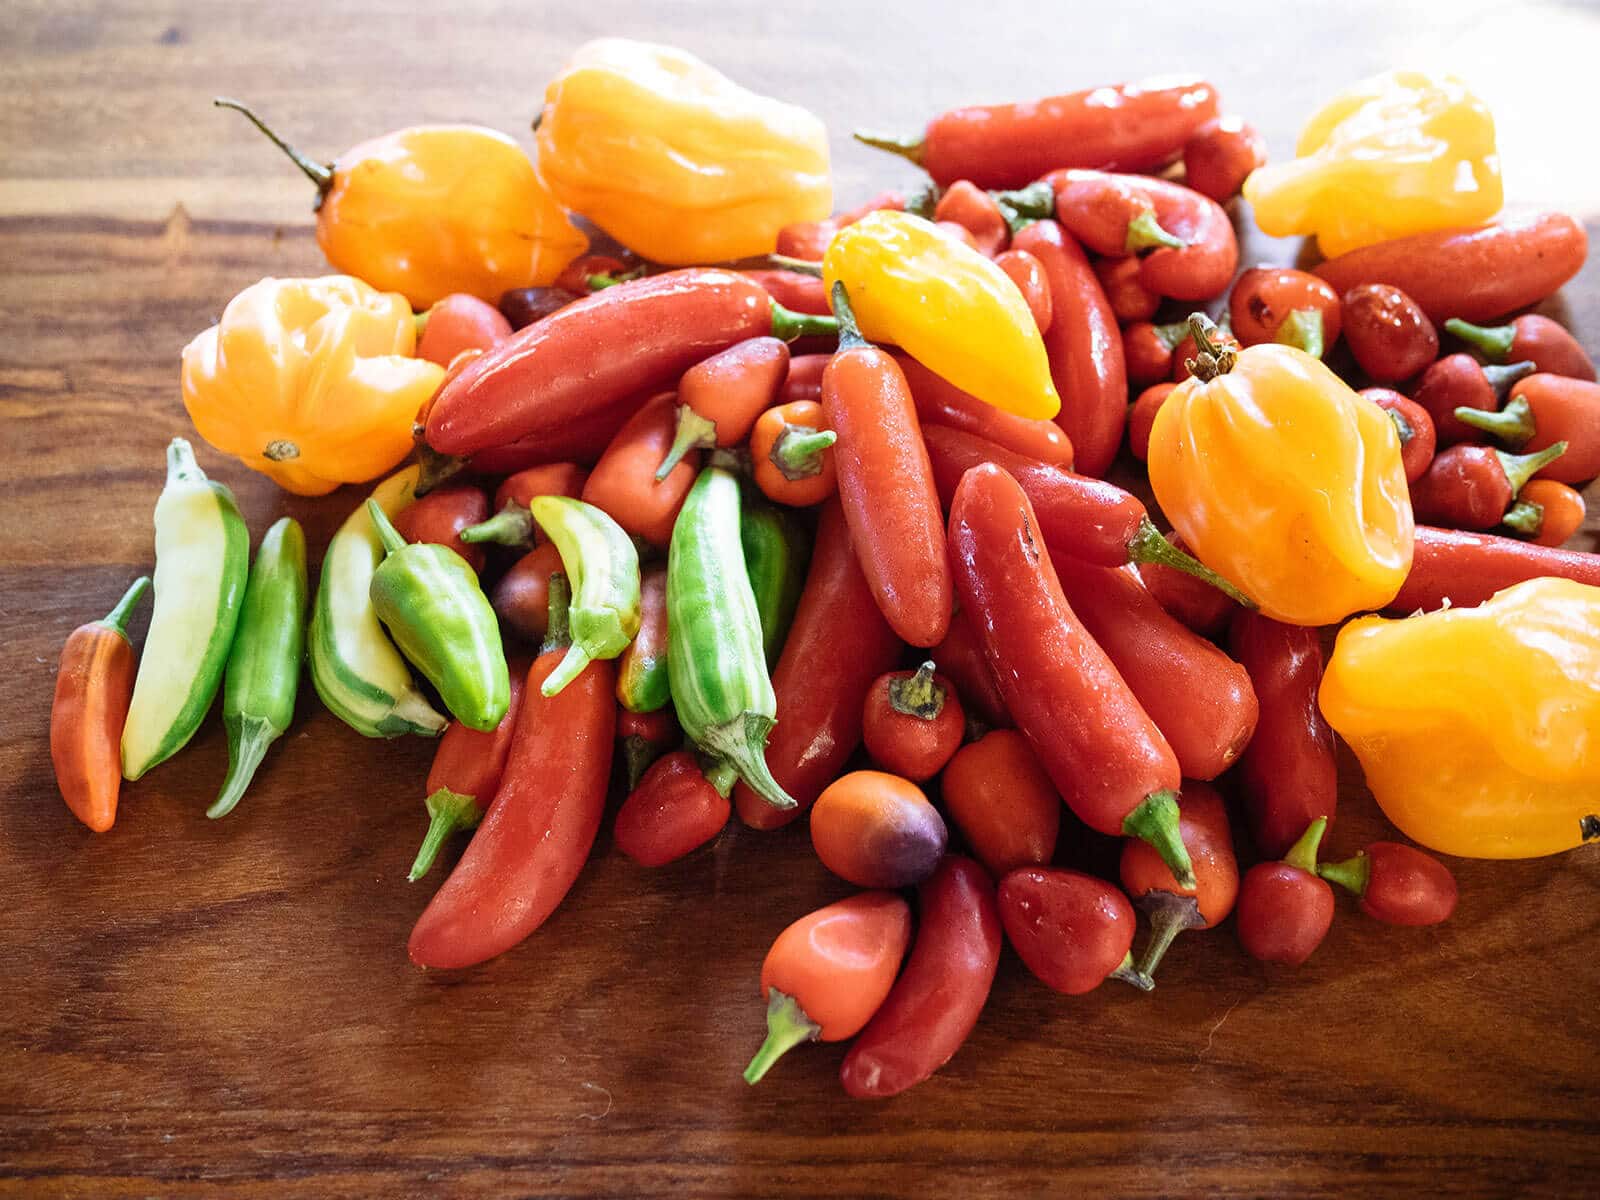
What kind of peppers can you ferment?
That’s entirely up to you. I like a mash-up of all the different chile peppers from my garden (many of which are on the super spicy side), but you can choose to ferment only one variety at a time.
This allows you to make a hot sauce that leans toward mild, fruity, or smoky, depending on what type you use. You can tone down the flavor even more by adding a sweet (bell) pepper to the mash.
For different styles of sauce you can create once the peppers have fermented, keep reading!
Fermented Hot Sauce
Makes 1 1/2 cups
Ingredients
3/4 pound fresh chile peppers
1/4 ounce sea salt
4 garlic cloves
Vinegar (optional)
Instructions
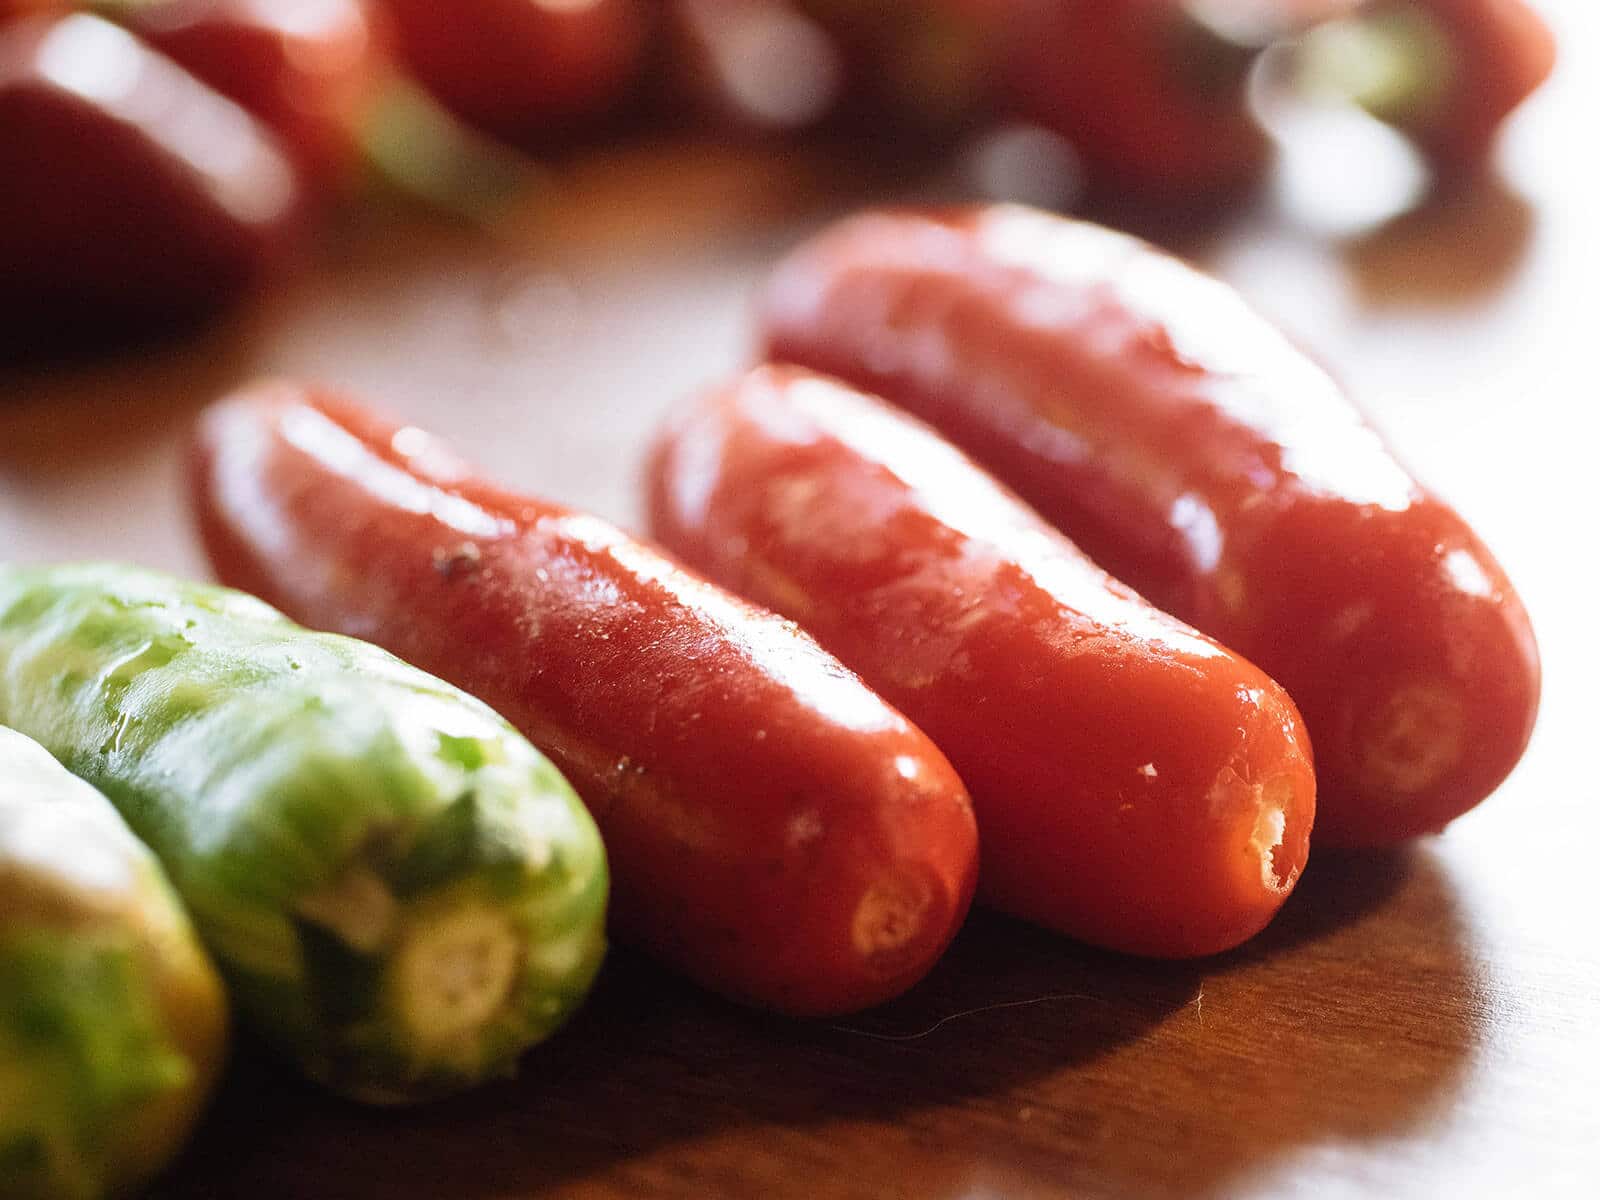
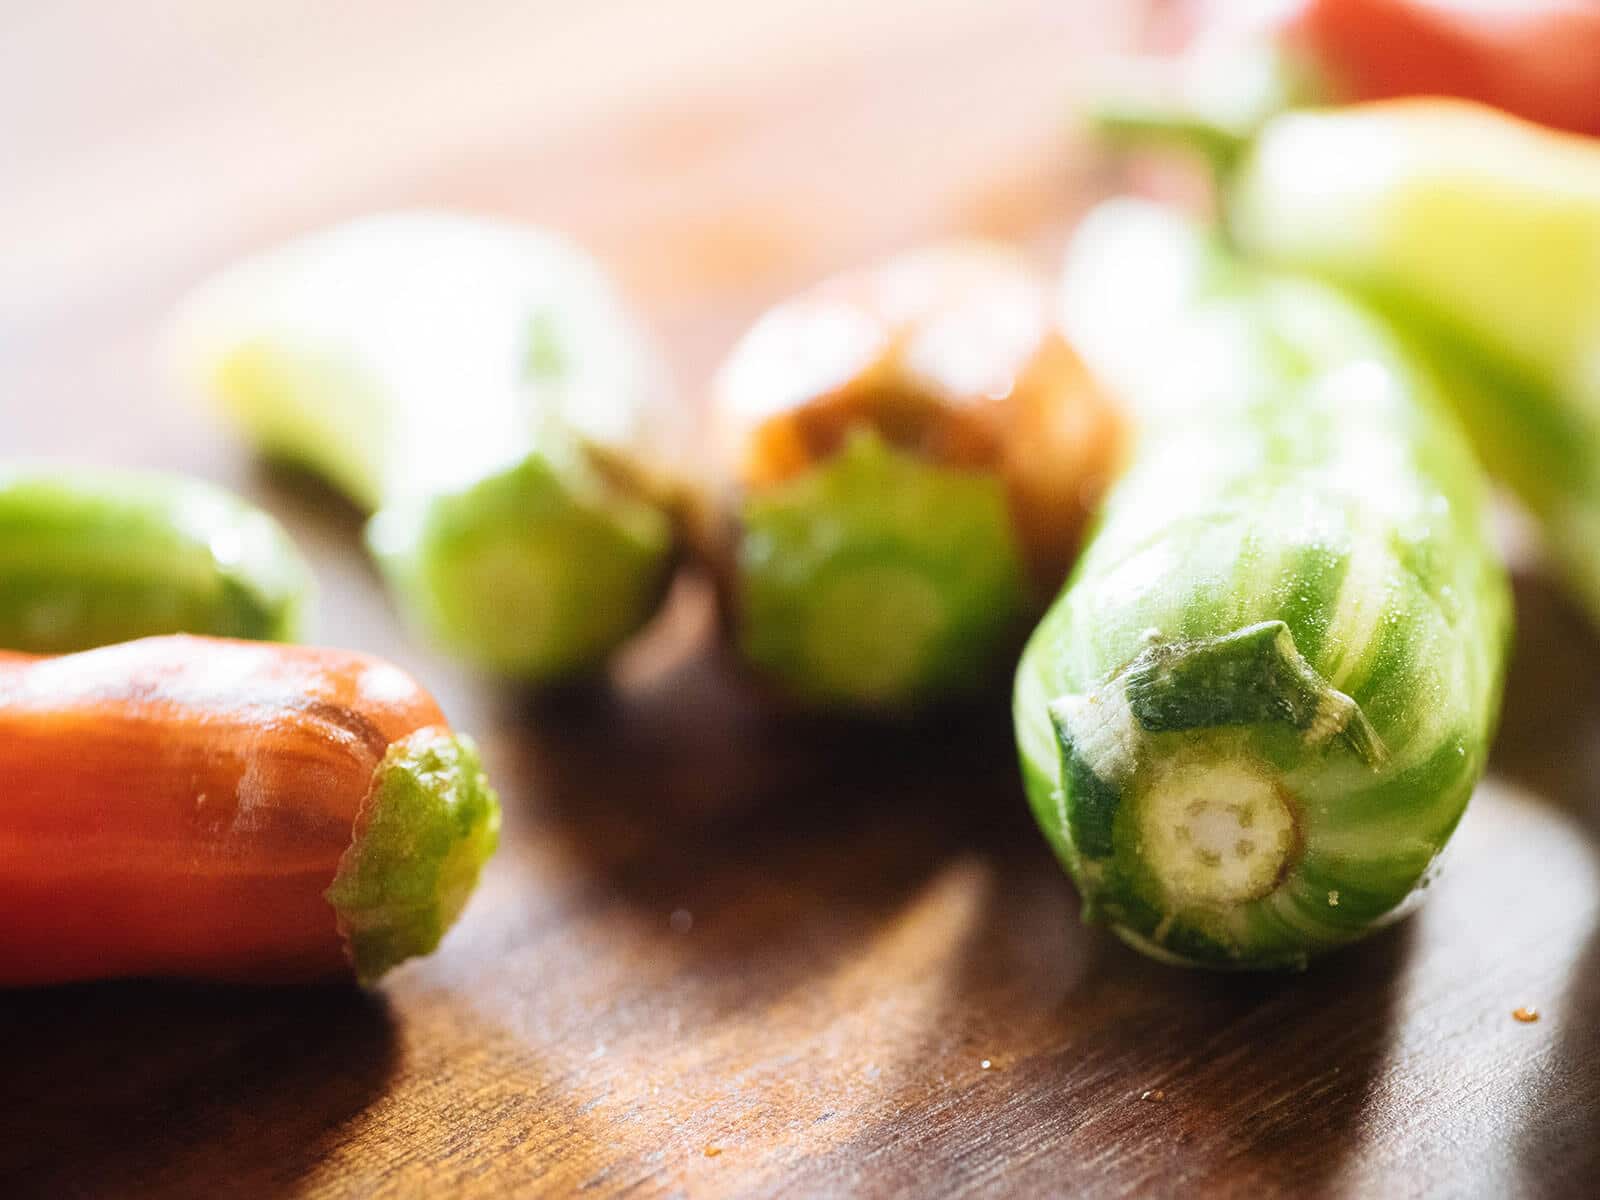
Trim the stems from the peppers. If they don’t pull off easily, I like to leave the little green caps on the peppers (but still remove the long stems). The caps impart a subtle, earthy perfume to the final sauce.
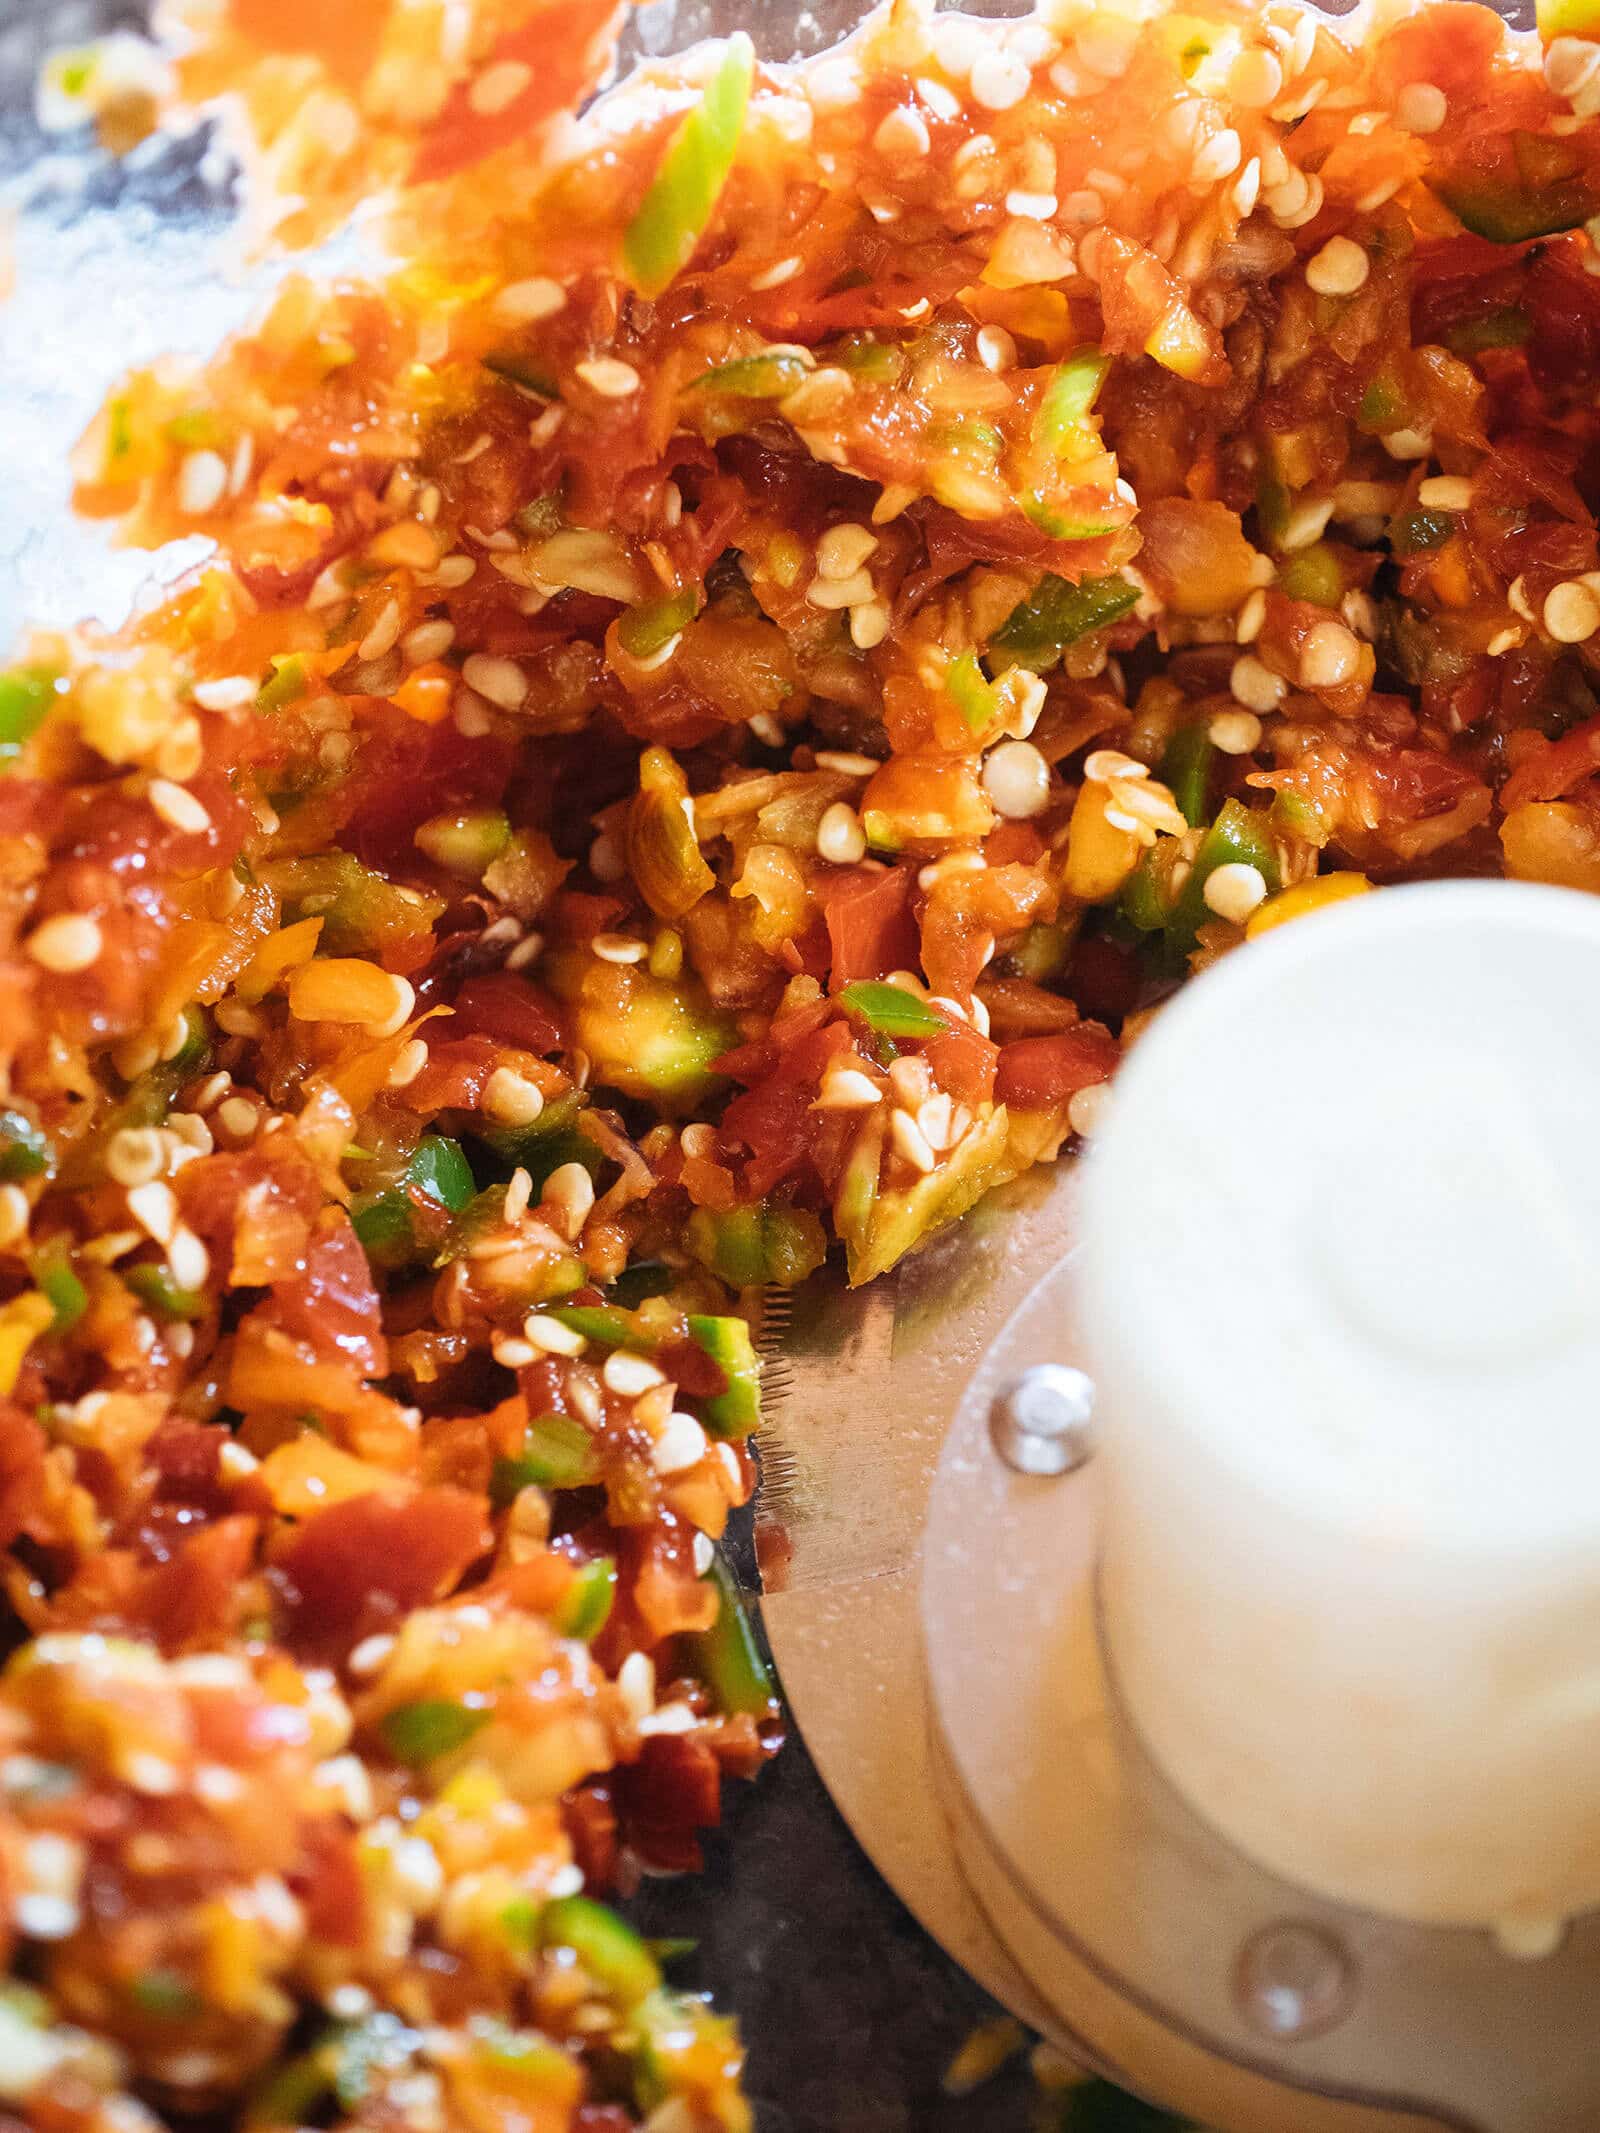
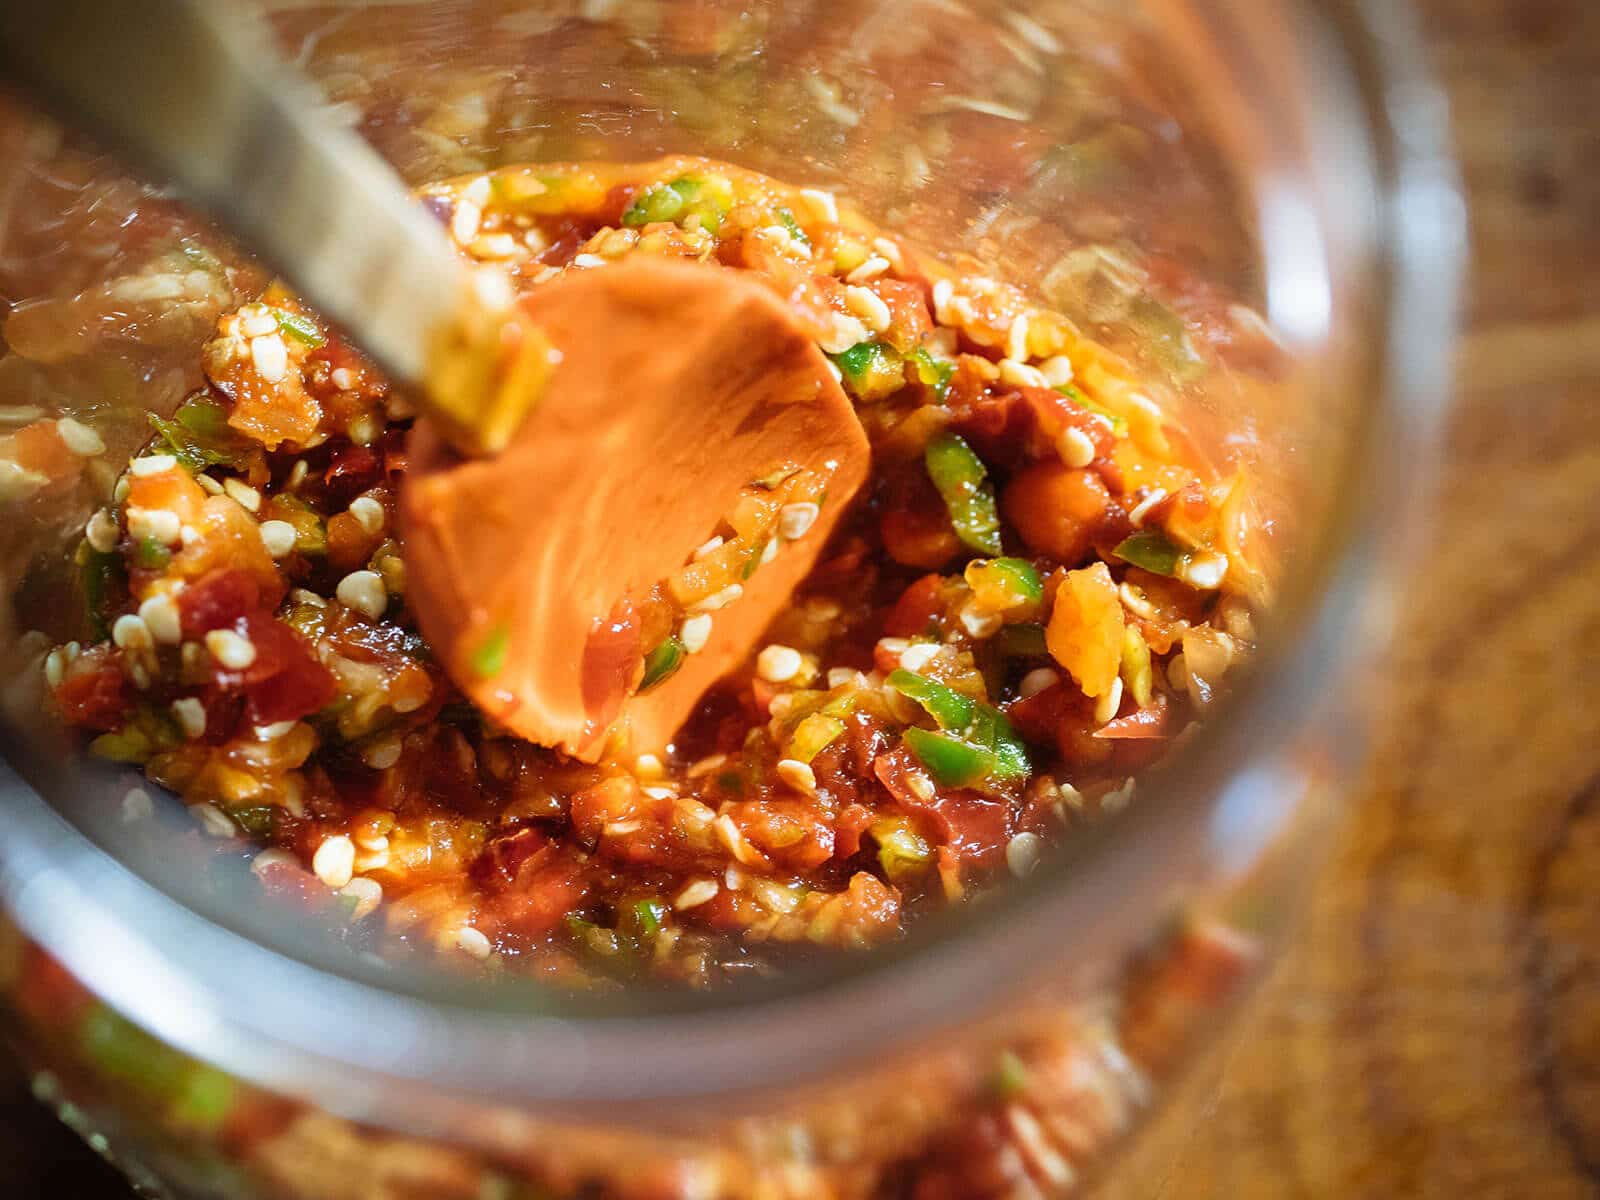
Combine the peppers, salt, and garlic in a food processor and pulse until the mixture resembles a coarse mash. (You can also mince the peppers by hand, but I find that a food processor extracts more liquid from the pods.)
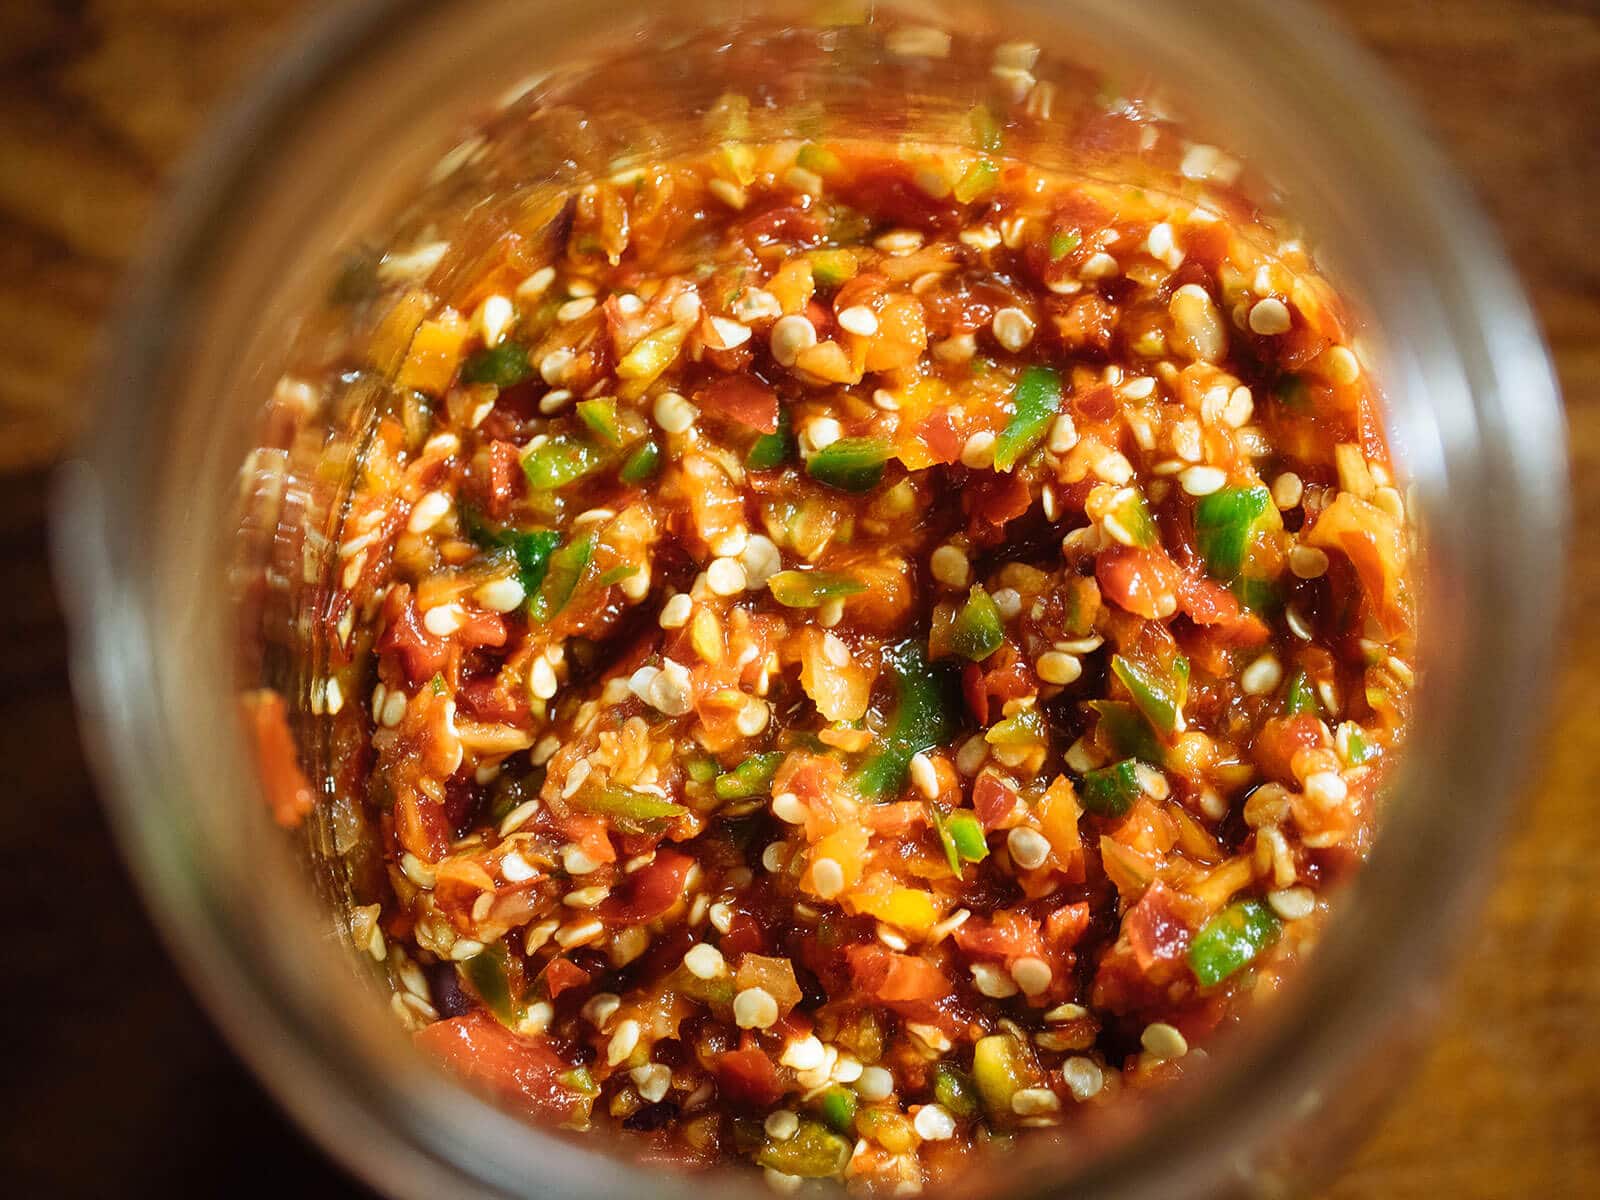
Pour the pepper mash (and all the liquid) into a quart jar. Tamp down with a spoon or rubber spatula to expel more liquid from the bits and pieces, and cover the jar with a lid.
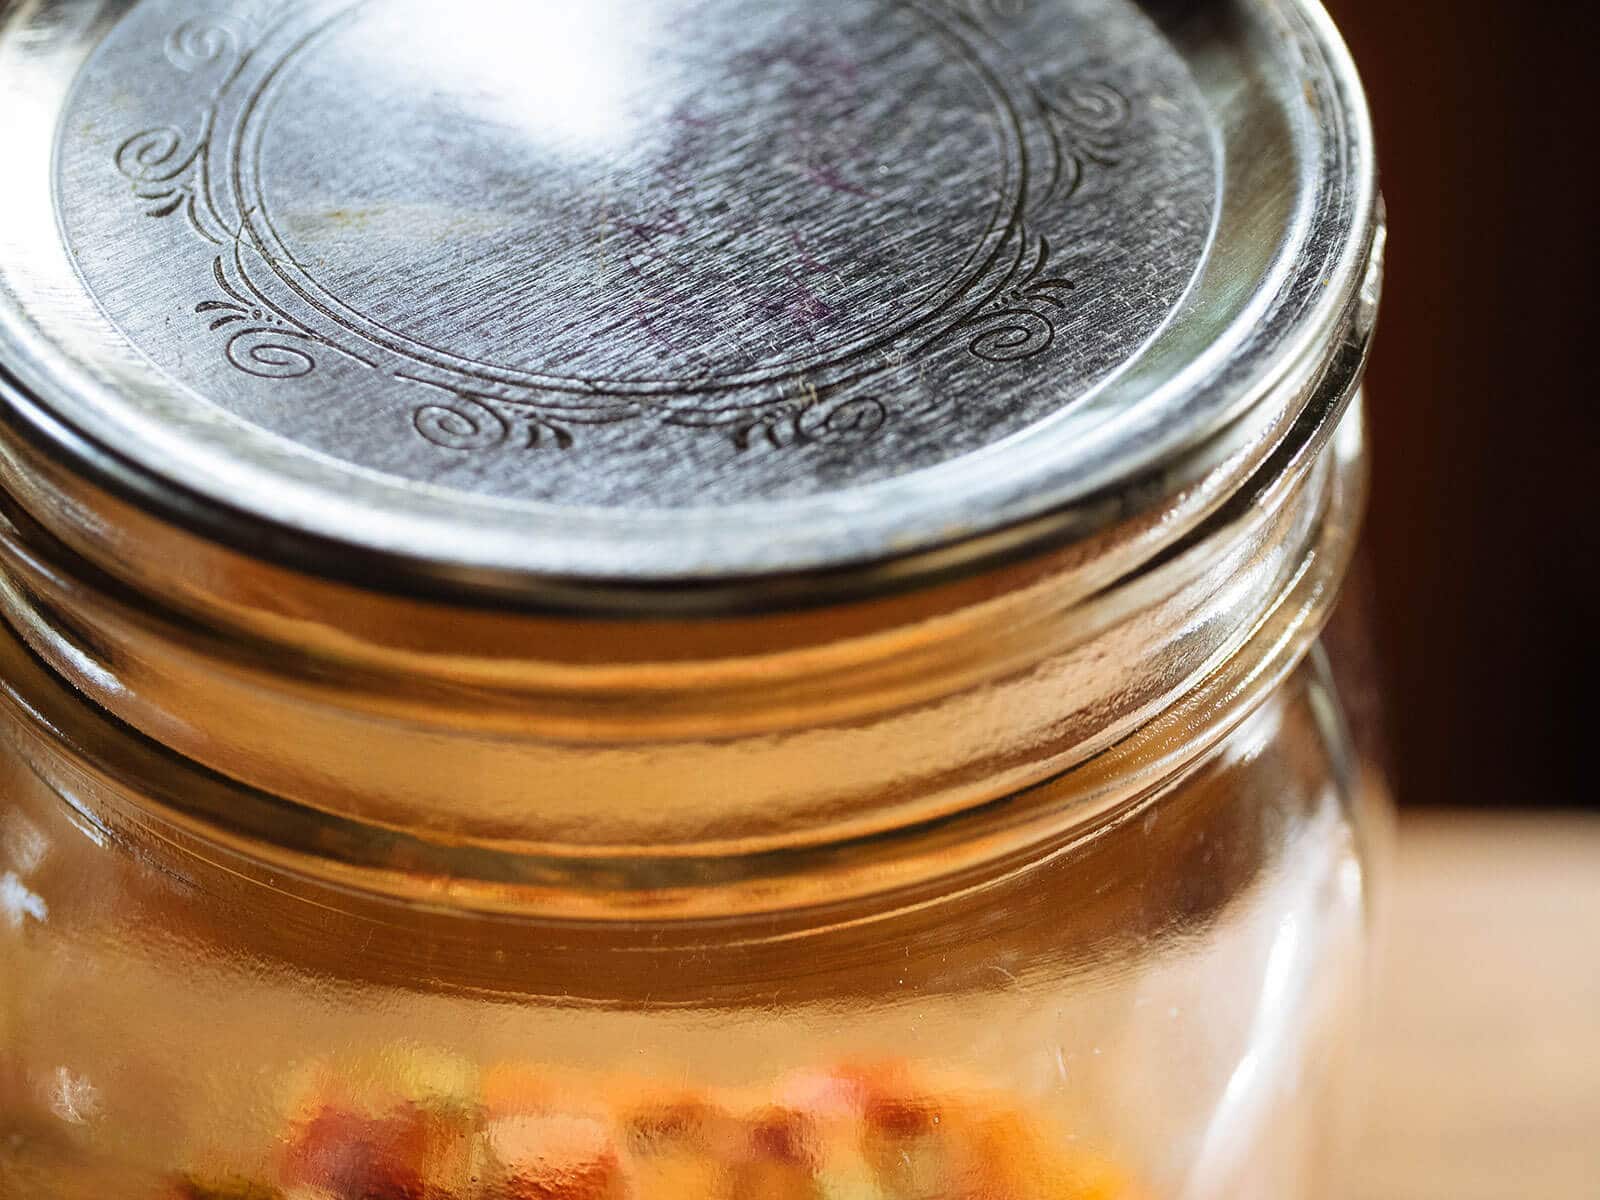
You want to allow the fermentation gases to escape, so don’t seal it tightly — I simply leave a canning lid on (without the band) to keep out dust and pests. (A kitchen towel or several layers of cheesecloth also works to cover the jar.)
Store the jar at room temperature out of direct sunlight, but in a spot where you’ll see it every day. Stir it up with a clean utensil once a day, and tamp the mixture down with a spoon to submerge the peppers in liquid again.
When you start to see bubbles inside the jar, that’s a sign that fermentation is actively taking place.
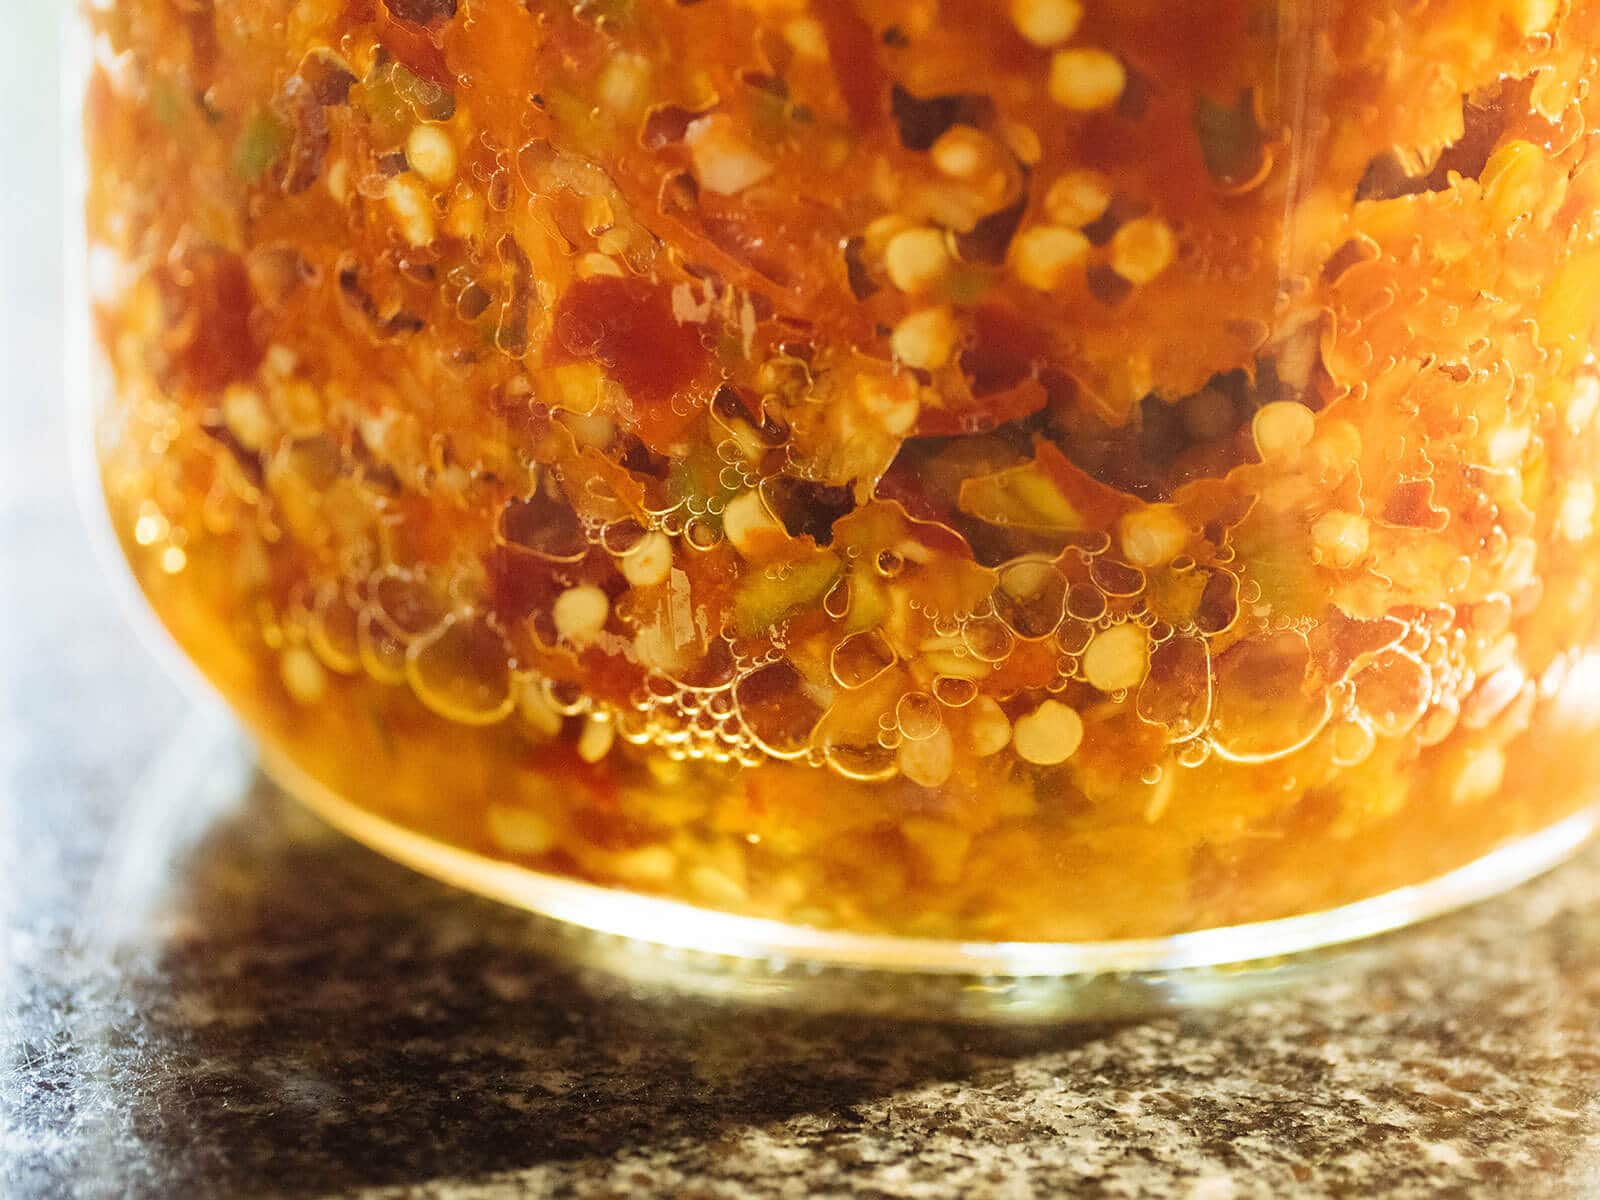
The peppers will slightly expand and continue to release liquid as they ferment. If your mash doesn’t seem “juicy” enough to keep most of the peppers sitting in liquid, you can add a few spoonfuls of filtered water to the jar, but keep it light — you don’t want to dilute the hot sauce too much.
If you start to see a white film on the surface of the mash (a sign of lactic acid bacteria thriving in there), you can either skim it off (if it’s thick) or stir it in (if it’s only small patches), and start stirring the mash at least twice a day to keep it from coming back.
The film (known as kahm yeast) is harmless health-wise, and forms when the peppers are exposed to oxygen on the surface, which is why frequent stirring, or keeping them submerged in liquid, is important.
Depending on the ambient temperature of your room, it can take anywhere from one week to four weeks for the peppers to ferment. Warmer temperatures will help them ferment faster.
Generally, I know it’s ready when the mash doesn’t smell as spicy (like burns-off-your-nose-hairs spicy) and starts smelling sweet and sour (while still having a spicy kick).
It’s a strong yet pleasant smell, and you’ll notice at the end of the week (or up to four weeks), the peppers will soften and break down further. Don’t be afraid to taste it!
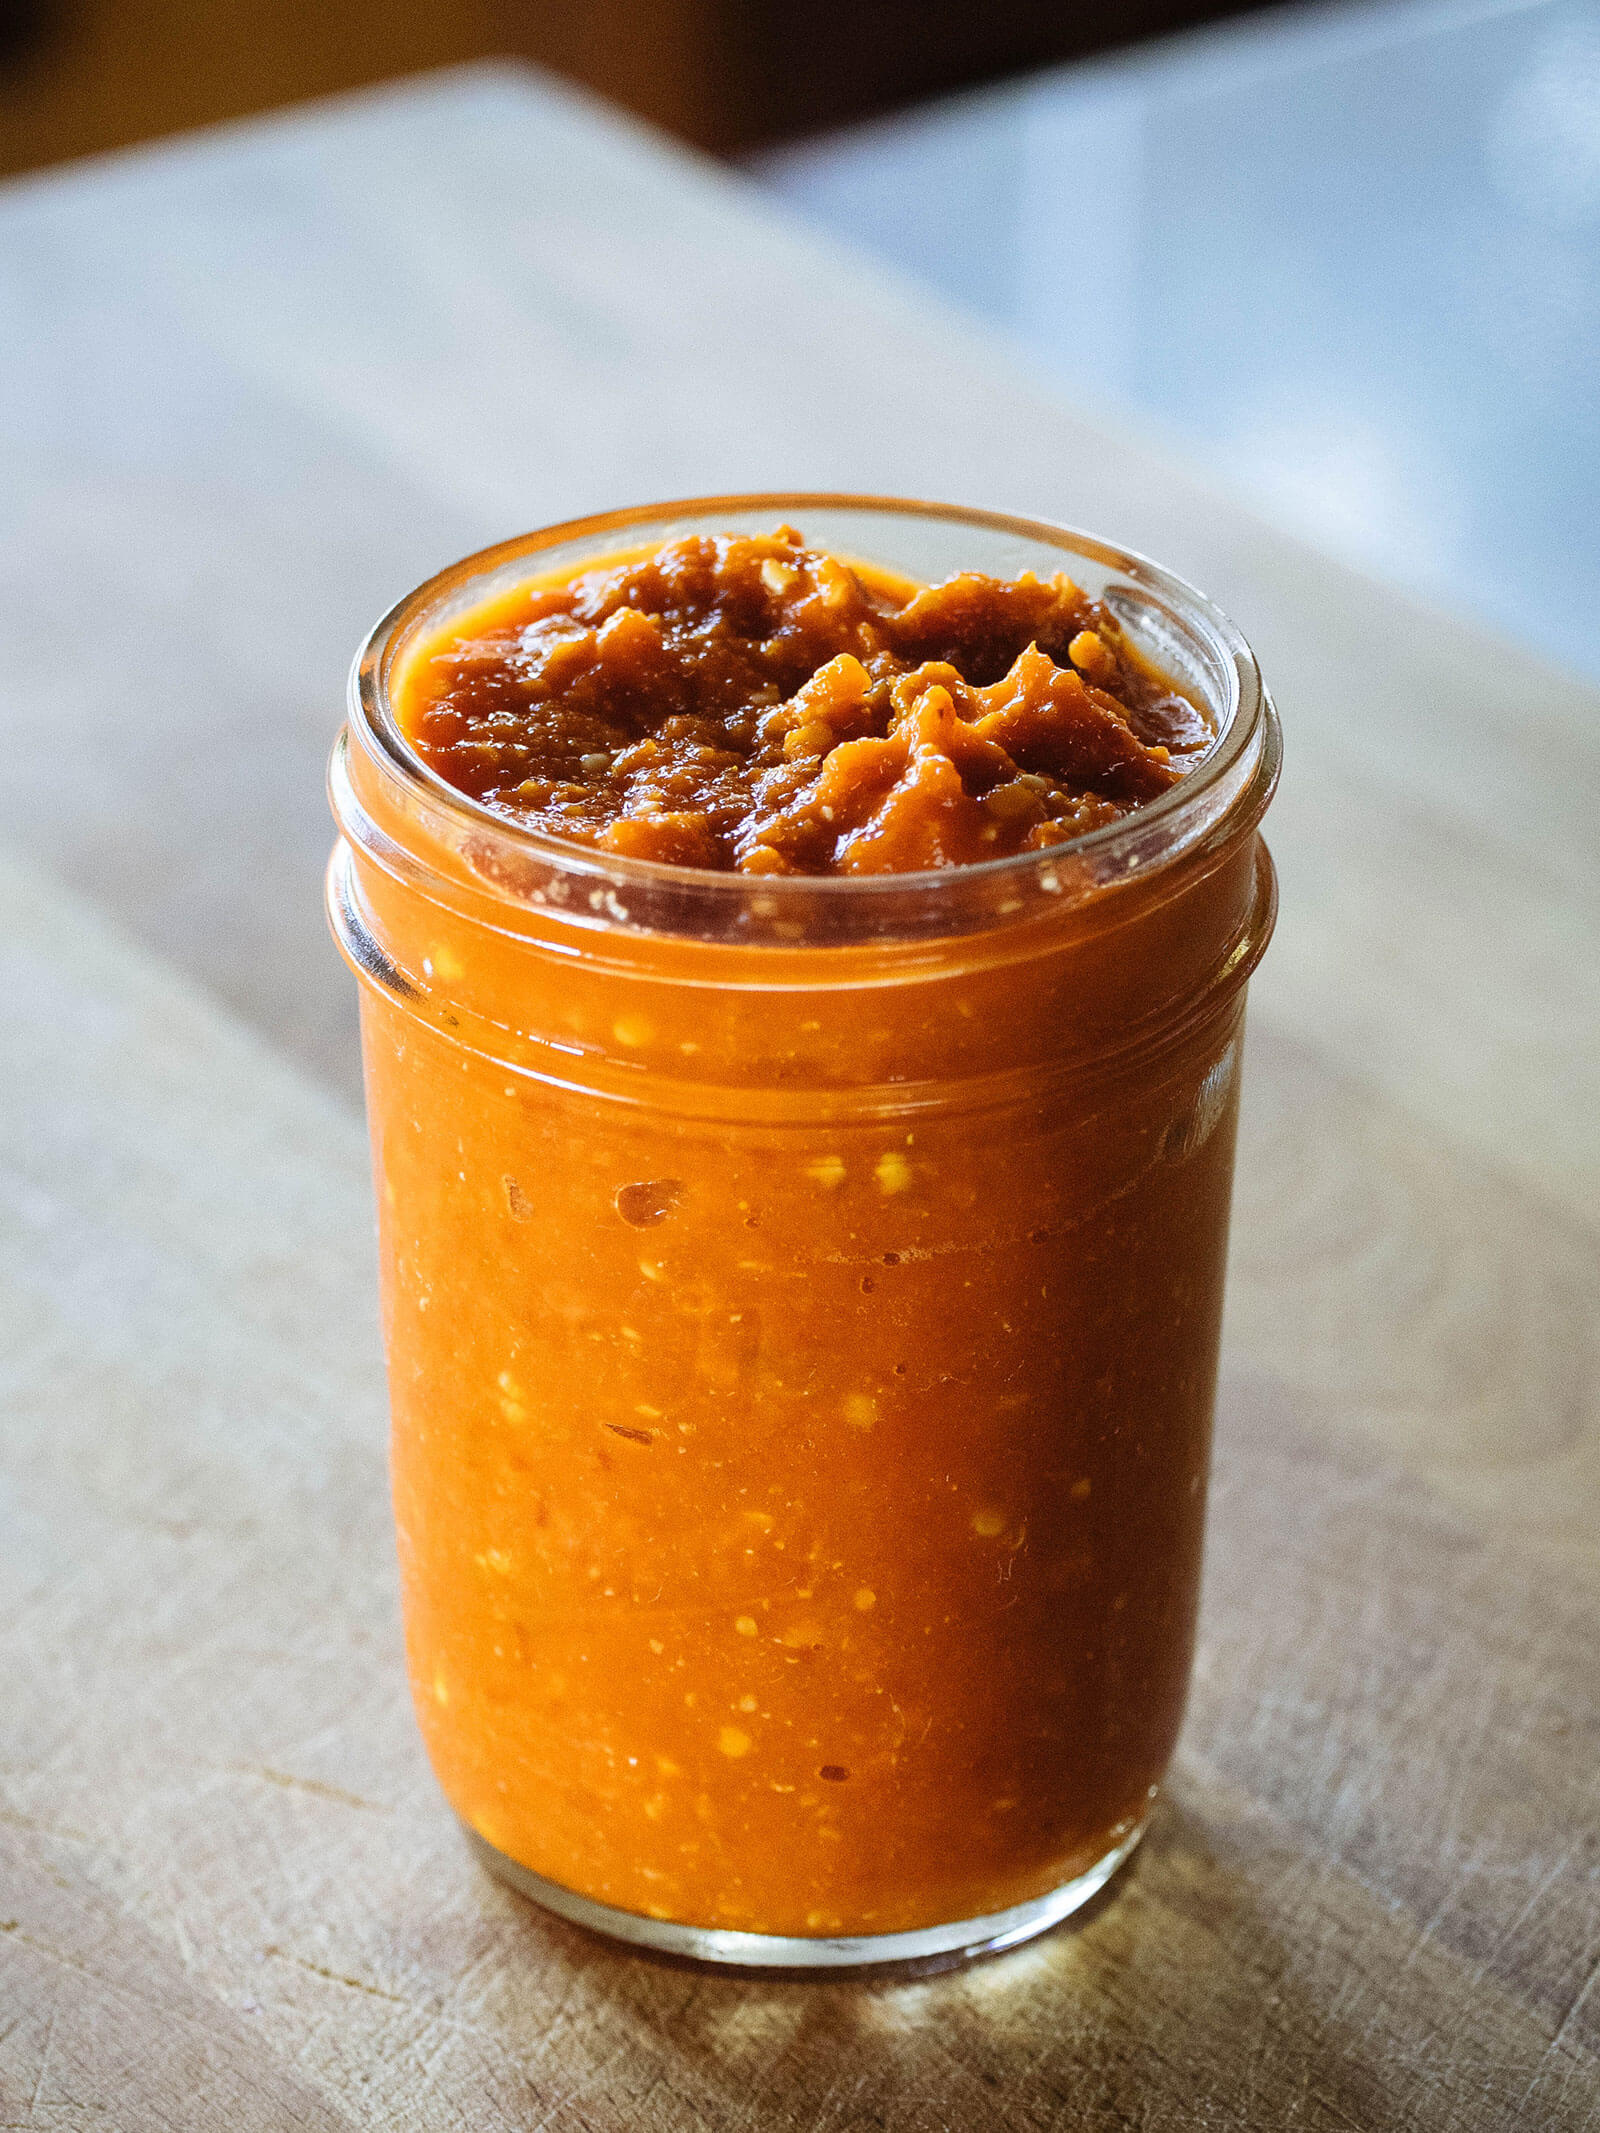
At this stage, you’re ready to process the peppers into hot sauce.
Take your pick of these hot sauce variations
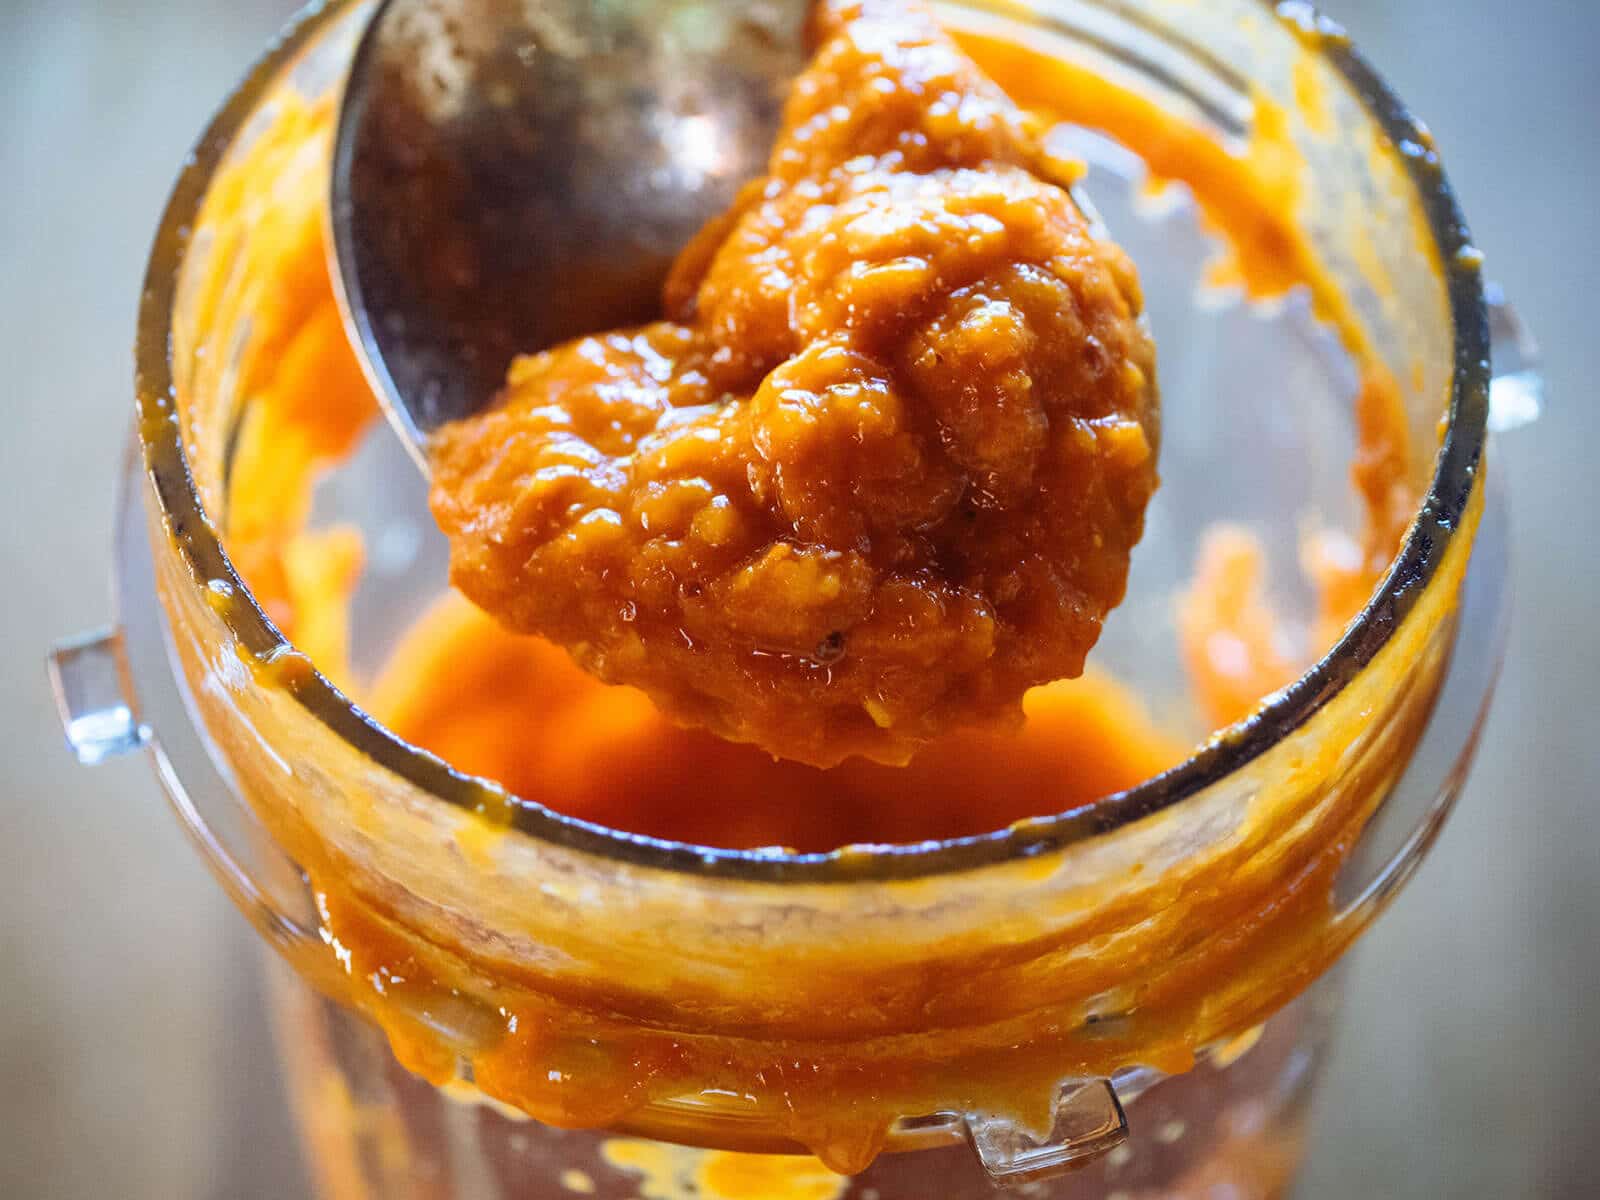
If you like your sauce with a bit more body, you can puree it in a blender (seeds and all) until smooth. It takes on a slightly chunky, sambal oelek-like texture (think Huy Fong’s Asian chili garlic sauce) that’s more suitable for spooning onto food.
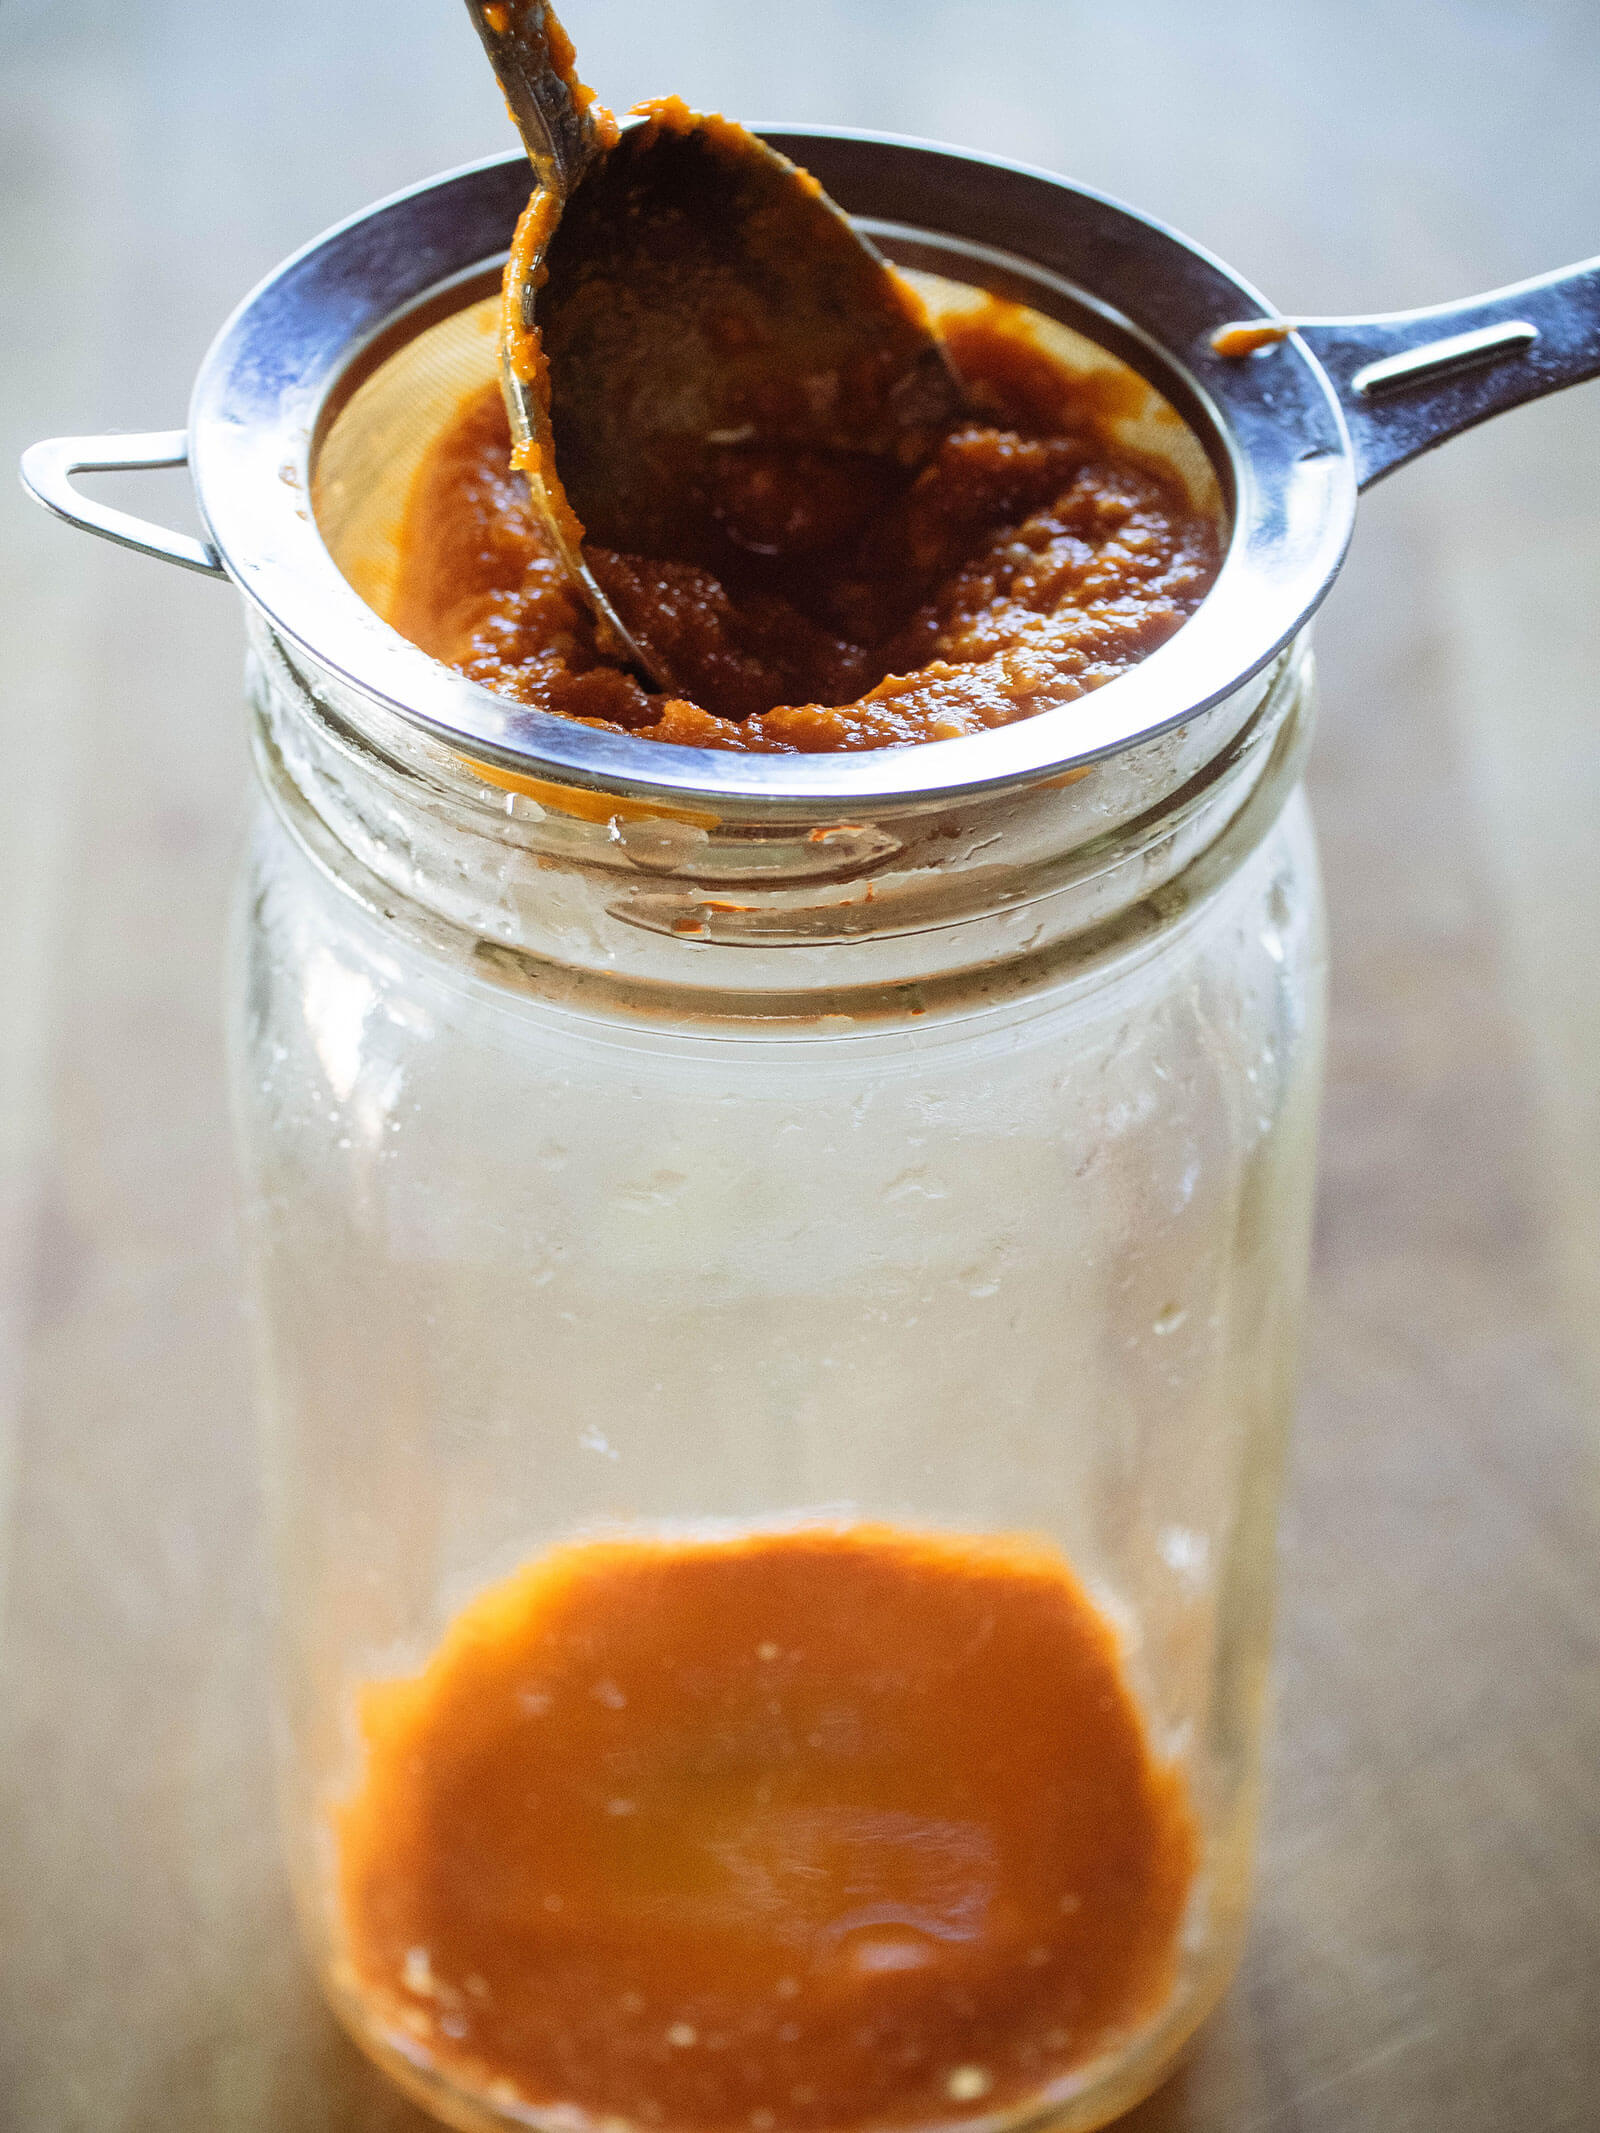
If you like a thin, pourable sauce, you can strain the peppers through a fine mesh sieve, a food mill, or a few layers of cheesecloth to separate the liquid from the solids.
Bottle the liquid and you have your very own hot sauce. (I recommend fermenting at least a couple pounds of peppers to produce a decent amount of sauce this way.)
If you like a tangy Louisiana-style hot sauce (think Tabasco), simply measure out the liquid you just strained and add about one-third to one-half its amount in vinegar.
You can use any kind of vinegar here: wine vinegar, sherry vinegar, rice vinegar, cider vinegar, or plain white vinegar. Each one will give a slightly different flavor profile to the finished hot sauce.

And if you feel your hot sauce could use a little zest or a touch of sweetness, feel free to adjust it before bottling — maybe all it needs is a splash of balsamic vinegar, a touch of mango juice (mmmm!), or a spoonful of sugar.
Once the flavor is to your liking, store the hot sauce in your fridge to slow down the rate of fermentation.
Because of the lactic acid bacteria, fermented hot sauce never goes “bad,” but it continues to turn more sour as it ages. The colder your fridge (say, in the very back of the shelf), the longer your hot sauce will keep its optimal flavor.
Fiery Fermented Hot Sauce: 3 Simple Variations

Learn how to turn 3 simple ingredients into fermented hot sauce, then turn that fermented hot sauce into 3 different kinds of hot sauce and chile pepper paste.
Ingredients
- 3/4 pound fresh chile peppers
- 1/4 ounce sea salt
- 4 garlic cloves
- Vinegar (optional)
Instructions
- Trim the stems from the peppers. If they don't pull off easily, I like to leave the little green caps on the peppers (but still remove the long stems). The caps impart a subtle, earthy perfume to the final sauce.
- Combine the peppers, salt, and garlic in a food processor and pulse until the mixture resembles a coarse mash. (You can also mince the peppers by hand, but I find that a food processor extracts more liquid from the pods.)
- Pour the pepper mash (and all the liquid) into a quart jar. Tamp down with a spoon or rubber spatula to expel more liquid from the bits and pieces, and cover the jar with a lid.
You want to allow the fermentation gases to escape, so don't seal it tightly—I simply leave a canning lid on (without the band) to keep out dust and pests. (A kitchen towel or several layers of cheesecloth also works to cover the jar.) - Store the jar at room temperature out of direct sunlight, but in a spot where you'll see it every day.
- Stir it up with a clean utensil once a day, and tamp the mixture down with a spoon to submerge the peppers in liquid again.
When you start to see bubbles inside the jar, that's a sign that fermentation is actively taking place.
The peppers will slightly expand and continue to release liquid as they ferment. If your mash doesn't seem "juicy" enough to keep most of the peppers sitting in liquid, you can add a few spoonfuls of filtered water to the jar, but keep it light—you don't want to dilute the hot sauce too much.
Depending on the ambient temperature of your room, it can take anywhere from one week to four weeks for the peppers to ferment. Warmer temperatures will help them ferment faster.
Generally, I know it's ready when the mash doesn't smell as spicy (like burns-off-your-nose-hairs spicy) and starts smelling sweet and sour (while still having a spicy kick).
It's a strong yet pleasant smell, and you'll notice at the end of the week (or up to four weeks), the peppers will soften and break down further. Don't be afraid to taste it!
At this stage, you're ready to process the peppers into hot sauce using one of the methods below, depending on your preference.
If you like your sauce with a bit more body:
You can puree it in a blender (seeds and all) until smooth. It takes on a slightly chunky, sambal oelek-like texture (think Huy Fong's Asian chili garlic sauce) that's more suitable for spooning onto food.
If you like a thin, pourable sauce:
You can strain the peppers through a fine mesh sieve, a food mill, or a few layers of cheesecloth to separate the liquid from the solids.
Bottle the liquid and you have your very own hot sauce. (I recommend fermenting at least a couple pounds of peppers to produce a decent amount of sauce this way.)
If you like a tangy Louisiana-style hot sauce (think Tabasco):
Simply measure out the liquid you just strained and add about one-third to one-half its amount in vinegar.
You can use any kind of vinegar here: wine vinegar, sherry vinegar, rice vinegar, cider vinegar, or plain white vinegar. Each one will give a slightly different flavor profile to the finished hot sauce.
For all variations:
If you feel your hot sauce could use a little zest or a touch of sweetness, feel free to adjust it before bottling—maybe all it needs is a splash of balsamic vinegar, a touch of mango juice (mmmm!), or a spoonful of sugar.
Once the flavor is to your liking, store the hot sauce in your fridge to slow down the rate of fermentation.
Notes
If you start to see a white film on the surface of the mash (a sign of lactic acid bacteria thriving in there), you can either skim it off (if it's thick) or stir it in (if it's only small patches), and start stirring the mash at least twice a day to keep it from coming back.
The film (known as kahm yeast) is harmless health-wise, and forms when the peppers are exposed to oxygen on the surface, which is why frequent stirring, or keeping them submerged in liquid, is important.
Because of the lactic acid bacteria, fermented hot sauce never goes "bad," but it continues to turn more sour as it ages. The colder your fridge (say, in the very back of the shelf), the longer your hot sauce will keep its optimal flavor.
Nutrition Information:
Yield:
1 1/2 cupsServing Size:
1 tablespoonAmount Per Serving: Calories: 188Total Fat: 2gSaturated Fat: 0gTrans Fat: 0gUnsaturated Fat: 1gCholesterol: 0mgSodium: 2782mgCarbohydrates: 41gFiber: 7gSugar: 21gProtein: 8g
Nutrition information isn’t always accurate.
This post updated from an article that originally appeared on October 28, 2014.
View the Web Story on fermented hot sauce.


Linda I use your recipe and the peppers for my garden included red and green jalapeños Hungarian hot wax and habaneros. I followed your recipe and the only additional ingredient I added was I smoked red jalapeños to make chipotle’s then dried them and ground them and added them. The hot sauce is amazing with a wonderful spicy hot complex flavor. It is perfect consistency somewhat like ketchup. You are my favorite with all your garden knowledge; thank you. Immediate
I tried some a friend of mine made from your recipe, it’s great. I think I will try making some with a touch of balsamic vinegar for sweetness, jalapeno and pimento. Thanks for all your suggestions.
Those additions sound delicious! I love playing with different flavors for homemade hot sauce.
Linda, why no olive oil on top like with your fermented salsa? I have tried this pepper sauce and I find the white mold on top off-putting when it mixes in with the fermenting mash. It smells and tastes moldy. What should I do?
I don’t add olive oil on top of the fermenting chiles for the simple reason that all that oil in hot sauce isn’t very palatable. However, when I have a growth of kahm yeast on top of a ferment, I actually scrape it off rather than mix it in. To prevent the yeast from forming, you can try to tamp the chiles down more (to expel more liquid) or add a weight on top of the chiles to keep them submerged. A 4-ounce jelly jar fits neatly inside a 32-ounce widemouth mason jar and works great for this.
I’m soooo planning on making this. What do you think about keeping the peppers coarse instead of blending them? I am a little curious since I mostly use hot sauces when I eat rice.
You can definitely keep the peppers coarse, seeds and all. And if needed, you can also adjust the fermented pepper mash to your liking with sugar, vinegar, etc.
Thanks for the ideas. I’m currently fermenting a variation of this using 1 lb. of red Fresnos, 1 red bell pepper, 16 red habaneros clipped fresh from my plants, 6 large garlic cloves, a scant tablespoon of pickling salt and 2 tsp. brown sugar. I made a coarse mash using a food processor and got the whole thing going with a couple tablespoons of active ferment liquid from a jar of last month’s fermented cucumbers. It’s bubbling very nicely, and I push the mash down below the liquid level twice a day with a round potato masher. Smells great so far. I just have to decide whether to make sriracha sauce (my original plan) or blend it into jars of super-hot salsa!
That sounds delicious! Make half of each!
I’m tempted. I might push the whole batch through a strainer to see how much liquid it yields before I make the final decision, but I’m leaning toward blending the aged, fermented mash into a smooth puree, maybe adding a bit of vinegar as noted in your article, and refrigerating the final product in little jars as gifts for friends. Thanks again for the ideas.
Any ideas on how to preserve this for the year once it’s fermented? Peppers are all in season here in the fall but I’d love to be able to make several jars and keep them until the following fall.
Just keep them in the coldest part of your fridge! The fermentation allows them to last quite a long time; the only difference is they’ll get a bit more tangy the longer they’re stored (so I suggest not seasoning them with vinegar until you’re ready to use them). I still have a jar from last summer that hasn’t been used. 🙂
Made enough and it keeps so good in the fridge- already looking to this years batch. I’d love to try a garlicky version with some wild ramsons I forage here in N. Illinois. Ramsons are identical to Ramps but instead of an onion/leek flavor it has the most potent (think warding off vampires potent) garlic flavor. Also, the whole plant is edible, greens and all. Problem is Ramsons pop up in May/June, my peppers Aug/Sept. Do I freeze them or ferment a pint and refrigerate to use as kind of a probiotic starter when the peppers are ripe? Thanks again Linda.
I love wild garlic! I come across them often on hikes through the Eastern Sierra but I think they’re a different variety than ramsons. I think you should freeze them – chop them up, spread them out on a cookie sheet to freeze, then store in a bag or container.
Just tried mine after two weeks fermenting- woo hoo hot! I left the tops on red and green serrano, jalapeno, and fish peppers like you suggested- it tastes phenomonal. I added about a tablespoon of liquid I had from a ferment in the fridge to each jar to get it going and I’ve noticed no film on top and I probably didn’t need to stir (I have a few times but just to smell and keep an eye on it). I’m going to let it ferment another week or two before blending into a thick sauce. Thanks for this, I may never buy sriracha again! We had a hard frost here in Chicago with almost no warning two weeks ago and I did this with the newly frozen peppers. This is a great way to use all of the peppers that probably would have been composted otherwise.
Ohhh, your aged hot sauce is going to taste amazing after those 3-4 weeks!
RT @cdnrockiesgirl: So excited to make this! My project with the kiddo RT @theGardenBetty: Fermented Hot Chile Sauce http://t.co/EsQt6dWxwh
Wooo, this looks deliciously spicy!
The way I like it!!
Hot sauce is simply better when you make your own. It’s easy! Fermented Hot Chile Sauce http://t.co/BfQLl66BqO #recipe
This looks so good! I notice that you have it in a canning jar. Did you can this recipe? I would imagine if you did it would be done via pressure canning I suppose?
I used a jar to store the hot sauce, but did not can it. Since it’s fermented, it keeps for a long, long time in the fridge. (You could technically keep it out on the counter as well, but it will continue to ferment.)
If you’ve got a big batch of fresh chile peppers to use up, make this: Fermented Hot Chile Sauce http://t.co/UGdmXUEol1 #fermentation
This is awesome! I have three huge plants FULL of jalapenos right now and no idea what to do with them (I already have FIVE jars of pickled jalaps in my fridge). I have been wanted to experiment with fermenting (I have only tried water kefir before, and it was too time consuming to keep up with). So this is perfect! I can’t wait to try it! Thanks so much for the idea! 🙂
Enjoy your jalapeno hot sauce! Sounds like you’ll have plenty to ferment. 🙂
The beauty of homemade hot sauce: you can make it as mild/spicy/fruity as you like. Fermented Hot Chile Sauce http://t.co/ldkGj7mPvo #recipe
I mix in a little garlic and a little sesame oil after fermenting (yum). Rather than can (must pressure can for low-acid peppers), I save in plastic freezer jars or bags and freeze. Keeps for months. I like habanero mixed with thai chili, ghost and green peppers to moderate that heat.
THANK YOU!
Sesame oil is a delicious add-in to homemade hot sauce!
Hot sauce is incredibly easy to make at home, and you can do different styles: Fermented Hot Chile Sauce http://t.co/ymu8xwwzES #recipe
Preserve that last batch of hot peppers for winter: Fermented Hot Chile Sauce http://t.co/id5hCmK2wg #fermentation
Great idea. Will this work with peppers that are less hot?
Yes, you can make a milder hot sauce using all jalapenos, if you’d like, or add a bell pepper to sweeten up a spicier sauce.
I was going to ask the same
Same here. I love the earthy rich fragrance of the spooned dark red (garlic?) pepper sauce in jars on the table in restaurants. I could sniff it all day , but can’t really appreciate too much of the flavor. I wonder if you can use ~red bell peppers with a lesser amount of chili peppers ️ to warm it up, would you get a similar flavor profile? And would it preserve correctly?
These are wonderful ideas, also in the comments. I love, love getting into diy fermented aspect in everyday foods, and delectable. On the shelf, there is limited option, and they’re not always yummy. I’m probably going to make some for gifts, too!
This is amazing, you are amazing. 🙂 I am SO doing this!
Enjoy! I’ve been using it on everything lately!
So excited to make this! My project with the kiddo for after lunch RT @theGardenBetty: Fermented Hot Chile Sauce http://t.co/gTbehnuqeQ
Blogged on Garden Betty: Fermented Hot Chile Sauce http://t.co/OtXi9TOdRU