
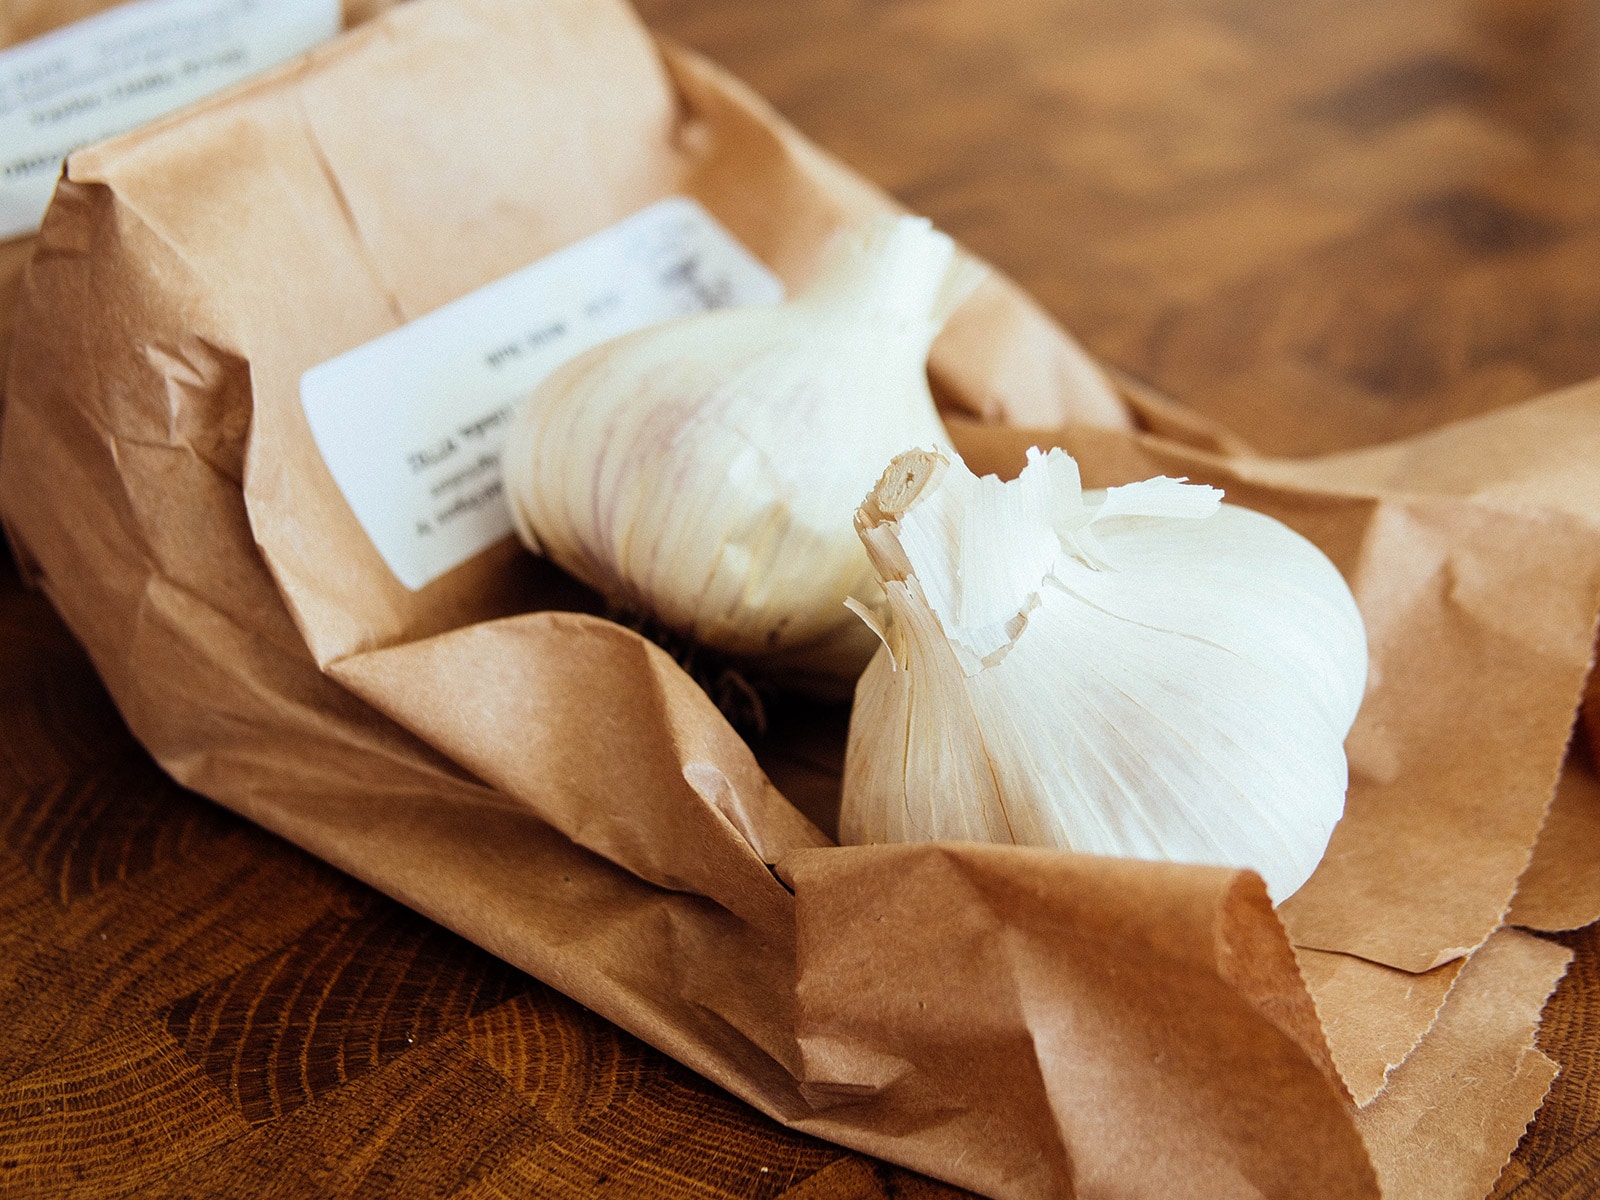
Garlic is one of the easiest crops to grow in a home garden—making it fun for beginners to get started—but the sheer number of cultivars available (dozens upon dozens) keeps it exciting for even the most seasoned gardener.
And garlic is not just good in your garden, it’s also great for your garden.
Because of its pungency, garlic helps deter insect pests that are turned off by its smell. You can keep aphids, weevils, mosquitoes, mites, and Japanese beetles away simply by interplanting garlic with other edible plants, and—surprisingly to many—garlic can be grown as a perennial. (This is a good use for any extra cloves you might have after your regular planting.)
It’s also one of the few vegetables that seem to be resistant to deer, rabbits, moles, and mice, so at least that’s one thing you don’t have to worry about during the growing season!
First, choose a suitable garlic type
Before you start planting, consider what type of garlic works best for your climate. Garlic is divided into two types: softneck and hardneck.
Generally, southern climates (warm regions) have better luck with softneck garlic.
Softnecks have a mild flavor and are most familiar to people because these are the garlics you see in grocery stores. Softneck garlic is the easiest garlic to grow and it has the longest shelf life, averaging 10 to 12 months. If you want to make garlic braids, softnecks are the way to go.
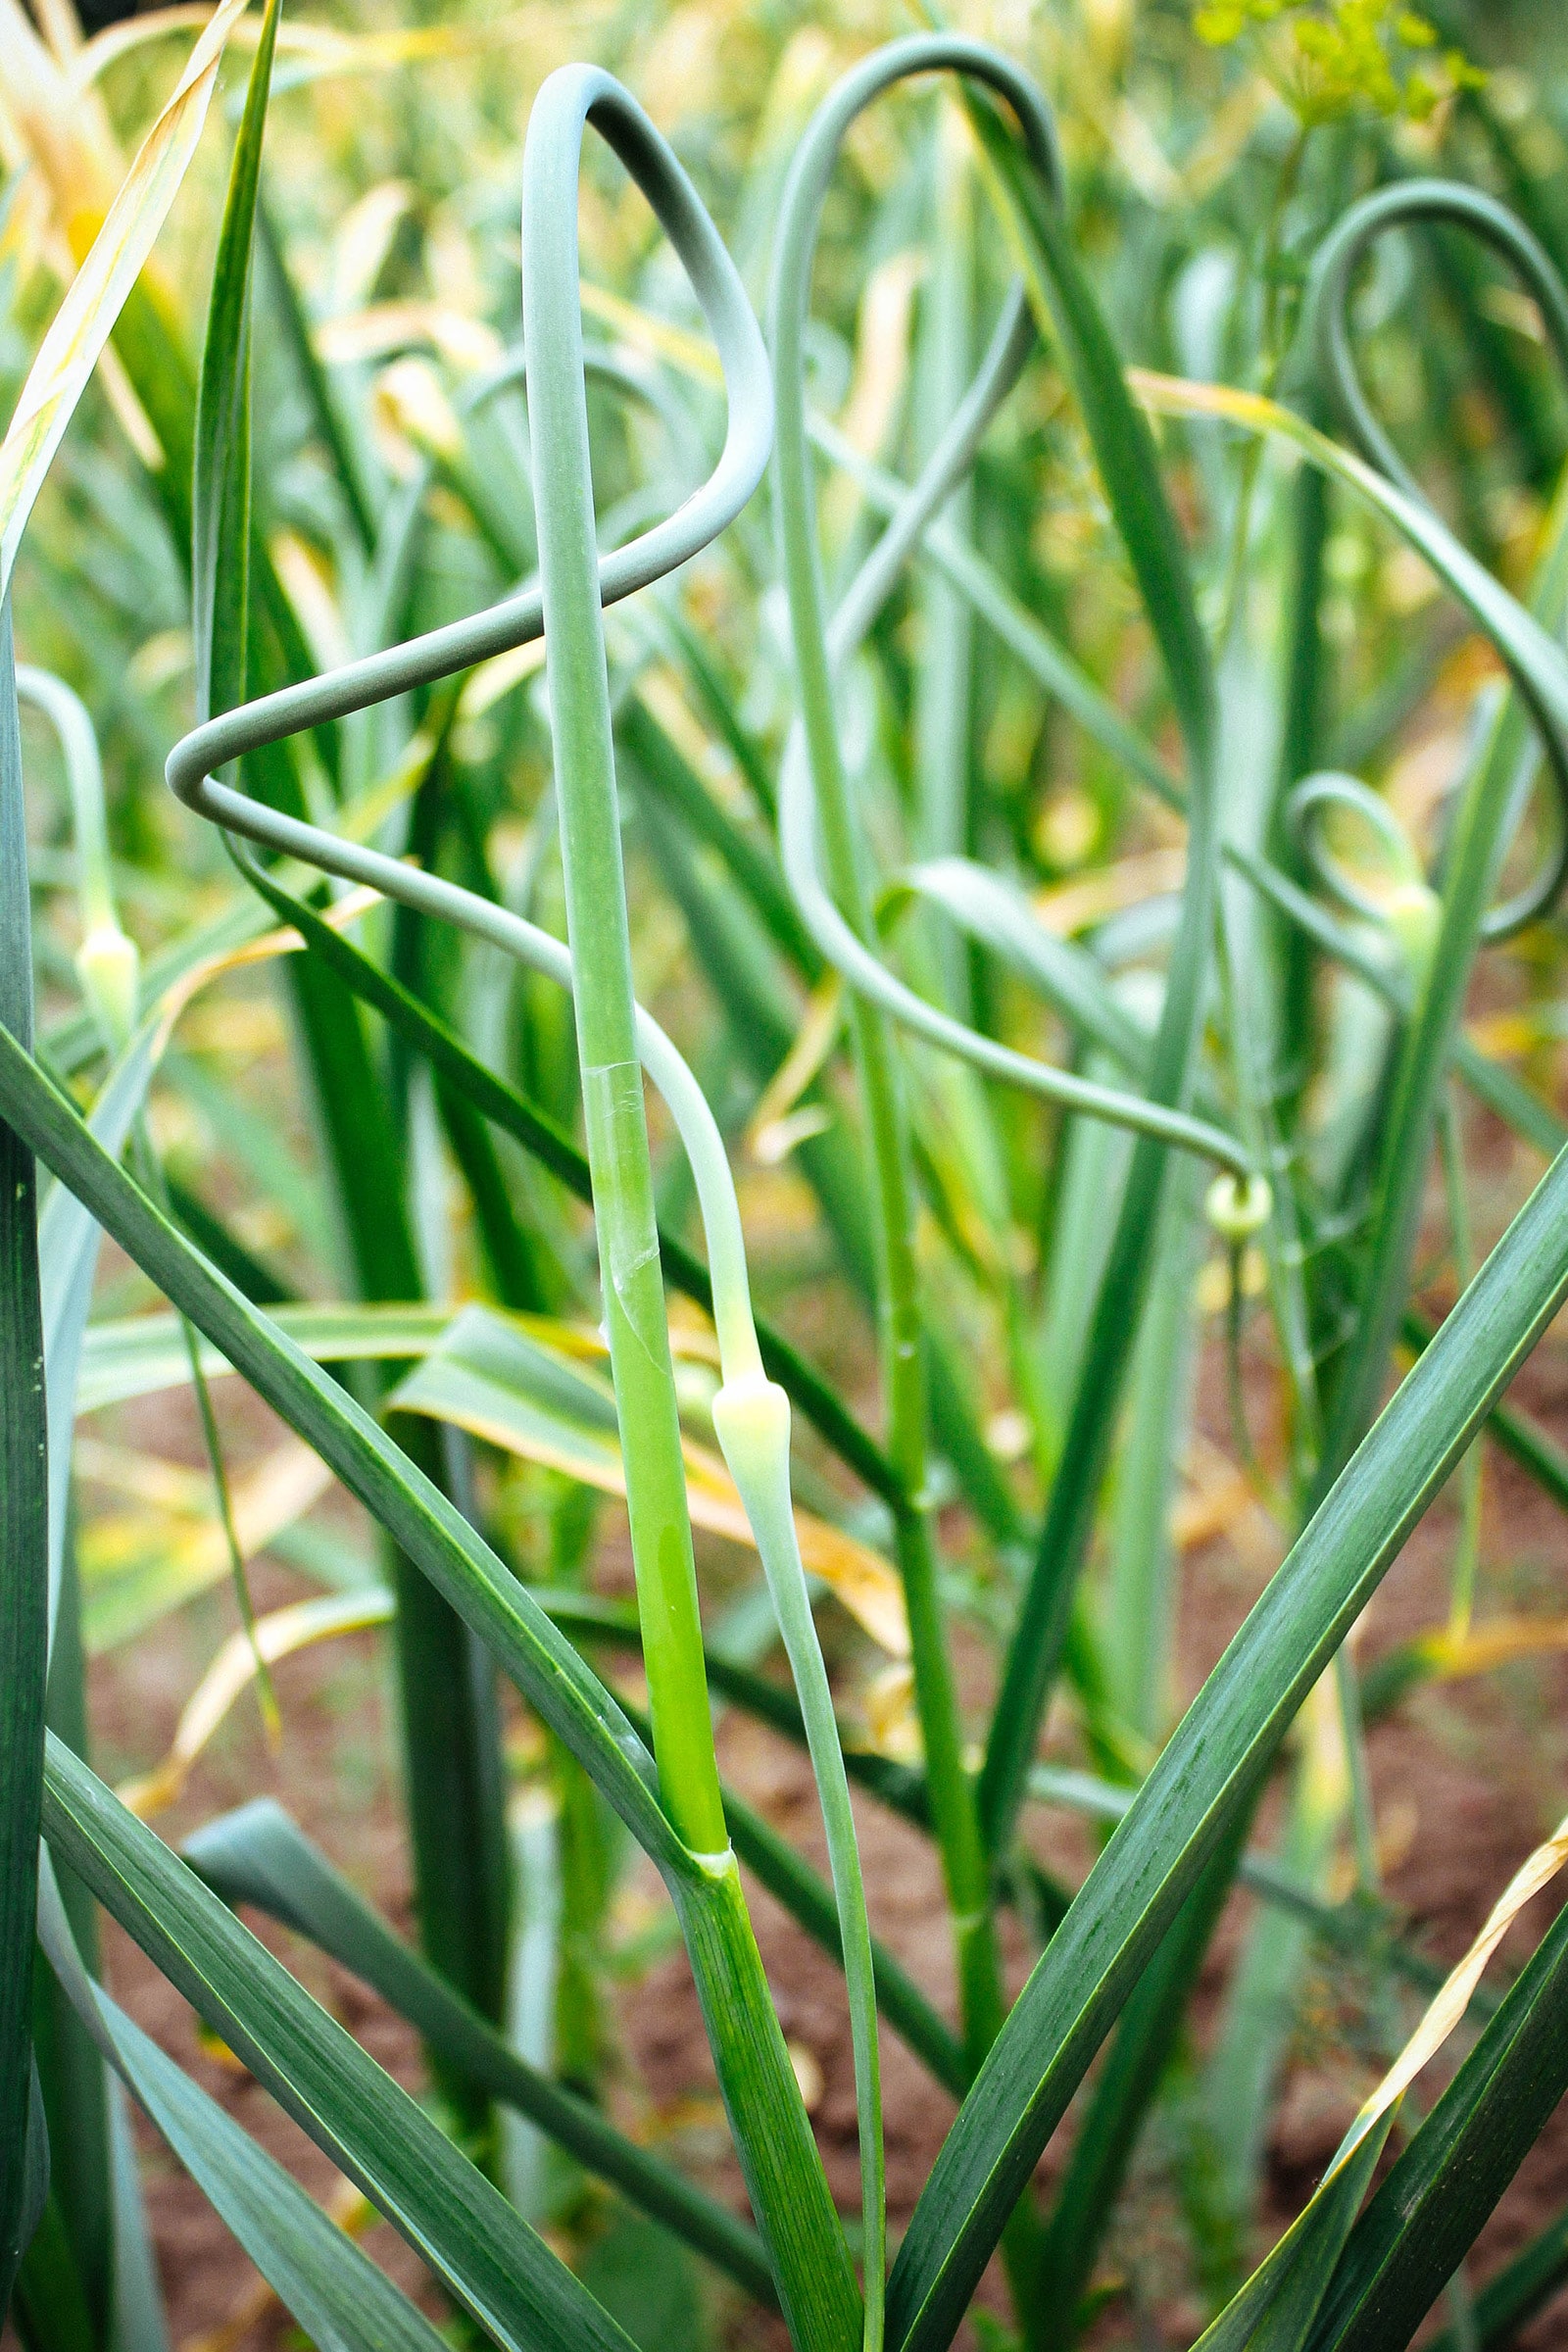
Northern climates (cold regions) should grow hardneck garlic, which are hardier. (The name itself, however, refers to a hard central flower stalk called a garlic scape, which appears in late spring to early summer.)
Hardnecks tend to have a more complex, sharper, and arguably better flavor than softnecks, though they don’t store nearly as long (on average, just four to six months depending on the variety).
Elephant garlic is another option, though it’s not a true garlic (it’s a member of the leek family). But since it resembles a giant head of garlic with giant cloves, it’s planted and grown the same way as regular garlic.
For a complete overview of different types and strains available, check out my detailed guide on choosing the best garlic varieties for your garden.
Determine how much seed garlic you need
The amount of garlic to plant depends on how much you want out of your crop.
Read more: How many plants you need to grow for a year’s worth of food (chart included)
In general, 1 pound of seed garlic can plant a 15- to 30-foot row.
This will vary based on the type of garlic used and the amount of space between cloves. Most softneck garlic varieties have 65 to 70 cloves per pound, while hardneck varieties have 40 to 75 cloves per pound. (You can see a full garlic comparison chart in this post.)
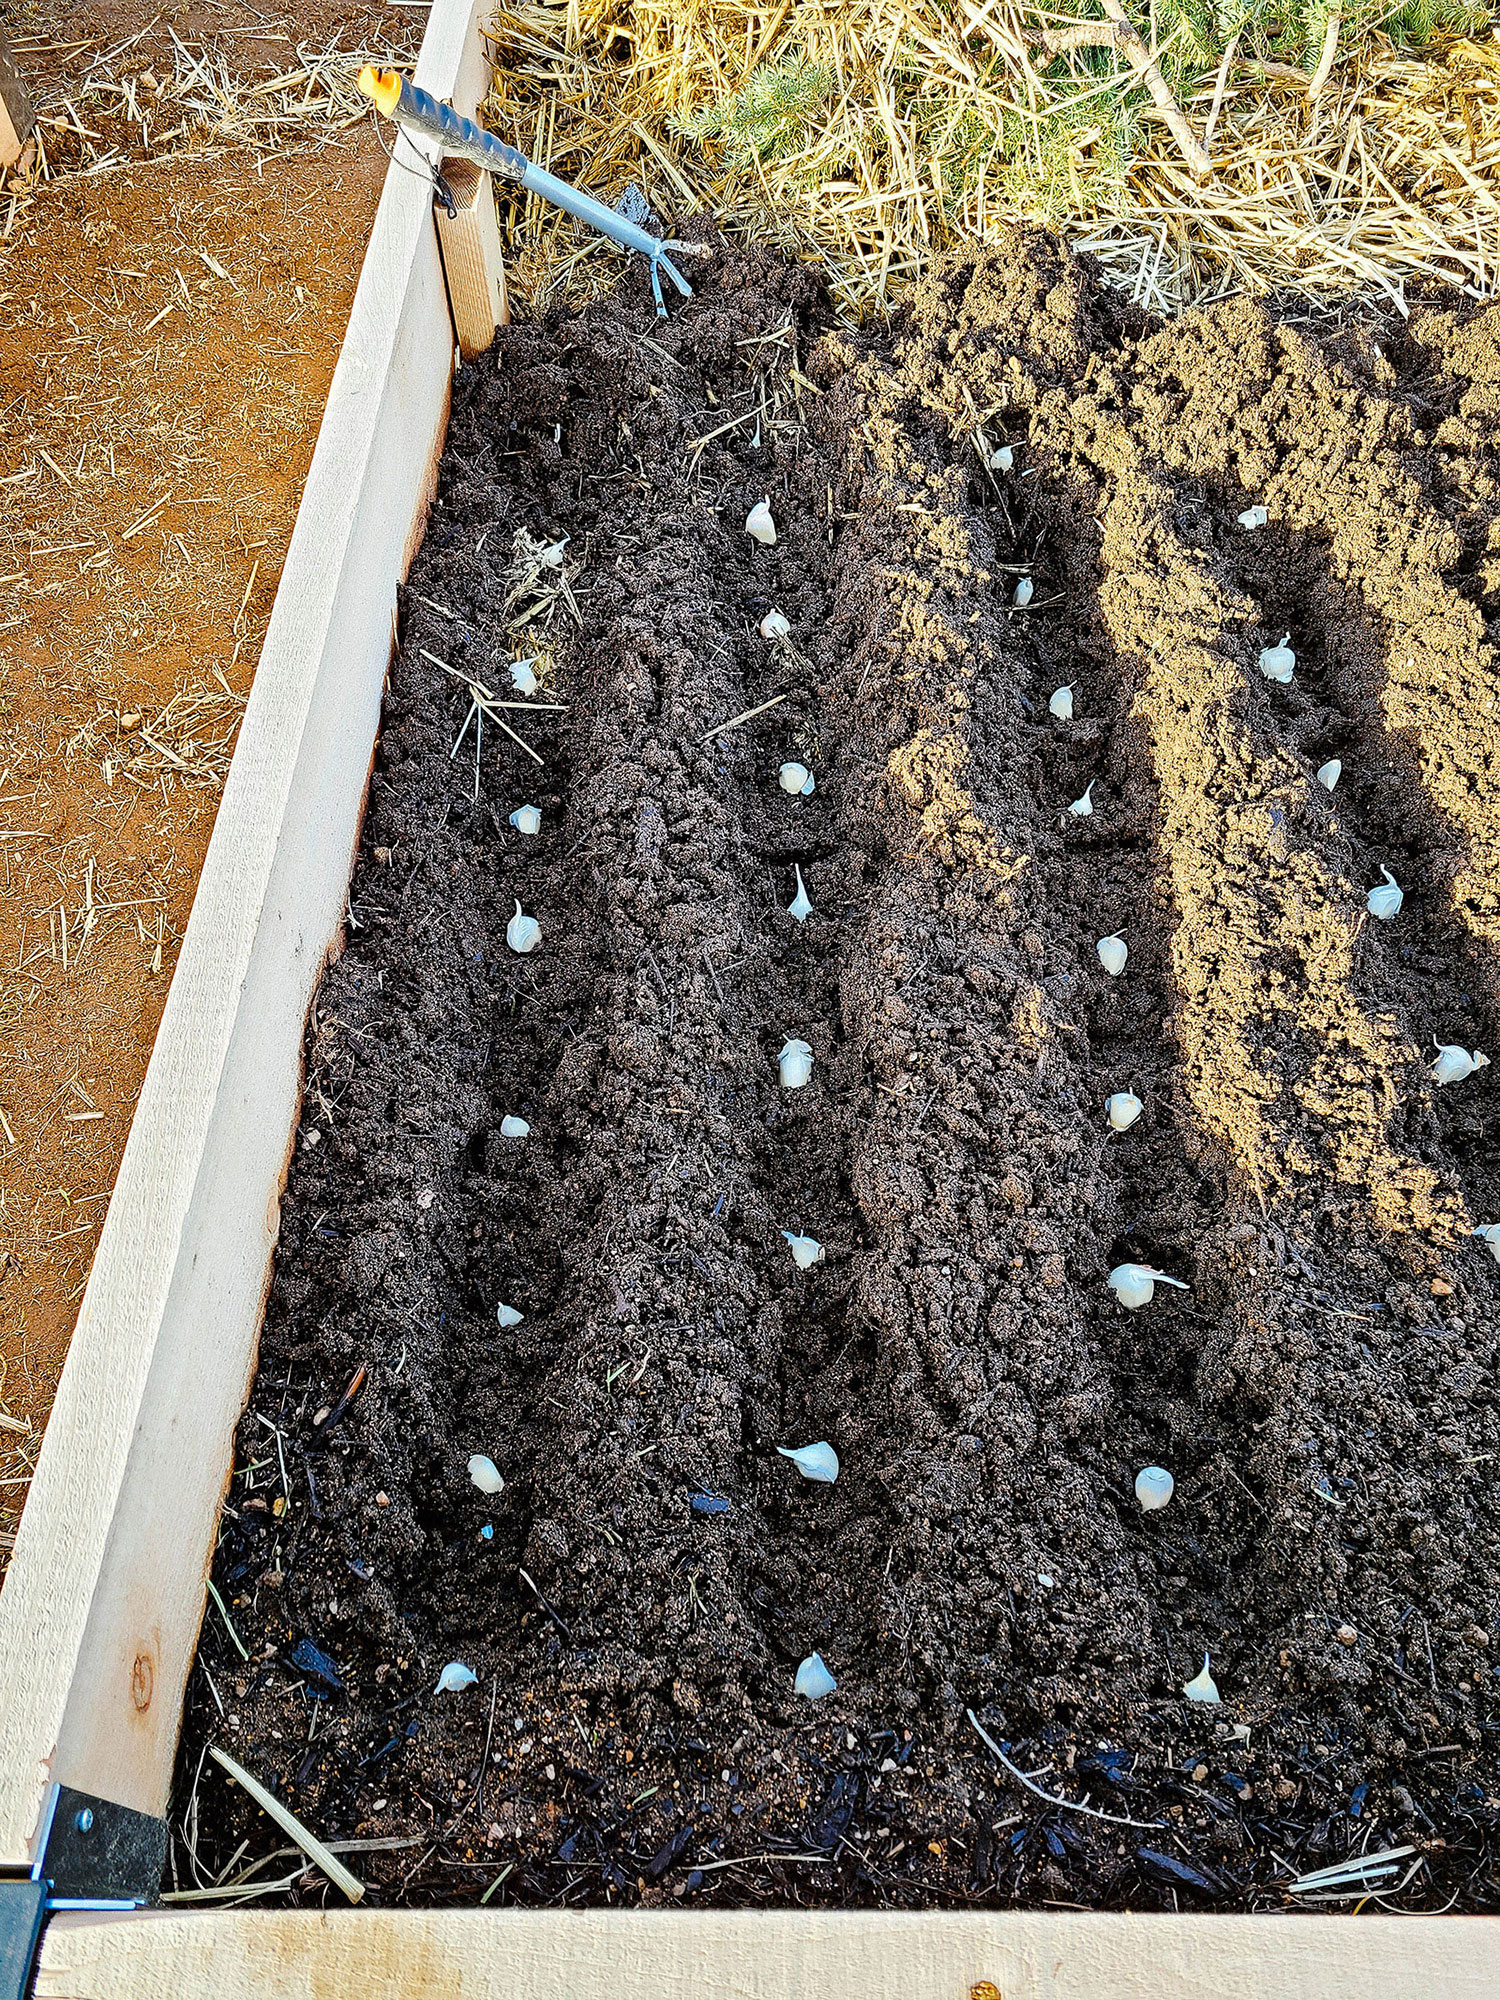
I prefer to space my plants intensively in staggered rows to maximize my harvest, so I aim for 6 to 9 inches between rows. In a 4×8 bed, that means about 100 cloves can be planted.
Don’t be afraid to order a little more than you think you need, since you can always interplant the extra cloves with other plants in your garden (or simply cook with them).
Determine the right time to plant your garlic
Garlic plants are very cold hardy and can withstand temperatures well below freezing. You can even grow garlic in zone 0! (Yes, ZERO!)
That said, garlic should be planted three to six weeks before the ground freezes solid. Most climates should aim for late September to early November. This gives the cloves some time to establish roots before the plants go dormant in winter.
In warmer regions, plant garlic three to six weeks before the coldest time of year. Typically you’ll want cloves in the ground by early December.
Garlic Planting Chart by Hardiness Zone
| Climate zone | Earliest planting date | Latest planting date |
|---|---|---|
| 0 to 3 | Late August to early September | Late September |
| 3 to 5 | Mid to late September | Early to mid October |
| 5 to 7 | Early to mid October | Late October |
| 7 to 9 | Late October | November |
| 9 to 10 | Late October | December |
Read next: Use my interactive lookup tool to find your last and first frost dates
Generally the best time of year to plant garlic is in fall (late September to late October) because the plants need a natural dormant period that includes exposure to cold temperatures (a process called vernalization).
Hardneck garlic, in particular, will only form bulbs and scapes if it’s had proper cold exposure. Without vernalization, some garlic plants will not divide, leaving you with rounds (single-clove bulbs). While the rounds are still edible, you’ll get more out of your crop with a fall planting.
Disclosure: If you shop from my article or make a purchase through one of my links, I may receive commissions on some of the products I recommend.
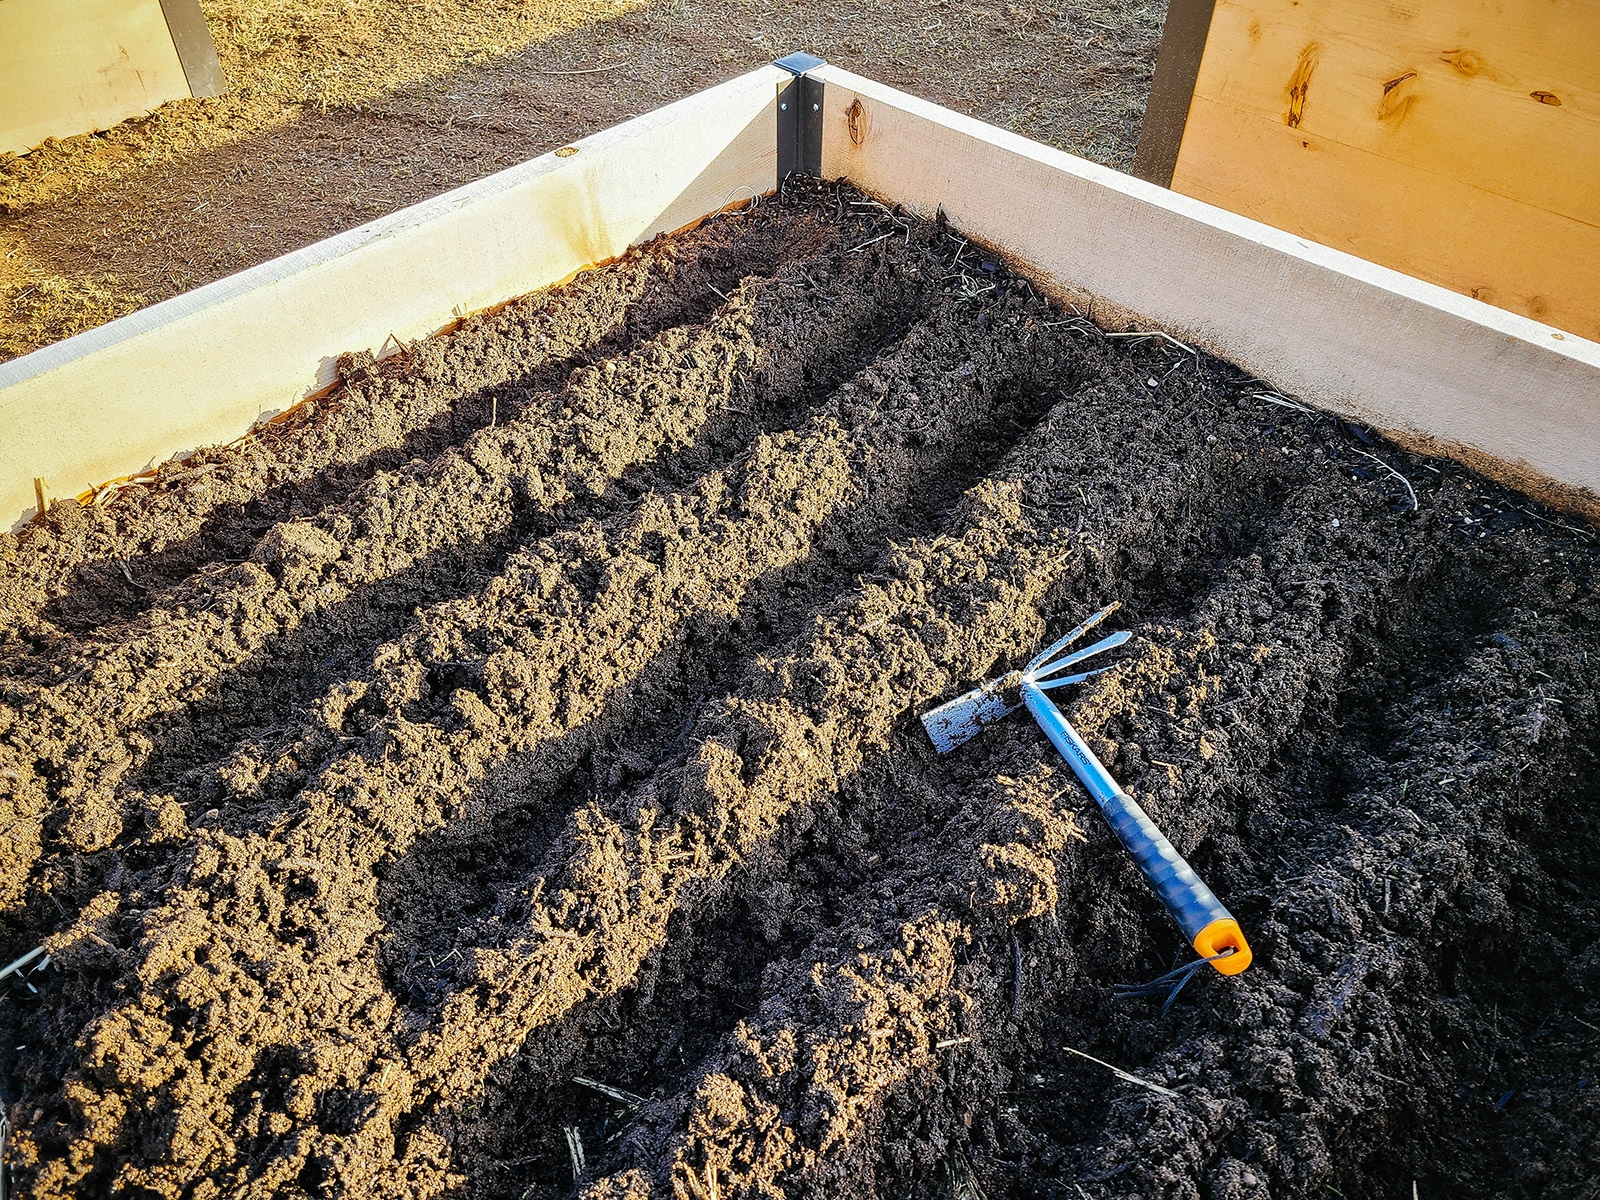
Prepare the planting site
Garlic likes full sun and rich, well-draining soil (though it can tolerate many soil types). If yours is on the clay-ey side, add 2 to 3 inches of aged compost on top of the soil to help loosen it and improve soil structure.
Compost, in general, is always a good idea for amending your bed before planting, and you can use homemade compost or bagged compost, or you can also simply rake in an organic all-purpose fertilizer or vegetable fertilizer like this one.
(Want to supercharge your soil even more? Try adding a spoonful of worm castings (like this option) under each clove for an extra shot of organic matter.)
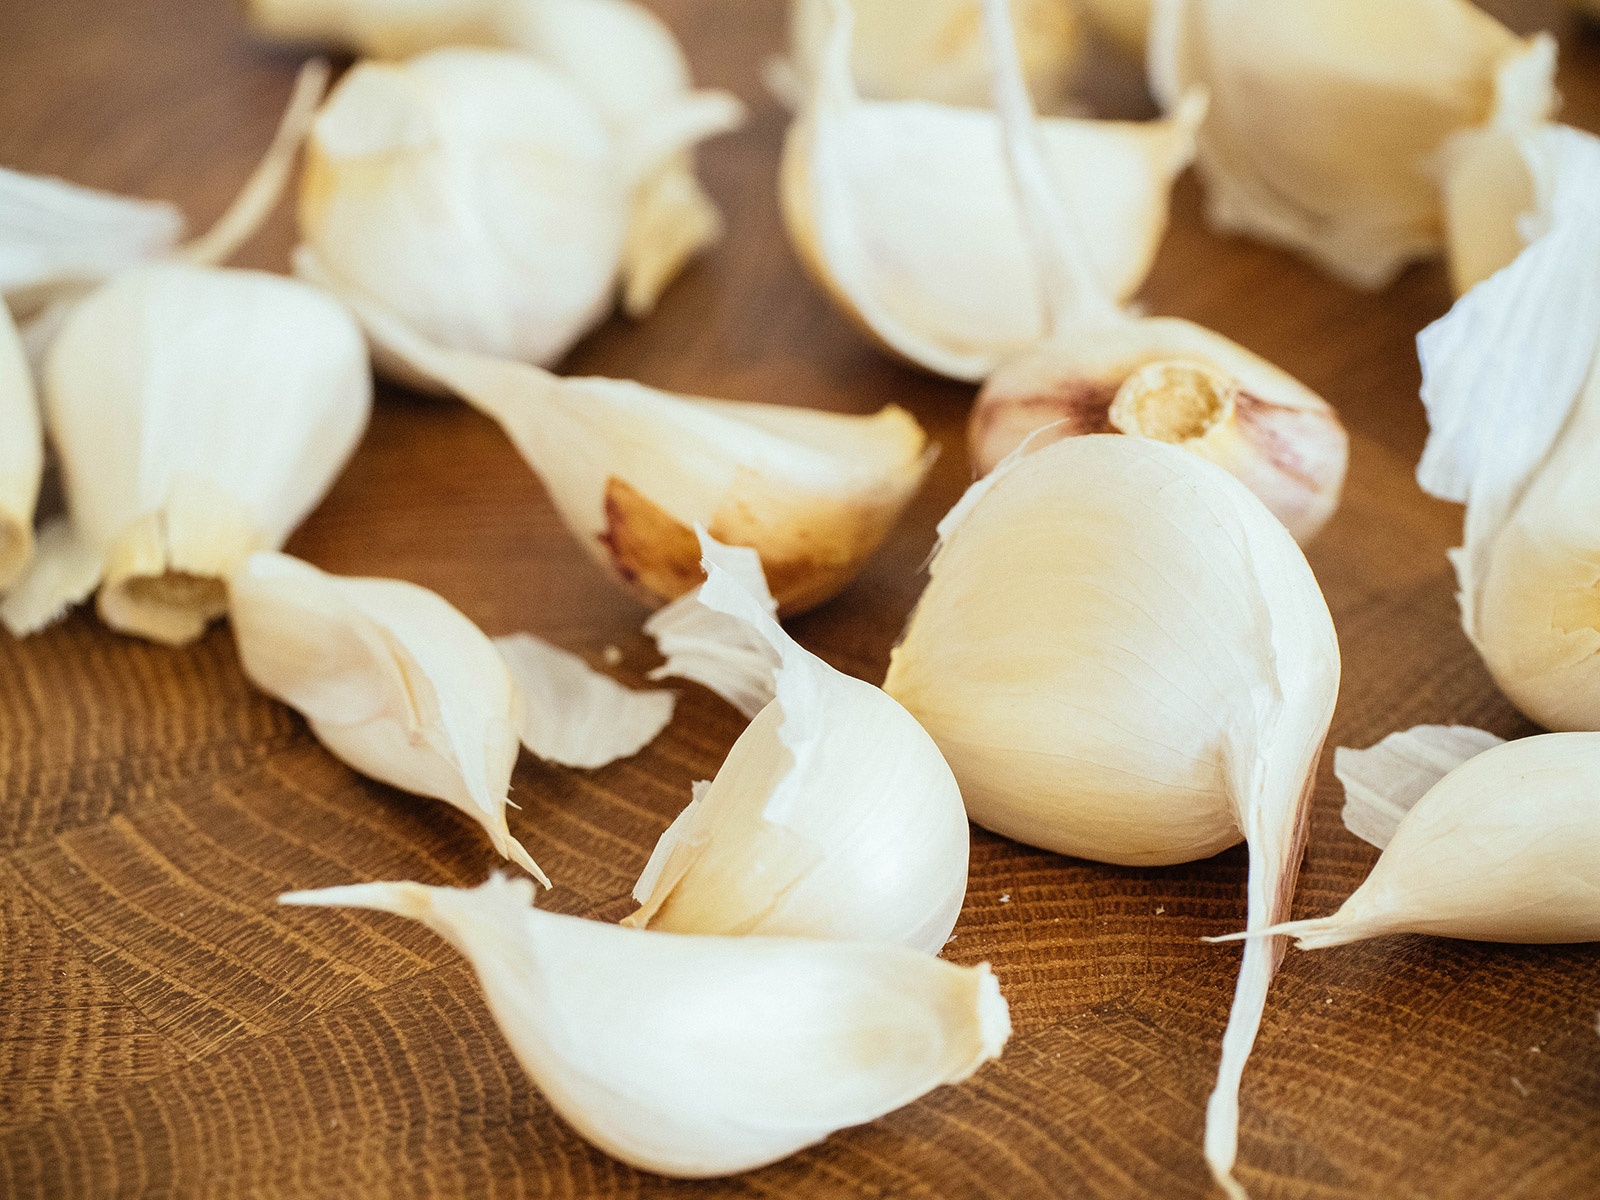
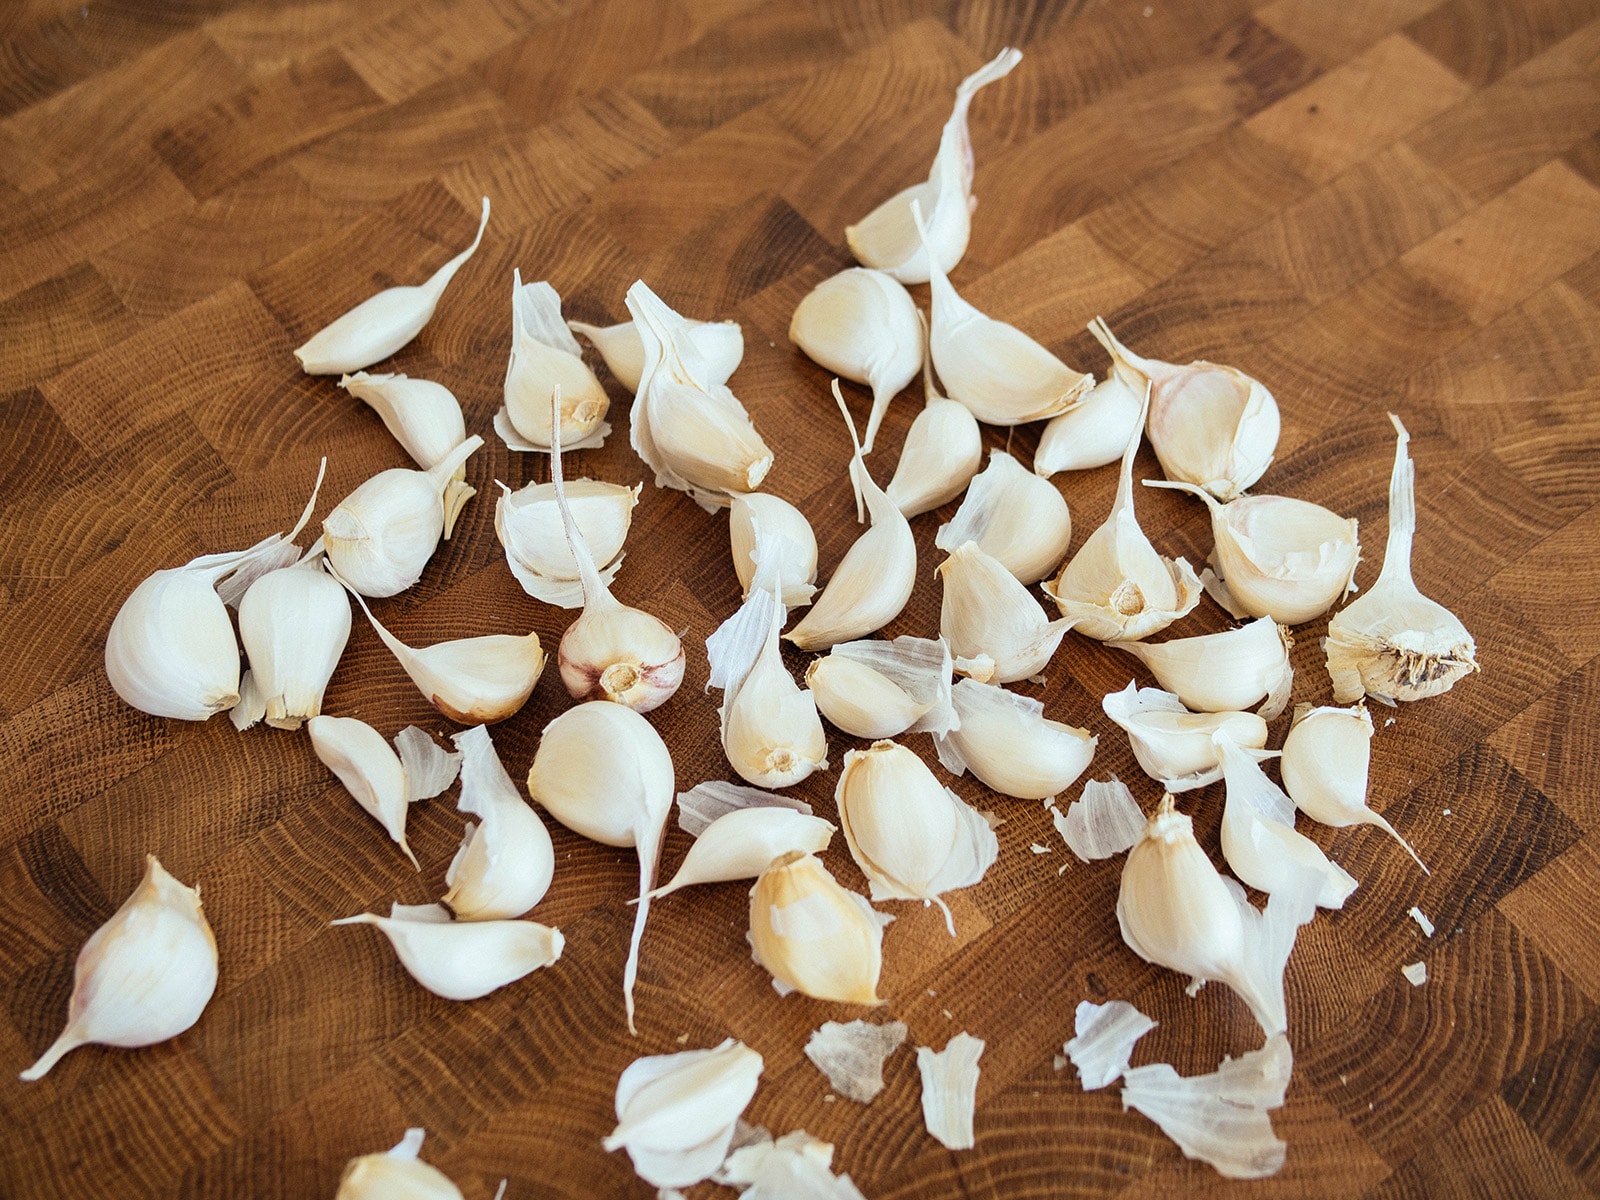
Break up the bulbs
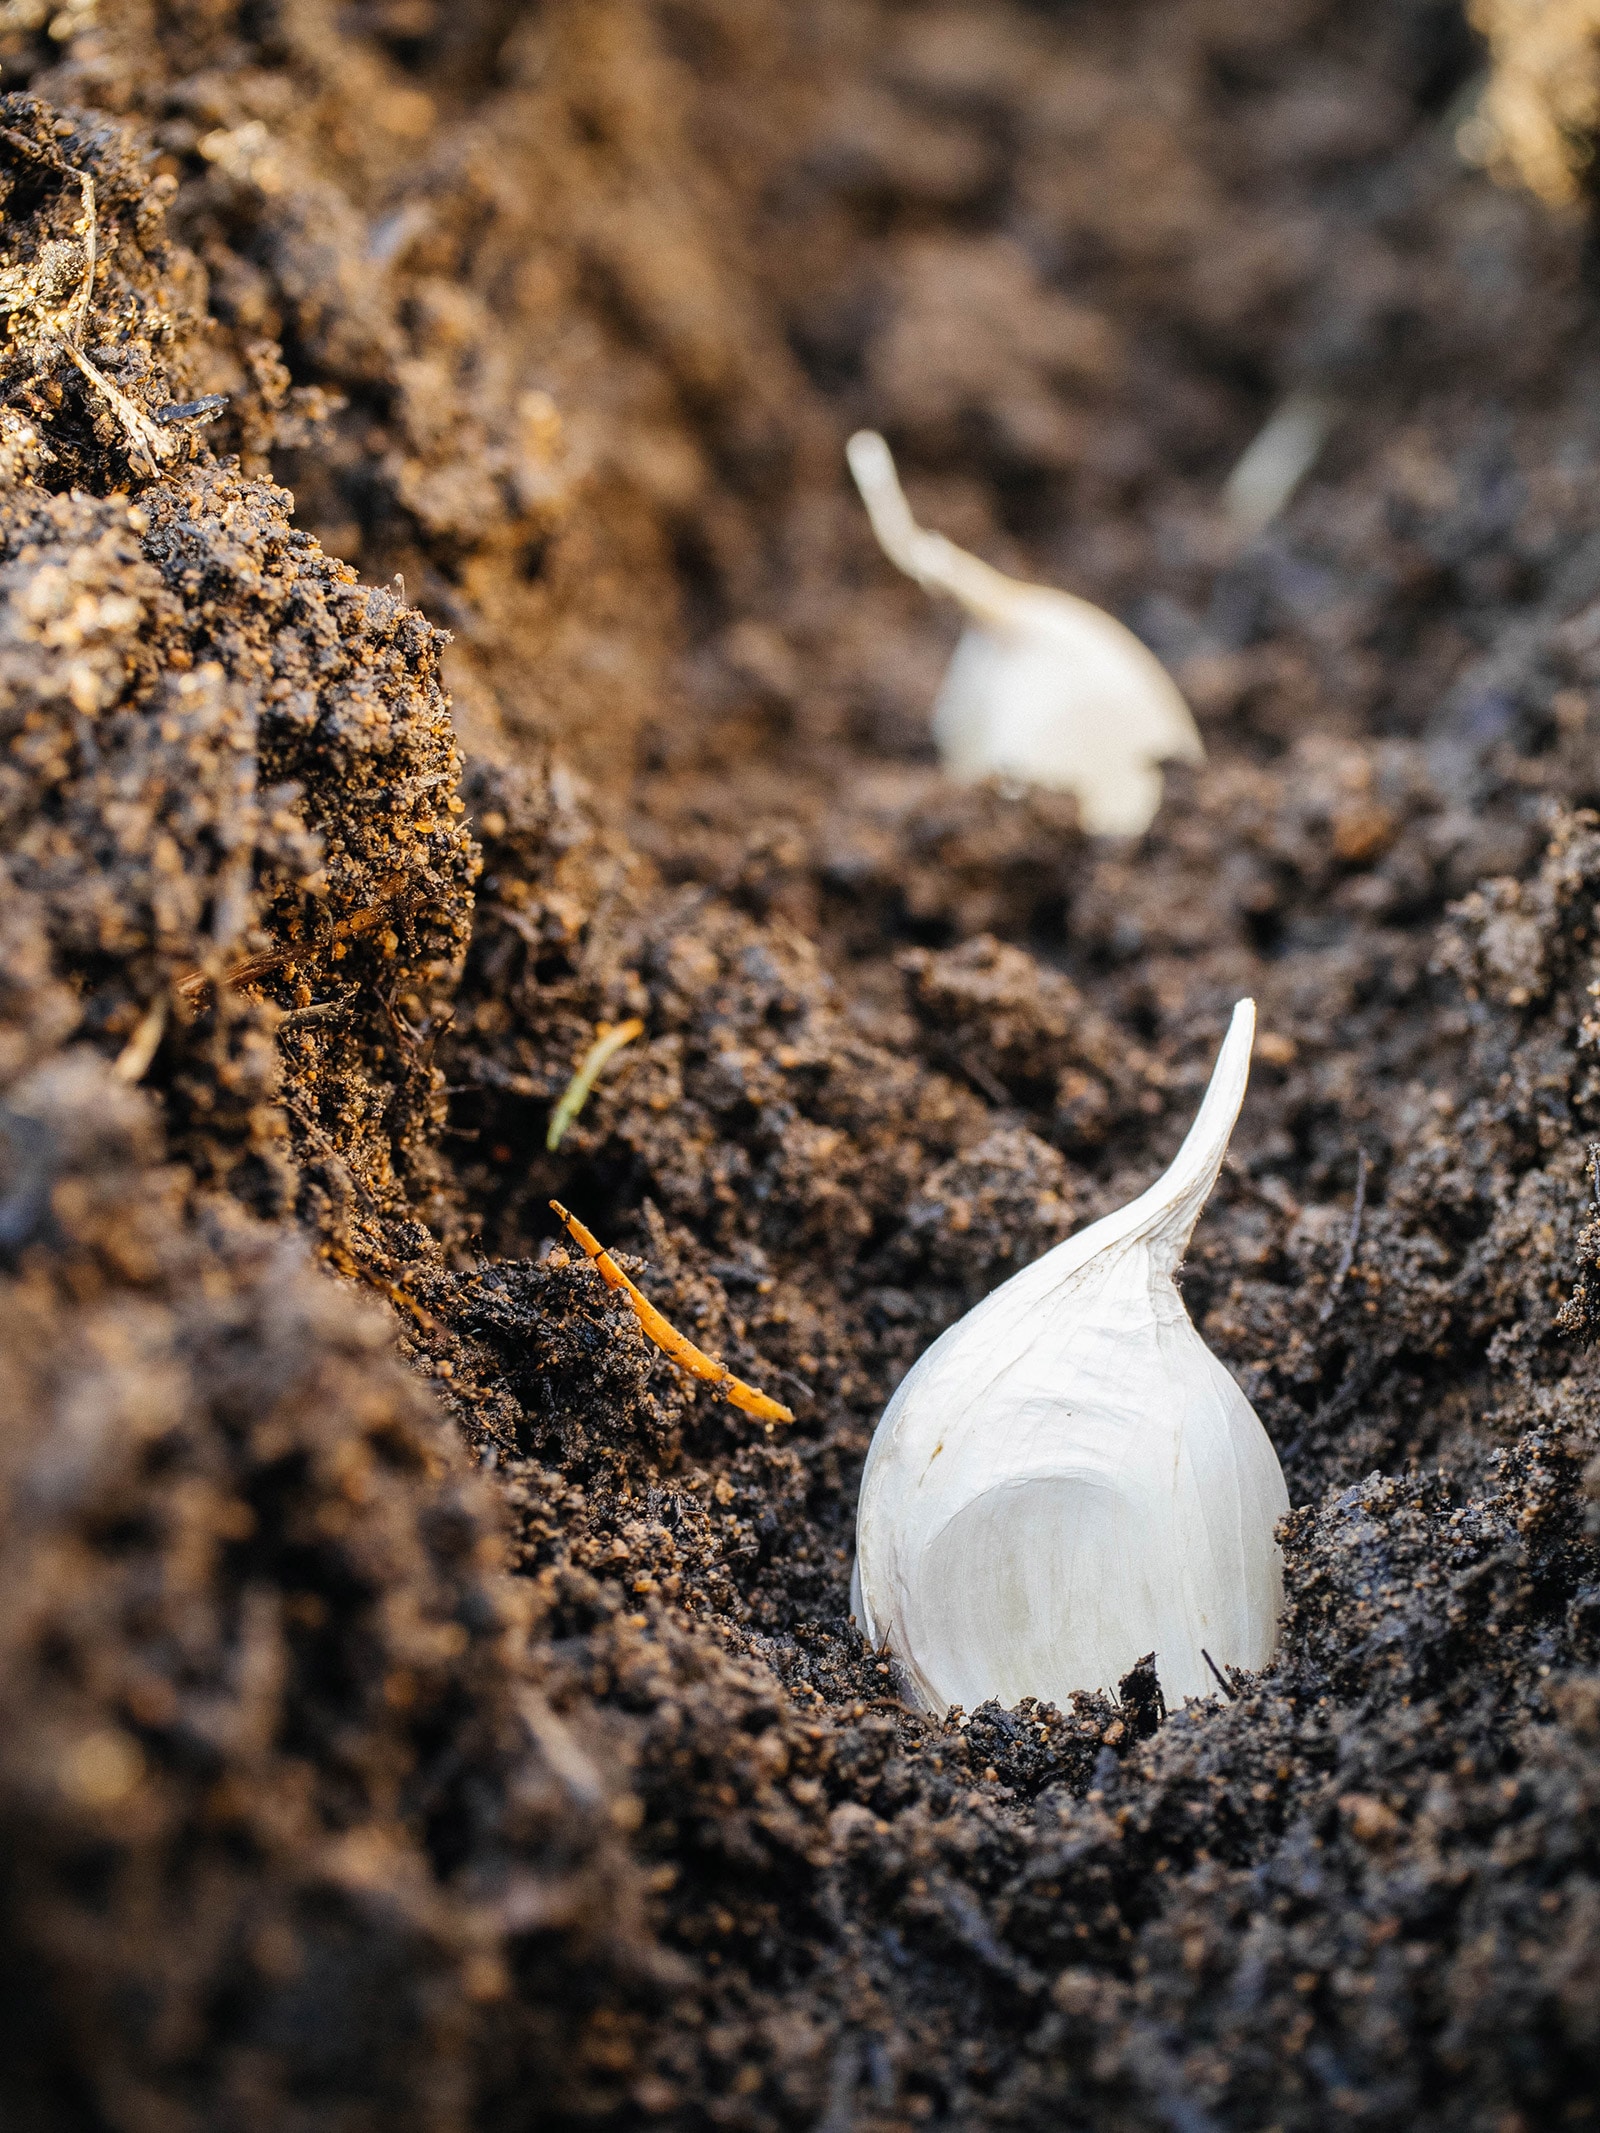
Break your bulbs apart and pick out all the cloves that are firm and plump, leaving the papery wrapping on each clove as intact as possible.
If you have any small cloves, save those to use in the kitchen. (Planting small cloves will yield small plants, so I don’t recommend it.)
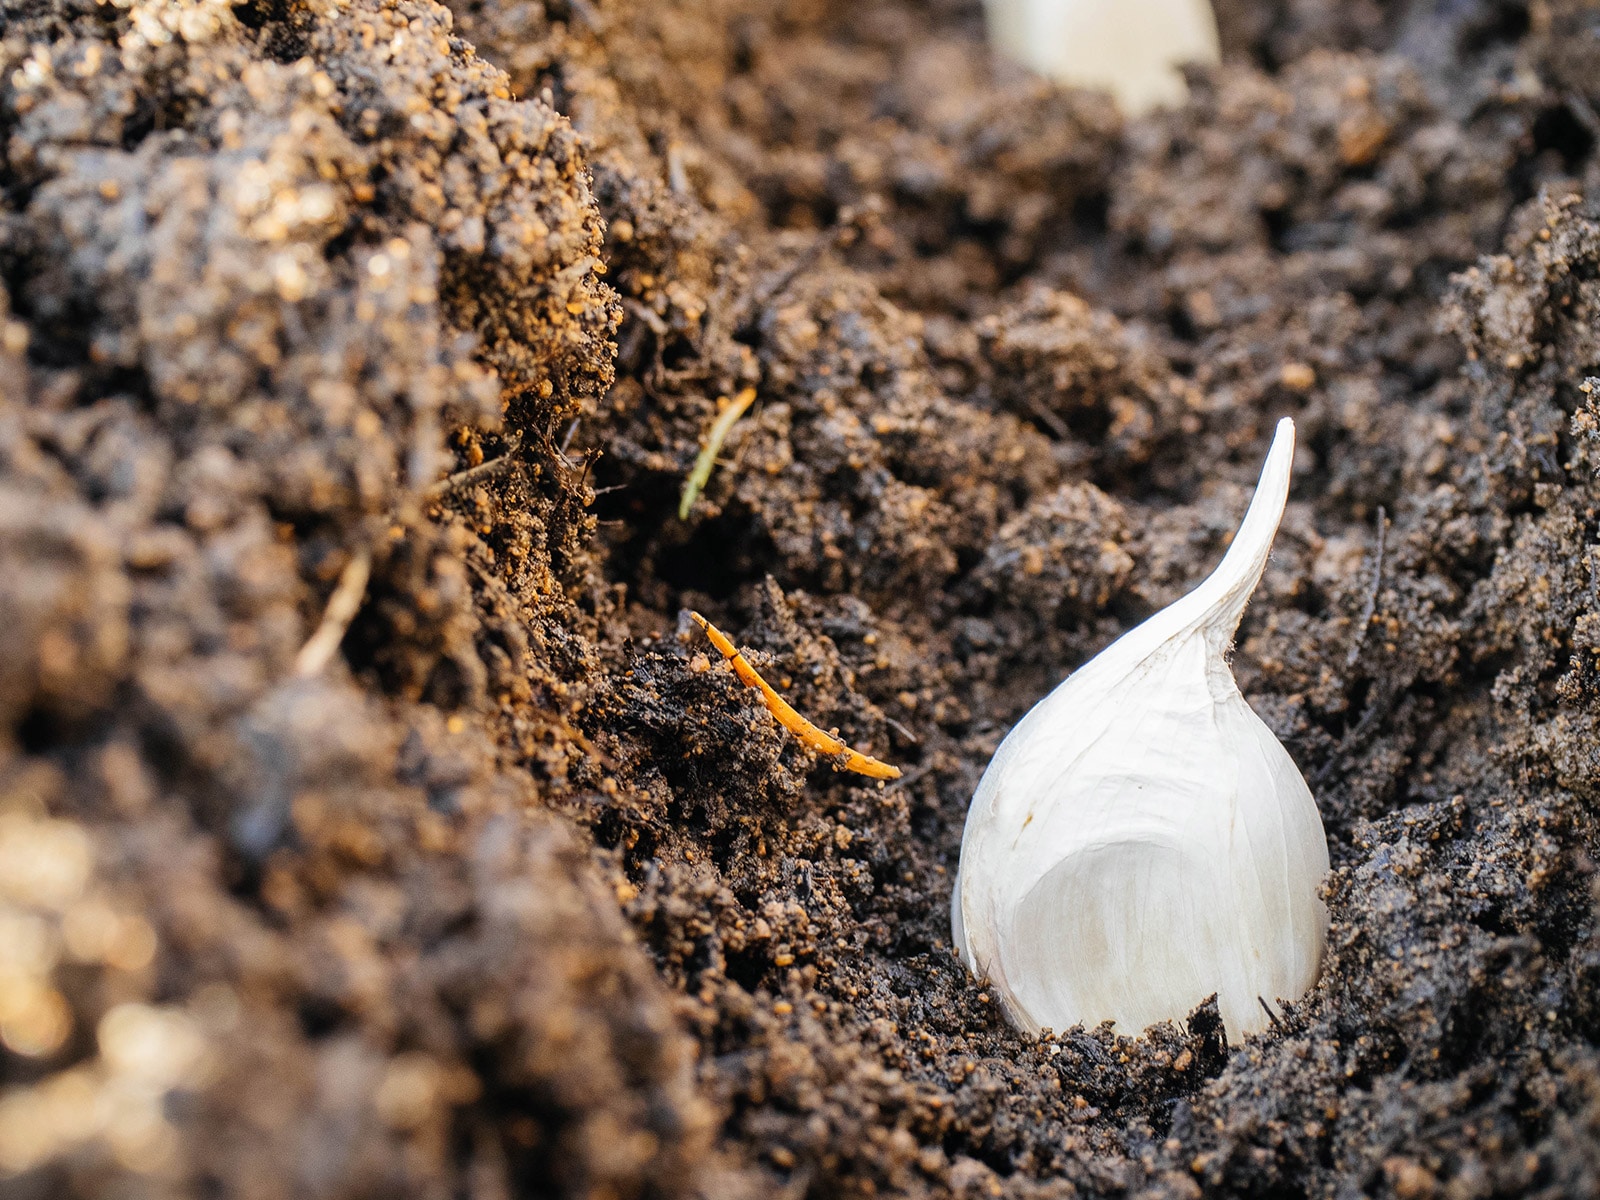
Plant cloves at the appropriate depth
Dig a trench about 2 to 4 inches deep. (Warm climates can go as shallow as 2 inches, and cold climates should go up to 4 inches deep the farther north you are.)
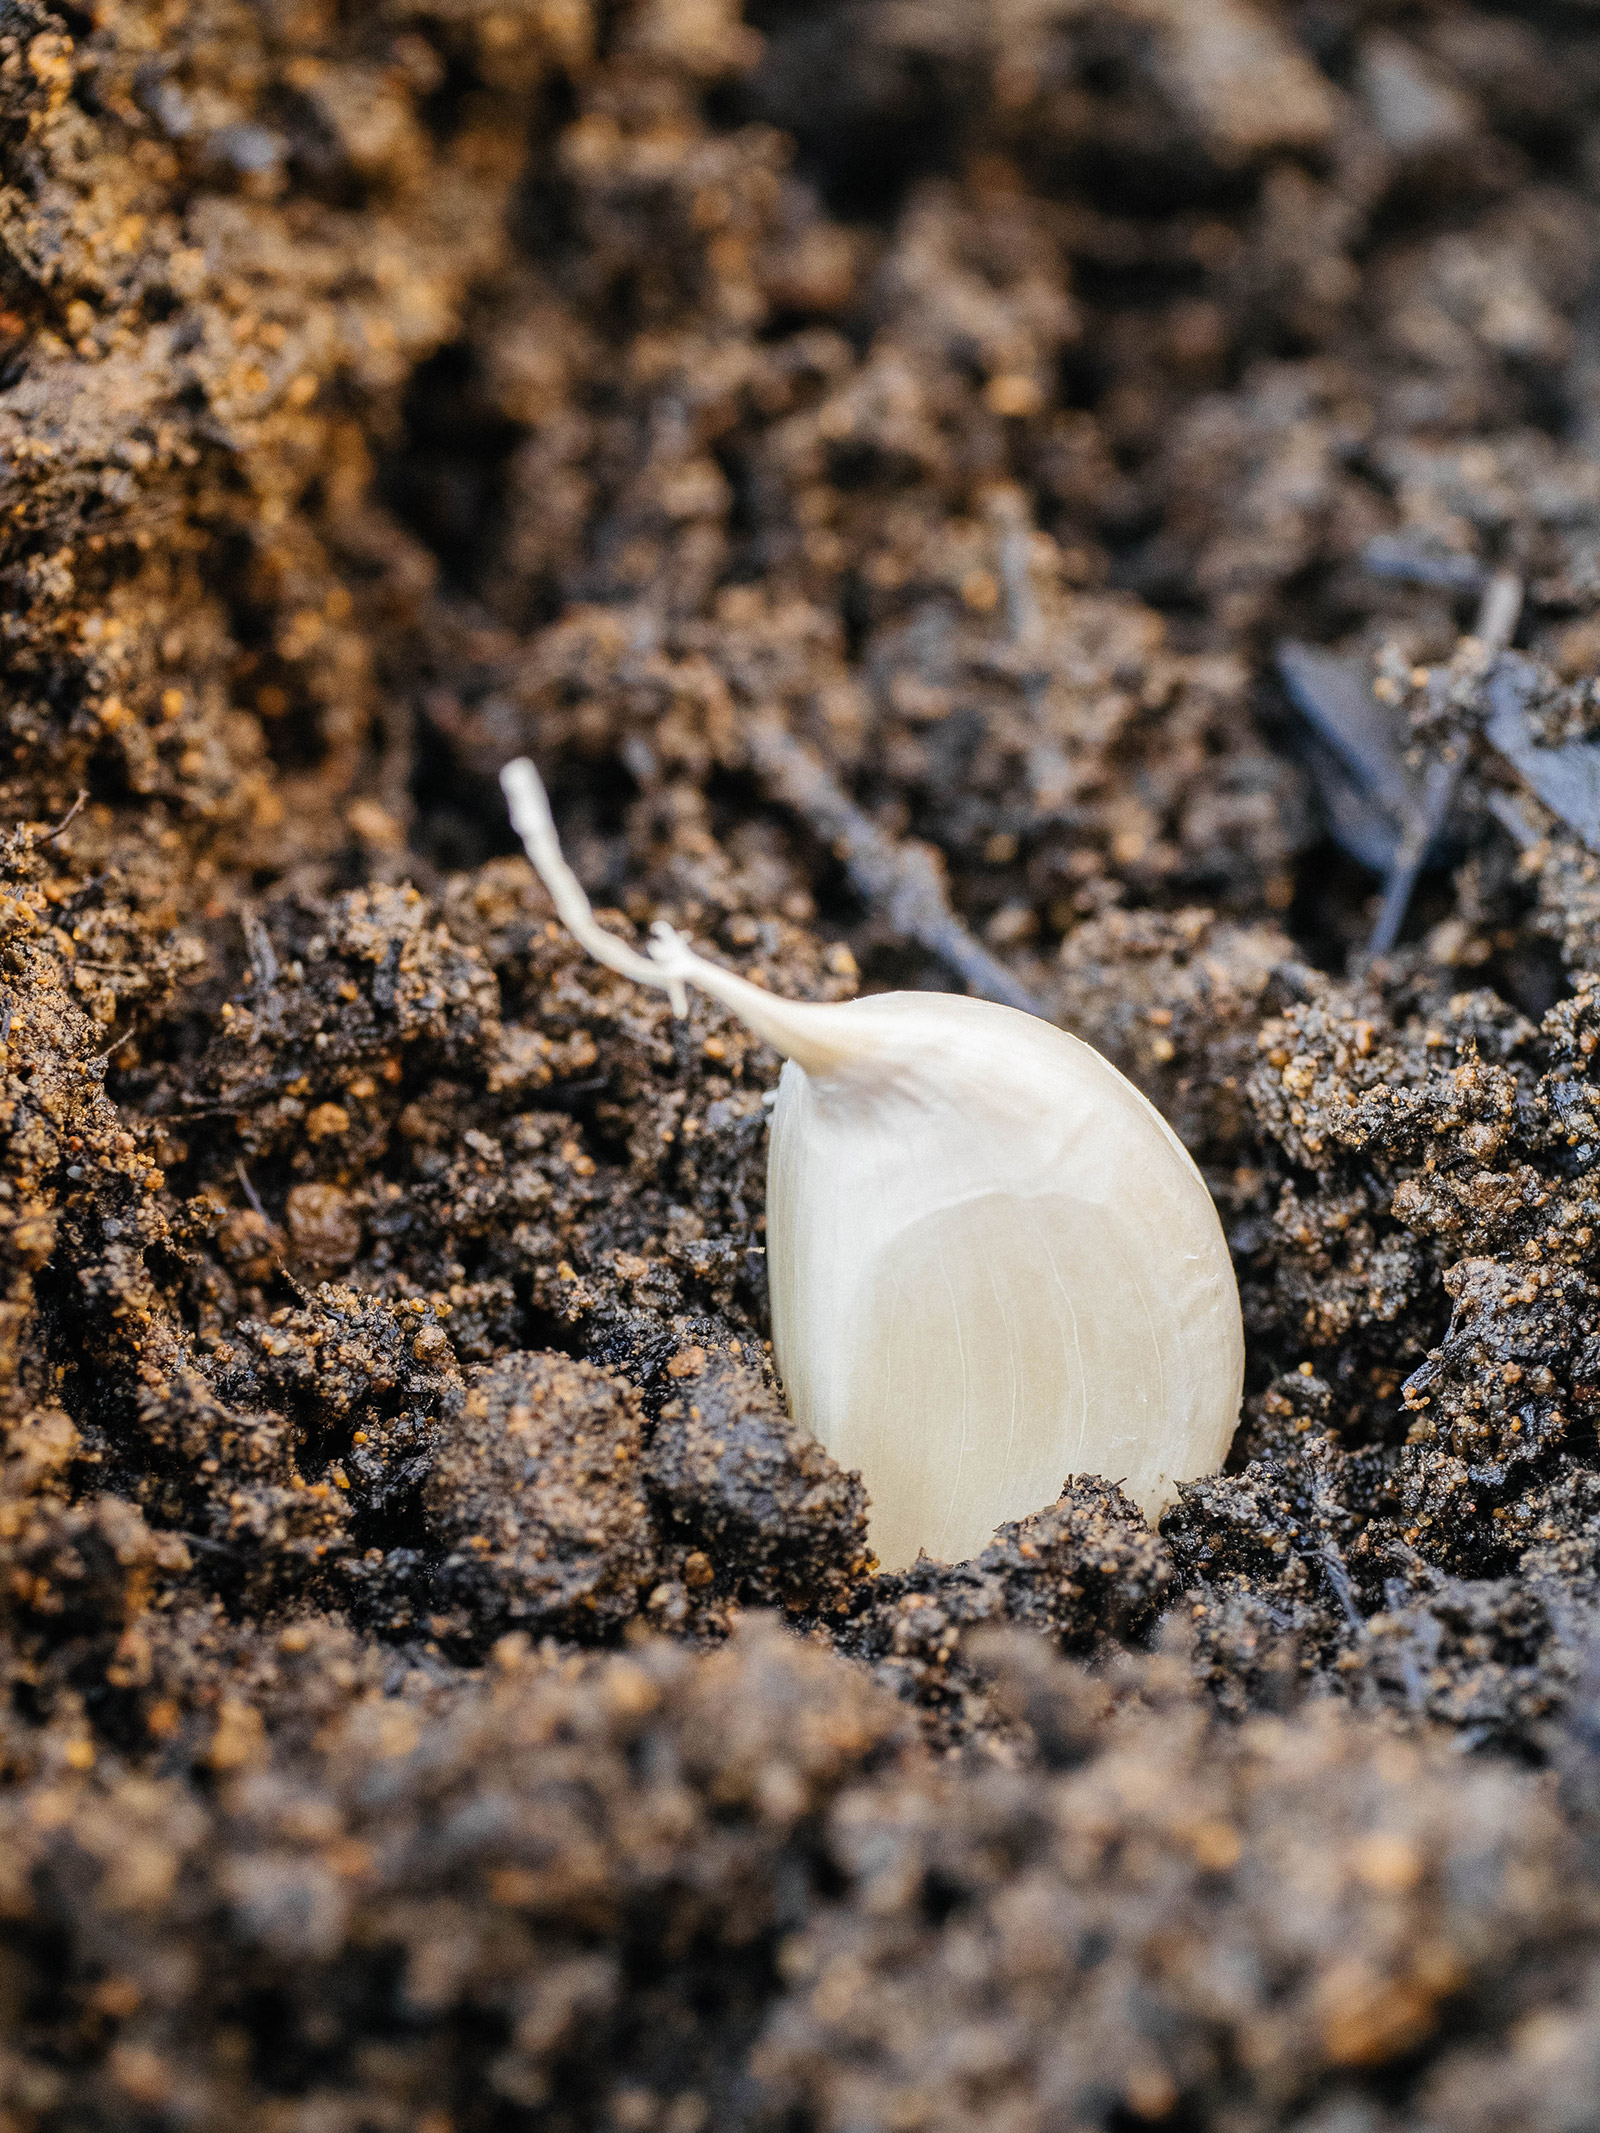
Plant each clove, root end down (and pointy end up), 4 to 6 inches apart with 6 to 9 inches between rows. Fill the trench with soil.
Quick tip
Do you live in a particularly rainy or humid climate? Then give your garlic 6 inches of spacing with 9 to 12 inches between rows. This helps increase air circulation between plants and reduces the chances of developing a common fungal disease called rust.
And if you’ve been growing garlic for years, this little tidbit might blow your mind—softneck garlic cloves can be planted in any direction.
That’s right: up, down, or sideways, it actually doesn’t matter which direction the pointy end faces when you plant softneck garlic. It will grow any which way. (This is part of the reason softneck garlic is preferred for commercial growing. It can be planted mechanically without worrying which end is plopped in the soil.)
Hardneck garlic, on the other hand, needs to be planted with the pointy end up.
If you grow both softneck and hardneck varieties in your garden, it just keeps things easier to plant every clove with the pointy end up, which is why I recommend it. But if you only grow softneck garlic, then know the planting direction isn’t that crucial.
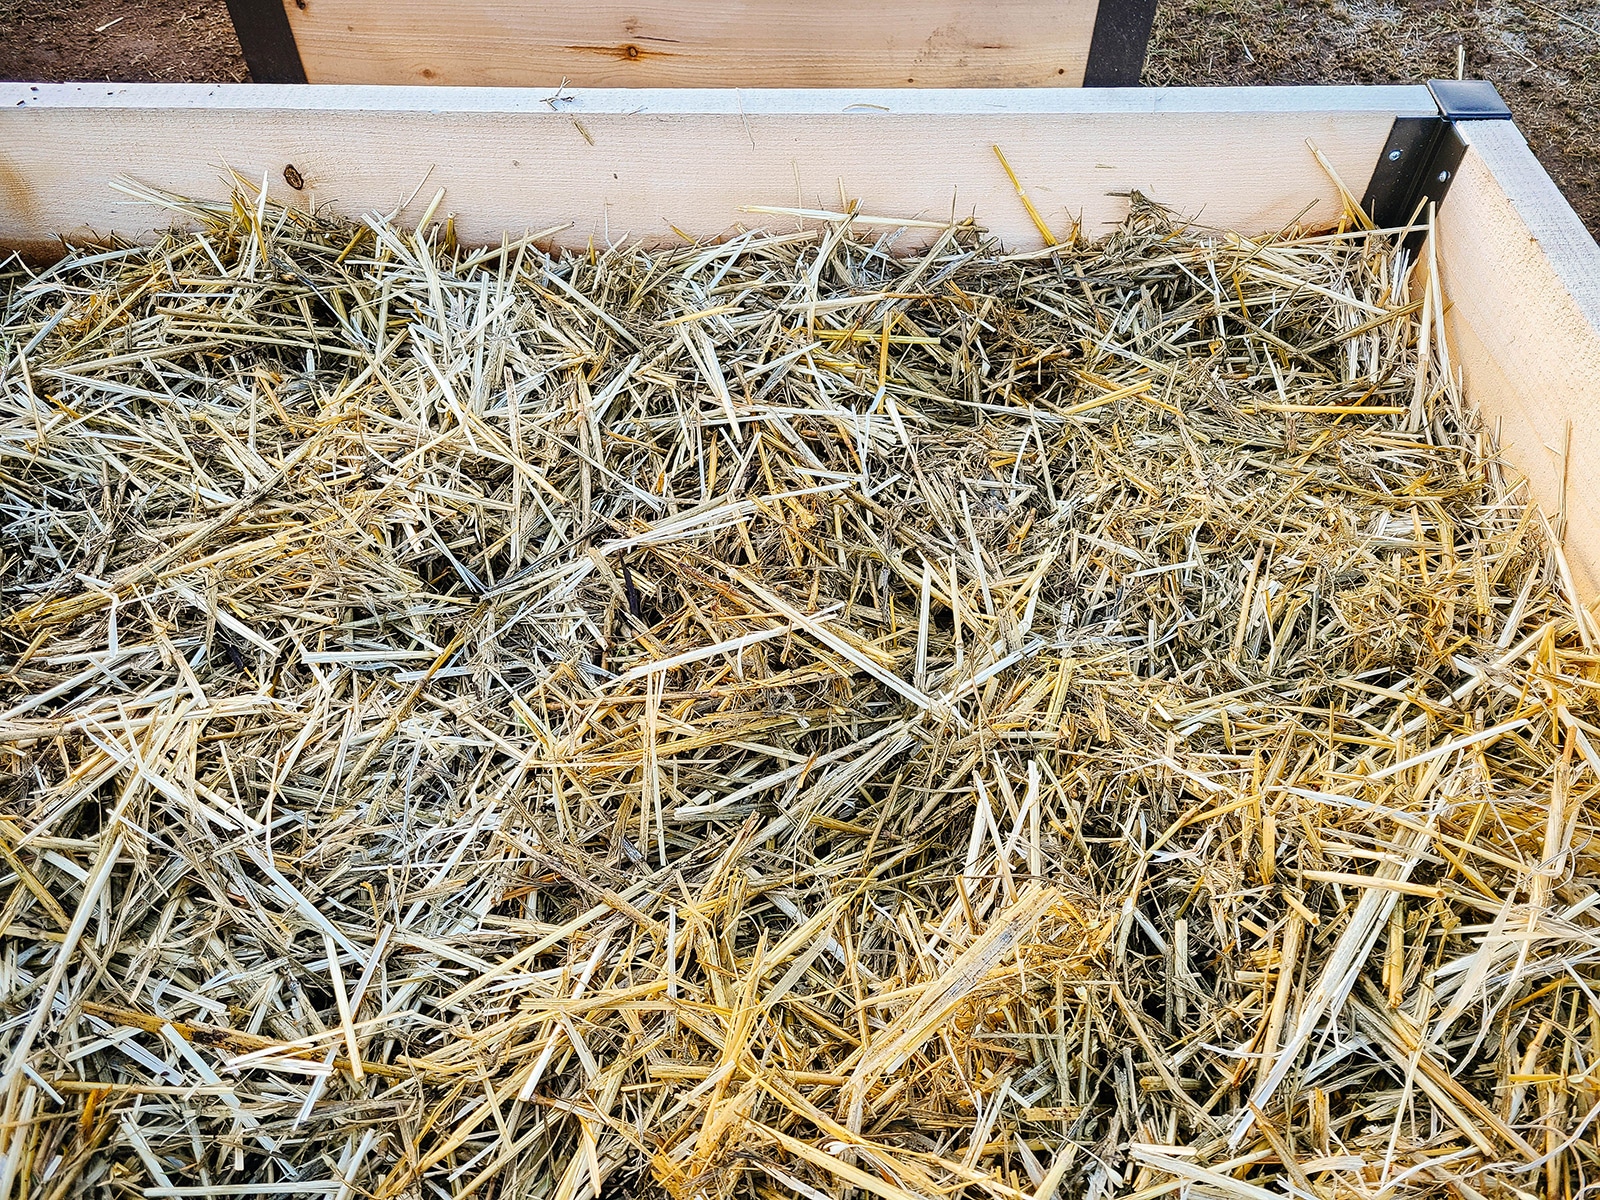
Water and mulch the bed
Water your newly planted garlic bed to settle the soil, then cover with 3 to 6 inches of organic mulch (like straw, pine needles, wood chips, grass clippings, or shredded leaves). The colder your climate is, the more mulch you should add to keep the soil warm—remember that you want the garlic to develop as many roots as possible before freezing!
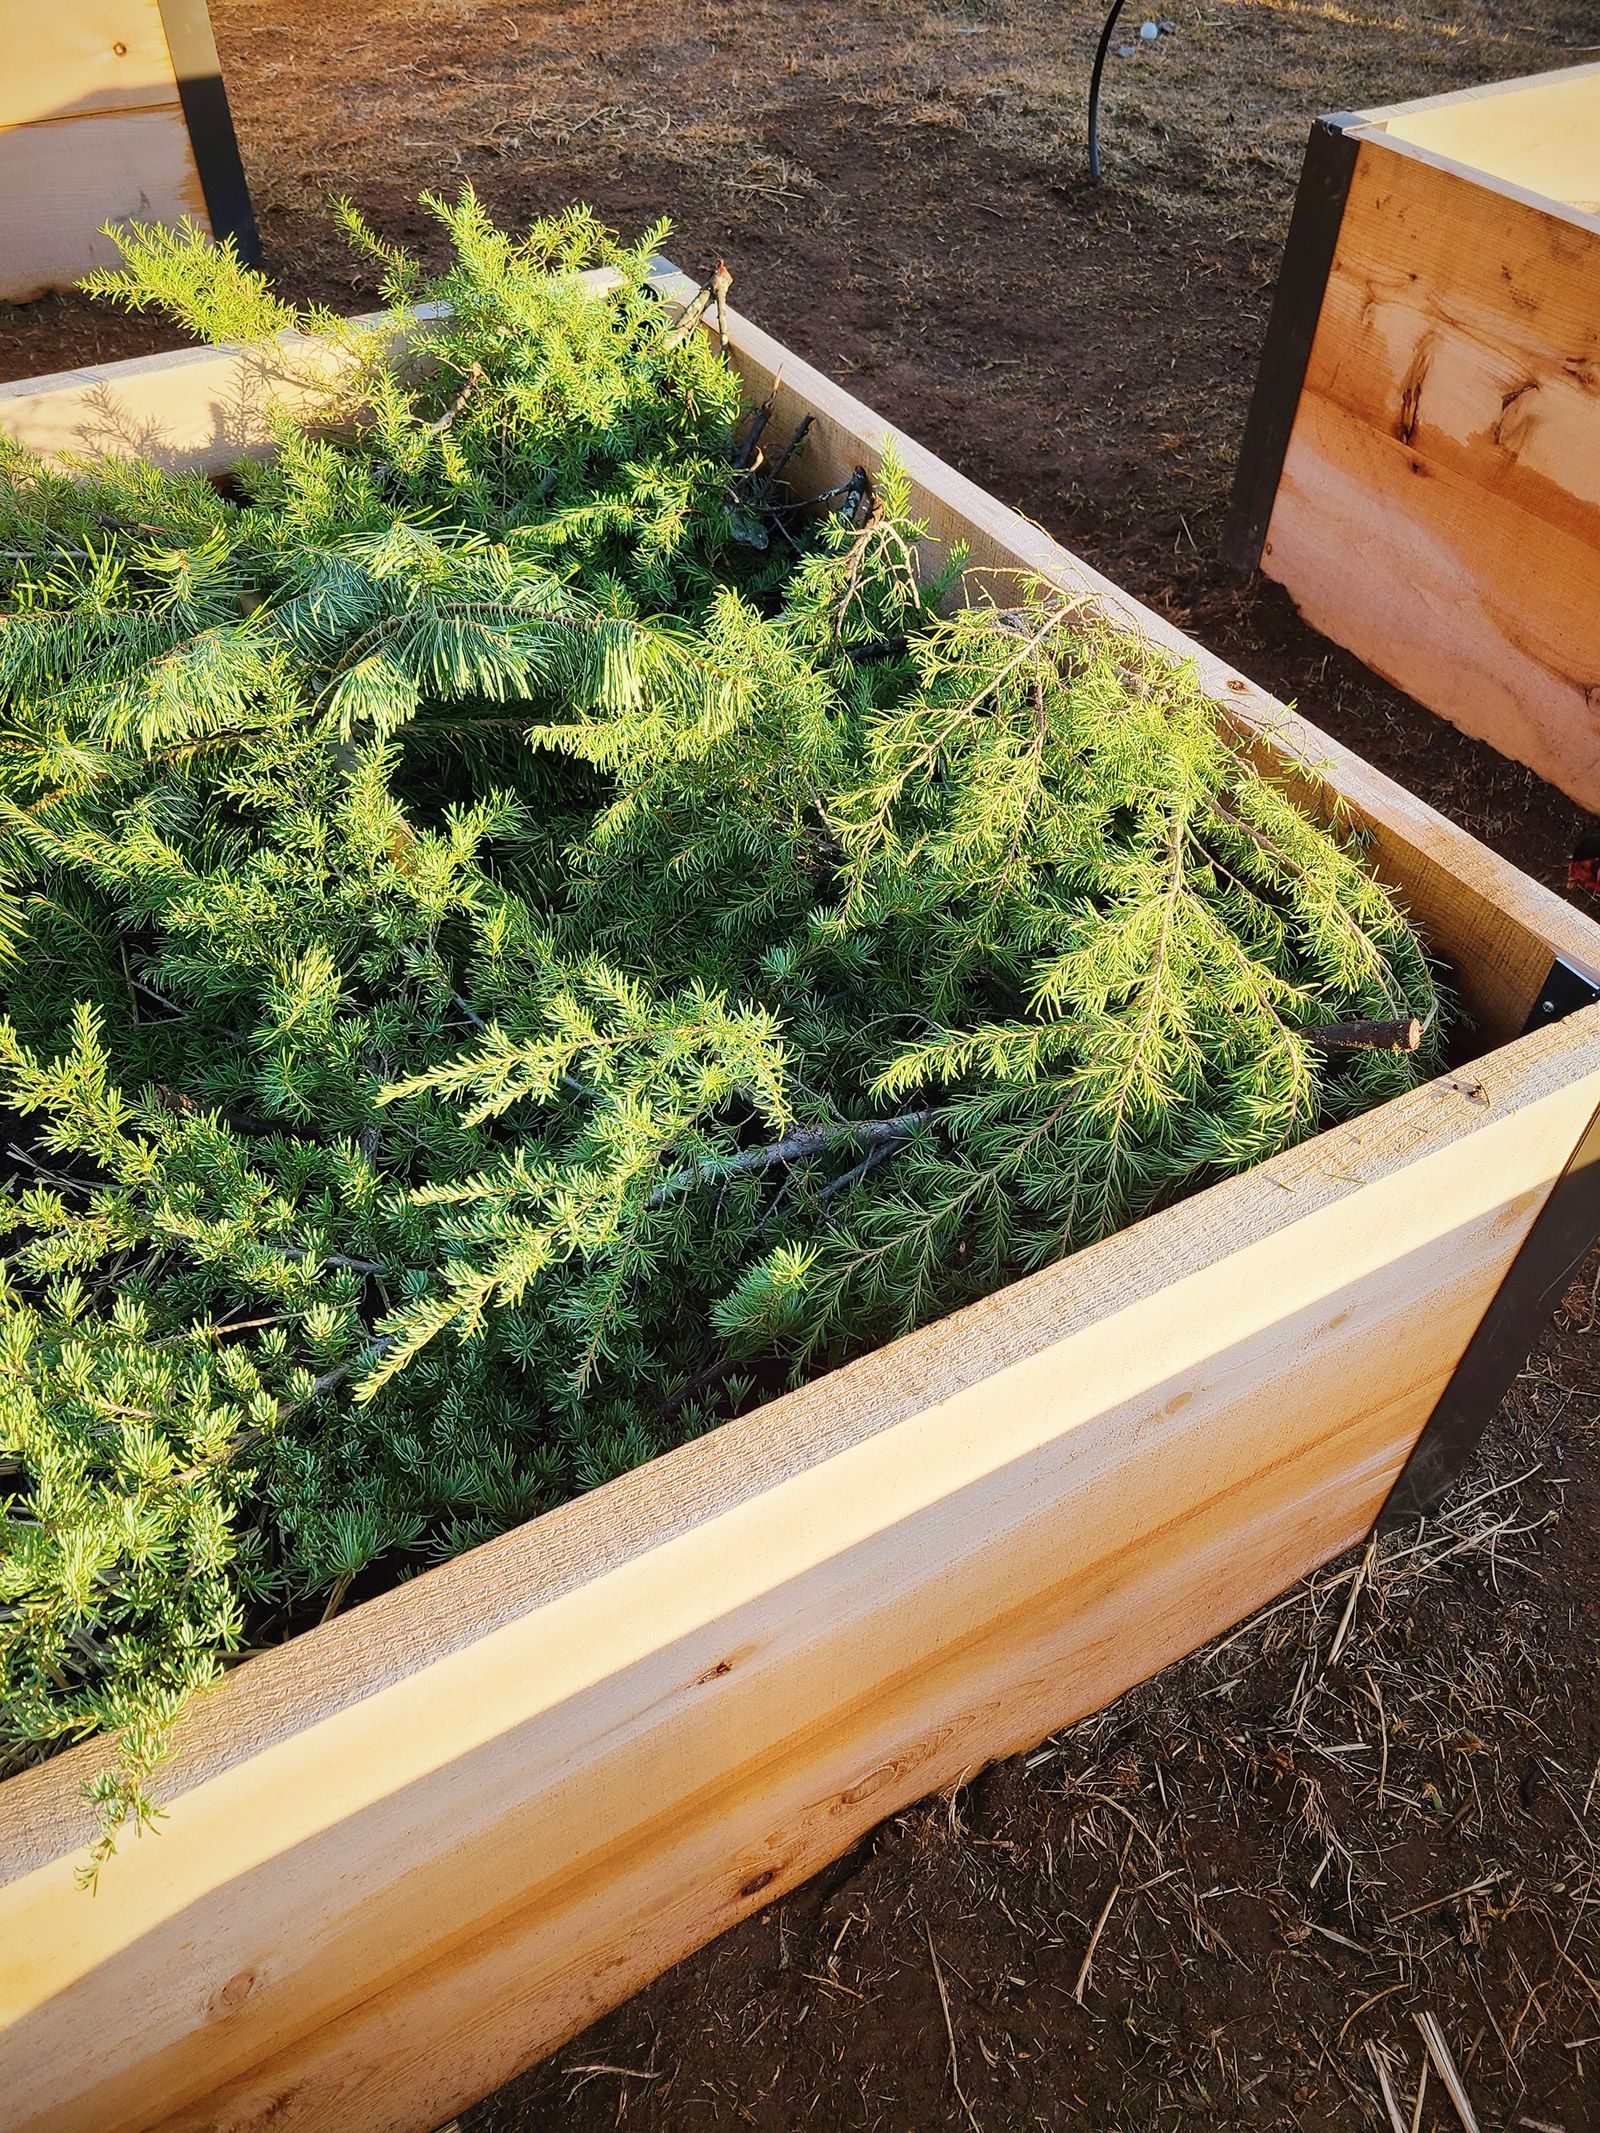
(Because I live in Central Oregon—zone 6b with a colder microclimate—I like to mulch my garlic bed even more after the holidays by reusing the old boughs from my Christmas garlands. This helps the soil stay warm and comfy all winter.)
Depending on your climate, you may or may not see any green shoots in the fall; don’t be alarmed if it seems like your garlic isn’t growing, as it’ll send out new growth once the air warms up again in spring.
Continue watering in spring and summer
The soil just needs to stay lightly moist through fall and winter, and some climates may get enough moisture from rain or snow alone.
A general rule of thumb is to keep the top 2 inches of soil moist (you can check this easily with your finger). Be careful not to overwater, as garlic is susceptible to rotting in the cooler months when the soil retains a lot more moisture.
Aim for the root zone to keep water off the leaves as much as possible. (Drip irrigation is the best way to water garlic.)
In spring, begin watering again and keep an eye out for potential problems like garlic rust. Garlic should be given deeper, less frequent waterings on a consistent basis, and a boost of nitrogen in early spring when vegetative growth really gets going. (I like to use alfalfa meal, a granular vegetable fertilizer, or a light side-dress of compost for this.)
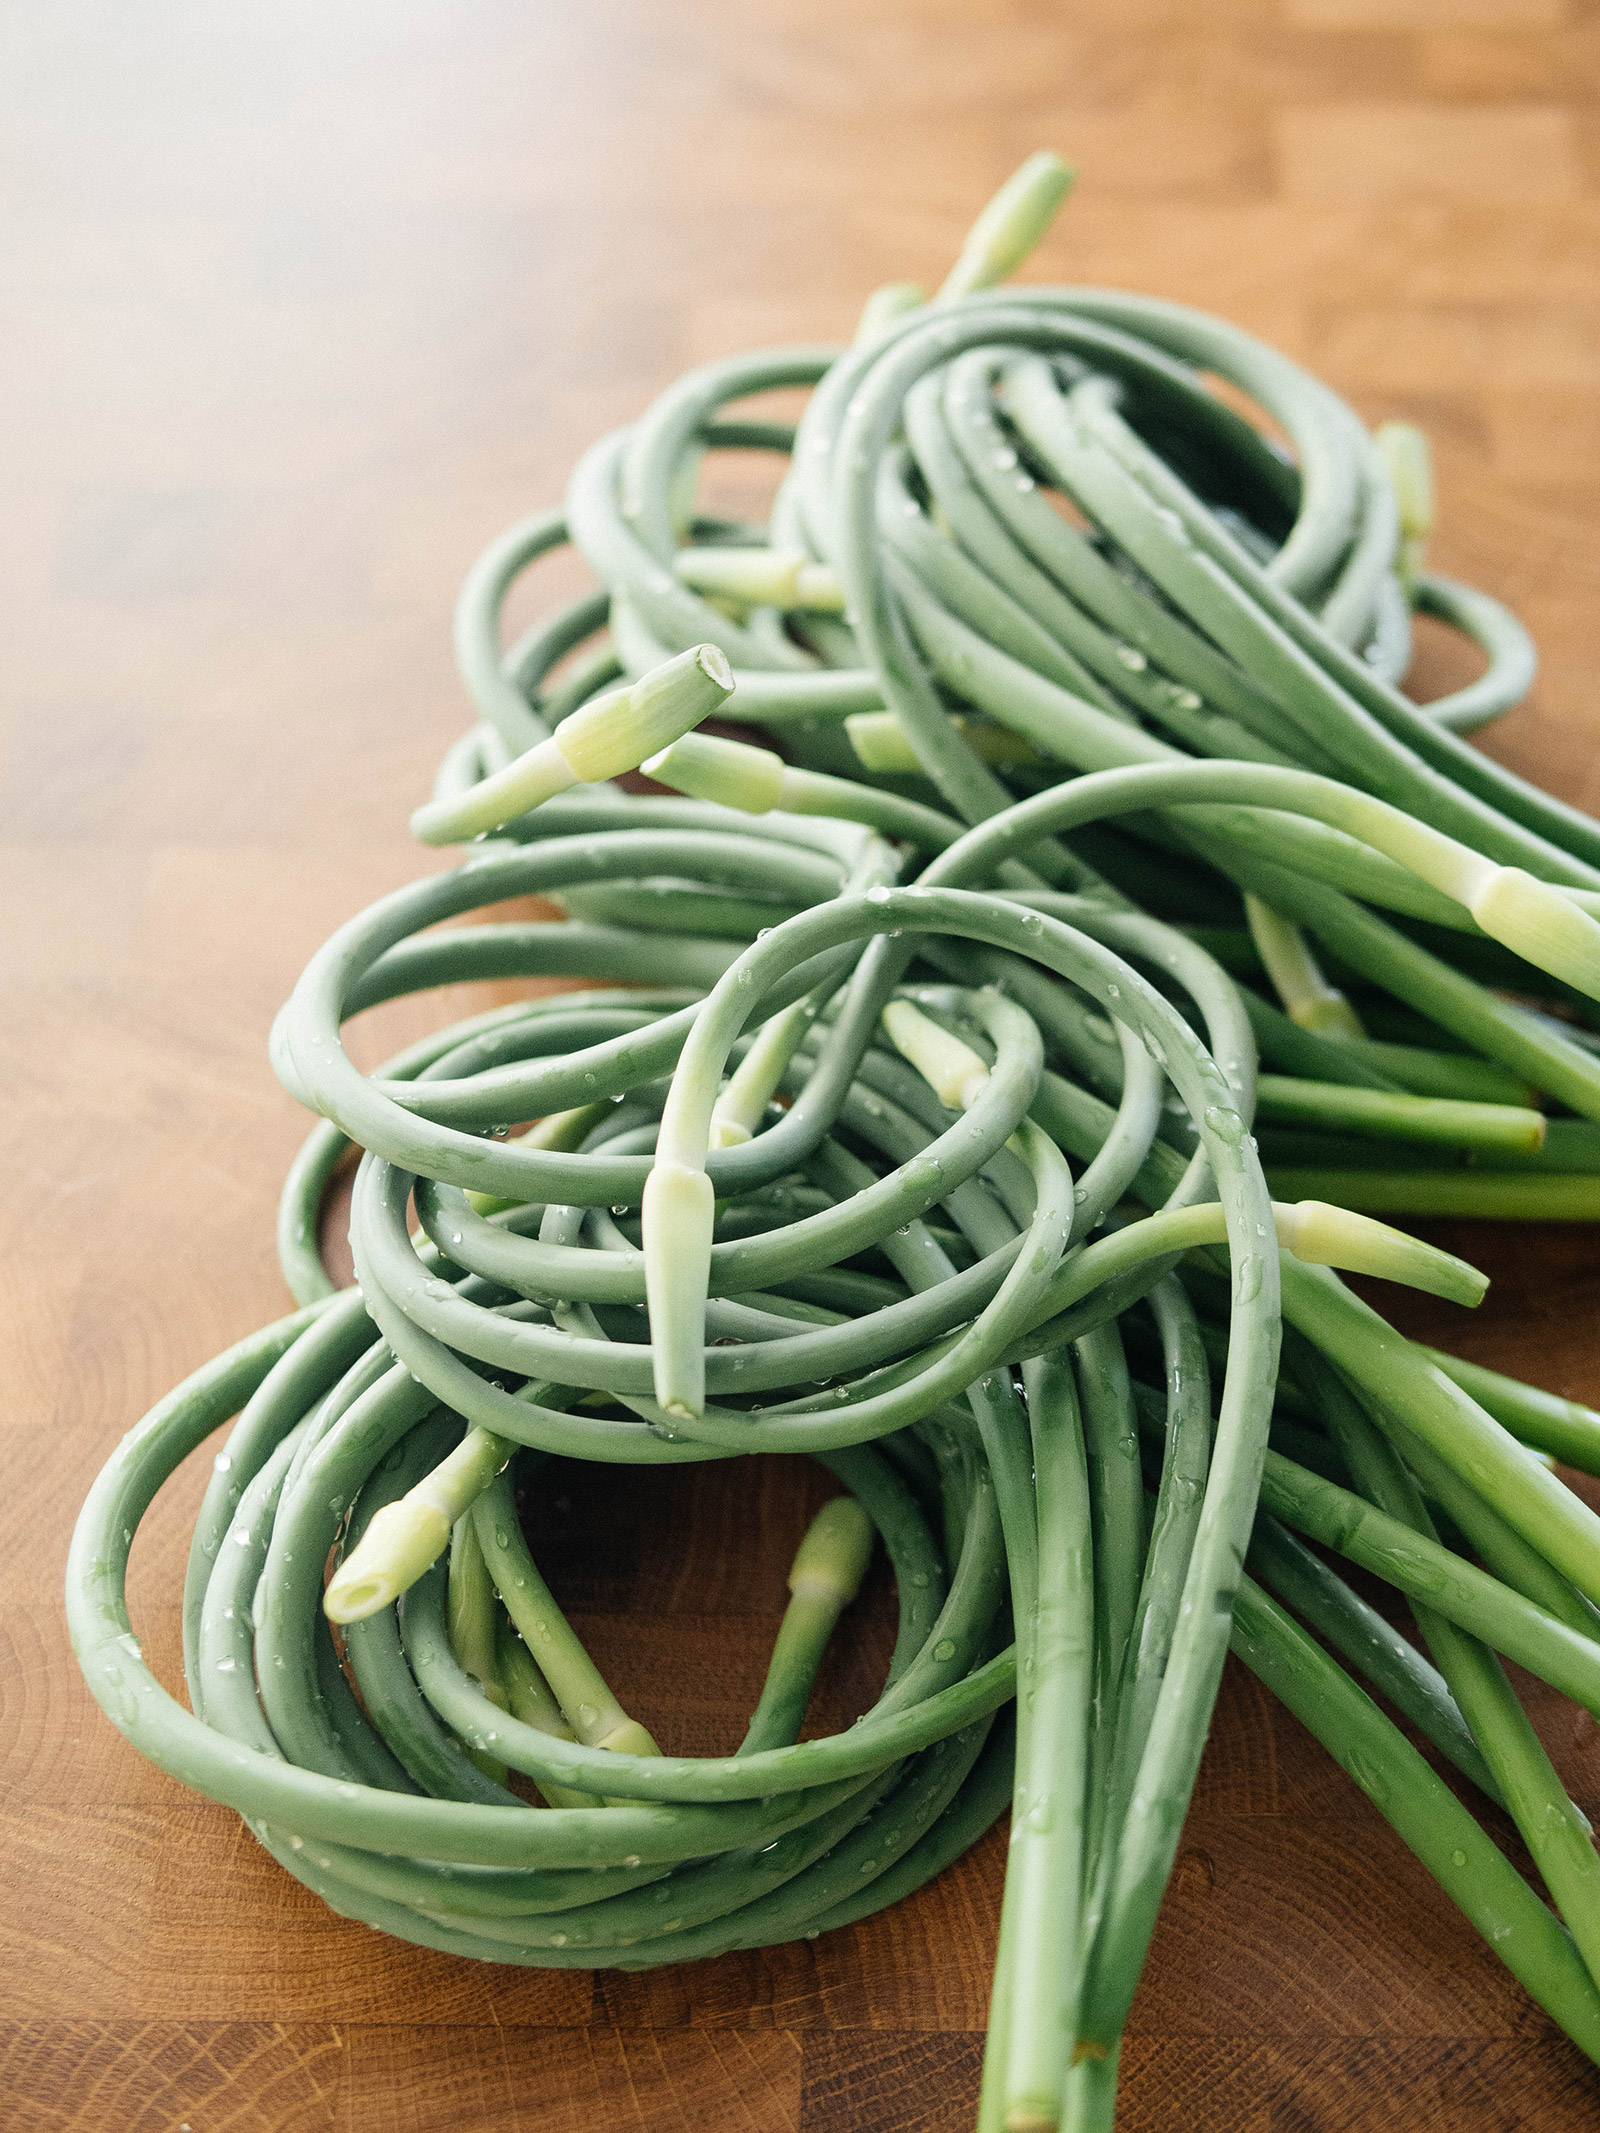
Hardneck garlic will send up a flower stalk (called a scape) in late spring to early summer. Once the scape has formed one curl, remove it so the plant can direct energy into developing a bigger bulb. (But don’t just toss them—garlic scapes are a delicious bonus harvest!)
What to do next summer
While garlic is incredibly easy to plant and grow, knowing exactly when to harvest can be a tricky matter.
Generally, hardneck garlic is ready to pick about four to six weeks after the scapes form.
But the best way to determine when your crop (whether hardneck or softneck) is mature is to look at the leaves: When 50 percent of the leaves is green and 50 percent is brown, you’re in the zone.
Garlic leaves start dying from the bottom up (which is totally normal, and a sign they’re nearly ready to harvest), and each green leaf above equates to one paper wrapper around the bulb. So, you don’t want to wait for all the leaves to die, which would leave you with garlic that has no paper wrapper (leading to shorter storage time).
Once your leaves start signaling that it may be go time, follow these guides to learn how to harvest, cure, and store them properly:
What if it’s too late to plant garlic now?
Not to worry! It’s actually better to plant a little too late than too early.
Why?
Because planting garlic too early in fall may result in poor growth and bulb development.
If you plant too early, the cloves won’t develop roots until it gets cold. Meanwhile, they just sit in the soil, not growing, and becoming more susceptible to rot, disease, or underground pests. Exposure to really hot weather in fall can also reverse vernalization and result in smaller bulbs.
A good rule of thumb for northern climates is to plant after the first killing frost, but while you can still work the soil.
Here’s how I do it:
If the ground isn’t frozen yet but you still have a long period of cold weather ahead, you can plant your garlic now as long as you add a hefty layer of mulch on top.
This worked for me in Central Oregon when our winter had a late start. I planted my garlic in a raised bed in January, knowing we still had at least three months of cold weather ahead (our last frost isn’t until June).
Then, I added about 8 inches of mulch on top, using a combination of shredded leaves and cut-up boughs from an old Christmas garland. This kept the soil warm enough for the roots to develop a bit before the ground froze.
A few weeks later, the first heavy snowfall of the season added a nice layer of insulation to further protect the cloves.
(In case you’re wondering, garlic shoots can still grow through all that mulch in spring since the cloves contain enough energy to push upward.)
Note that this late planting only works if you have at least one month of cold weather ahead—garlic needs winter’s chill to form summer’s bulb.
Hardneck garlic requires four to six weeks of cold temperatures below 40°F to develop bulbs.
Softneck garlic, on the other hand, isn’t as picky about vernalization, which makes it a better option for climates with mild winters.
If you’re one of these mild-winter gardeners, you can even wait until spring before planting your garlic. Do this in early spring when the soil is still cool, and plant only softneck garlic for best results.
If your climate is somewhere in between, you can plant garlic four to six weeks before the last spring frost, provided your soil is thawed and workable.
Don’t wait too long before planting though. Garlic is sensitive to day length changes, and not having enough days with increasing day length can prevent the bulb from dividing properly, resulting in very small bulbs. (If this happens to you, all is not lost. Just harvest your crop as green garlic in spring, which is a delicious vegetable in itself.)
Note
You can see how day length changes throughout the season in my post about using Persephone days to time your fall and spring planting.
Spring-planted garlic will mature about 120 to 150 days after planting.
Frequently asked questions
This post updated from an article that originally appeared on October 26, 2010.


Love your blog read it all the time! Thank you for taking the time to help us gardeners out. I have a question about planting garlic in the same bed year after year. I’ve heard that it’s better to switch beds. And then don’t replant in the same bed for three years to keep disease off of the garlic. Do you have any thoughts on this?
Hi! Love the information and all the dets about garlic…but one question I have is what if you plant the bulbs too early assuming it’s before the frost dates but the season is unusually warm and rainy which allows for the garlic to shoot out greens…? Now what? I’m in NJ and I planted them mid September and I already have shoots coming up!
The shoots will survive frost. If they grow pretty tall before going into dormancy and then a freeze hits, they may die back, but the bulb will still be very much alive as long as you’ve mulched your garlic bed well.
Hi. I’m wondering if I can use compost to mulch the garlic garden – they are quite tall already (they were planted 3 months ago). Or do I need to keep the stems free from an added layer of mulch/soil.
Thanks in anticipation
Janine.
Aged compost makes a great mulch for all types of plants. When I have it, I add a 2-inch layer to my garden beds to help suppress weeds and keep in moisture.
I have heard some gardner’s say that the green garlic leaves should be cut half way down then allowed to finish growing.Have you ever head of this? They recommend cutting onion leaves in the same way. Supposed to make the bulbs grow bigger. Any thoughts on this technique? Thanks
Hi Betty,
I was reviewing your garlic blogs for a recommended site to buy seed garlic. There are so many sites so can you post your recommendation.
Thank you.
Doris
Hi, I personally order from Filaree Garlic Farm!
Hello Linda, Thank you for this wonderful blog. It is very informative.
My name is Deepak and I am from India. It would be very helpful if you can guide me regarding the harvest of garlic. I planted a clove in Dec 2015. Do you think this is the right time to pull out the bulb? I wish I can share the image here..
You can find more information at these two posts:
http://gardenbetty.com/2011/07/the-trick-of-knowing-when-to-harvest-garlic/
http://gardenbetty.com/2011/07/a-guide-to-curing-and-storing-garlic/
I wish we could grow garlic here on Kauai but it doesn’t bulb up. We just get piles of greens which is good but I would love to be able to get big heads. I love garlic too and it is so healthy.
hydro/aero it
I love garlic as well! Too bad I waited until late Spring to remember planting them. Next season fo sho! Fresh garlic is sweeter and spicier at the same time. A wonder crop! Loved your post, pictures and easy to follow instructions!
Thanks Sandy!
I have the first harvest curing right now, I can’t wait to make my first roasted garlic!
After you pull up your springtime garlic… If you end up with “round garlic” (in which the bulb didn’t have enough time to divide into cloves) you can actually save that to plant later in the fall, and the round garlic will continue to grow and then divide itself. You might even get bigger garlic since you’re planting a larger clove.