
Maybe you lack a suitable outdoor space to grow some plants. Or maybe the first flakes of snow just fell but you’re not quite ready to put away your gardening gloves yet.
Have you thought about growing food in the comfort of your own home? Not windowsill herbs, or “regrow vegetables from scraps” gimmicks, or the potted citrus tree that overwinters in your living room every year, but food you can start from seed indoors and keep indoors for the whole season.
Growing vegetables indoors can happen year-round, or it can happen in winter under the right conditions. Many varieties, surprisingly, thrive in an indoor environment and don’t take up as much space as you think.
We’re not going for tomatoes or zucchini here—and while you can grow these behemoth crops inside your home, they require a steep investment in grow lights to be productive.
But many other crops are fairly low-maintenance. They grow quickly in compact spaces, and they’re more forgiving when it comes to light. (I even grow some of these vegetables in shady to partially shady locations outside.)
All you need is a sunny, south-facing window and a few basic supplies to get started. Here are 10 easy crops that can be grown successfully indoors without grow lights, shop lights, or other artificial lighting, with my recommendations below for getting started.
Disclosure: If you shop from my article or make a purchase through one of my links, I may receive commissions on some of the products I recommend.
10 best vegetables to grow indoors
1. Sprouts and microgreens
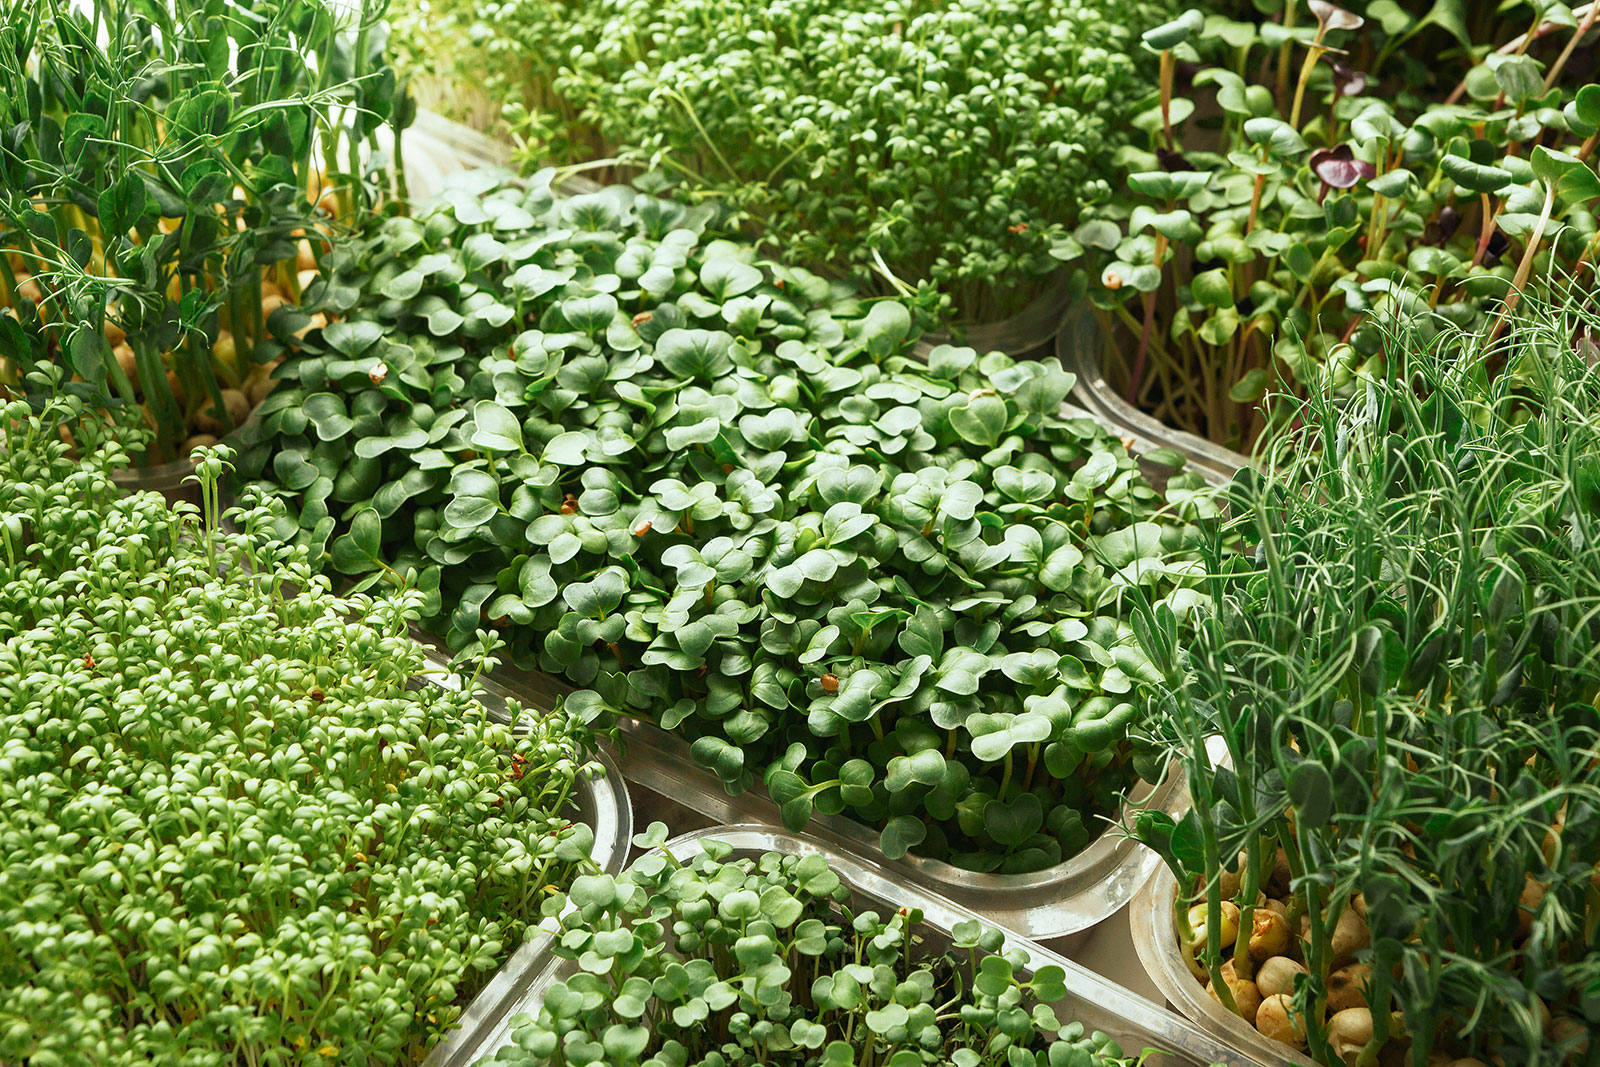
Let’s start off with the easiest vegetables you can grow indoors, year round, right on your counter: sprouts and microgreens.
But I’m not talking about sprouting seeds in mason jars. You can do that, of course, but for maximum production, I prefer growing sprouts in soil (the same way I grow microgreens) because it lessens the chances of bacterial contamination.
For best results, use 1020 propagation trays (these are the standard black plastic trays you see in nurseries) or aluminum baking pans. You can even use and reuse disposable aluminum pans—any shallow pan or tray will work. Unlike with other vegetables, there’s no need for drainage holes since sprouts and microgreens require so little water.
Fill the tray with 2 inches of potting soil, then scatter the seeds evenly over the soil and add a thin layer of soil on top to cover. Water lightly to keep the soil moist.
Sow seeds every 7 to 10 days in additional trays for a continuous harvest (give or take a few days, depending on how often you eat sprouts).
If you’d rather not deal with soil, you can use grow mats (like these biodegradable hemp mats) or even self-watering grow kits that include an attractive tray and some starter mats.
Sprouts and microgreens do well as indoor salad greens because low light only makes them leggier, which gives you a more delicious harvest.
To use, wait until the stems are 2 to 3 inches tall, then cut them right at soil level.
Seed to harvest: 7 to 21 days
Microgreen varieties to try: Umami Asian Blend Microgreens, Early Wonder Beet Microgreens, Sunflower Microgreens
2. Salad greens

You can grow a variety of leafy greens indoors, including loose-leaf lettuce, spinach, chard, arugula, kale, sorrel, and mustard greens. You also have the option of harvesting them in the baby leaf stage, or waiting until they’re full grown.
Related: Days to Maturity: What It Really Means For Your Plants
Either way, I recommend growing salad greens as cut-and-come-again crops, which means you harvest just a few outer leaves from each plant and let it continue to grow new leaves.
Indoor greens can be grown closely together, especially if you pick them early. I recommend sowing seeds 2 inches apart, then thinning the seedlings 4 to 8 inches apart, depending on how large you want to let them grow.
Seed to harvest: 21 to 58 days
Salad varieties to try: Gourmet Baby Greens Mesclun Mix, Must Have Mustards Baby Greens Mix, Apple Blossom Swiss Chard Blend Baby Greens
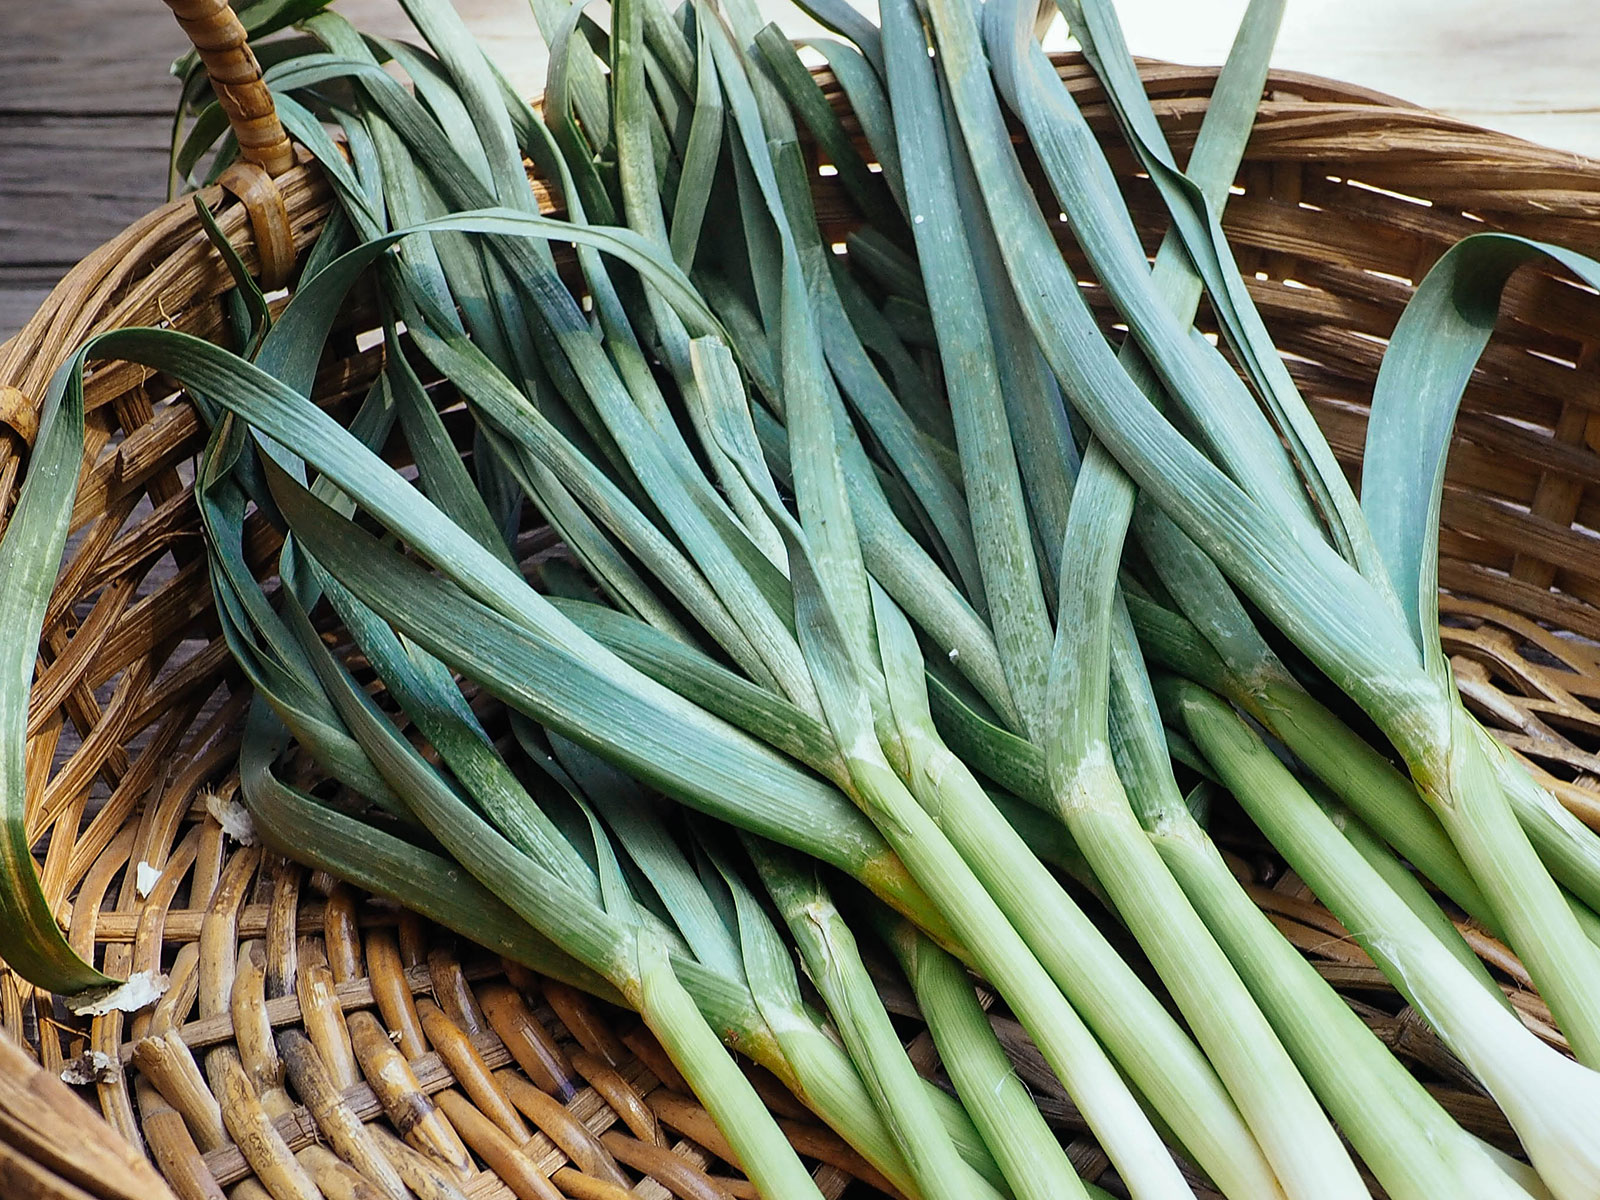
3. Scallions
Scallions (also called green onions or bunching onions) are an excellent indoor crop that’s also perennial. So, you can keep it going all year long for continuous harvests without replanting!
You can snip the leafy green part as it grows, or harvest the entire plant (with bulb and roots intact) once the leaves reach pencil thickness.
If you leave your scallions in the soil, they’ll continue to multiply and grow new bulbs, forming a clump that can be pulled apart the following year and transplanted to create new plants.
Seed to harvest: 60 to 65 days
Scallion varieties to try: Tokyo Long White, White Lisbon, Italian Red of Florence
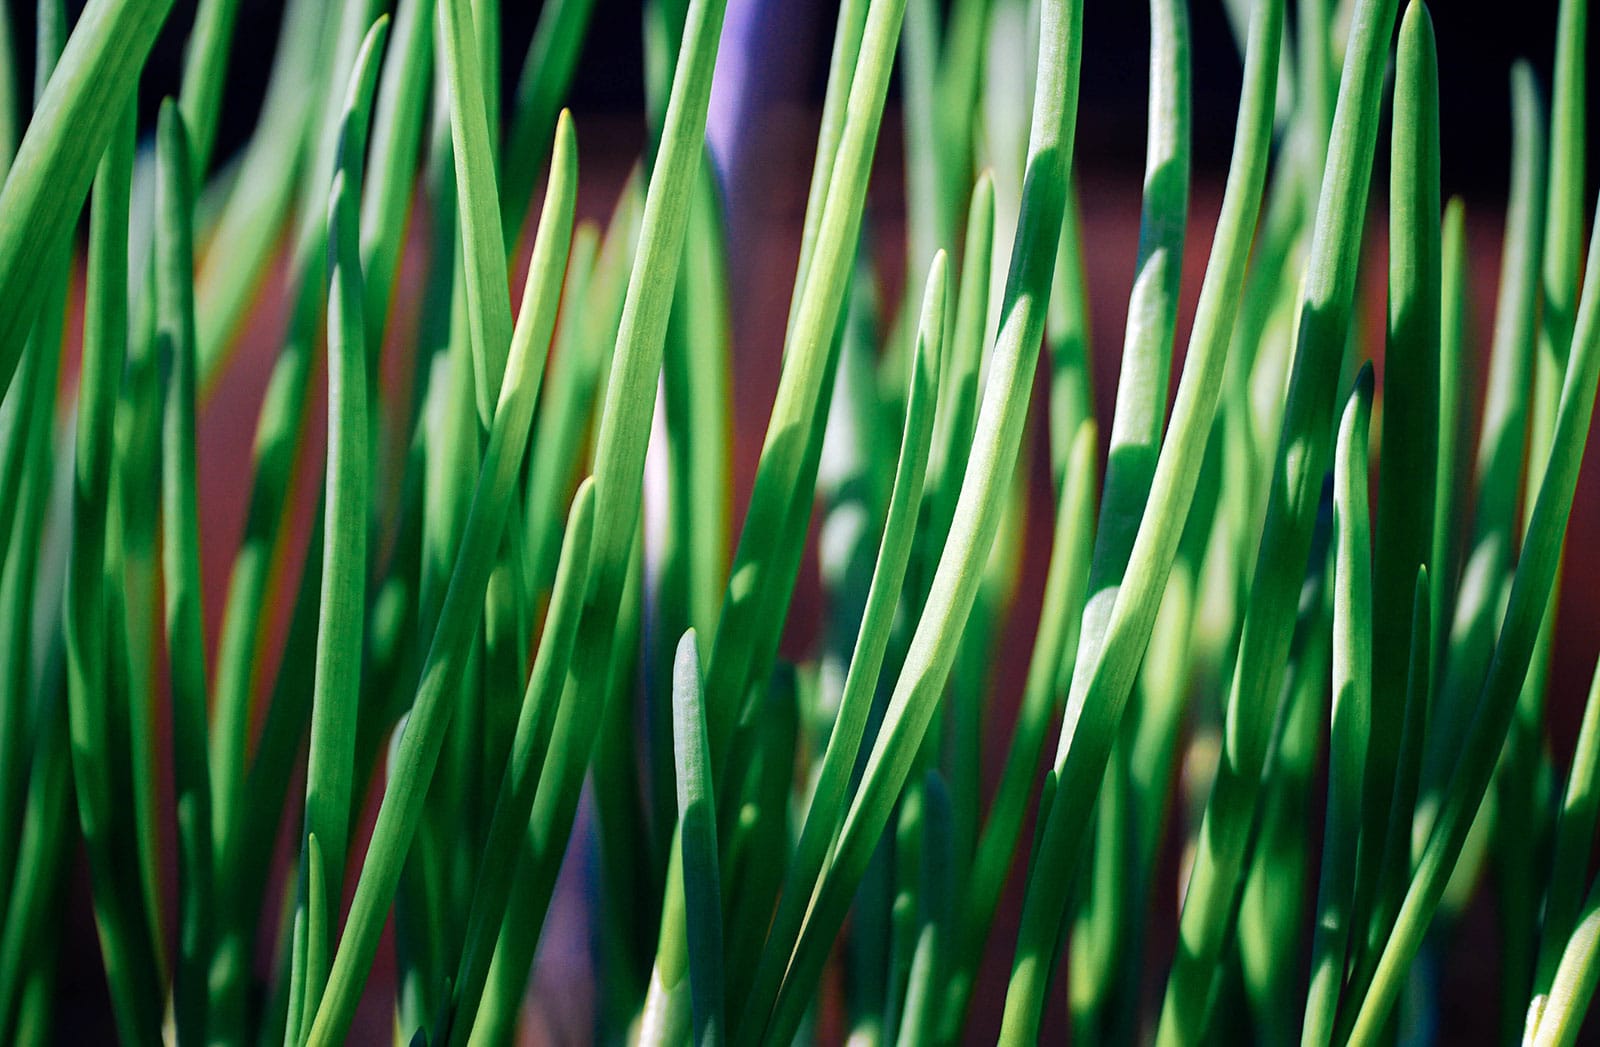
4. Garlic
Garlic is easily grown indoors, but the lack of winter chill hours (which it needs to form a bulb underground) means you’ll only be getting garlic greens from your plant. And that’s perfectly okay!
Garlic greens are a delicious specialty crop that taste like a mild cross between garlic and onion. You can use them the same way you’d use scallions, raw or cooked. Simply cut off a few inches of the stem and slice or chop it into your food.
Plant individual garlic cloves 2 inches apart and 2 inches deep, with the pointy end facing up. You can start harvesting the leaves lightly once they’re at least 6 to 8 inches tall.
This is a perennial plant that can keep going if you don’t harvest the bulb. But for healthier plants, pull up and divide the cloves every year so they don’t get overcrowded.
Seed to harvest: 14 to 21 days for garlic greens
Garlic varieties to try: Ajo Rojo, Chesnok Red, Music
5. Spring radishes
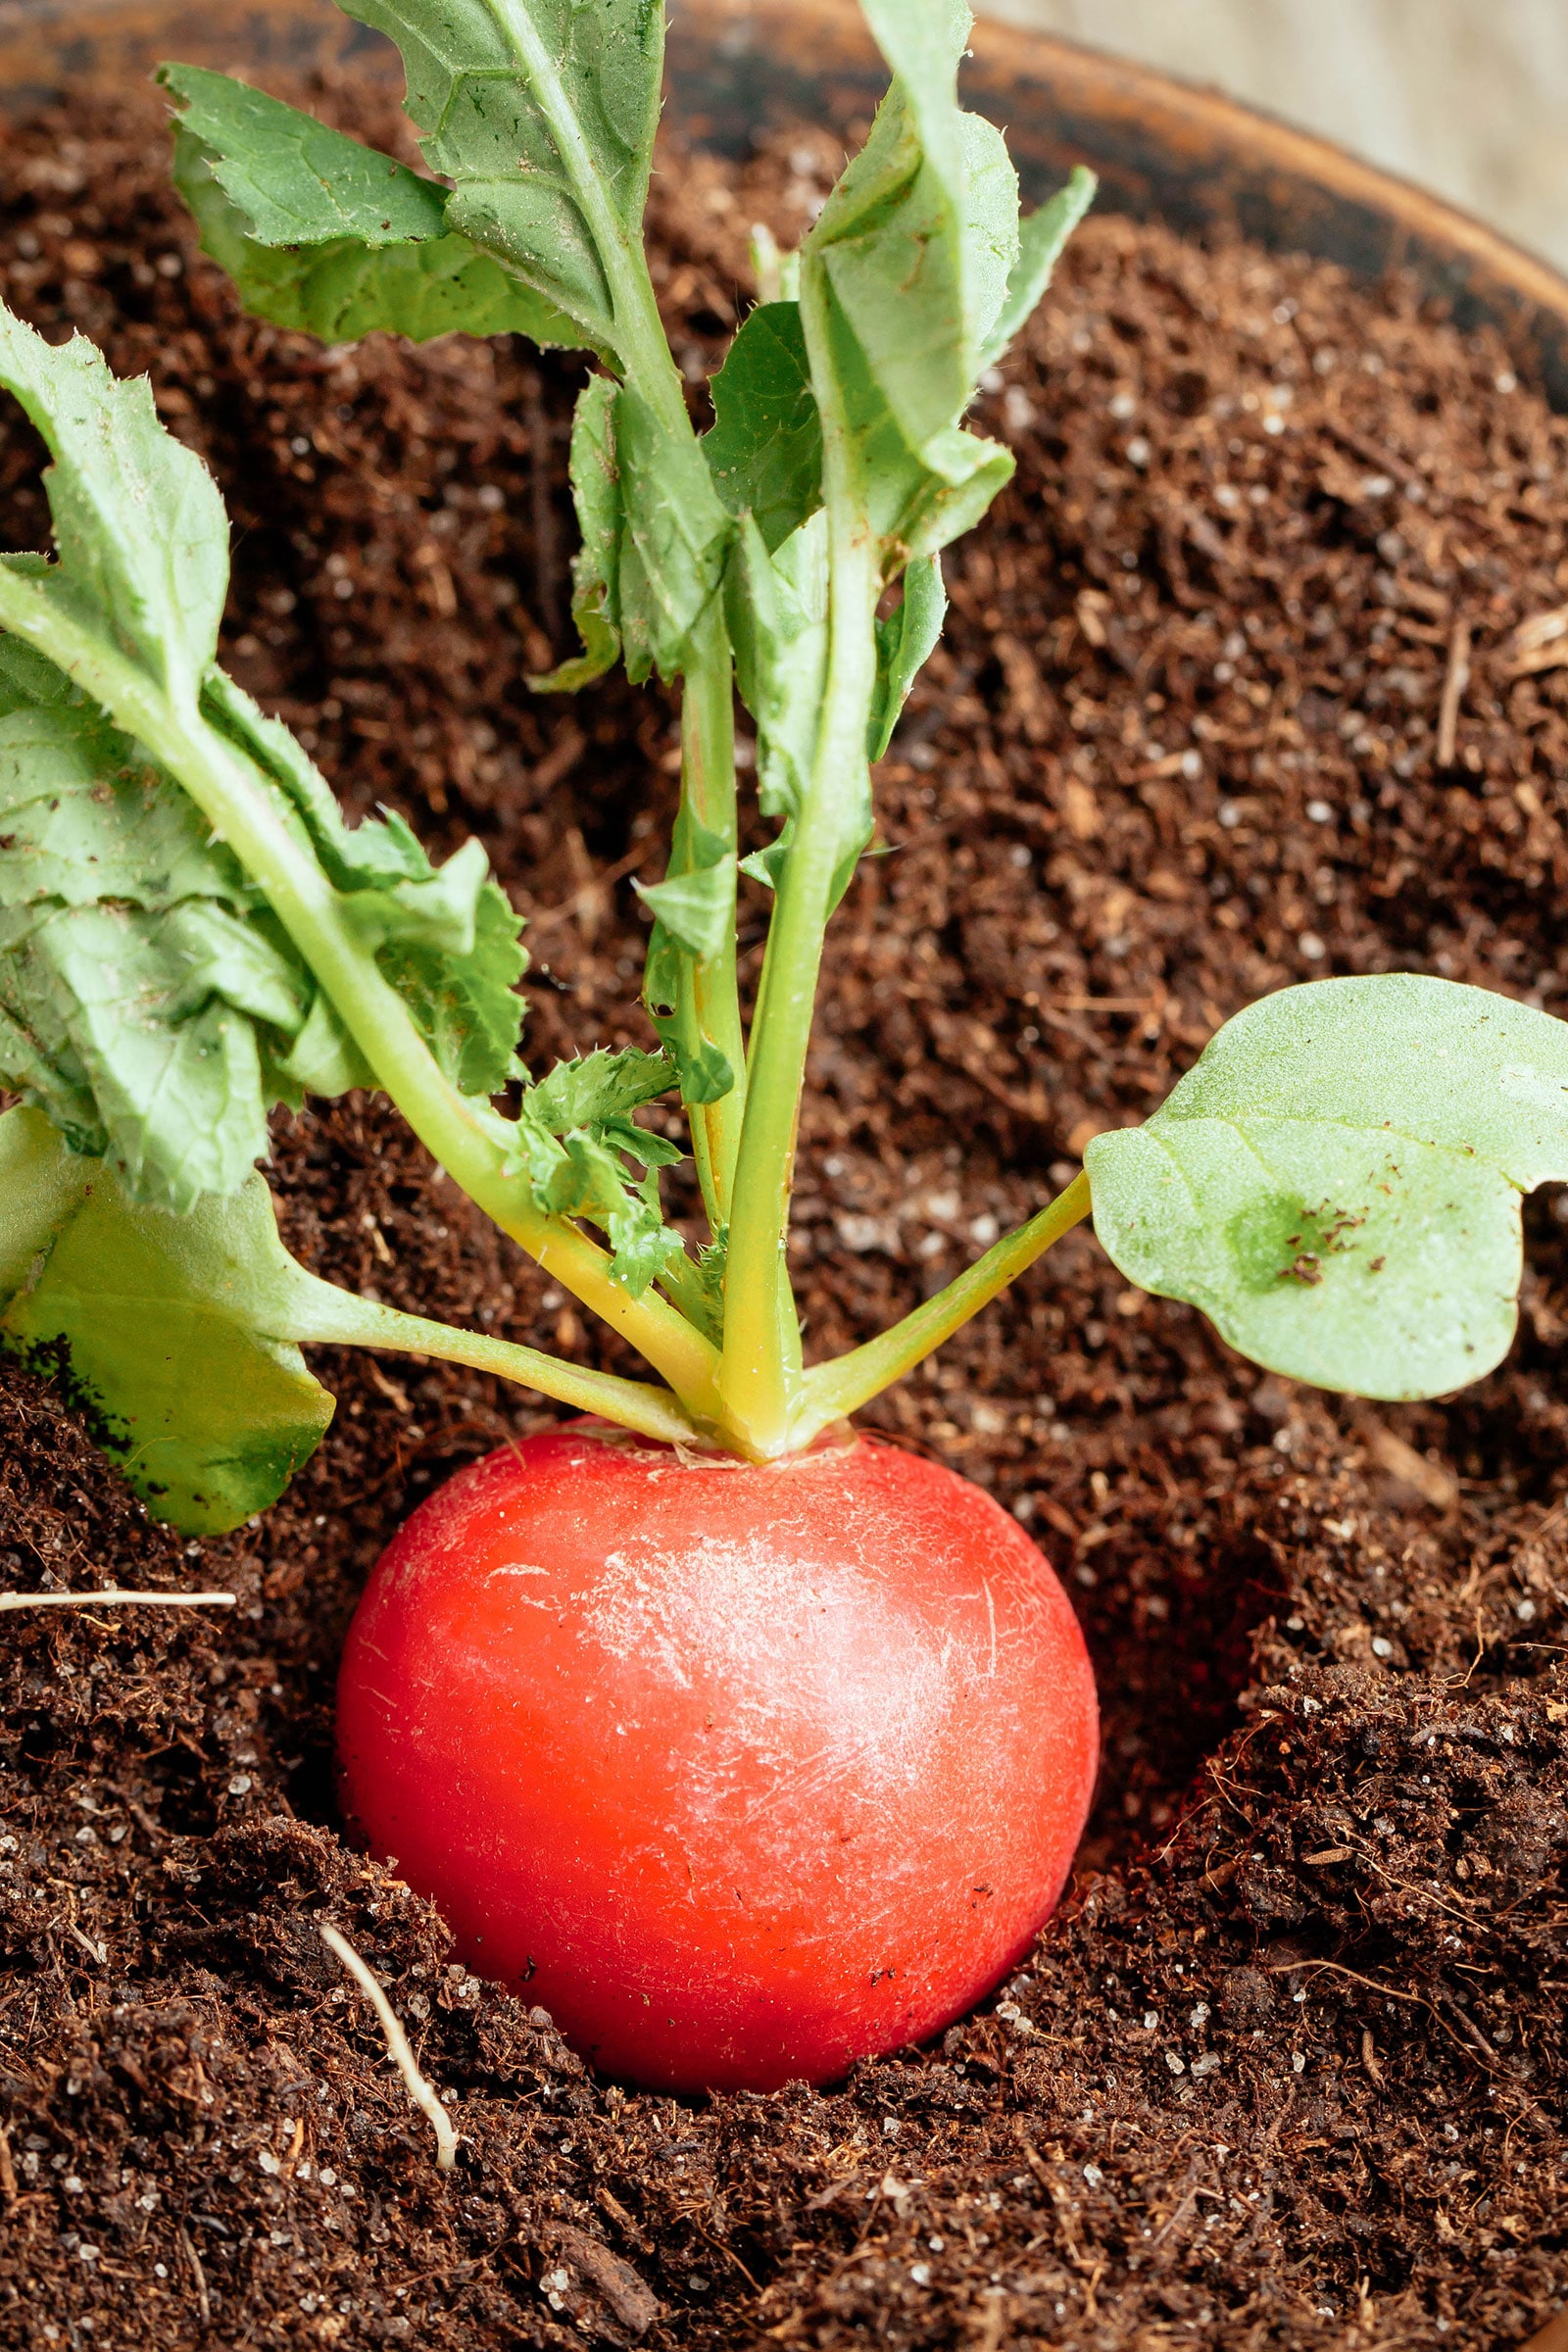
Radishes are ideal for indoor growing because they have shallow roots and don’t need a lot of space. They also mature fast, and are one of the easiest vegetables for beginners to grow.
You can space radish plants 3 inches apart in all directions, and harvest when the roots are about an inch in diameter. Sow seeds every 2 weeks for a continuous harvest of roots and leaves (which are edible too).
Seed to harvest: 24 to 30 days
Radish varieties to try: French Breakfast, Cherry Belle, Easter Egg Blend
6. Beets
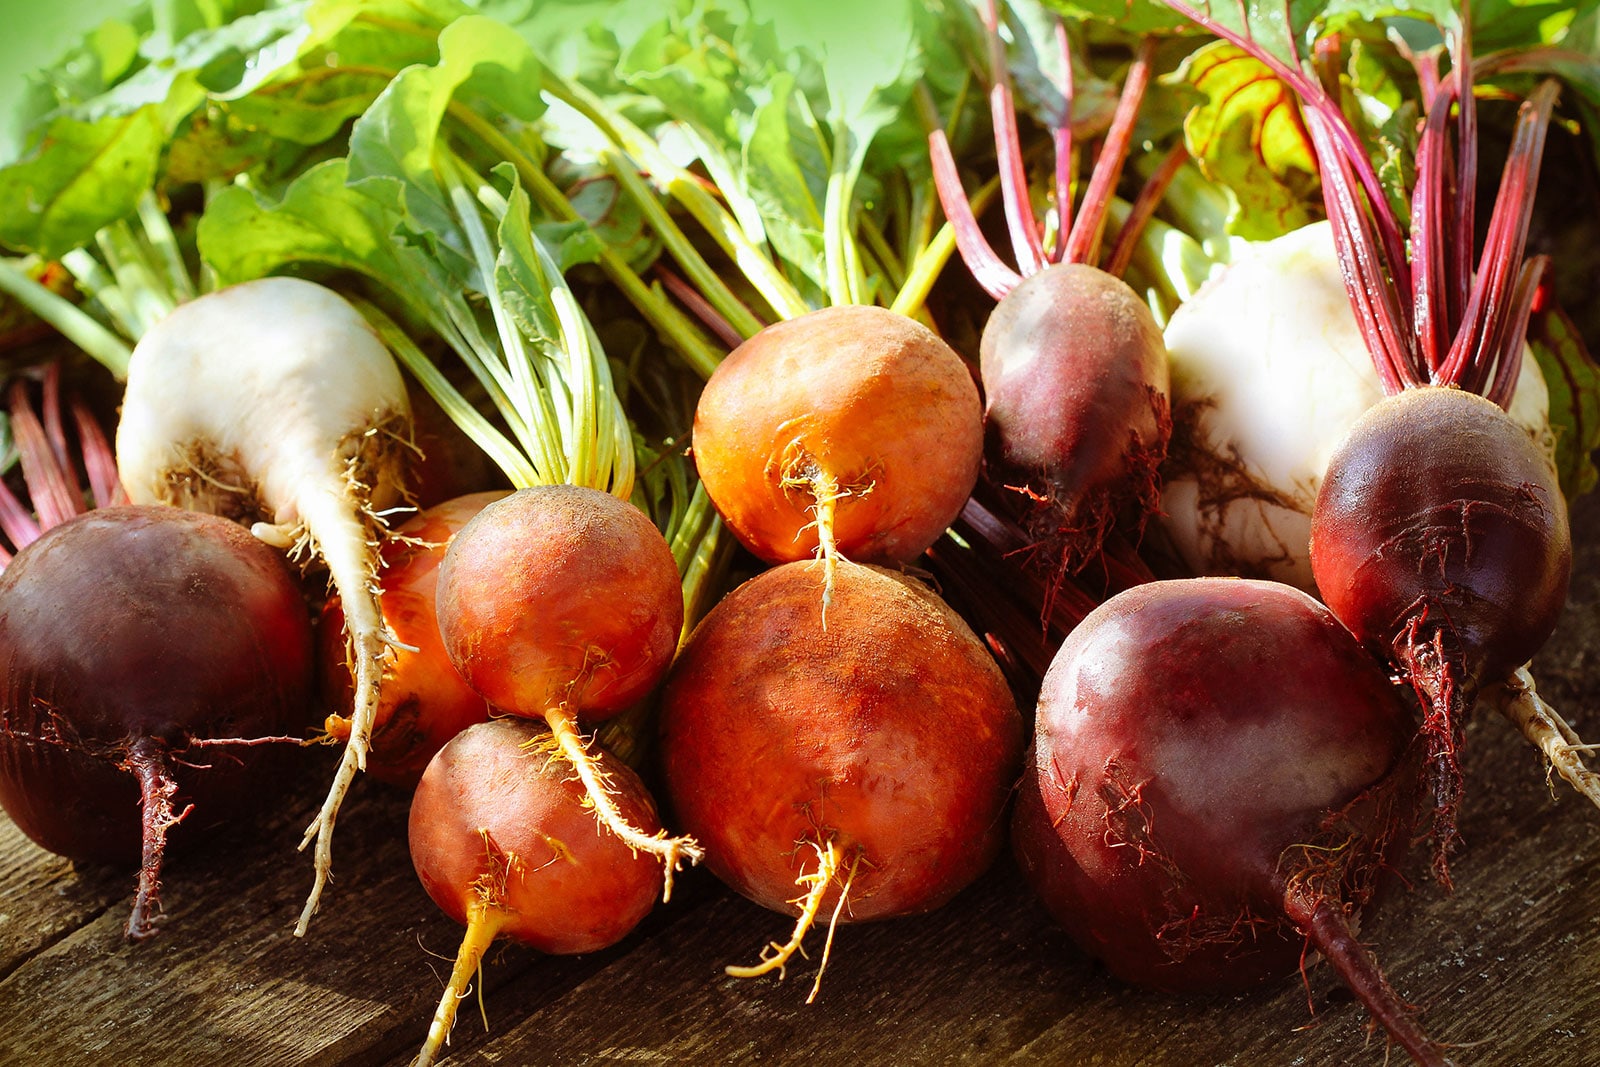
Beets can be grown indoors for their roots as well as their nutrient-packed leafy greens. (The greens look and taste very similar to swiss chard, which isn’t surprising since the plants are closely related.)
When sowing beet seeds, you’ll notice what look like multiple seedlings sprouting from a single seed.
No, this isn’t a matter of accidentally spilling a few extra seeds; a beet seed actually comprises a cluster of tiny seeds.
When they germinate, they’ll need to be thinned 3 to 6 inches apart if you want decent-sized roots to form. (The closer spacing is if you plan to harvest baby beets.) Treat the thinnings as microgreens and put them in salads or sandwiches.
Seed to harvest: 40 days for baby beets, 50 to 65 days to maturity
Beet varieties to try: Chioggia, Avalanche, Gourmet Blend
7. Carrots
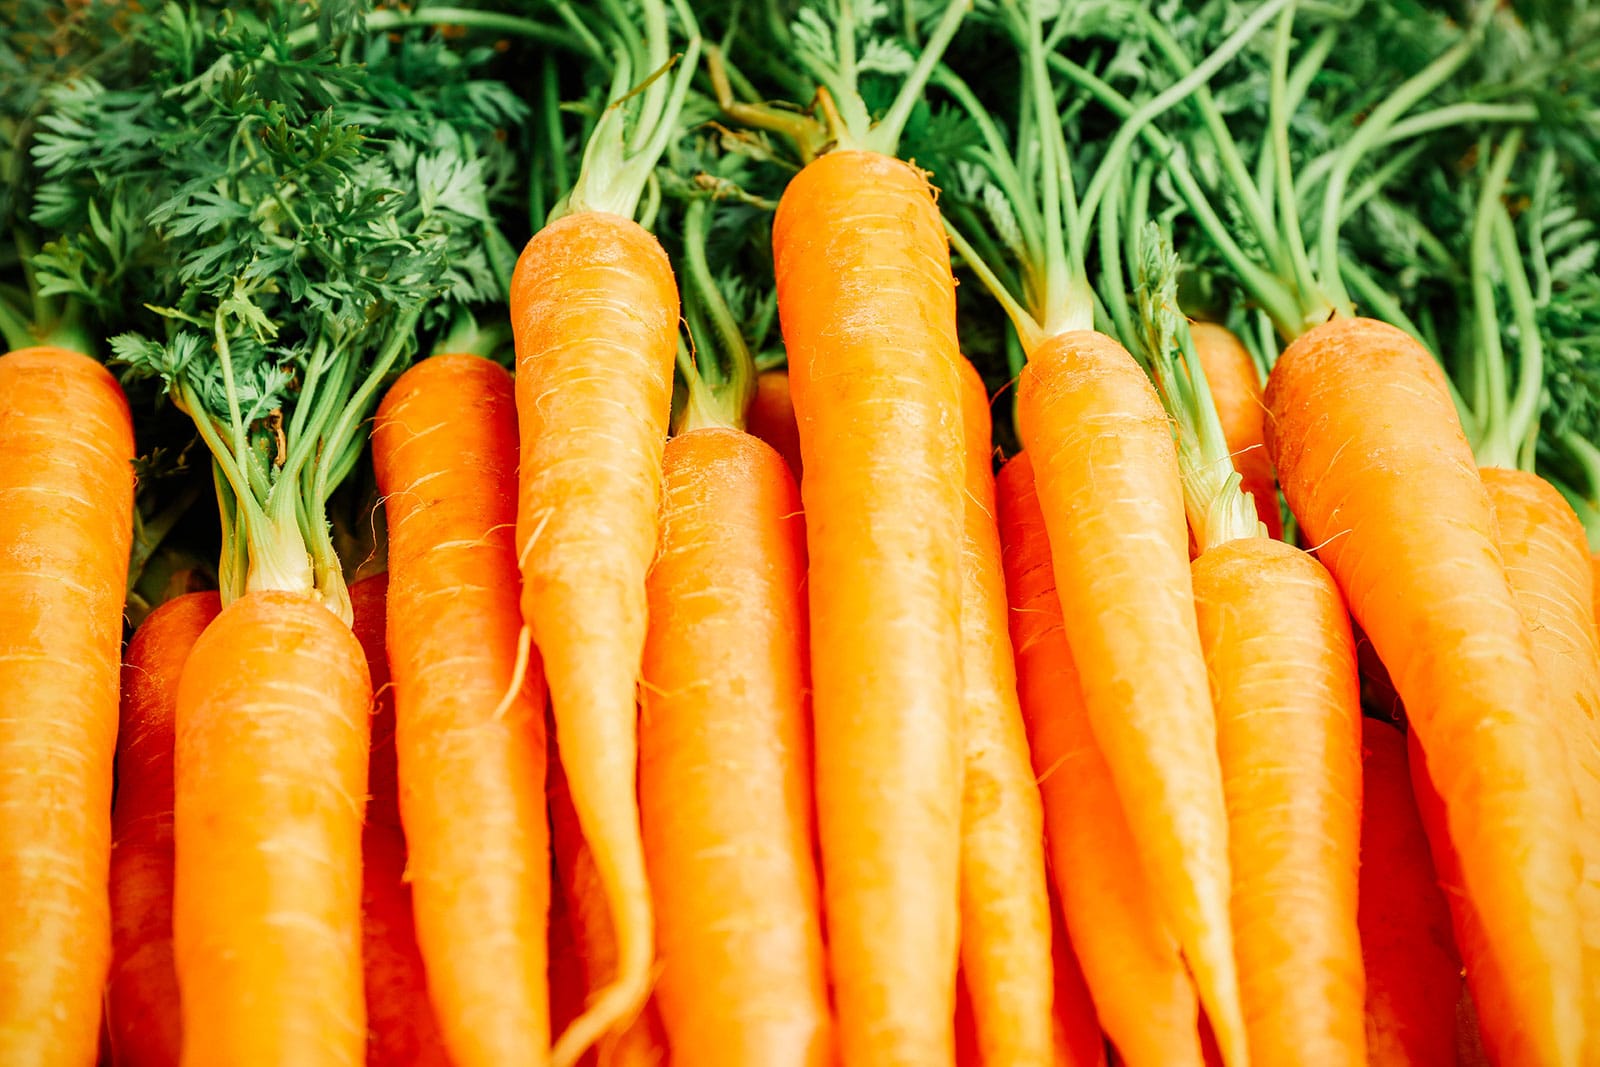
Carrots, like most root vegetables, grow well indoors since they don’t require as much light as fruiting vegetables to produce a good crop—they can make do with at least 4 hours of direct sun if that’s all you have.
That said, more light helps the plants grow more quickly so you don’t have to wait a few extra weeks before you can harvest.
With container-grown carrots, I prefer shorter, fatter varieties that don’t need a lot of depth. Round carrots like Tonda di Parigi are perfect for pots, but you can grow any variety as long as you have a deep enough container (at least 12 inches deep), or you harvest the carrots in the baby stage.
Seed to harvest: 40 days for baby carrots, 60 to 75 days to maturity
Carrot varieties to try: Tonda di Parigi, Little Finger, Carnival Blend
8. Bush beans
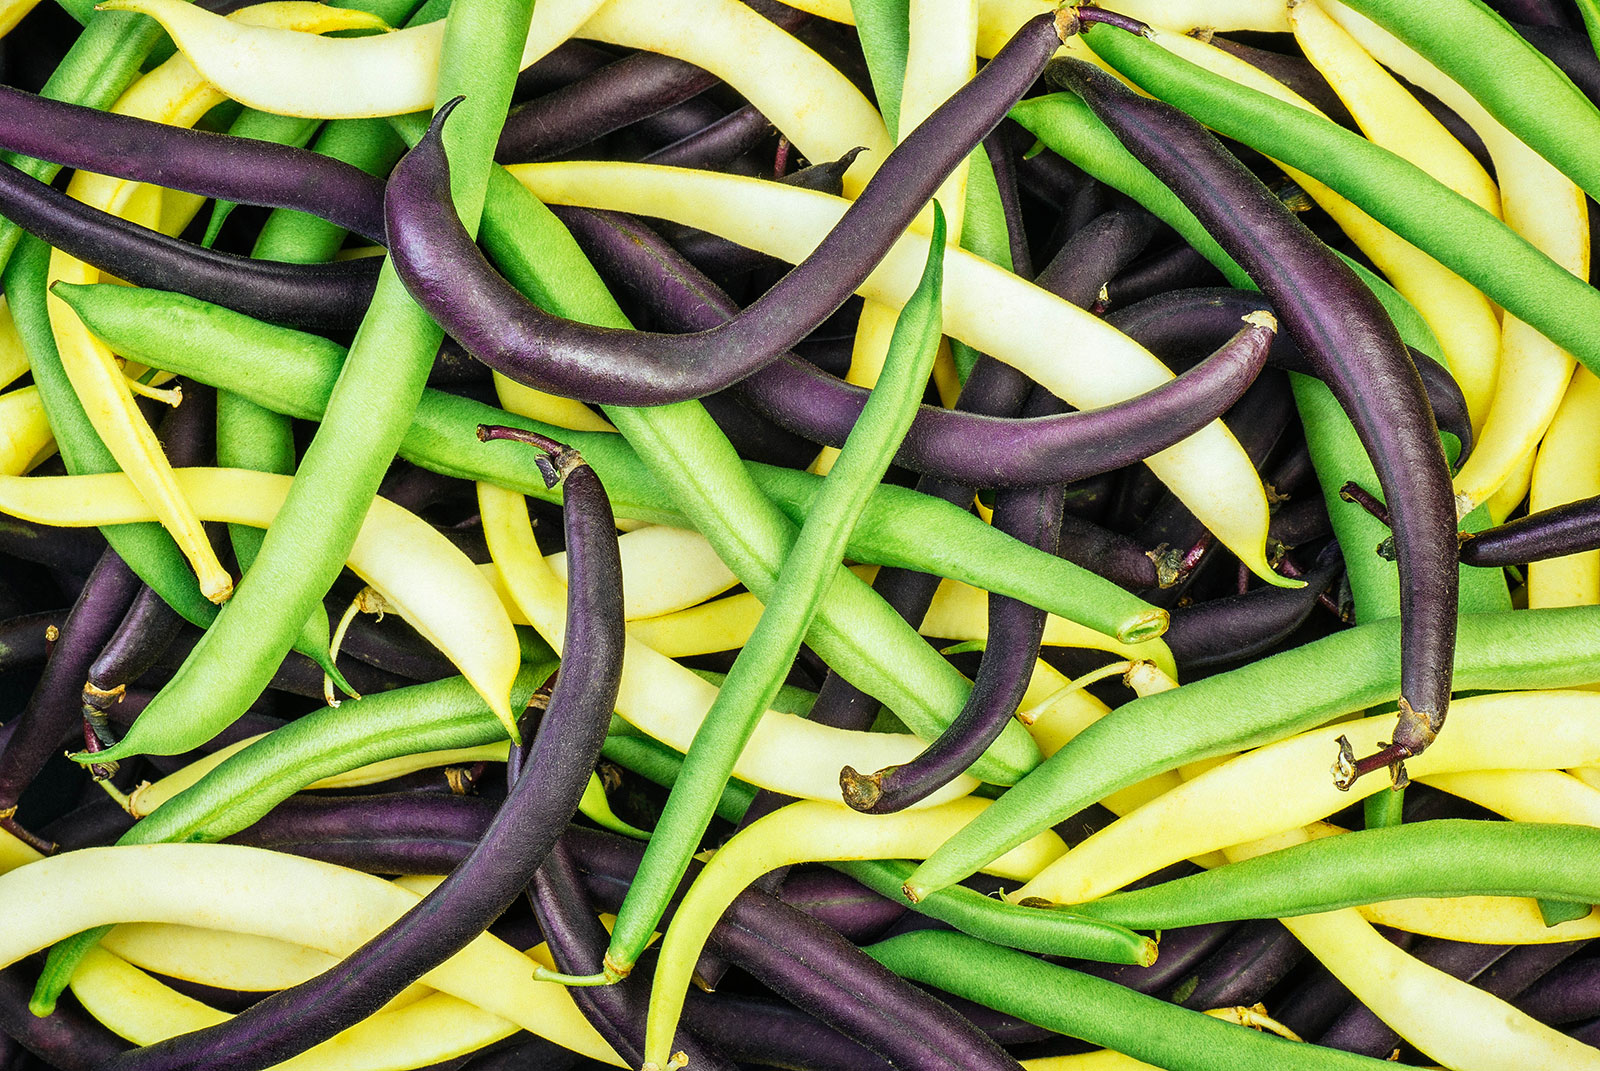
Unlike their lanky, climbing counterparts (pole beans), bush beans stay upright and compact.
They’re also one of the very few fruiting crops that can produce a decent harvest with as little as 4 to 6 hours of direct sunlight. (That’s why I recommend them as a shade plant for a vegetable garden.)
Bush bean plants should be spaced 6 inches apart, with new seeds sown every three weeks if you want a continuous harvest all year long.
Seed to harvest: 50 to 60 days
Bush bean varieties to try: Royal Burgundy, French Filet, Eureka
9. Peas

You might be surprised to see peas on this list if you instantly picture the twisty, tangled, 6-foot-long vines you usually grow outdoors.
But indoors, you can try a non-vining variety like Tendersweet, a snap pea that grows upright to about 18 inches and doesn’t need any kind of support (though a small trellis or teepee can help keep the vines more manageable for easier harvesting).
You can also grow bush peas, which stay bushy and compact. All of them have edible pea shoots, pea flowers, and pea pods.
Be sure you give the plants as much light as possible to help the pods mature faster. Or if you lack adequate light, simply grow them for the sweet-tasting shoots.
Seed to harvest: 21 days for pea shoots, 65 to 75 days to maturity
Pea varieties to try: Tendersweet, Sugar Daddy, Green Arrow
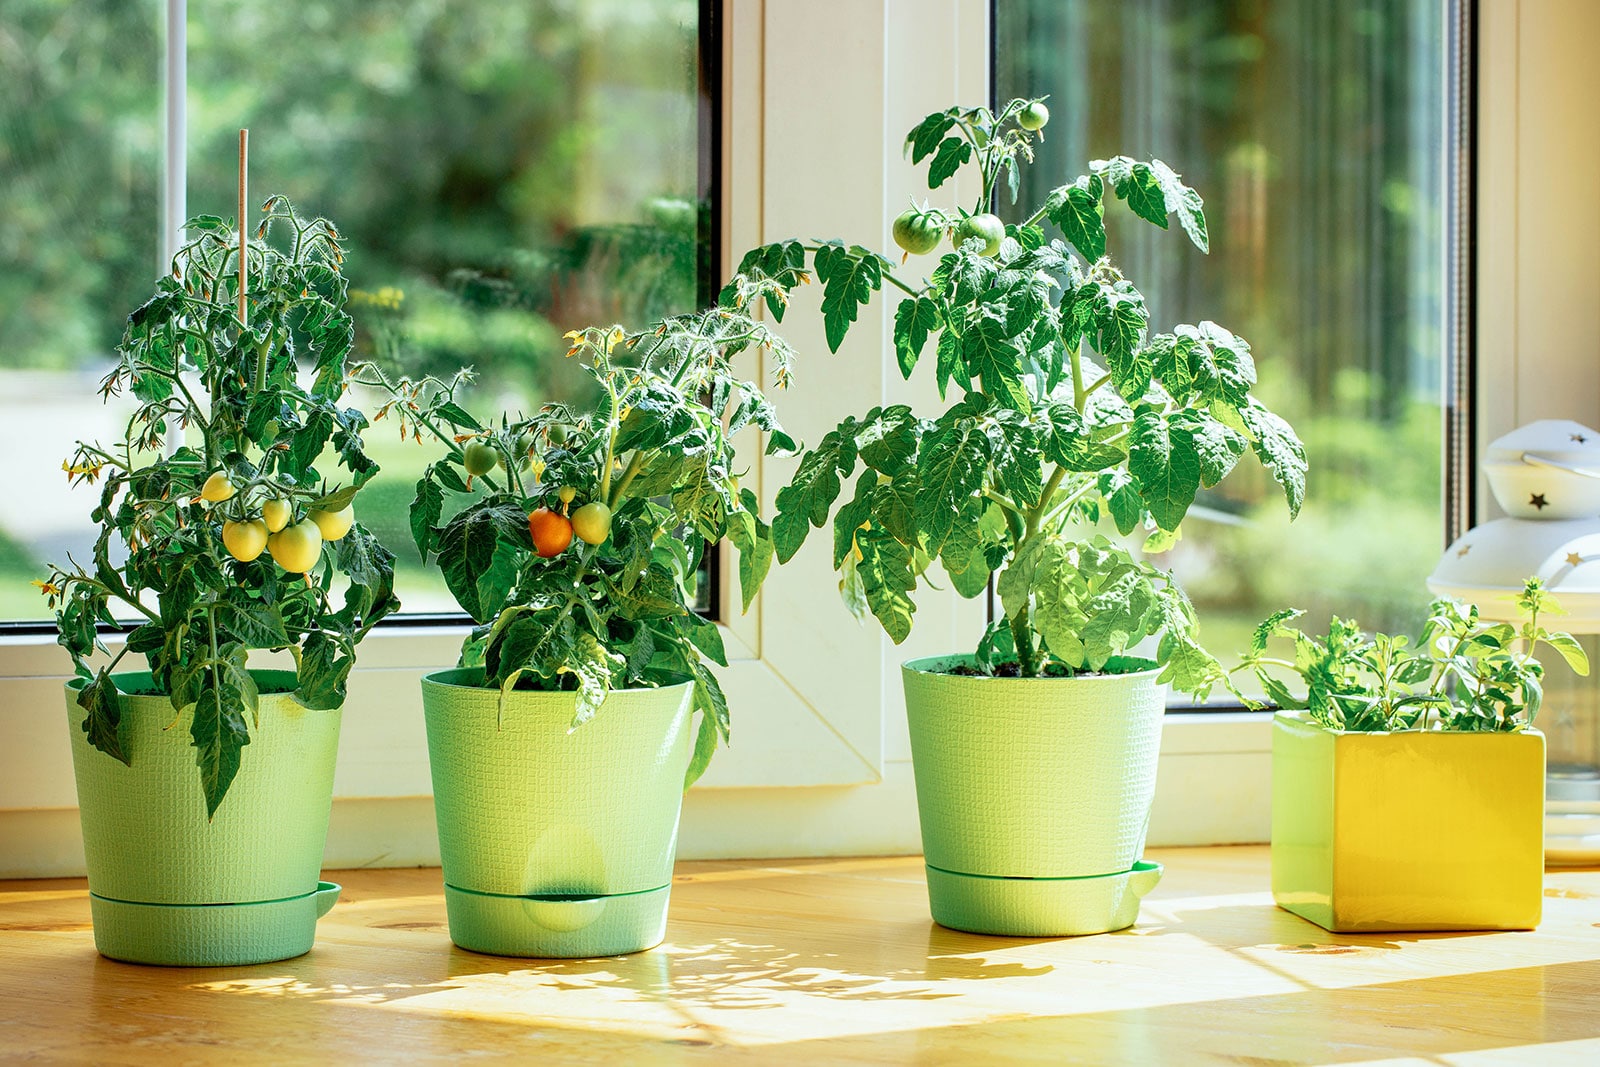
10. Micro tomatoes

I know I said you can’t really grow tomatoes indoors without an extensive grow light system, but micro tomatoes are the one exception.
These are not simply tomato plants that you keep small. They’re special mini varieties that typically top out at around 12 inches in height, yet bear ridiculous amounts of juicy cherry tomatoes.
Planting instructions say you can grow micro tomatoes in a 6-inch pot, which is amazing if all you can spare is a windowsill. But if you have the space, a 1-gallon pot will yield better results and give the roots more room to develop.
Give this plant plenty of sun (at least 8 hours) and run a fan nearby for a few hours a day to pollinate the flowers. (Or you can give the plant a light shake each day to help distribute the pollen.)
Seed to harvest: 55 to 85 days
Micro tomato varieties to try: Red Velvet, Tiny Tim, Orange Hat, Red Robin, Venus Micro Dwarf
What you need to start an indoor vegetable garden
Containers
As long as your containers have drainage holes, you can use almost anything to grow your vegetables indoors. Some common container choices include terra cotta pots, plastic pots, wooden planters, window boxes, or my personal favorite, fabric pots.
Fabric pots allow roots to breathe by air pruning them. Once the roots hit the sides of the pot, they branch off into masses of small roots (instead of circling round and round, as they do in other pots).
This means no more rootbound plants! These are the fabric pots I recommend for indoor growing.
Related: These are the best grow bags for your garden
Just make sure you have a drip tray underneath your container to protect the floor and surroundings.
Potting mix
High-quality potting soil is a must for container plants. Despite their name, potting soil is not actually soil, but a mix of chemically inert ingredients like perlite, vermiculite, and peat moss (or coco coir).
This mix provides a loose, fluffy medium that retains moisture and drains excess water. Some potting soils may also include compost, mycorrhizae, worm castings, fertilizer, or other supplements that boost biological activity.
In fact, soilless mixes are so simple in their composition that you can easily make your own potting mix at home.
Just make sure your potting mix doesn’t contain topsoil or soil from your garden, which is much too dense for a container-grown plant and can suffocate its roots. Not to mention, you risk introducing outdoor pests and diseases to your indoor plants.
Fertilizer
Indoor-grown vegetables benefit from organic liquid or granular fertilizers throughout the growing season.
I start every potting session by mixing 2 tablespoons kelp meal with 1 gallon potting soil in a large tub before filling my pots with it. (This is the potting tray I use.)
Kelp meal (a finely powdered form of sea kelp) is a sustainable and completely natural product that contains over 70 vitamins and minerals.
As an organic fertilizer, it adds valuable micronutrients and growth factors that stimulate root growth, reduce plant stress, increase pest and disease resistance, and increase yields. Think of it as giving your plants a head start and equipping them with a better immune system.
However, kelp meal does not provide enough NPK (nitrogen, potassium, and phosphorus) so additional fertilizer is needed. I simply use a balanced all-purpose fertilizer or vegetable fertilizer, following the application rates on the package.
Recommended
Indoor gardening supplies
Light
Most vegetables need at least 6 hours of direct sun to thrive, but the more light you can give them, the faster they’ll grow and the more they’ll produce.
This is especially important if you’re growing vegetables indoors during the winter months, when there’s less daylight available and the sun is lower on the horizon. Without adequate light, your plants will become leggy and grow very slowly until the amount of daylight lengthens.
I recommend placing your plants in front of a south-facing window that gets ample sun during the day (without obstruction from trees, fences, or other structures).
Temperature
In general, vegetables do best with an ambient room temperature of 65°F to 75°F, as long it stays consistent and isn’t too drafty.
Try to keep your plants away from fireplaces, heating vents, and similar heat sources, which can dry them out.
Humidity and water
Low humidity is tough on plants, and even more so in winter, when the dry indoor air from heating our homes causes plants and soil to lose moisture fast.
A room humidifier can help create a humid microclimate around your potted plants, but the best way to keep them hydrated is to place them farther away from heat sources and provide consistent water.
It’s important to remember that potted plants dry out much faster than in-ground plants, and those in small containers dry out the quickest.
Always water your plants thoroughly until water drains freely out the bottom, then water again once the first inch of soil feels dry.
Air circulation
Good air circulation helps plants grow stronger by strengthening their stems, and prevents problems with mold and fungal diseases.
With fruiting plants, proper air flow also helps with pollination (even with self-fertile plants like tomatoes, which typically require insects buzzing around or soft breezes blowing to pollinate its blooms).
If you have a simple house fan (like a box fan or oscillating desk fan), just run it on low speed for a few hours each day near your plants. (You can put it on a timer so it’s completely automated.)


I have no south facing window. can you recommend a grow light to use for my indoor plants?
This article was absolutely fantastic
Hi Linda, I have been saving your article for months now I am ready to grow all of my vegetables down stairs in my basement. I have grow lights, all types of planters large and small & all types of different soils (could not find kelp) your article is a Blessing with helping on room temperature, watering, hours of light, humidifier, fan etc.
Thank You for taking the time to share your knowledge with beginners 😉
Thanks! I’m a beginner gardener and this helped a lot!
Great post! Thanks for posting!
Hello this is a great article. But what I am wondering if for those of us with new windows that block a lot will this still work?
I love my orange hat tomatoes. They have been producing all summer. I wonder if I can bring them in?also they have them at rare seed also.
Thank you.
Hi Sharon,
I can’t grow anything in front of my new windows. There’s a film or something to block the rays that plants need. I finally set up a garden in my basement with some LED grow lights.