
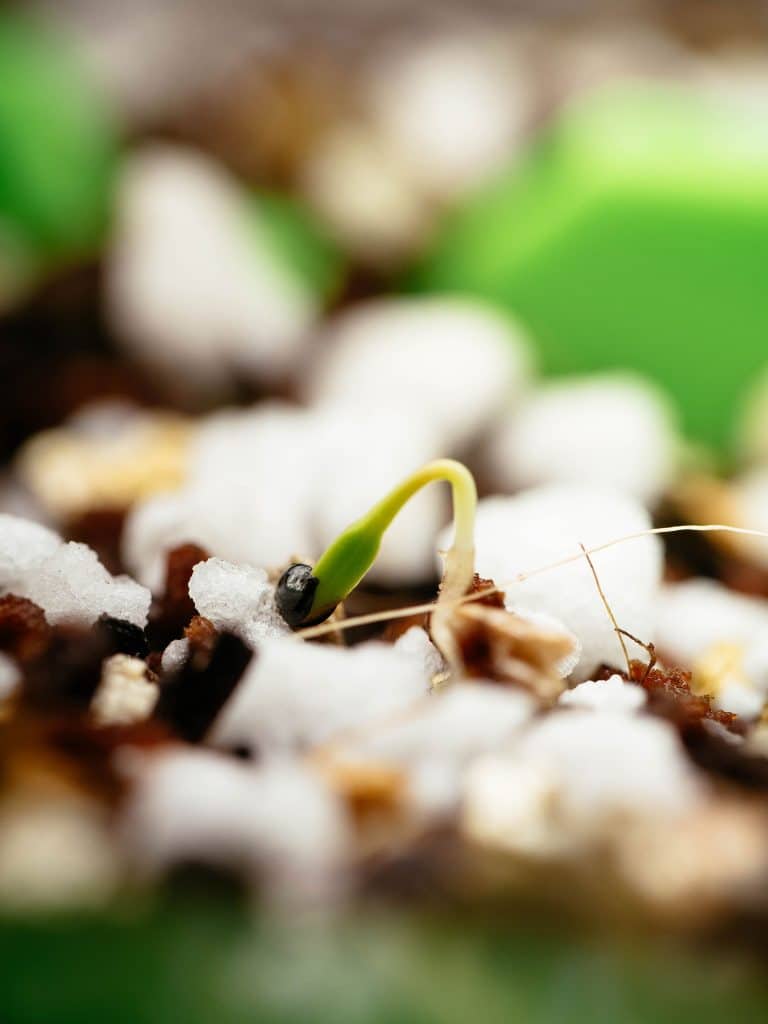
I started my first seeds of the season last week—tomatoes, my favorite summer crop. I like to give them a head start by sowing the seeds indoors so that come May (if I’m lucky), I can harden them off and transplant them outside.
Related: My 10 best tips for growing tomatoes like a pro
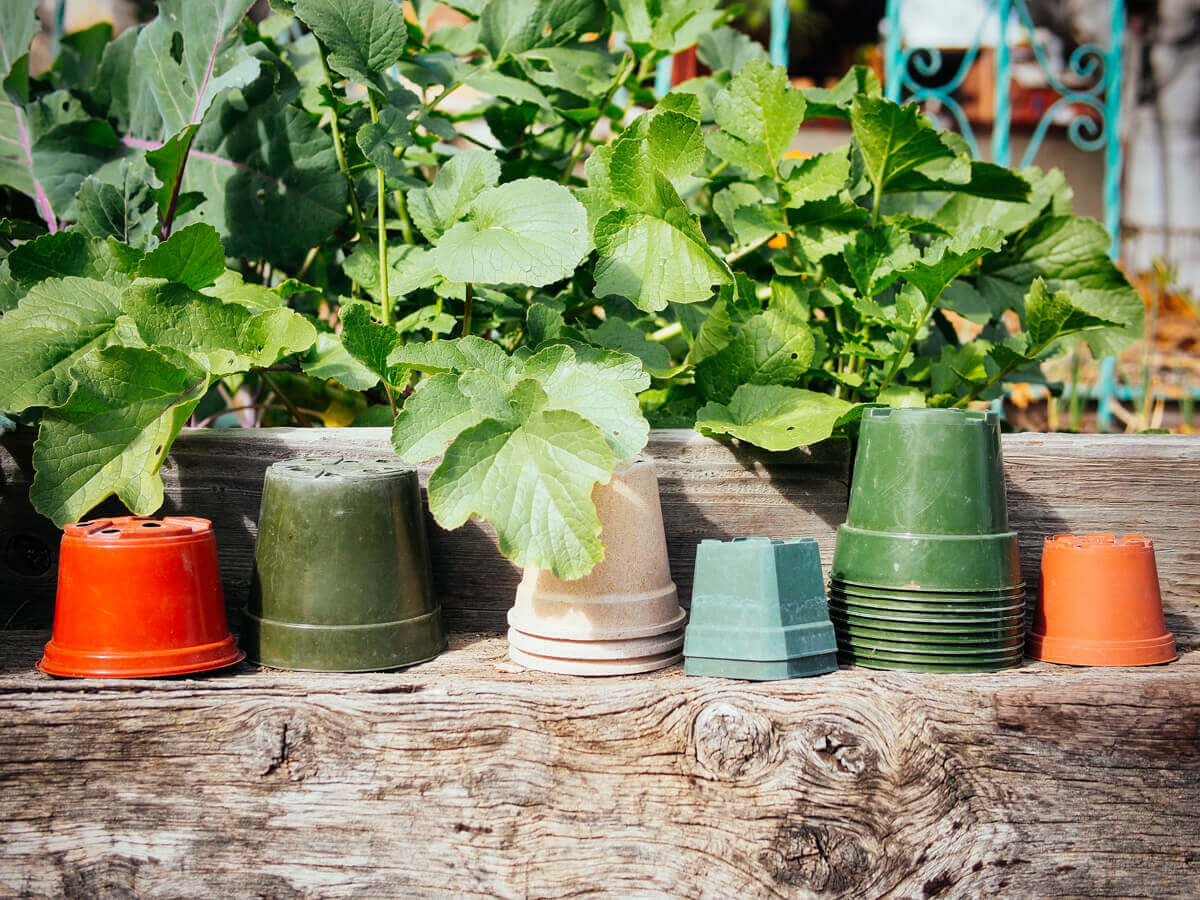
Right now I’m starting several varieties of tomatoes, purple tomatillos, and shishito peppers in 16 tiny seed starting pots recycled from years past. While 16 sounds like a reasonable number, it’s not uncommon for me to have upwards of 100 pots or more, of all sizes, once I’m in the thick of seed starting season.
And, I rarely buy new pots.
I have a huge collection of containers in the yard, ranging from 1-inch seed starting flats to 1-gallon plastic pots. At one time or another I brought these home from various nurseries, and have reused them season after season.
Read more: This is why disinfecting your plant pots is overkill
But with my garden growing every year, I often don’t have all the pots I need in spring, when hundreds of seeds await their new homes.
That’s why I start gathering them now, and chances are, you can find just as many containers around your house and not spend a cent on “proper” seed starting pots.
Further reading: The best places to find quality seeds for free (or cheap)
These upcycled seed starting containers only need to last a few weeks, but ones made of more durable materials (like old tea tins or baking sheets) can be used year after year.
Where to find cheap seed starting containers
1. Newspapers and eggshells
If you’re the crafty type, you can easily make your own pots from newspapers and repurpose eggshells as seed starters. Cranking out a season’s worth of newspaper pots is an especially well suited activity for a rainy day or movie night. (Try this with toilet paper tubes too.)
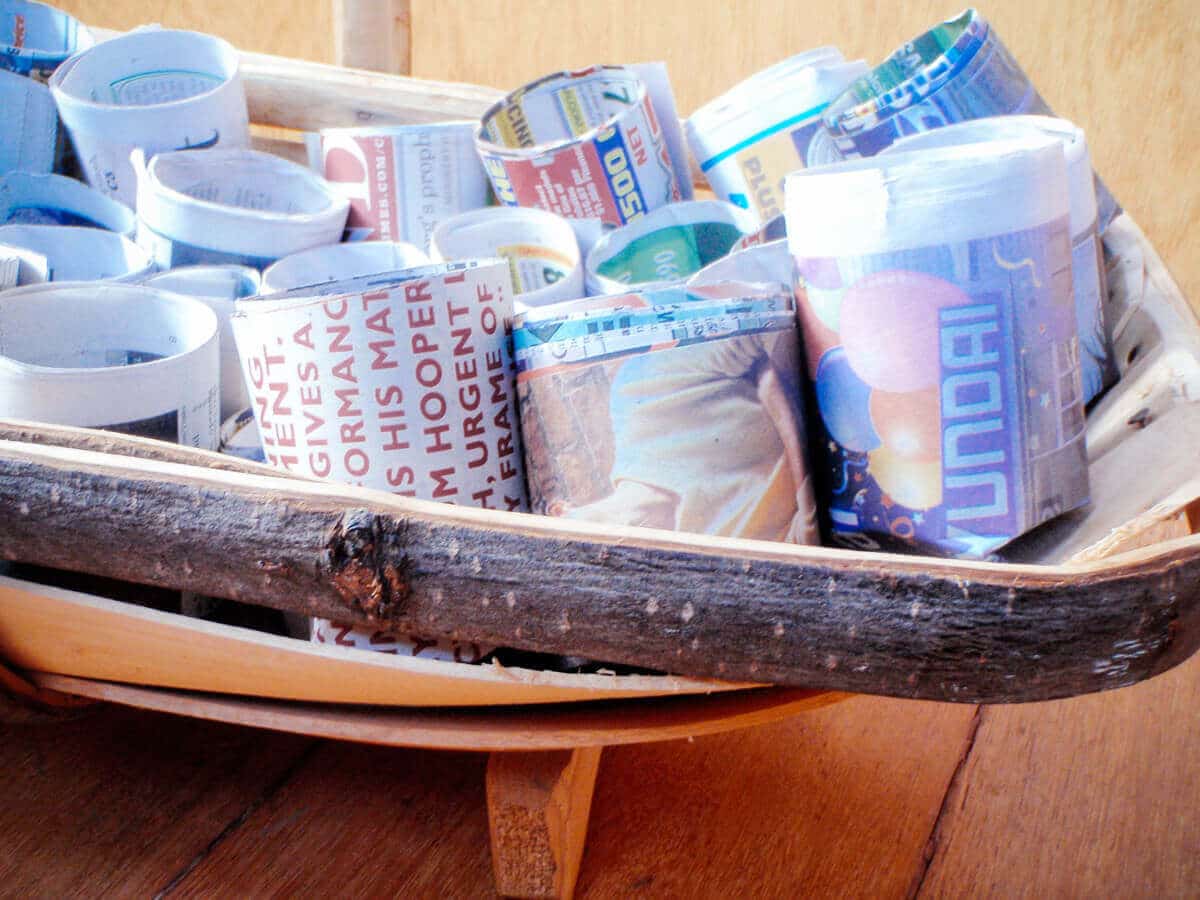
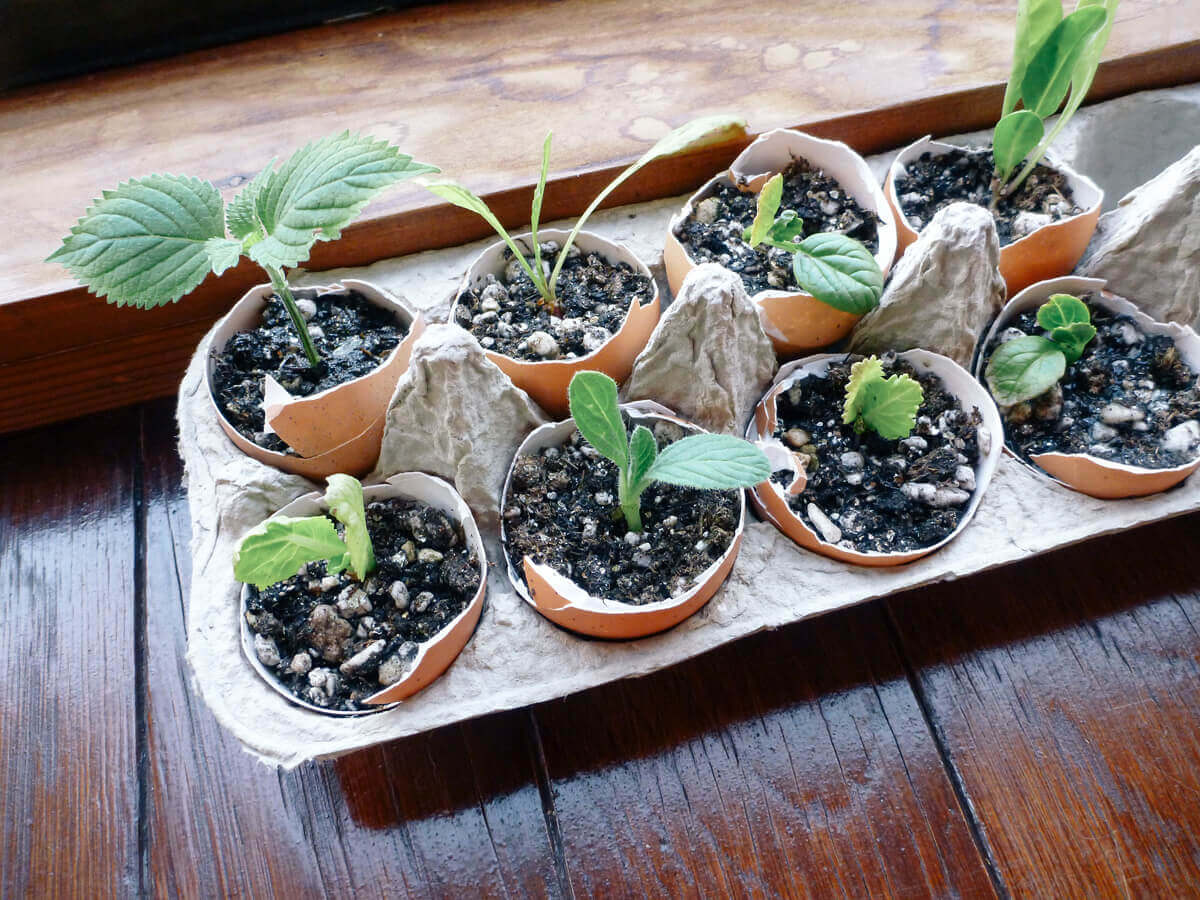
And while my eggshells now get crushed up and fed to my chickens as extra calcium, they still make great containers for starting just a few seeds on your windowsill.
2. Empty food containers
Here we have a few things from my kitchen this week, which ordinarily would’ve been tossed in the recycling bin. But, they are perfect for seed starting!
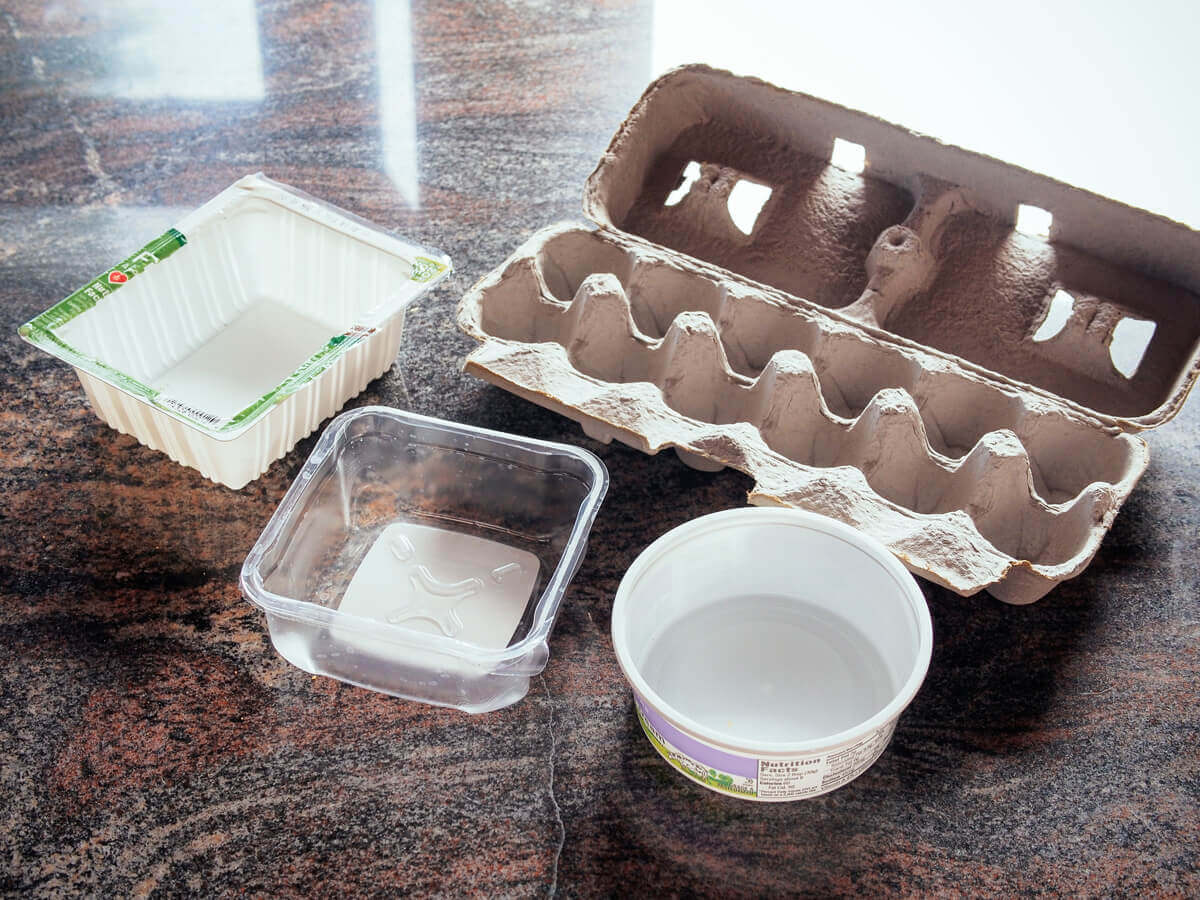
I’ve saved a cardboard egg carton (which you can plant in the garden with your seedling, as the paper will decompose naturally), a tub that previously held a block of tofu, a carton that had feta in it, and a container that once had sour cream.
You’ll need to poke a few holes in the plastic containers for drainage (a nail works well) and can set them on top of a baking sheet or other repurposed container to catch drips.
3. Empty beverage containers
Along the same lines, you can upcycle paper milk cartons, plastic juice jugs, plastic water bottles, and plastic soda bottles by cutting off the tops and leaving 2 to 4 inches on the bottom for planting, depending on how wide your container is.
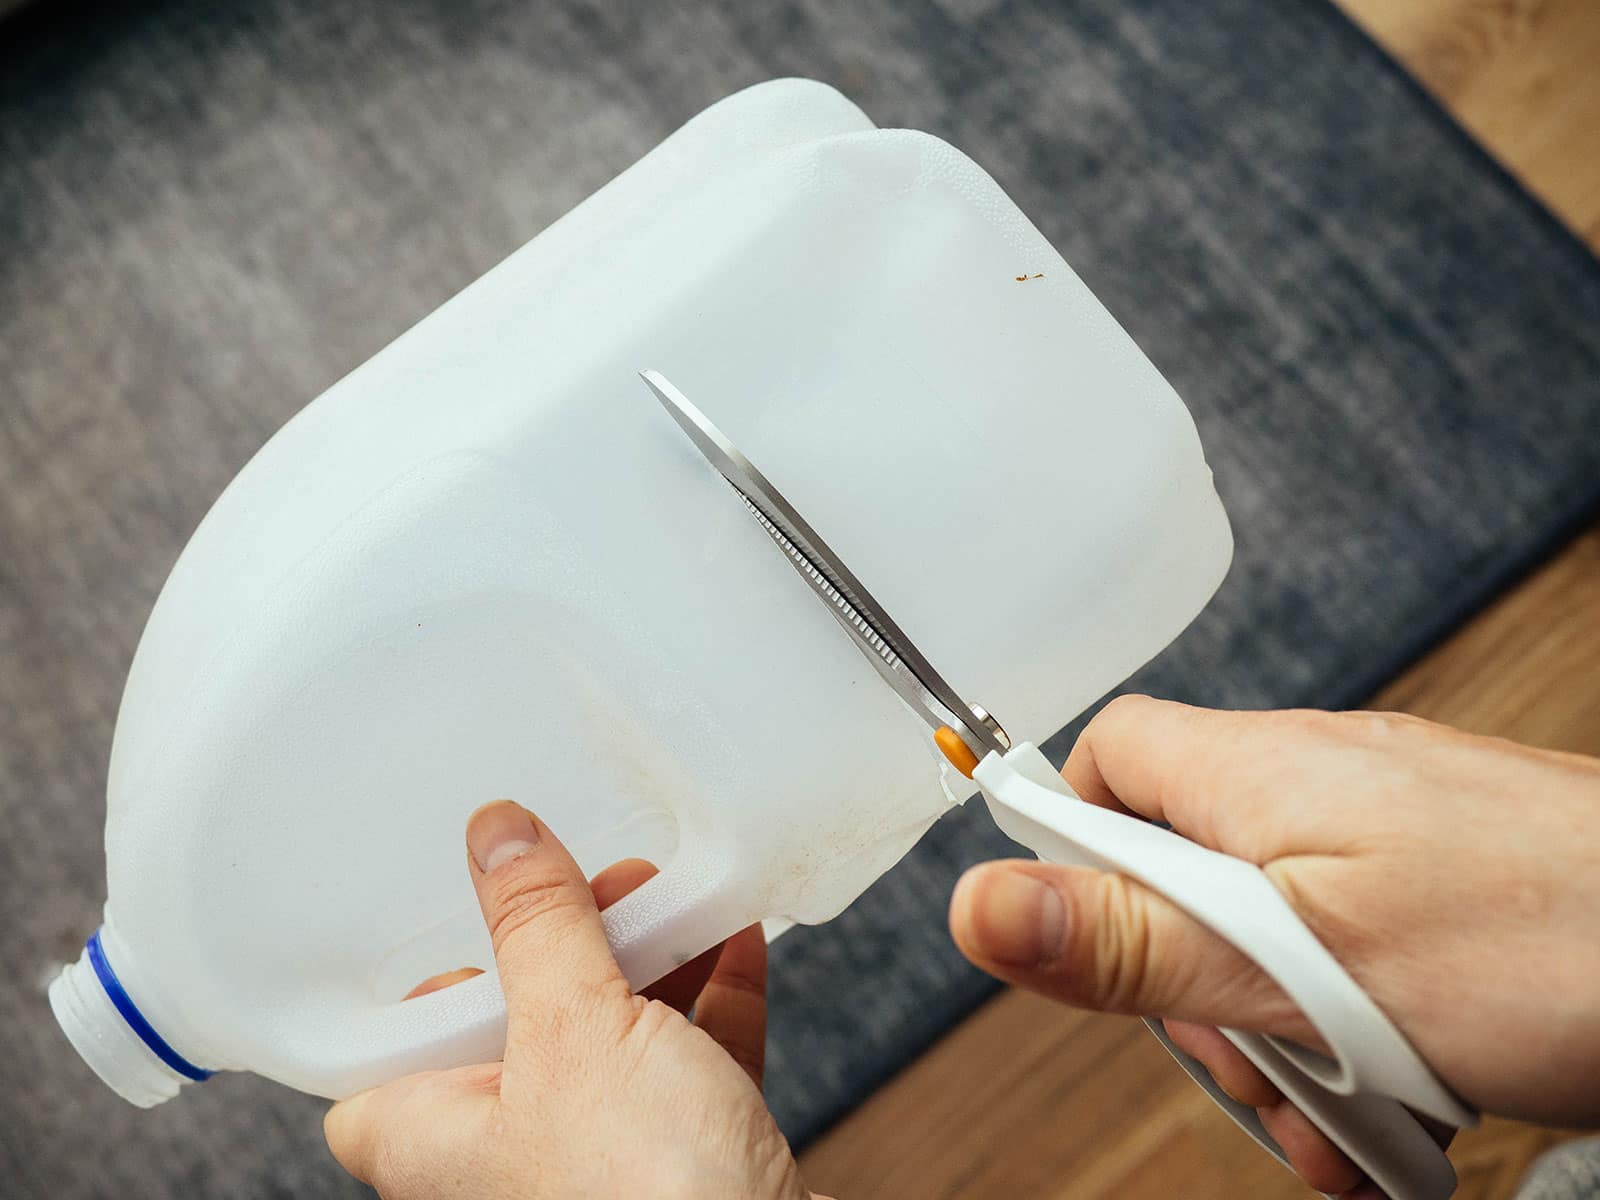
When you’re done with them, you can store and reuse them next season (if they’re still in good shape), or finally send them to recycling.
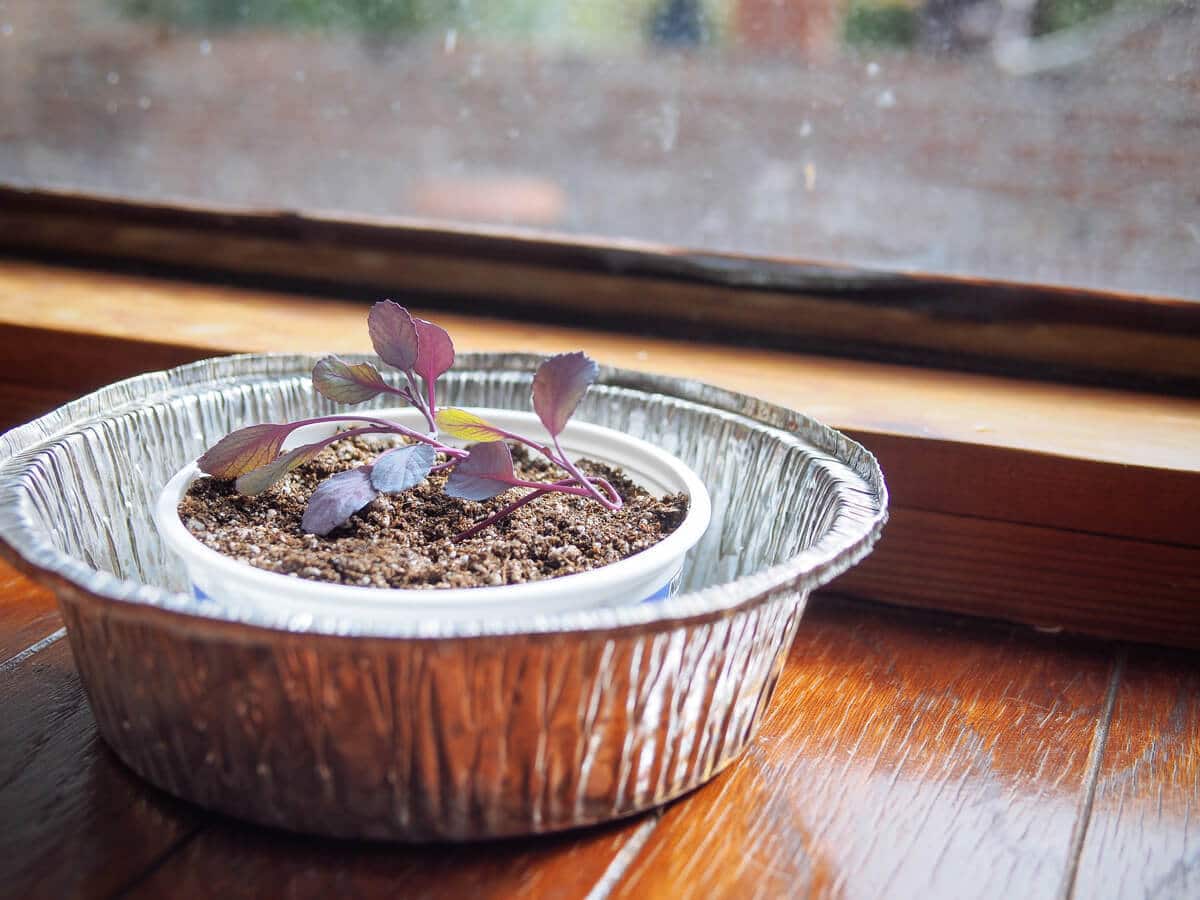
4. Take-out containers
Take-out containers are useful too, and the aluminum ones are good for turning into drip trays as well as seed trays.
I also like deli take-out containers (the same ones you typically see in meal planning) as they’re sturdy enough to last all season (so you can start a few batches of seeds in succession).
5. Rotisserie chicken containers
If you buy rotisserie chicken from the grocer, the container it comes in makes an ideal mini greenhouse. Warmth speeds up germination, and this provides a warm and cozy environment without the need for a heating mat. Simply poke some holes in the bottom tray, fill it with soil and seeds, and place the cover over it.
The cover already has holes for ventilation, so your greenhouse is ready to go. In a couple of weeks, remove the cover to allow more air to flow between the seedlings (and reduce the chances of damping off disease).
6. Plastic clamshell containers
What else makes a good greenhouse? Those plastic clamshell boxes that your lettuce and spinach came in! This is truly coming full circle—using an old salad container to grow new salad.
The containers are fairly deep, so fill them halfway with moistened seed starting mix, poke holes in the bottom, sow your seeds, and close. Once your seedlings have sprouted, you can leave them uncovered in a warm and sunny spot.
7. Ordinary kitchen supplies
Unwanted kitchen tools, like ice cube trays, muffin tins, and baking dishes, are not only a nice size for starting seeds, they’re much more durable than flimsy plastic recyclables. You’ll need to drill holes into these denser materials, but they’ll last for many years even as you use and abuse them outside.
I hope some of these ideas will have you seeing your “trash” in new ways this growing season!
Read next: The best seed starting supplies to buy from the dollar store
This post updated from an article that originally appeared on February 3, 2014.


I use almond milk cartons as drip trays. I cut one long side out, making sure to keep the side with the cap. These hold 8 toilet paper rolls that I use for seed starting.
uso sempre i cartoni delle uova
how do you get them out without hurting the plant? They don’t seem to “pop-out” as easily as when I get seedlings from a store partially because they aren’t root bound.
Hi! How do you transplant the seedlings outside, once the time of year is right, if you start them in a salad container? Thanks!
In a previous article you said washing containers was not necessary .
My husband was thrilled ! Today’s article mentions washing a couple of times.
I start about 2000 plants a year. Please set me straight .
Haha! To clear any confusion, I don’t bother with washing in the sense of soaping or disinfecting my pots. But, I occasionally do rinse them out with a hose if needed, just enough to get most of the dirt out so they stack better. And sometimes, my idea of “washing” simply means brushing or wiping the dirt out. Washing is merely a personal (aesthetic) preference and not really necessary unless the pots held diseased plants (and even then, I opt to throw out cheap nursery pots rather than disinfect them).
Great ideas Linda. I’ll add that if you do want to get nursery-style pots I found a whole stash of them at our local Habitat Re-Store for about a dime each, and the trays too. Not only that but there were also plenty of garden tools and leftover irrigation tubing for very cheap.
Ohhh yes! Great idea! We browse our local Re-Store once a month. Love that place!
Thank-you so much for all your info!! Beautiful site! I’ve learned so much.
You’re welcome! I appreciate your kind comment!
I grew all my bean, tomato and peas seedlings this year in yogurt pots. Awesome. I must poke some drainage holes in the bottom next time.Yay for reusing and upcycling!
Love all of these great ideas for items at home. Thanks for sharing you’ve helped me to cut costs and grow more food at one time.
Erin @ http://thepetitestag.wordpress.com/
How often are you supposed to water seedlings?
It depends on the environment (sunny/cloudy/warm/cool) and the size of the container, but in general, just keep the soil consistently moist but not waterlogged. For seedlings, this could mean a light watering every day or every couple of days.
Start collecting them now! Seed Starting Containers You Already Have Around the House http://t.co/xhZG0QT5vX < TY for RT! @adunlea
RT @theGardenBetty: RT @AnnGGiroux: Great ideas! RT @theGardenBetty Seed Starting Containers You Already Have Around the House http://t.co/…
RT @theGardenBetty: RT @AnnGGiroux: Great ideas! RT @theGardenBetty Seed Starting Containers You Already Have Around the House http://t.co/…
RT @AnnGGiroux: Great ideas! RT @theGardenBetty Seed Starting Containers You Already Have Around the House http://t.co/xhZG0QT5vX
I’ve already started collecting mine. But, I have to hide it away. My husband keeps thinking it’s recycling and puts it back in the bin. This is even better though, repurpose, then recycle.
RT @TuffGuardHose: “SEED STARTING CONTAINERS YOU ALREADY HAVE AROUND THE HOUSE” helpful tips from @theGardenBetty http://t.co/vUF4e91T9Q
Upcycle your old containers into seed pots: Seed Starting Containers You Already Have Around the House http://t.co/PRTvfwrGuP #gardenchat
RT @aweekendgardnr: Seed Starting Containers You Already Have Around the House http://t.co/bGNPpHimE3
From old newspapers to empty food cartons: Seed Starting Containers You Already Have Around the House http://t.co/c4XkS630wd #gardenchat
Lydia Ann liked this on Facebook.
Great ideas! RT:@theGardenBetty Start collecting them now! Seed Starting Containers You Already Have Around the House http://t.co/FGz9ksnivk
Start collecting them now! Seed Starting Containers You Already Have Around the House http://t.co/xhZG0QT5vX #gardenchat #gardening
RT @aweekendgardnr: Seed Starting Containers You Already Have Around the House http://t.co/bGNPpHimE3