What if I told you there was a faster way to germinate all your seeds, without the need for seed starting mix, perlite, or vermiculite; without wrangling a bunch of seed starting trays, flats, and domes; and without any special equipment like heating mats, temperature sensors, and indoor seed starting systems?
The secret is as low-tech as you can get, and relies on only two things you likely already have in your kitchen: paper towels and Ziploc bags.
This seed starting trick is sometimes known as the baggie method, and it works with paper towels, coffee filters, or even just newsprint.
But first, you might be wondering… why start seeds with the baggie method instead of just starting them in soil? Keep reading; I’ve got all your answers below.
3 reasons you should use paper towels or coffee filters for seed germination
Now why would you want to germinate seeds in paper towels or coffee filters first, rather than germinating seeds indoors in seed starting mix?
1. It’s a good way to gauge if your seeds are viable to begin with, before you put them in pots.
Maybe you aren’t sure how old your seeds are (especially if the seeds were saved from your own plants).
Or, maybe you bought your seeds from a new seed catalog and want to check how healthy or accurate their germination rates are. (See the next section below on how to do a quick and simple germination test.)
2. You can start a lot more seeds this way and use only a minimum of space while they get going.
Germinating seeds in paper towels is very small-space friendly. You don’t need a bunch of trays or pots, a seed-starting shelving unit or even a wall of south-facing windows to make it happen. (Just a windowsill will do.)
Plus, the baggie method helps you pick out the fastest and most vigorous seeds to plant because you can actually see them germinate (a process that’s pretty mysterious to most of us since it happens underground).
Read more: This Is What Happens When a Seed Germinates
3. Many seeds germinate much quicker in paper towels (versus seeds that are started in soil).
The heat, moisture, and controlled conditions inside a plastic baggie help them germinate in only a few days (or less, depending on the seed).
How to test germination with the baggie method
Every once in a while, especially if your seeds are about to reach their expiry date, it’s a good idea to do a germination test and find out if the seeds are still worth planting.
Try this quick germination test when you’re unsure about your seeds
- Count out 10 random seeds from the packet you want to test.
- Follow the instructions below to germinate the seeds in a paper towel or coffee filter, and label the baggie with the date you started them.
- Look on the seed packet or in any seed catalog for the expected number of days to germination for the seeds you’re testing. Wait that number of days, then count how many seeds have sprouted in that time.
If 8 out of 10 seeds germinated, that gives an 80 percent germination rate, which is pretty good for most vegetables. If only 4 out of 10 seeds germinated, then you have a 40 percent germination rate and the seed is, for all intents and purposes, useless.
When I find these, I throw the old seeds in the compost pile or feed them to my chickens. I might play around and put them in a random “salad blend” to sprout on my kitchen table, but I won’t bother planting them in the garden as a primary crop.
It is not wise to sow the seeds more thickly to make up for low germination. Weak seeds that struggle to even sprout will just result in weak plants that are likely to suffer from aphid infestations, fungal diseases, or other problems anyway.
But notice how I said primary crop: Older seeds that are borderline expired are actually useful in the garden as a secondary planting. I broadcast these seeds over my garden beds and let them grow in as a living mulch. I harvest (or cut them back) periodically to keep the plants low to the ground, but find they’re highly beneficial for suppressing weeds and improving soil tilth.
(In fact, this is one of the methods I teach in my online course, Lazy Gardening Academy, that mimics natural systems and helps your garden become more self-sustaining.)
Read next: Lazy Gardening: 11 Time-Saving Tips for Getting More Out of Your Garden By Doing Less
What types of seeds can be germinated with paper towels?
All vegetable, herb, and flower seeds can be germinated in a paper towel or coffee filter, but personally, I find the baggie method to be most effective for seeds that take a long time to germinate.
Certain seeds that need a warm start (like chile peppers) are stubborn, taking up to three weeks to germinate. They need juuust the right conditions present before they sprout: the perfect balance of heat, moisture, and time.
In most seed starting scenarios, one or two of these requirements are usually lacking, which delays germination.
The baggie method speeds up the process by providing these conditions consistently with minimal effort on your part.
You can also germinate tomato seeds in paper towels or coffee filters, as well as cucumber, squash, muskmelon, and watermelon seeds.

Can you germinate kale, cabbage, broccoli, onion, or turnip seeds with the baggie method? Sure you can.
But cool-season seeds like these aren’t as finicky about heat, and seeds from the brassica family germinate quickly on their own anyway (usually within a couple days).
The baggie method isn’t necessary unless you want to test their germination rates; you can start them more easily just by sowing the seeds directly in the ground.
The same can be said for flower seeds. While you can sprout them in paper towels or coffee filters first, germination speed isn’t that important for flowers the way it is for vegetable seeds.
How to germinate seeds in paper towels or coffee filters
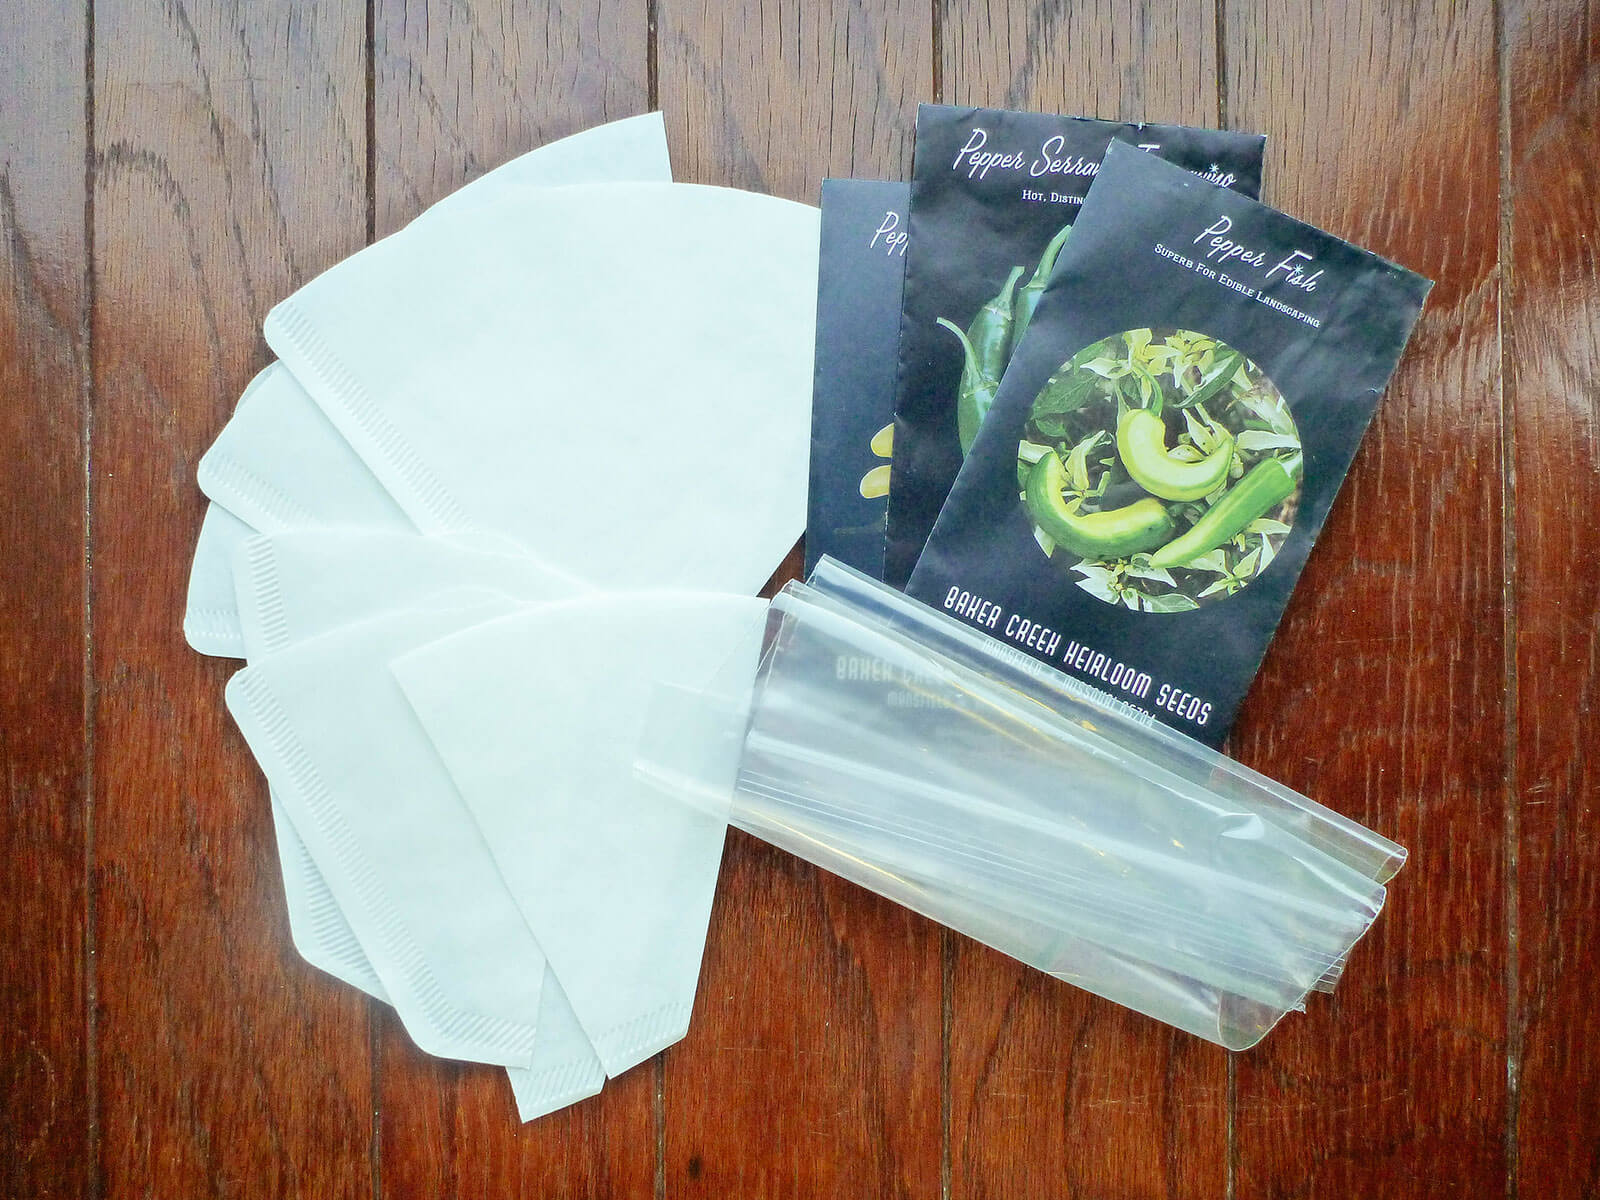
Step 1: Gather your supplies.
- Paper towels, coffee filters, or newsprint (use whatever you have around the house)
- Ziploc (resealable zip-top) bags
- Seeds
I personally like to use coffee filters because the paper has a denser weave, which keeps the roots from growing into the fibers and making them difficult to separate when you’re ready to plant.
Depending on how many seeds you want to germinate at a time, cut the coffee filters as needed. (I cut mine in half to fit inside standard sandwich baggies.)
Step 2: Moisten the coffee filters.
Wet the coffee filters and wring them out, so the paper is damp but not drowning in water.
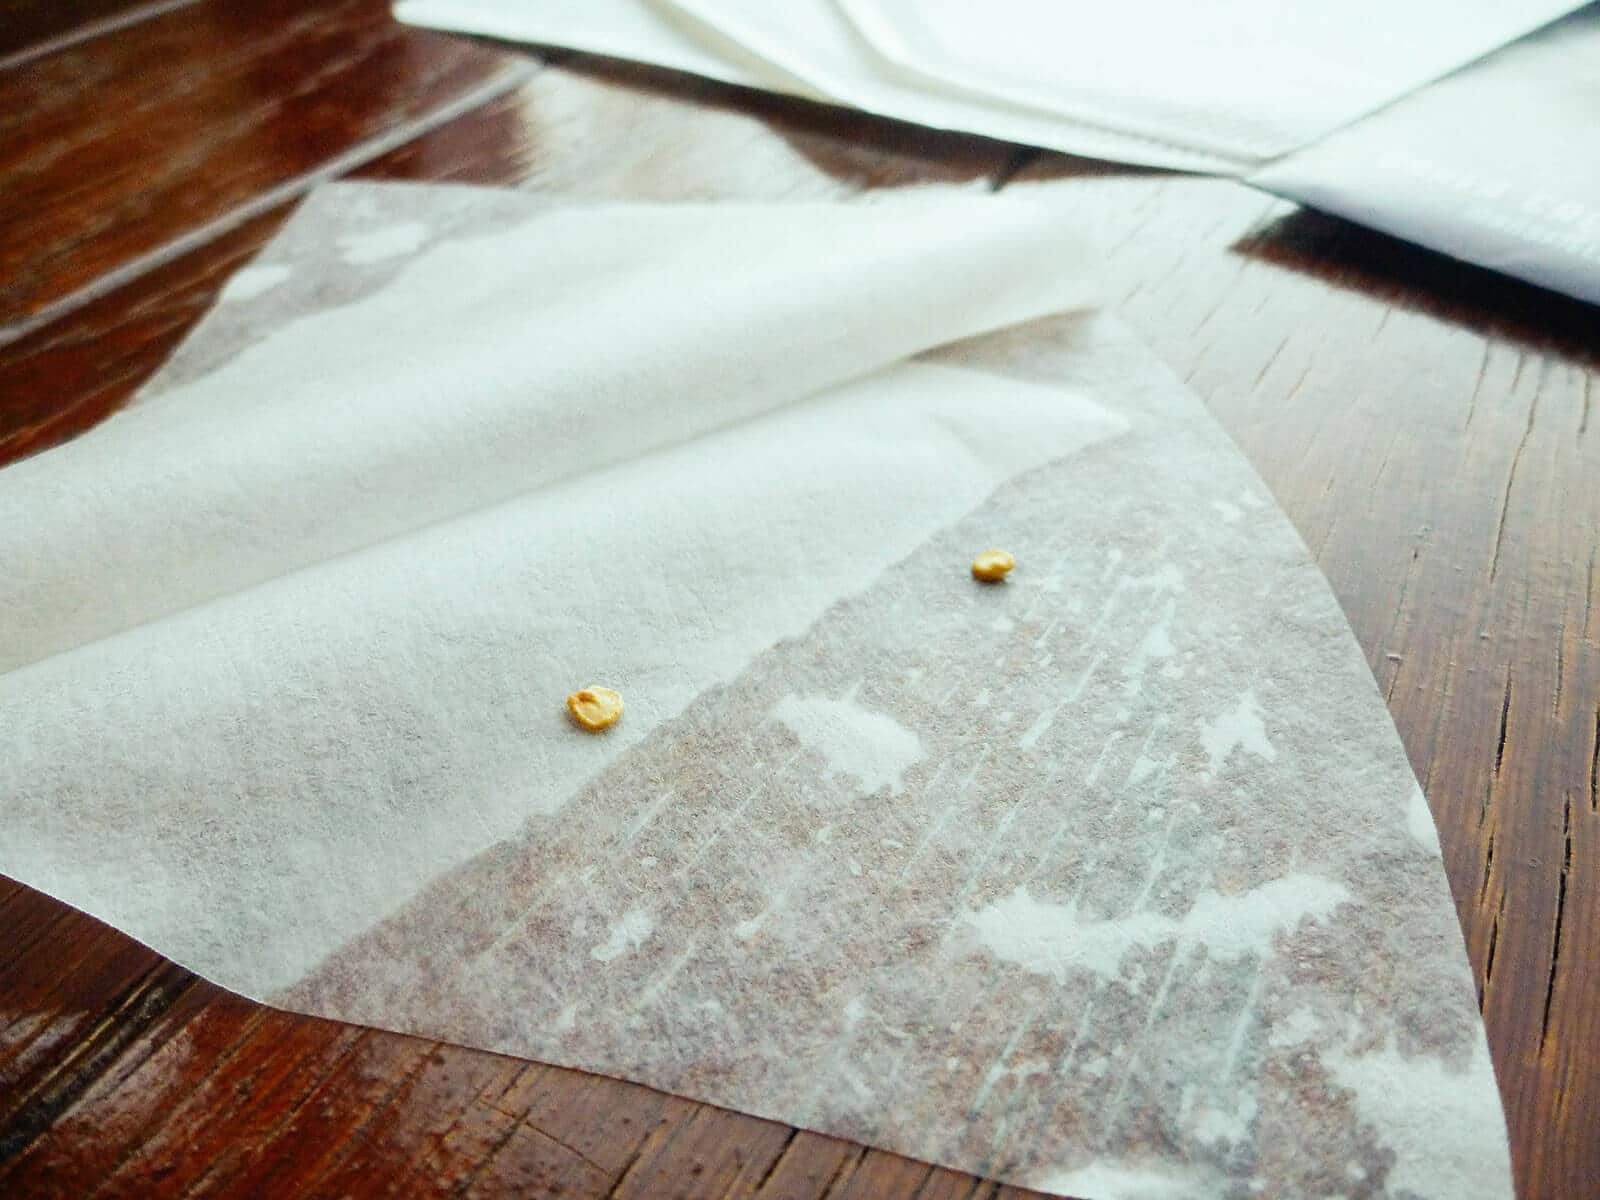
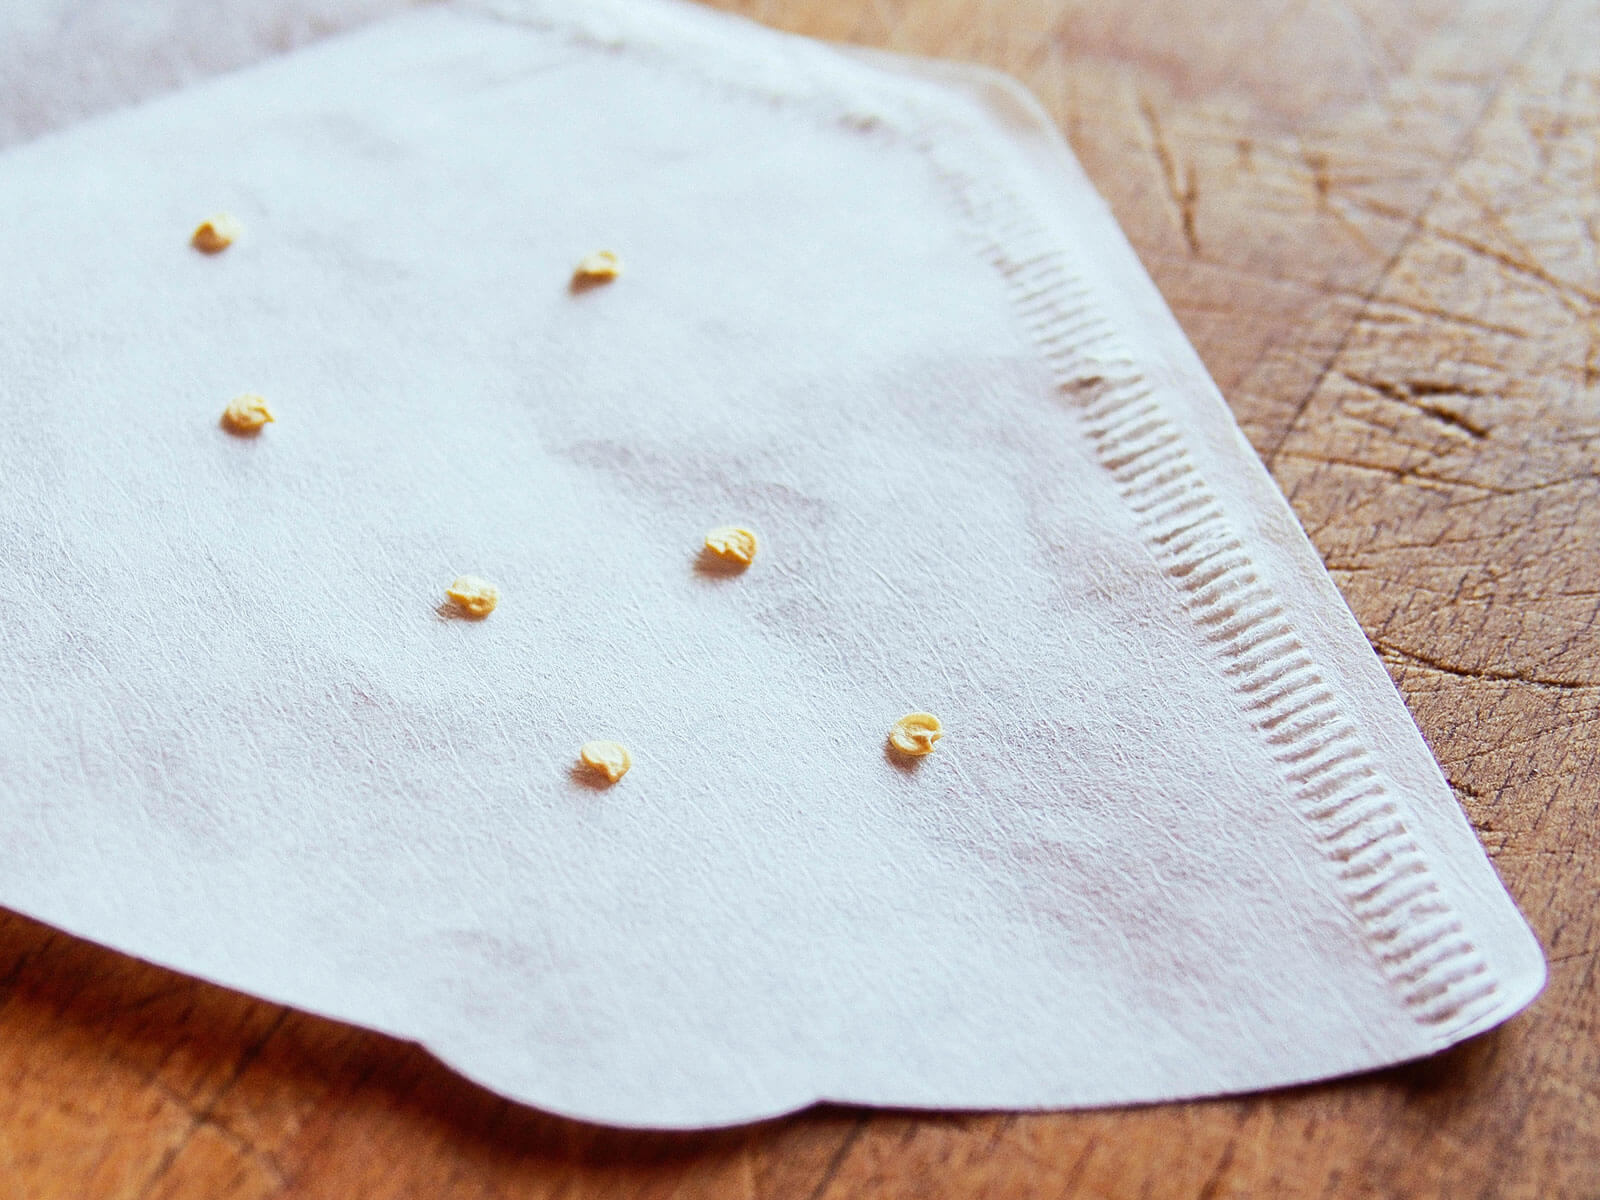
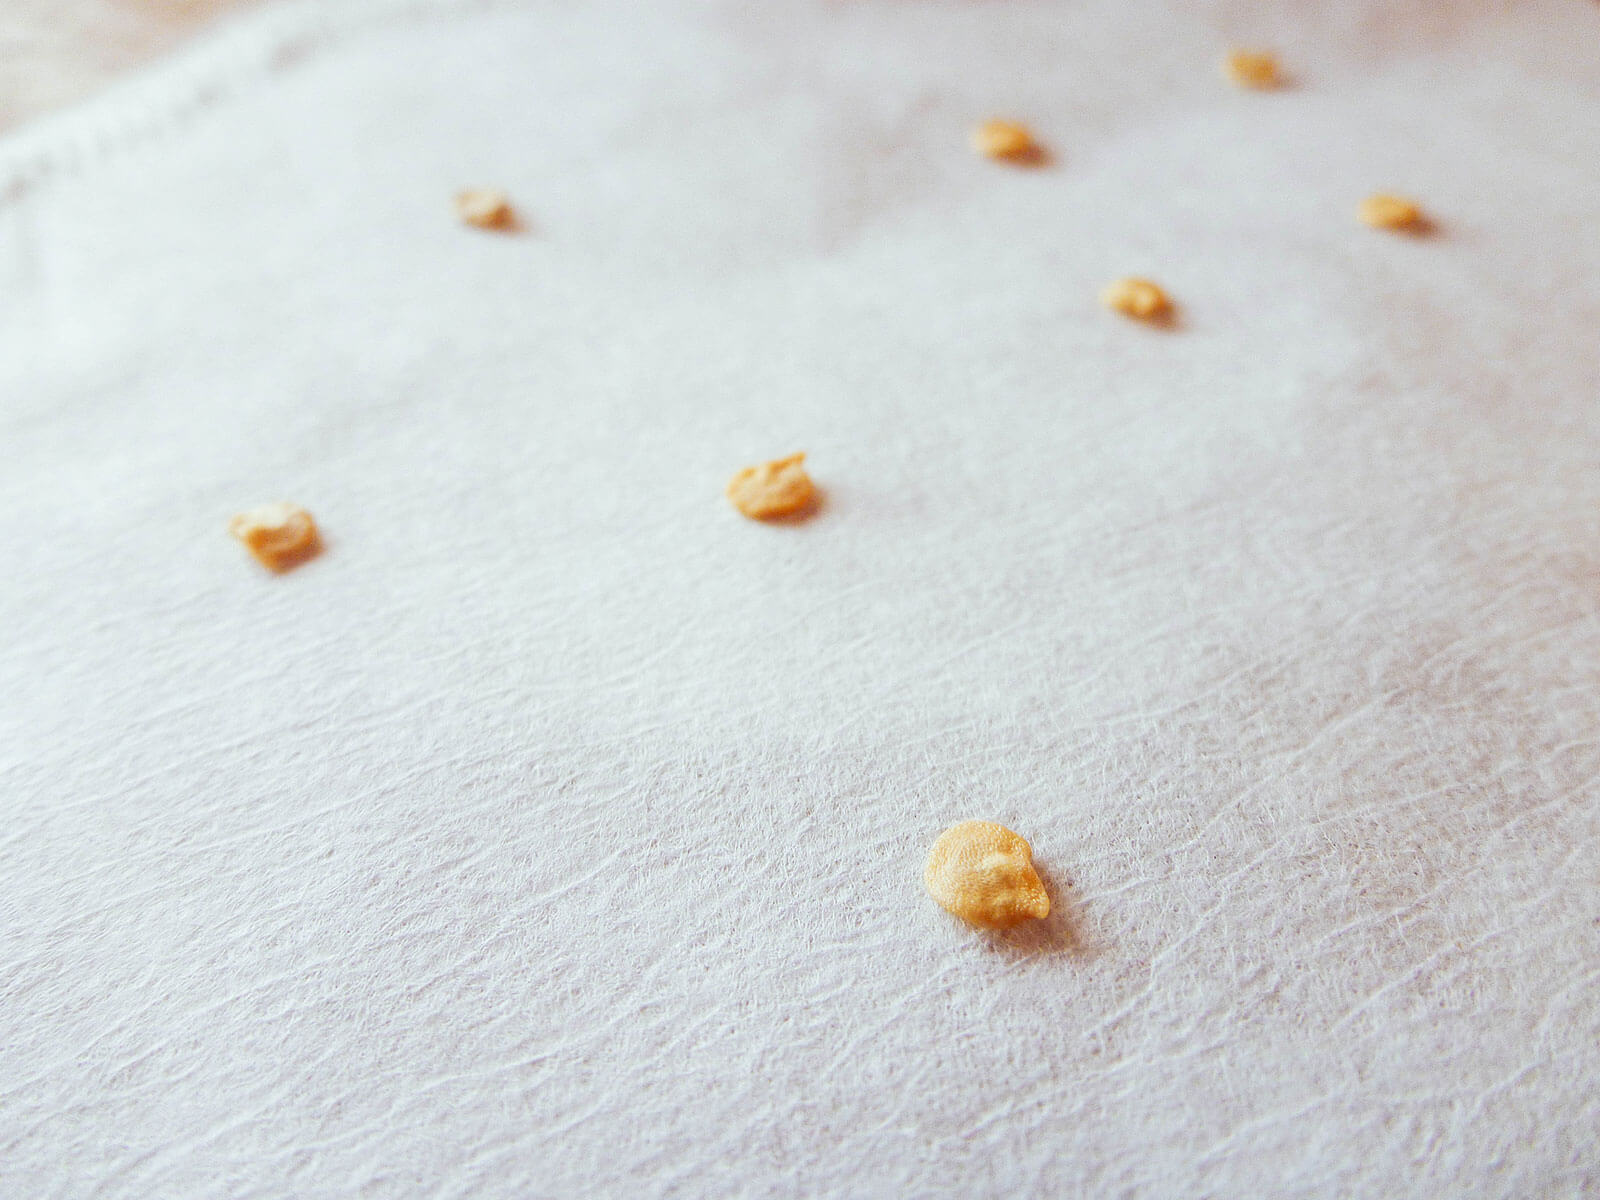
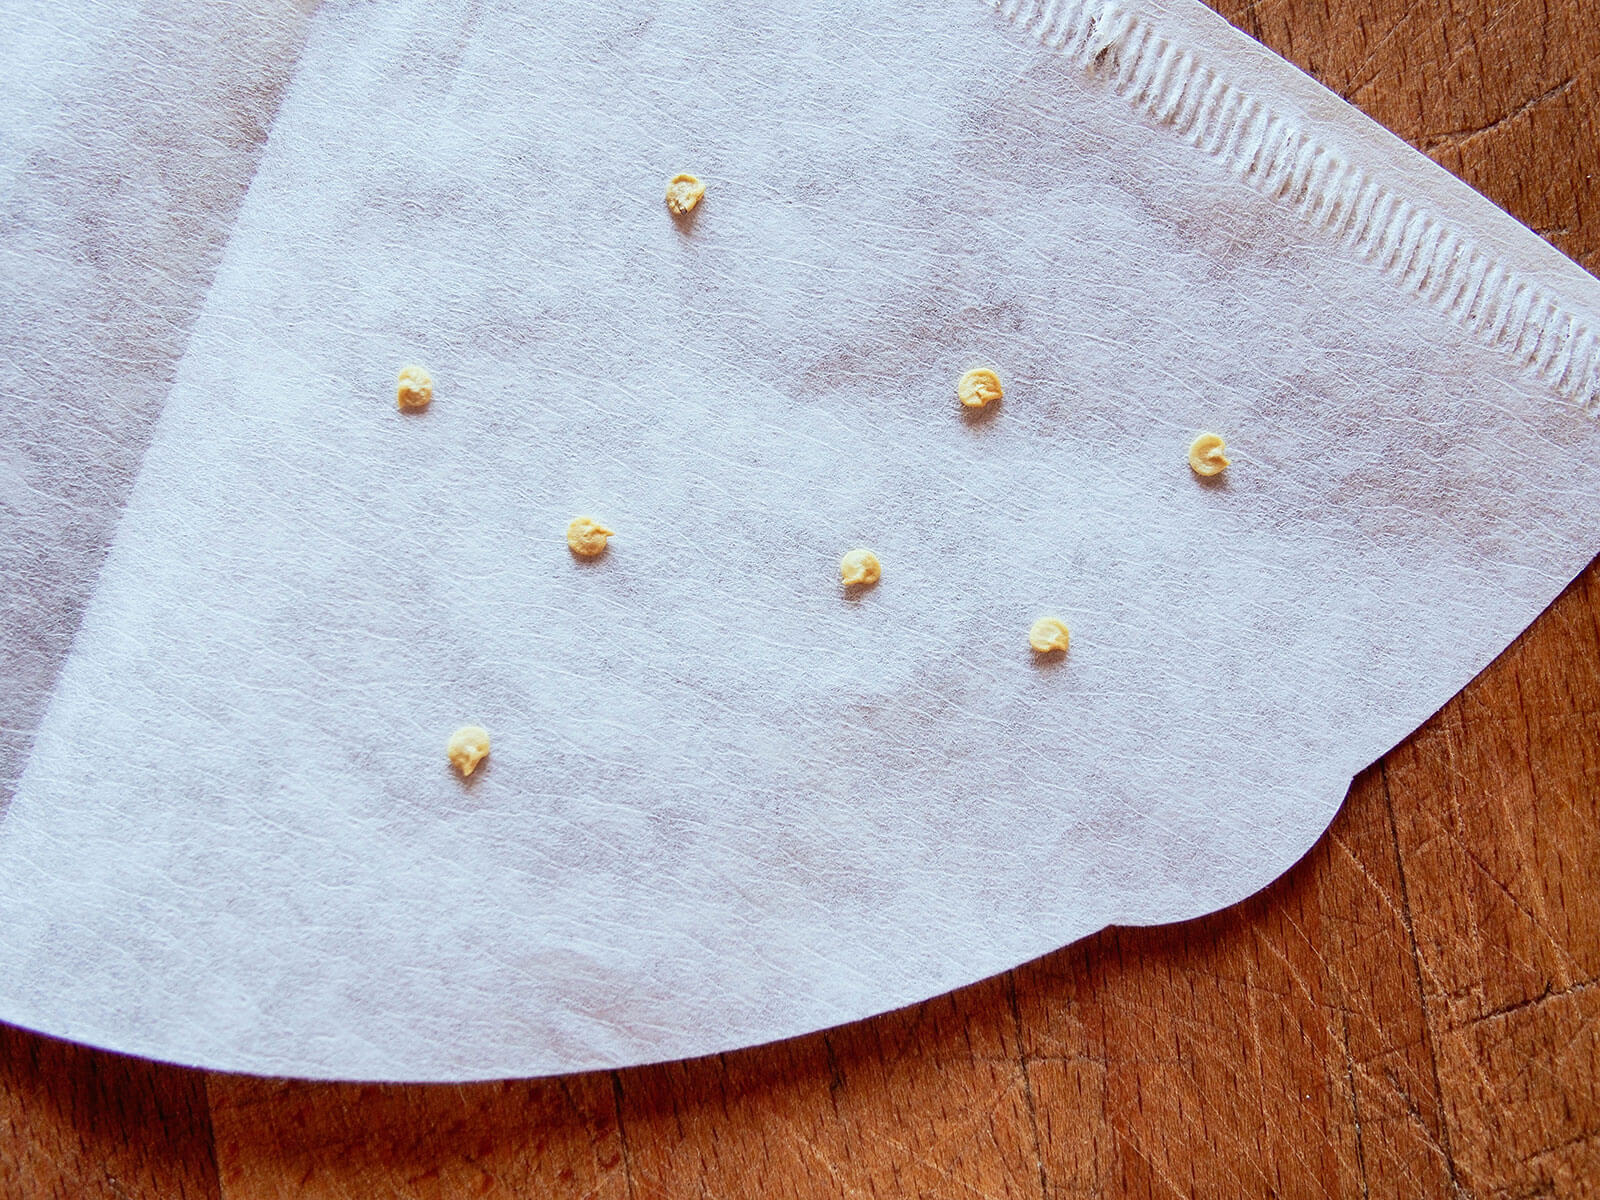
Step 3: Place your seeds on the coffee filter.
Place your seeds on the bottom half of the paper, leaving an inch between seeds to give their roots room to grow. Fold the top half over the seeds to sandwich them.
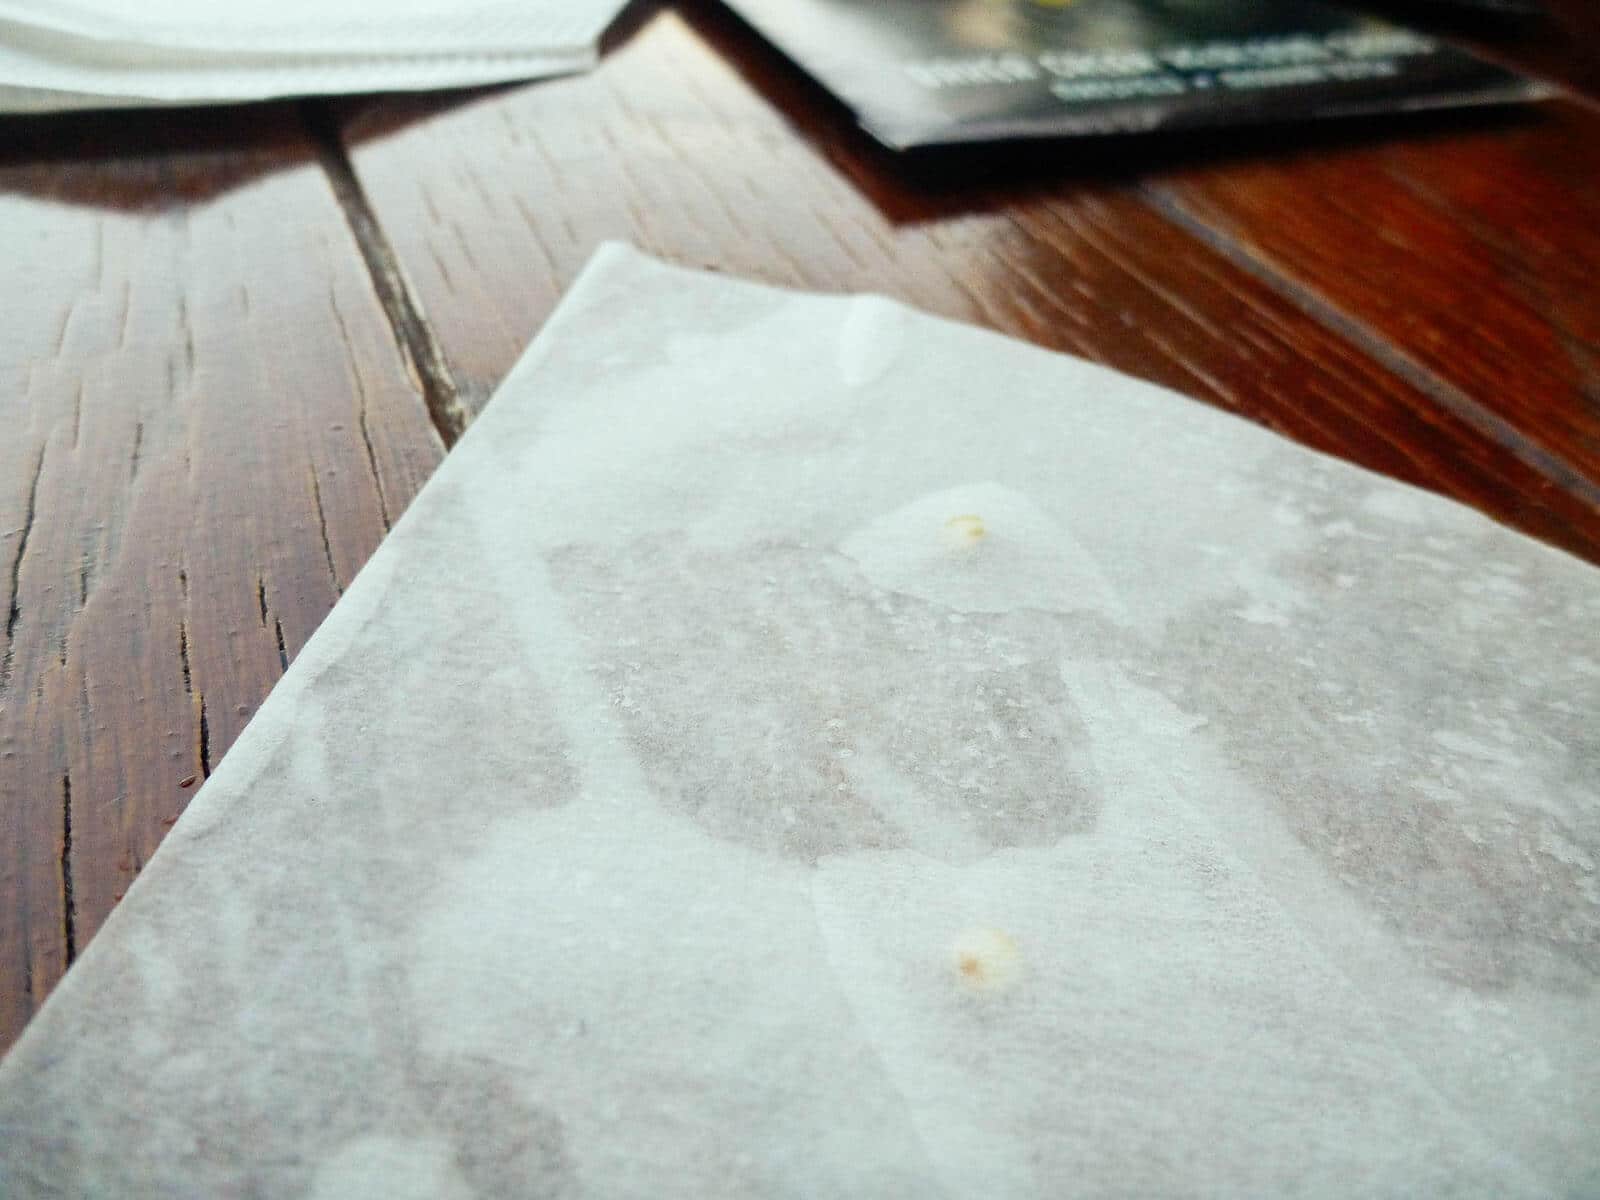
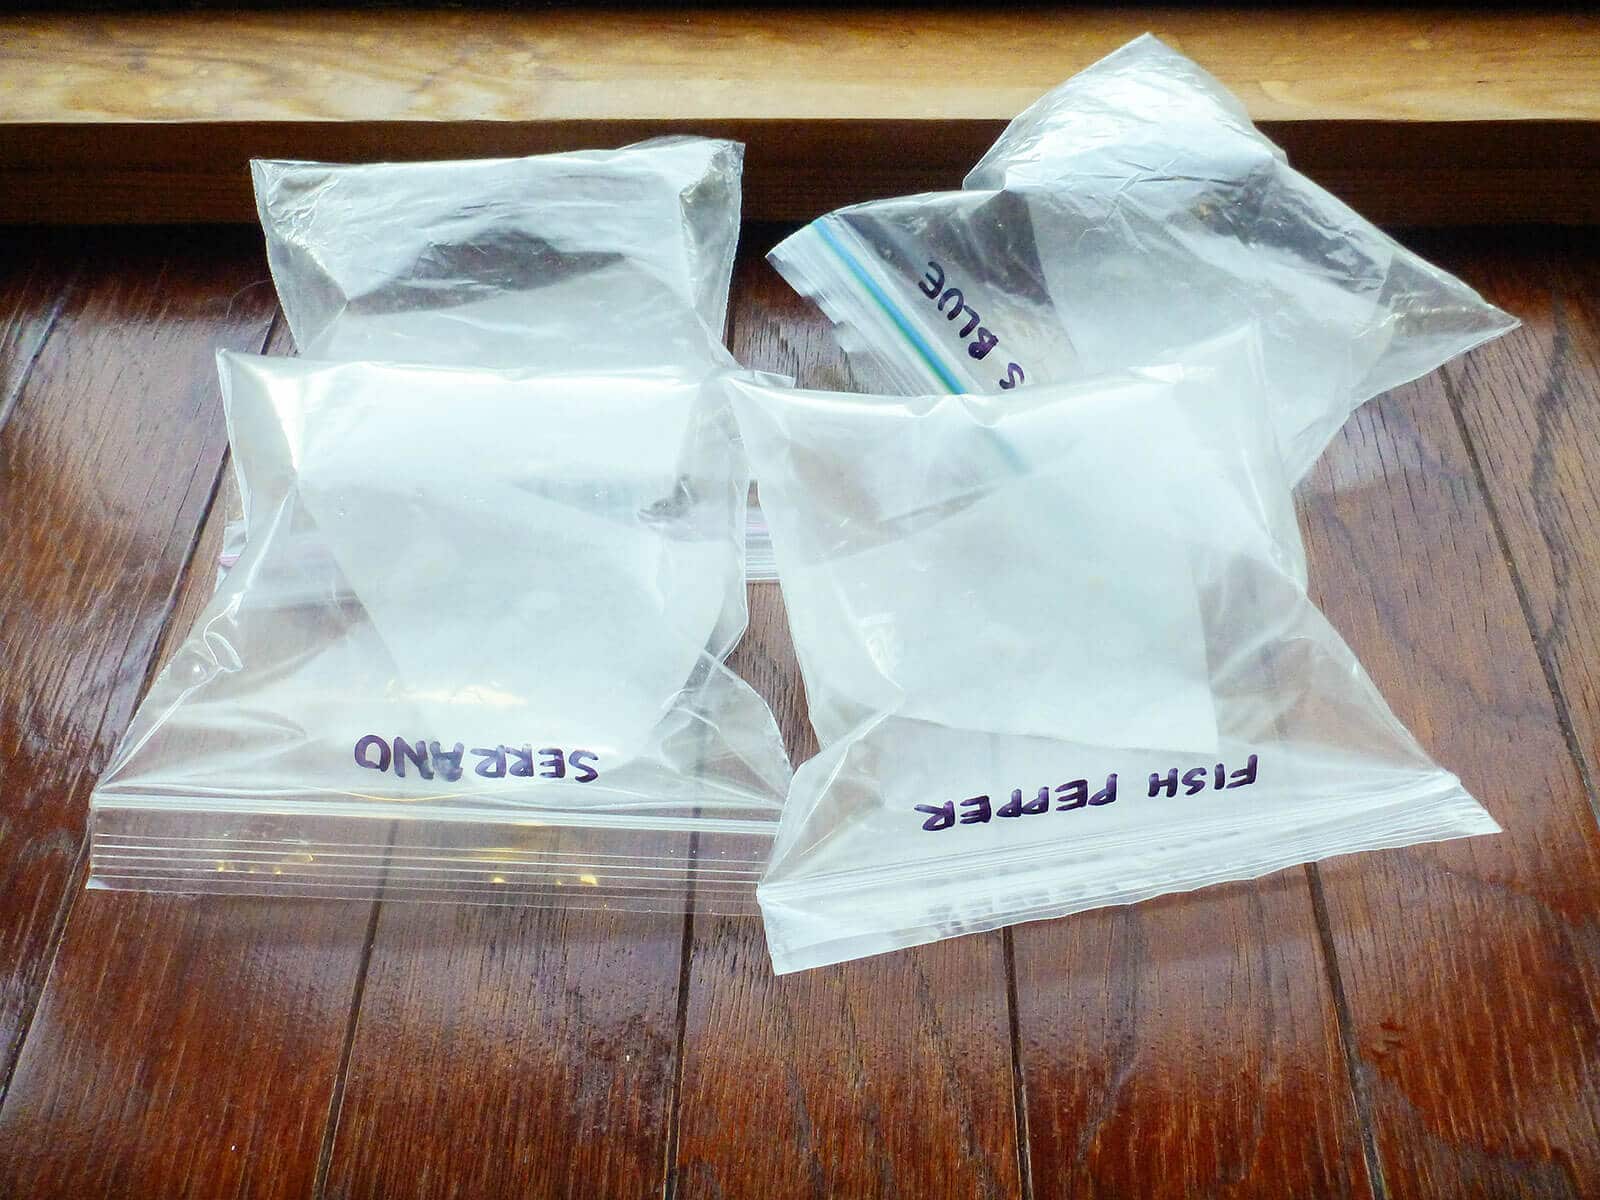
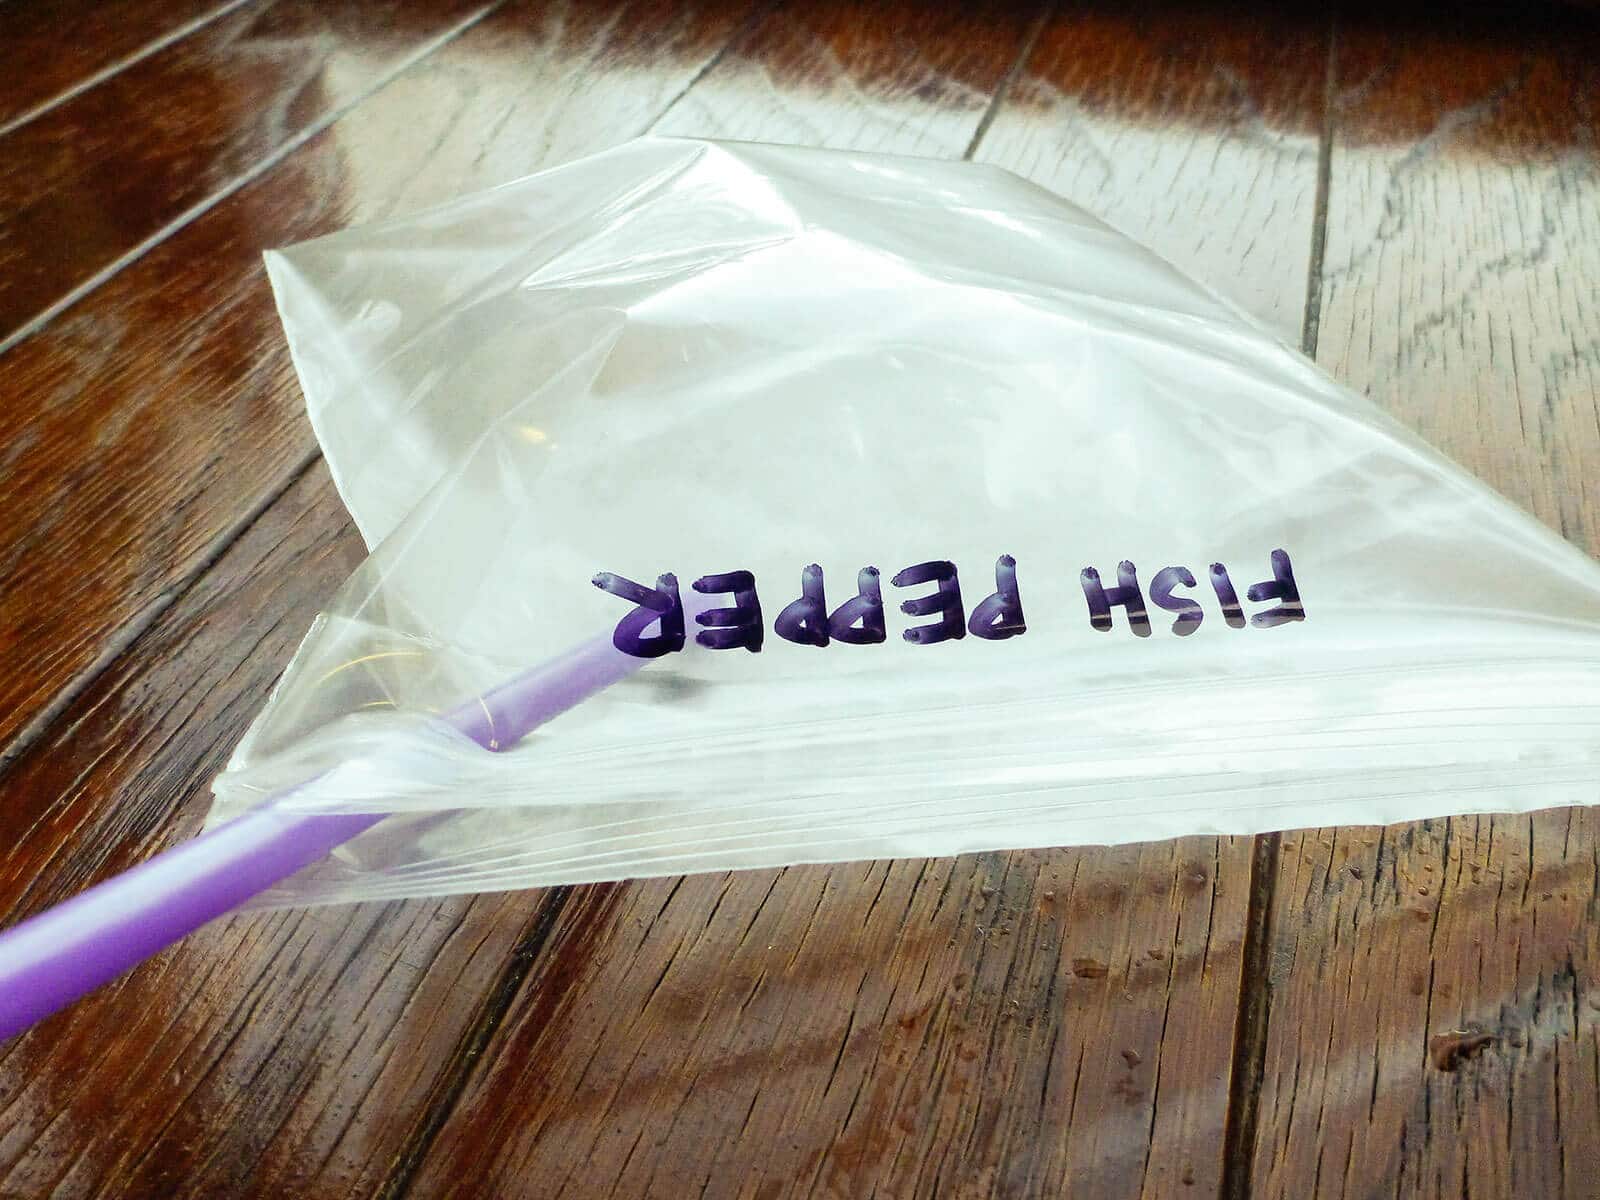
Step 4: Place the coffee filter inside a baggie.
Slide the coffee filter (with seeds) inside the baggie.
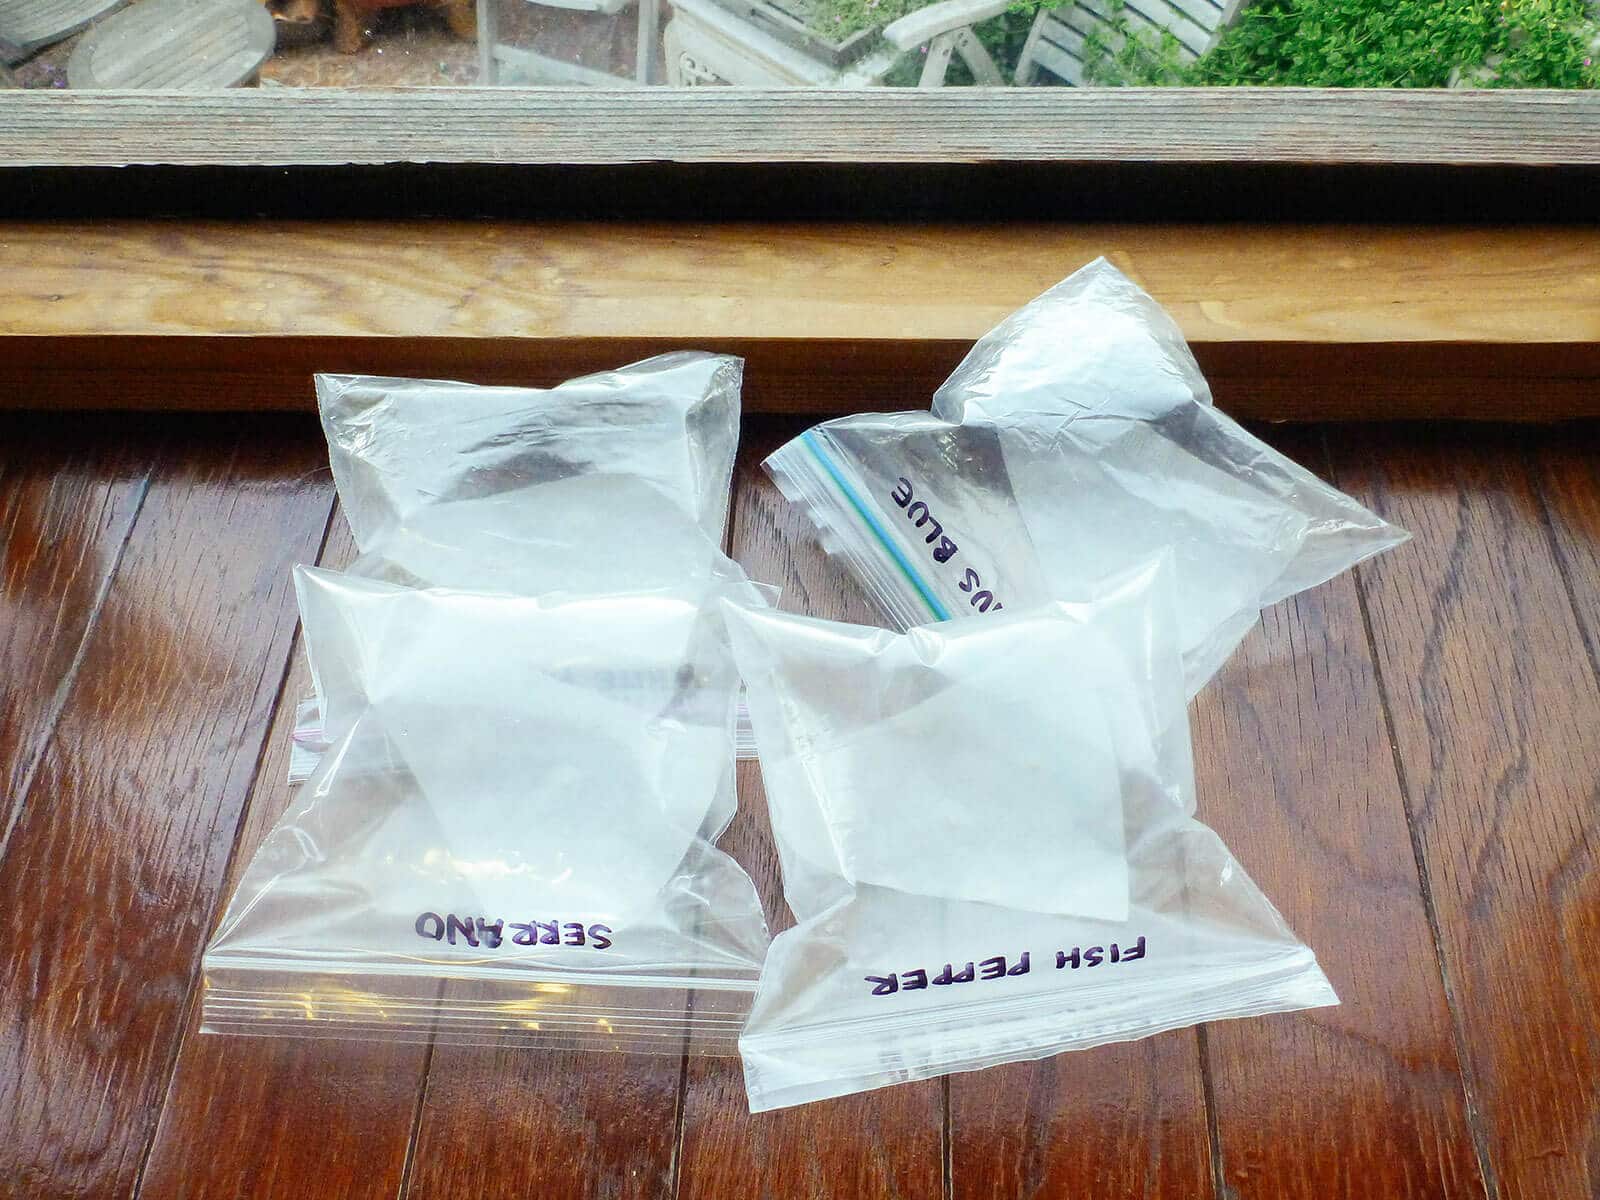
I like to blow air into the bags using a straw and then seal them tight to speed up germination. You can also leave your bags flat, but the air creates more of a greenhouse effect (which is especially helpful for chile peppers and other heat-loving seeds).
Step 5: Wait for the magic of germination to happen.
Place your baggies in a warm area of the house. For me, that’s a south-facing window, but you can leave them anywhere with a decent amount of heat and humidity, such as a bathroom or laundry room.
Just don’t keep them too hot (like on top of a heating pad), as you risk cooking the seeds before they ever sprout.
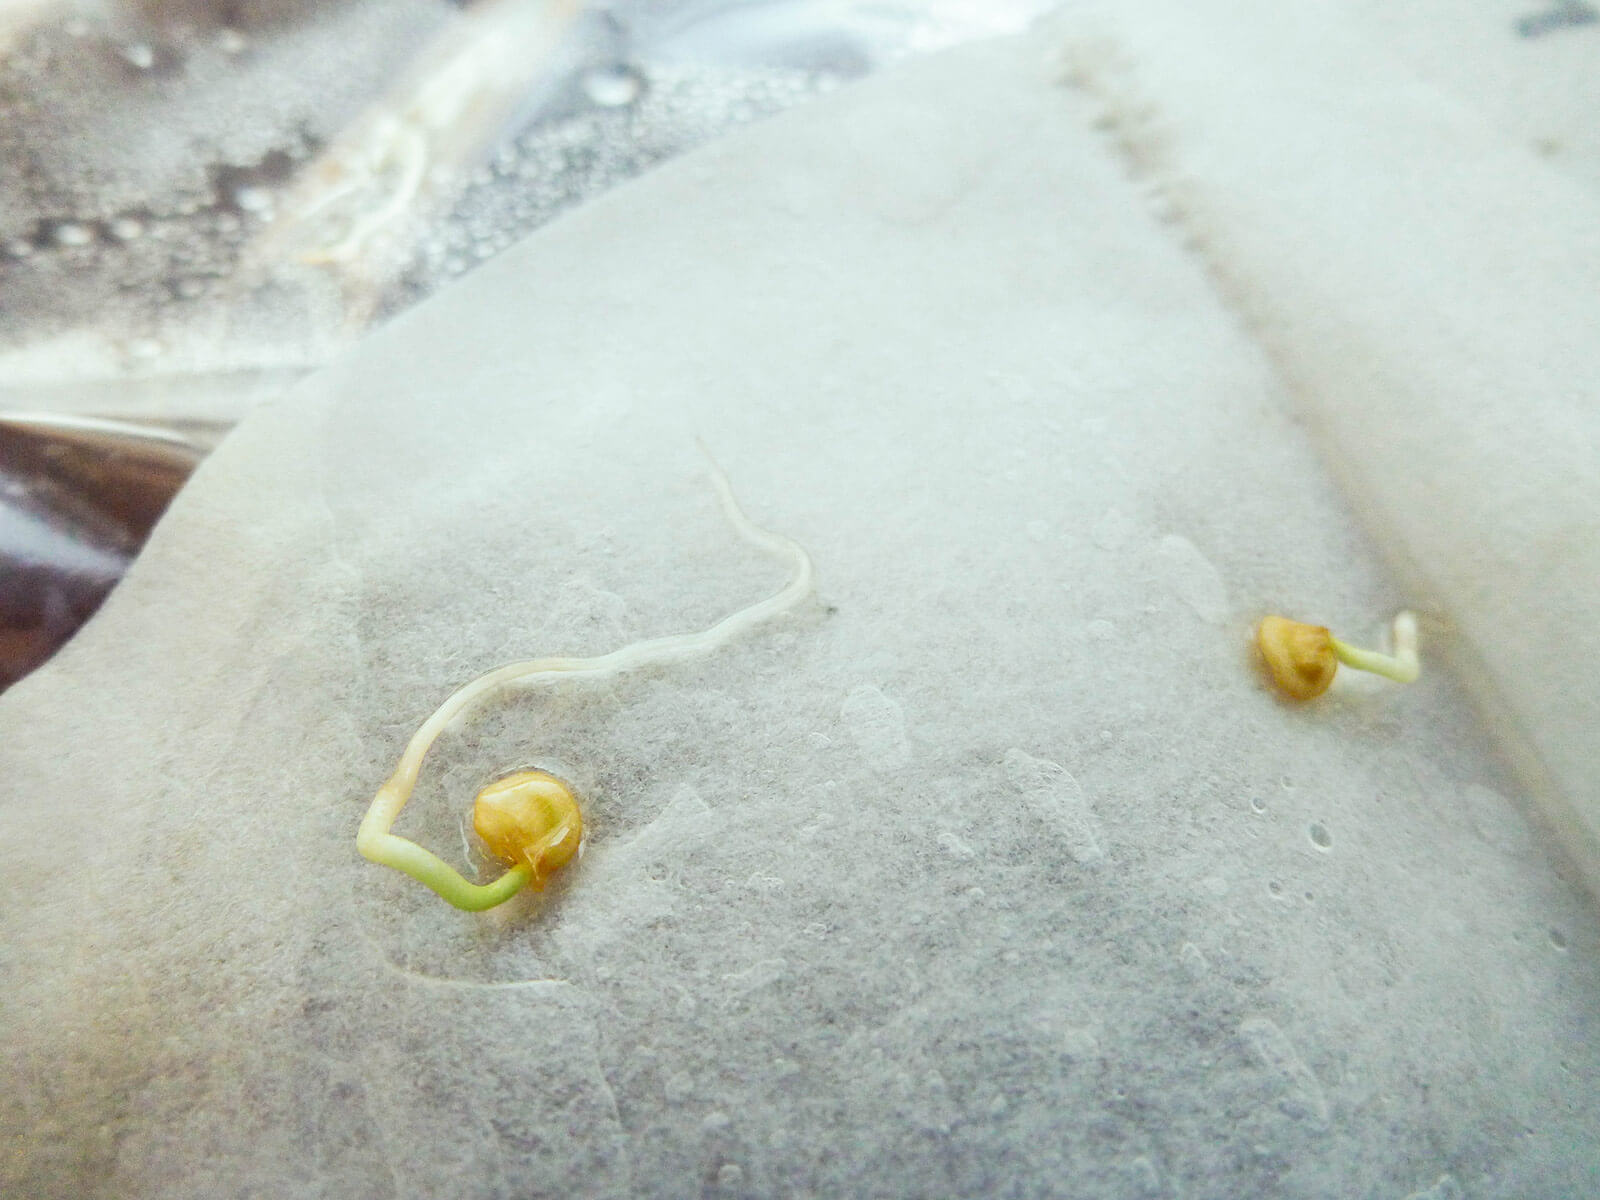
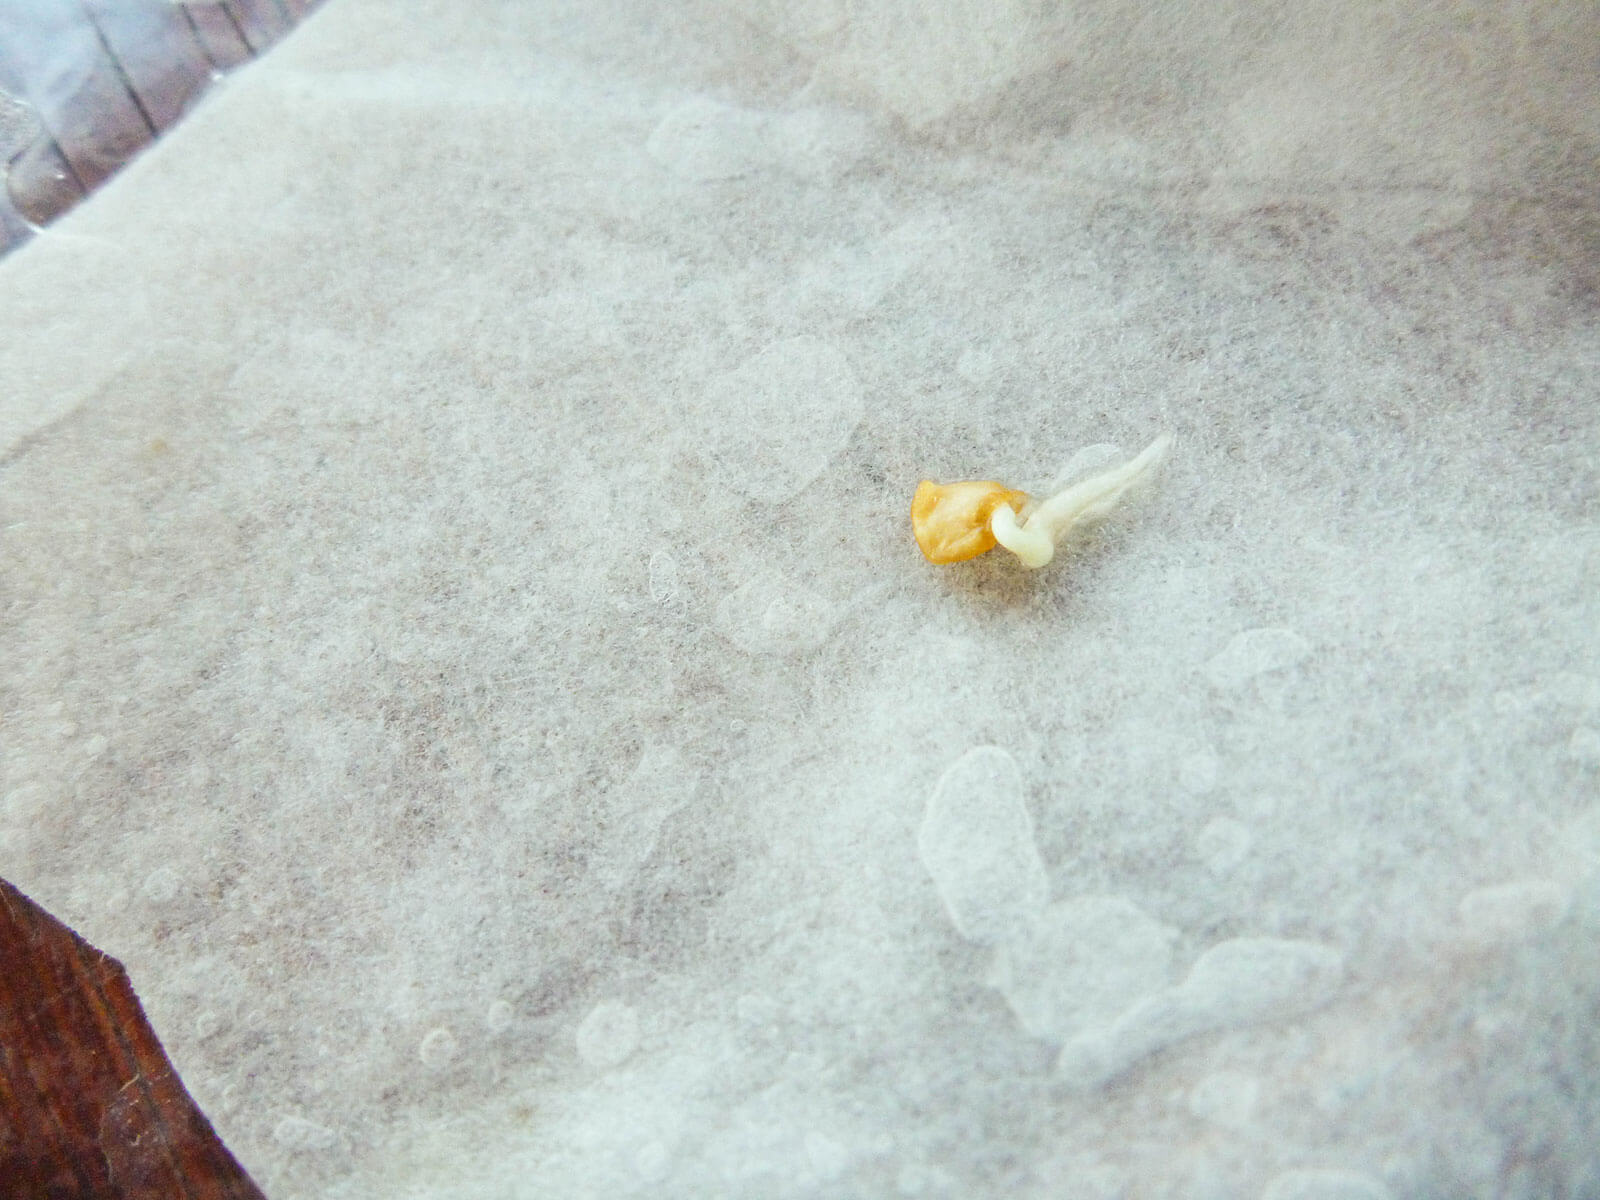
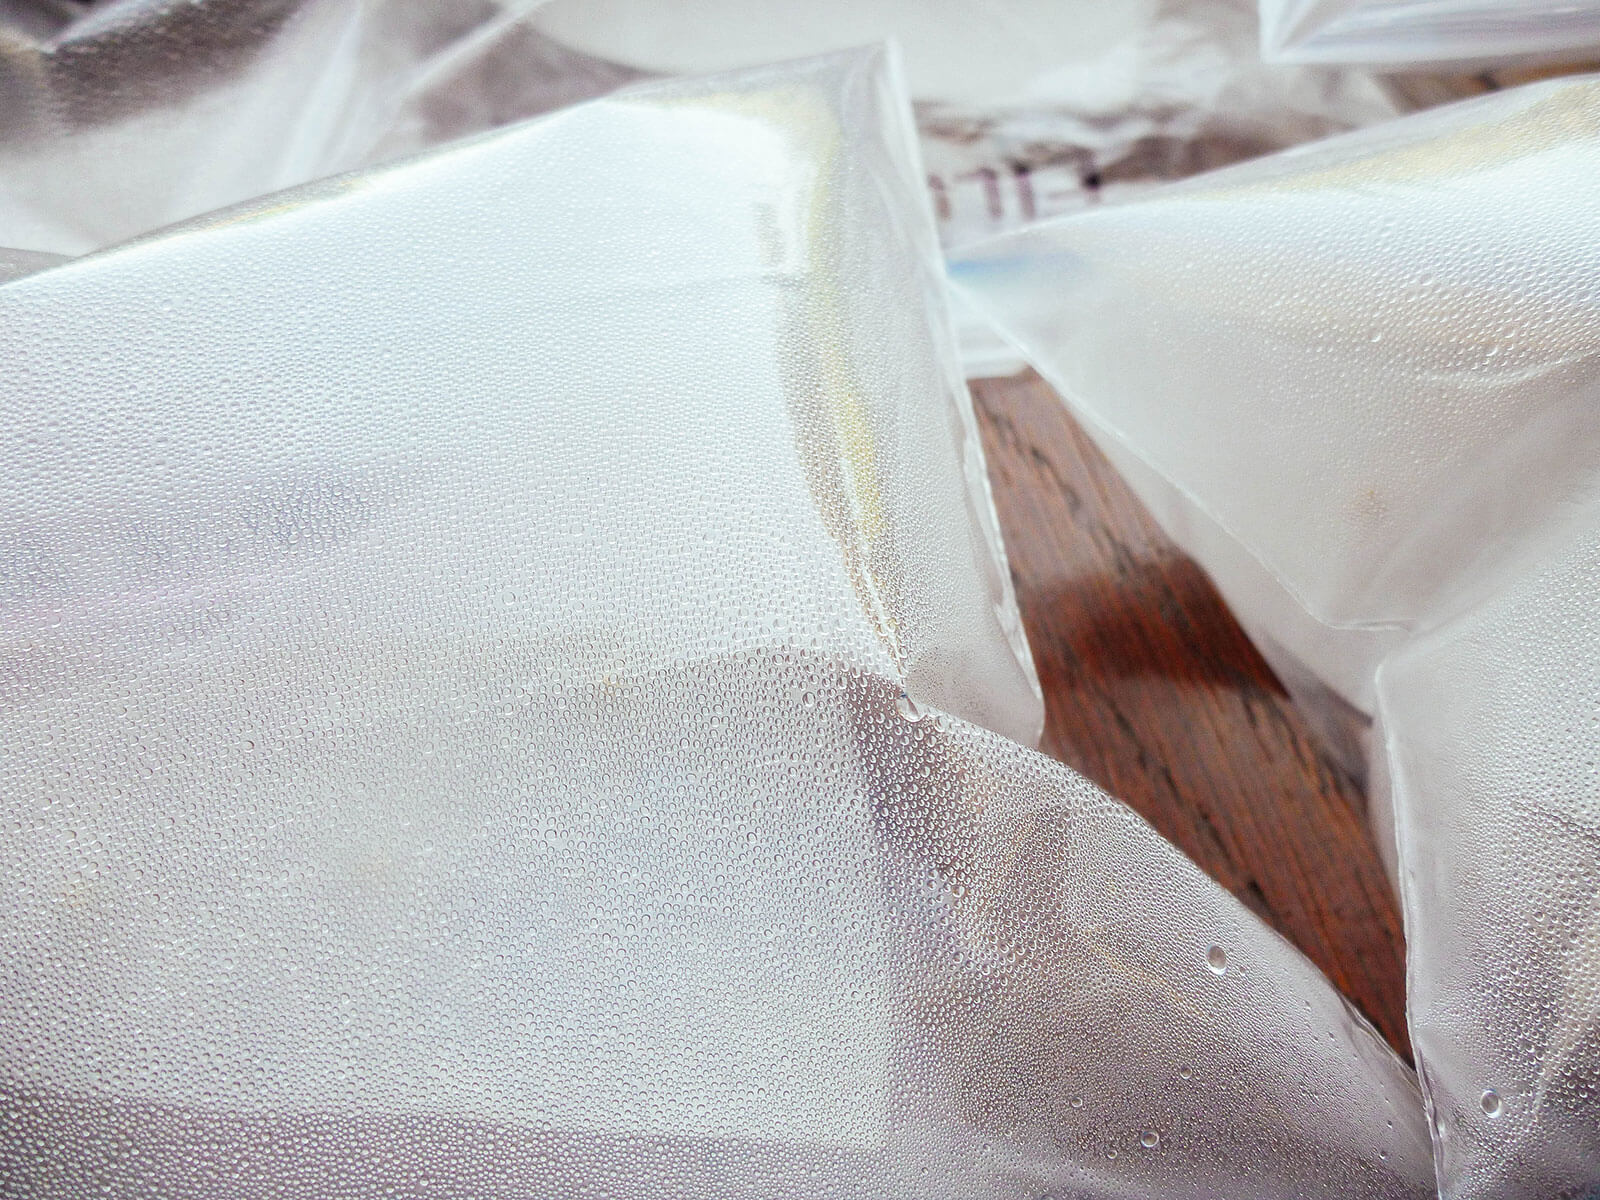
You can see the greenhouse effect created by the baggies here, which aids in germination. Because of this, you shouldn’t have to re-moisten the coffee filters while waiting for the seeds to germinate.
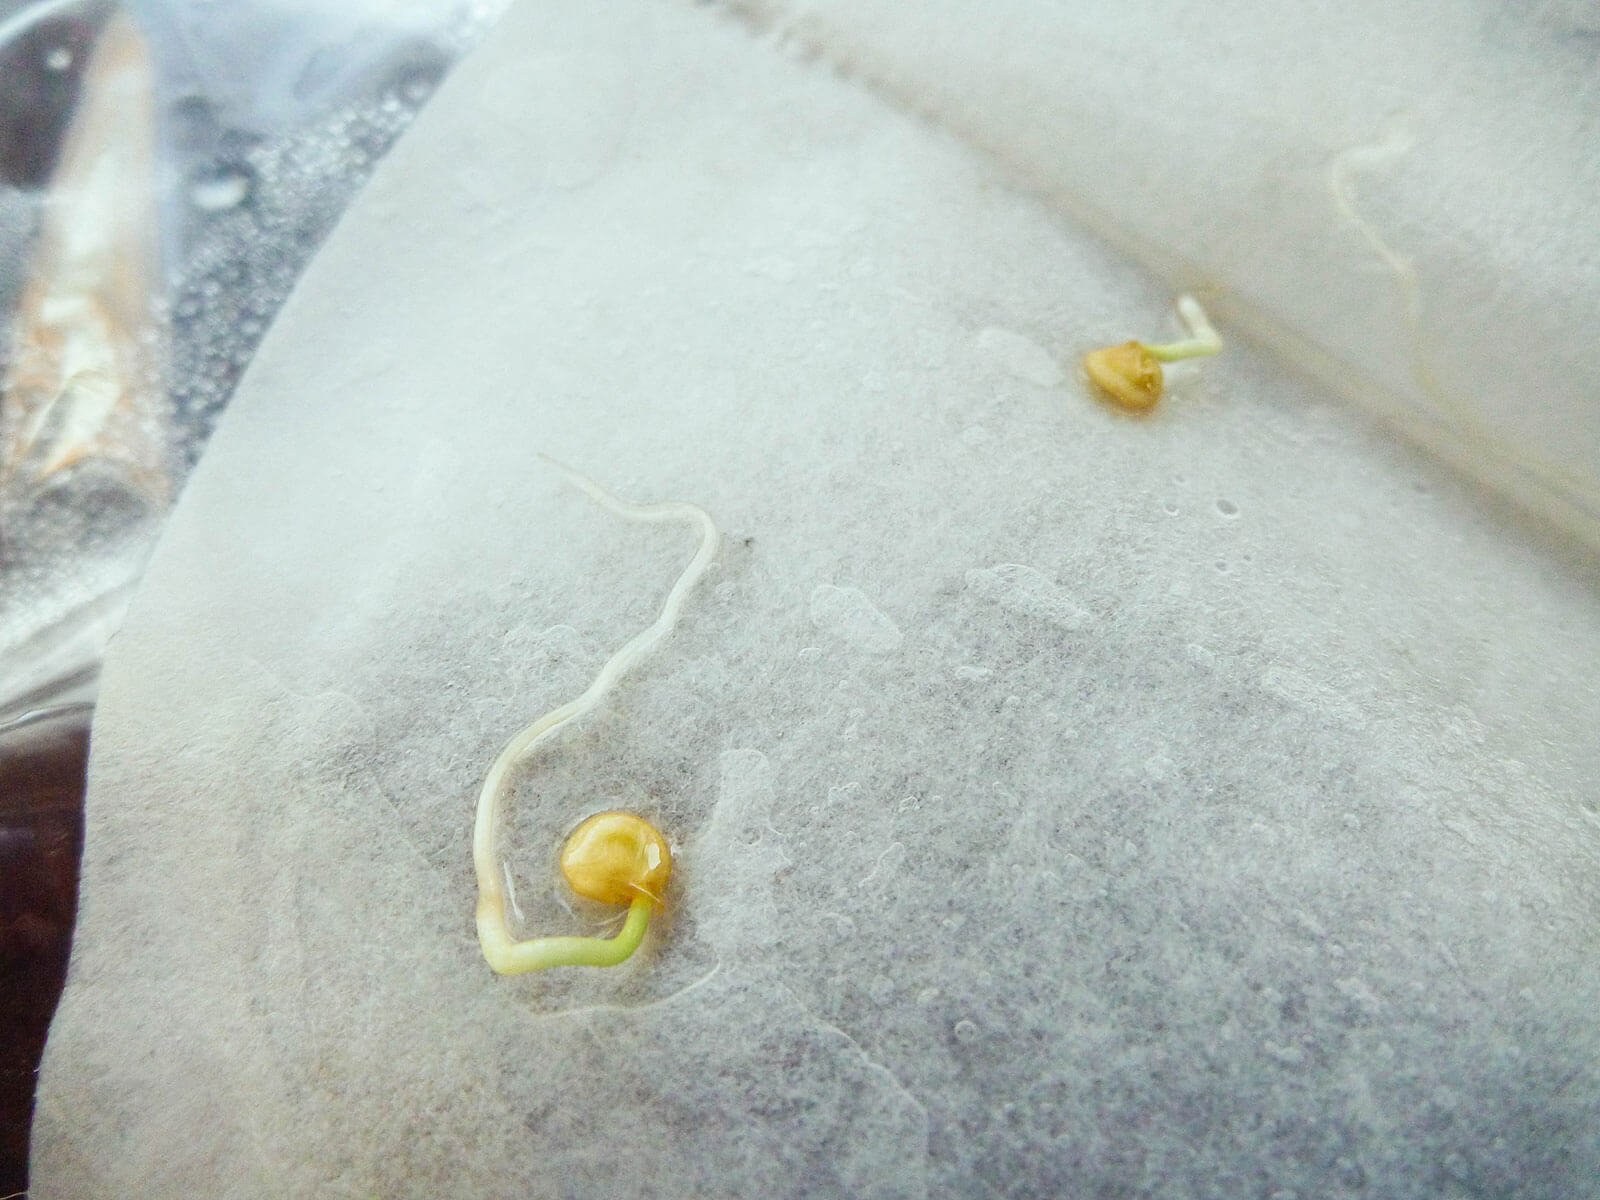
Within a few short days, you should see your first sign of life—a radicle emerging from the seed coat. This is the primary root and develops from the embryo of the plant.
Step 6: Transplant the germinated seed.
Once the radicle reaches an inch or two in length, carefully transplant the germinated seed in potting mix, burying only the radicle (the white part) and keeping the stem and seed coat above the soil line.
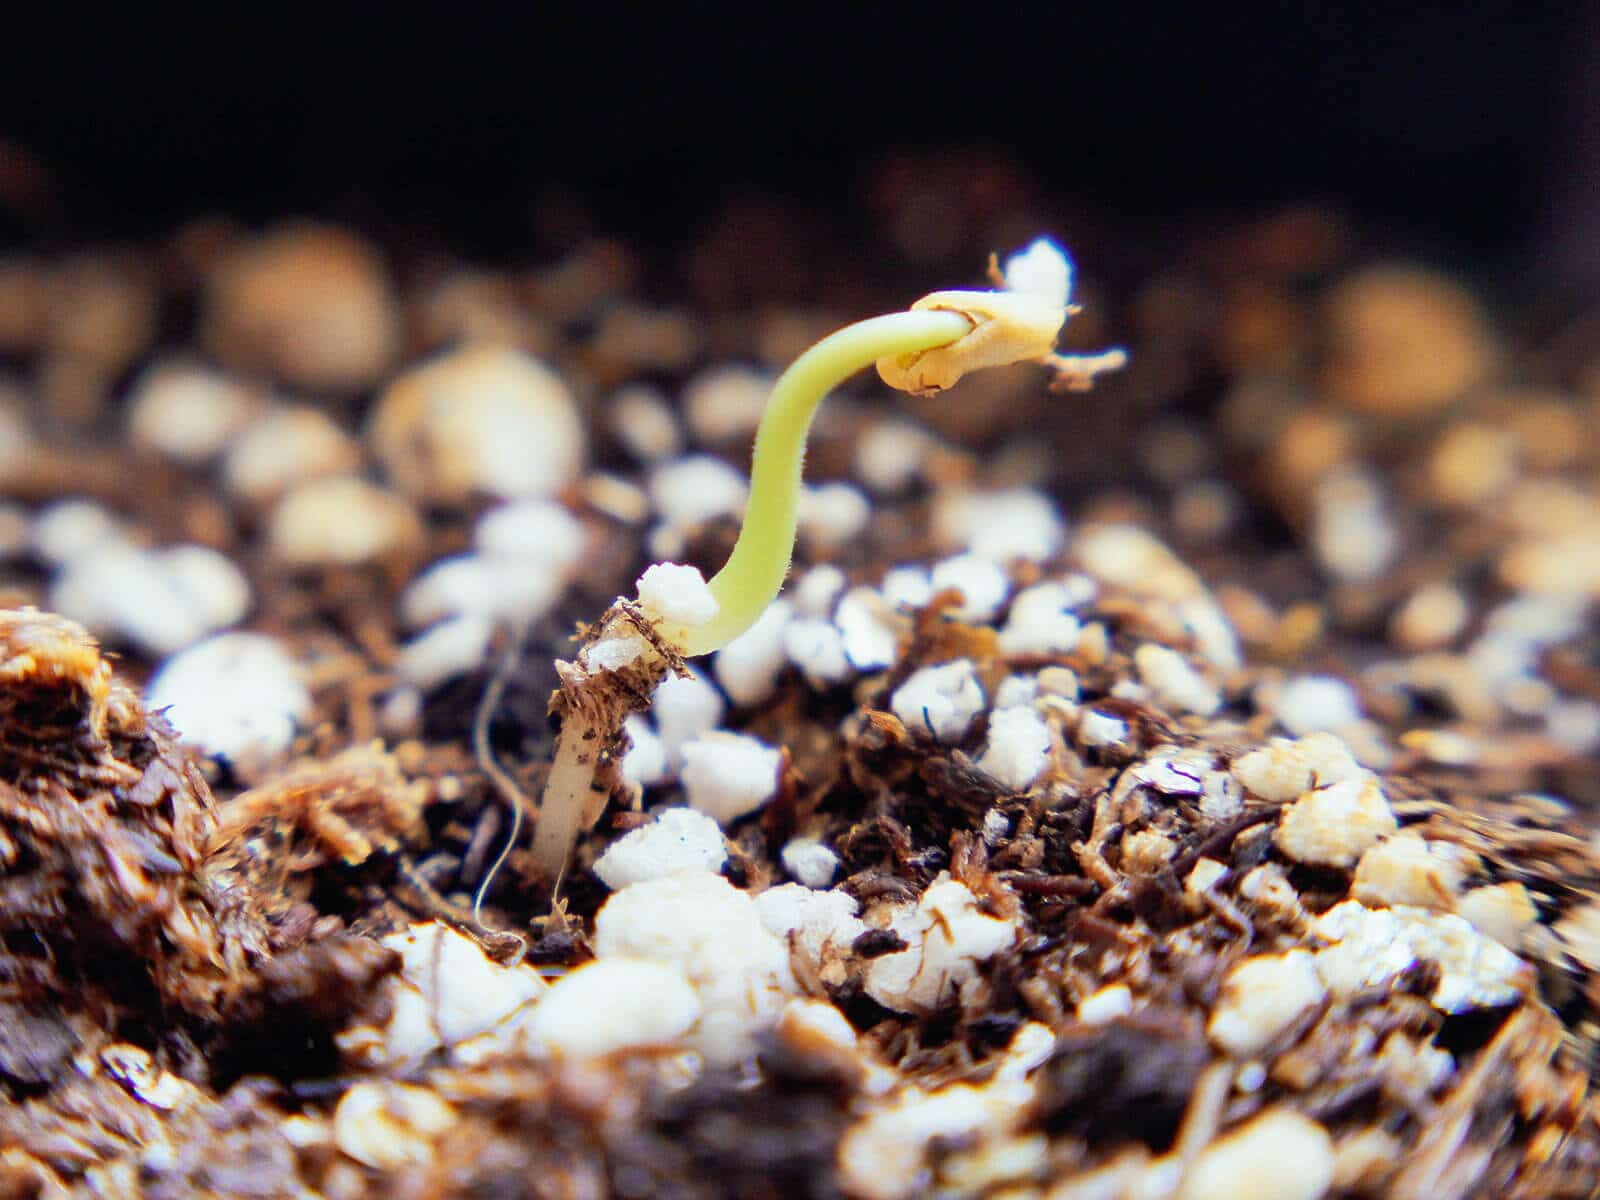
Handle the seed by its seed coat, as the radicle is very delicate (as well as the life line of your soon-to-be seedling).
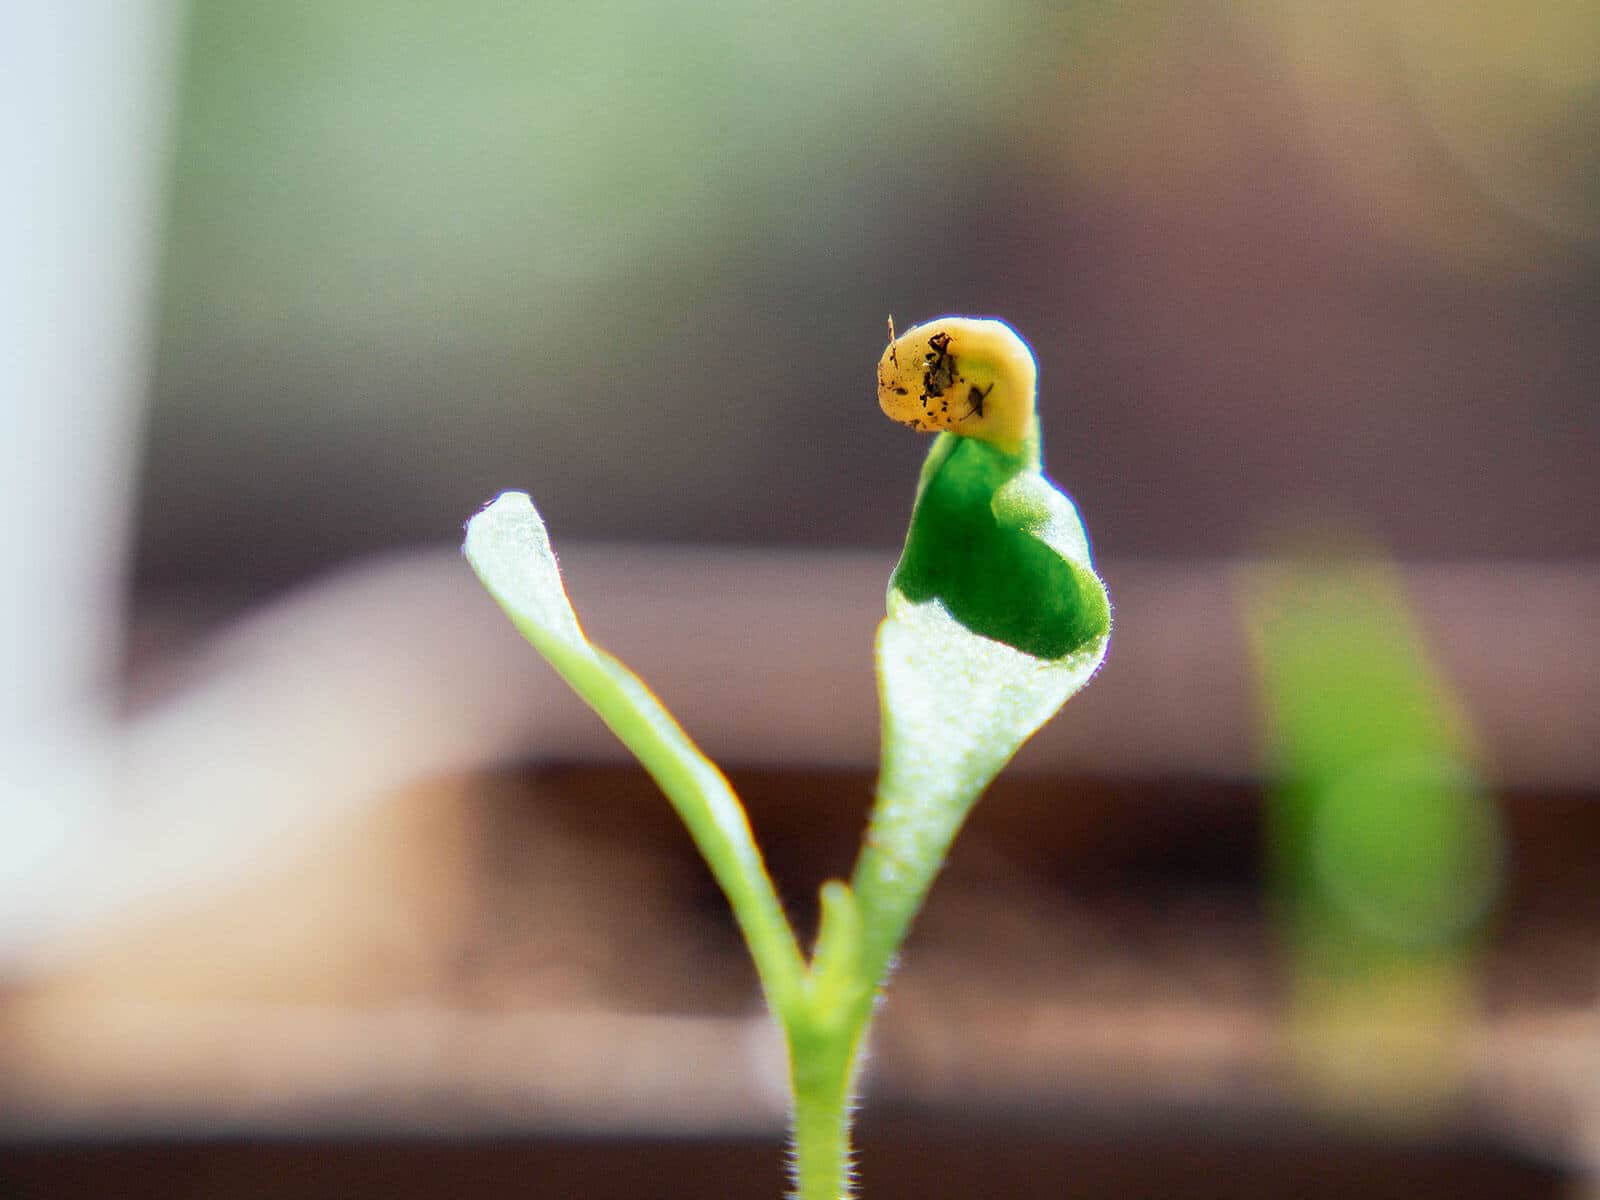
Don’t try to remove the seed coat before transplanting; it’ll fall off on its own when the first leaves (cotyledons) start to unfurl.
If any part of it is enmeshed in the paper, cut around the root and plant the whole thing in a pot, paper and all. The roots will grow around the paper and the paper will eventually disintegrate.
I try to transplant the seed as soon as it’s germinated so it doesn’t rot inside the baggie.
Sometimes you can wait until the first leaves appear if you need a guide as to how deep to bury the stem, but definitely keep an eye on the moisture level inside the baggie and provide plenty of ventilation at this stage.
After you’ve transplanted all your seedlings in small pots, keep the potting mix evenly moist with good airflow around the plants to prevent damping off disease.
You’ll need to harden them off for a few weeks before moving them outside, but once the seedlings develop their second set of leaves (the true leaves), they’re ready for their final place in the garden.
Troubleshooting: why are my seeds not germinating?
Sometimes the paper towel trick doesn’t work, or you run out of patience waiting for seeds to sprout. Here are a few reasons why your seeds aren’t germinating despite your best efforts:
- The paper towel is too wet: Seeds swimming in water may rot before they sprout, especially if they require a longer germination period.
- The paper towel is too dry: Seeds need consistent moisture to germinate, and you may need to mist the paper towel periodically to keep them moist.
- Seeds need more exposure to sun: Certain seeds require light to germinate, so if your baggies are tucked away in a room that sees little to no light, try moving them closer to a window.
- Seeds are too old: All seeds have an expected shelf life, and that shelf life typically diminishes after the first year or two. Use this seed viability chart to find out how long your seeds should last in storage, and make sure you’re storing your seeds properly to begin with.
- Seeds require scarification or stratification: If it seems like your seeds are especially stubborn, they might need special treatments in order to germinate. Check out these six tips for germinating hard-to-start seeds.
This post updated from an article that originally appeared on February 1, 2013.
View the Web Story on germinating seeds in paper towels.