
Growing perfect tomatoes doesn’t require complicated fertilizer routines or Master Gardener status.
I’ve tried almost every trick in the book (both science-based and those rooted in folk wisdom) to improve my harvest each time. What I’ve discovered over the past two decades of growing tomatoes is that there aren’t really any “tricks” to achieving an abundant crop, only a series of well-timed steps that will give you great tomatoes year after year.
This is what I do every spring when I’m planning my tomato crop, and I’ve listed the steps in order of what you should do, too. These simple tips will boost your yields and help you save time and money in the garden.
Disclosure: If you shop from my article or make a purchase through one of my links, I may receive commissions on some of the products I recommend.
1. Decide if you want determinate or indeterminate tomatoes.
When shopping for seeds, you’ll come across two types of tomatoes: determinate and indeterminate.
Determinate tomatoes
Determinate tomato plants grow to a predetermined size, usually 3 to 4 feet tall, and produce their fruits all at once.
Determinate tomatoes are also known as compact, bush, or patio plants, as their manageable size, early bloom, and predictable harvests make them ideal for small-space gardens and containers.
When they start setting blossoms, all growth stops and the plants’ energy go into ripening the entire crop within one to two weeks before they eventually die off. In areas with longer growing seasons, the plants may go dormant before setting a second set of blossoms for a smaller follow-up crop.
Certain types of determinate tomatoes can also grow in partial shade with as little as 5 to 6 hours of sunlight.
They produce smaller fruit than their indeterminate cousins, but work well for gardeners that need a large harvest early (for example, if you got a late start or have a summer vacation planned) or those that need a large harvest all at once (if you want to make tomato sauce or oven-dried tomatoes, for instance).
Top picks
Some of my favorite determinate varieties for container gardens include Cherry Falls, Indigo Rose, Red Siberian, Italian Roma, and Glacier.
Indeterminate tomatoes
Indeterminate tomatoes, on the other hand, can grow 8 to 10 feet tall (or more!) in a home garden and require caging, staking, or trellising to handle their heavy, fruit-laden vines.
Though it’s a less popular method, tomatoes can also sprawl on the ground if you have the space. (Just stay on top of your harvests, as many tomatoes can be lost this way—hidden under the leaves—and start to rot.)
The typical life cycle of an indeterminate plant involves growing a foot or two, setting some flowers, producing fruit, then repeating the process all season long.
It continues to grow until killed by frost (which means in USDA zones 10 and up, a tomato plant can actually survive as a perennial).
The amount of flowers and fruits set depends on the variety of tomato. Some only set a handful of flowers at a time, while others (particularly cherry types) set dozens all at once.
Indeterminate varieties are ideal for gardeners that like to have small harvests several times throughout the season for fresh eating.
Since their fruits are generally larger than determinate types, and a single plant can produce up to 25 pounds of tomatoes, even just a couple of plants can easily overwhelm a household in peak summer!
Top picks
My tried-and-true indeterminate varieties for flavor, texture, and excellent production in the garden include Cherokee Purple, Black Krim, Red and Yellow Brandywine, Cuore Di Bue, Green Zebra, Artisan Tiger Stripes Blend, and Chocolate Cherry.
There’s another (unofficial) type of tomatoes that you might come across—what’s known as semi-determinate.
Semi-determinate tomatoes
Semi-determinate tomatoes are somewhat hard to classify as their growth habits fall in between determinate and indeterminate tomatoes. Some semi-determinates may stay compact, but produce several harvests. Other semi-determinates may grow taller than bush types, yet not as sprawling as indeterminates.
Technically, semi-determinate tomatoes are indeterminate types that have atypically short vines, and your yields will generally fall in the middle of the two types.
All said, for best results, choose a mix of tomatoes suitable for your climate: some big juicy slicers, a couple of cherry types, and something more unusual (like icicle varieties, or tomatoes with distinctive ribs or stripes) in early-, mid-, and late-blooming varieties.
Read more: These are the best-tasting heirloom tomatoes (sorted by color)
This helps you hedge your bets in the garden. If it gets too hot for your plants to set fruit in midsummer, other plants will step up.
2. Start your seeds early.
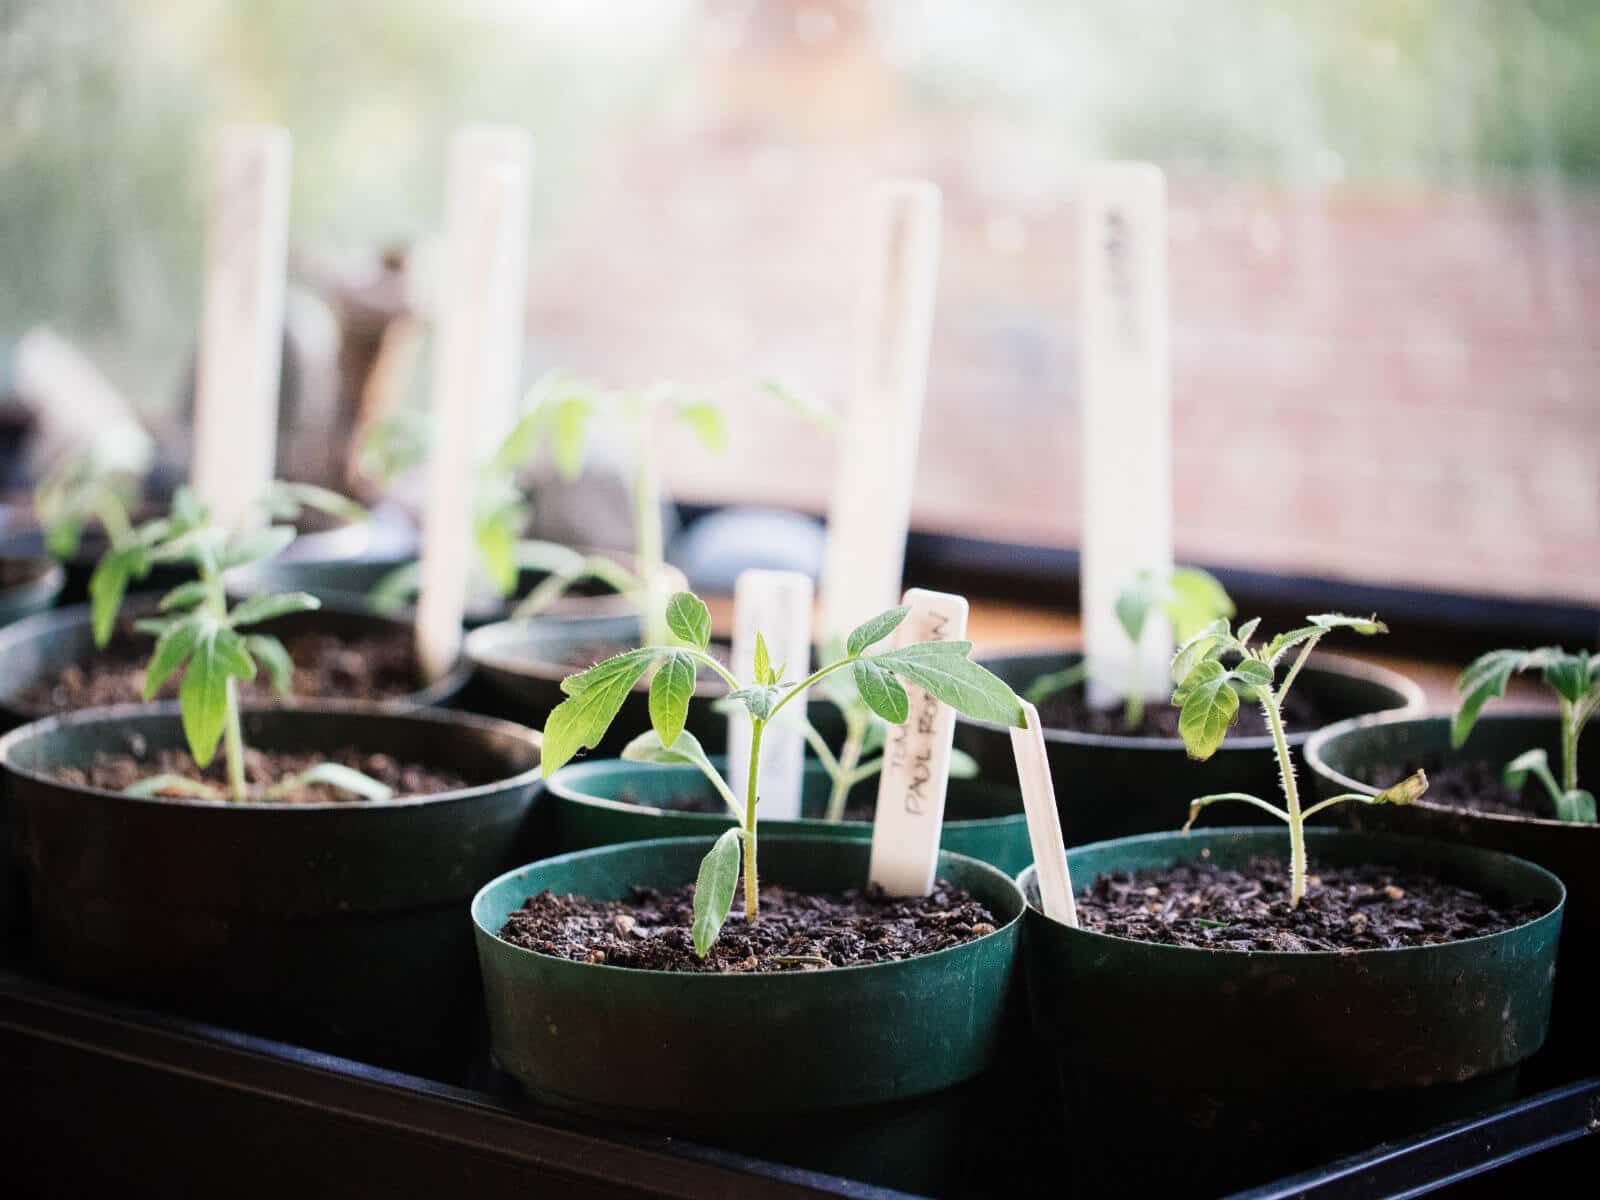
When started indoors under ideal conditions, tomato seeds will germinate in five to seven days, and it takes six to eight weeks to grow them from seed to plantable seedlings.
This is in addition to the “days to maturity” listed on your seed packets.
So, it’s best to start your tomato seeds indoors about four to six weeks before your last expected frost date, repot the seedlings to increase root mass, and give them time to harden off properly to ensure strong, healthy plants.
If it’s already past the last frost date by the time you’re reading this, you might be able to get away with starting seeds now if you have a decent growing season and choose an early-maturing tomato variety.
Dig deeper: Use my interactive tool to look up frost dates in your area
You can always buy tomato starts from a garden center if all else fails, but when you do the math, it just makes cents (er, sense) to try to start tomatoes from seed every year if you can.
Here’s the math:
- A packet of 25 seeds usually runs about $3.
- Say 20 seeds germinate and make it to the transplant stage.
- If each tomato plant produces an average of 15 pounds of fruit (on the low end), that means a single packet of seeds could give you at least 300 pounds of tomatoes!
- Where I live, organic heirloom tomatoes cost about $5 per pound. If I can get one packet of seeds to produce 300 pounds of fruit, that’s a minimum of $1,500 worth of tomatoes picked from my own garden.
The economics alone makes tomatoes a worthy crop to plant if you need some good, research-backed reasons to grow your own food.
3. Repot your tomatoes twice for stronger stems and larger root mass.
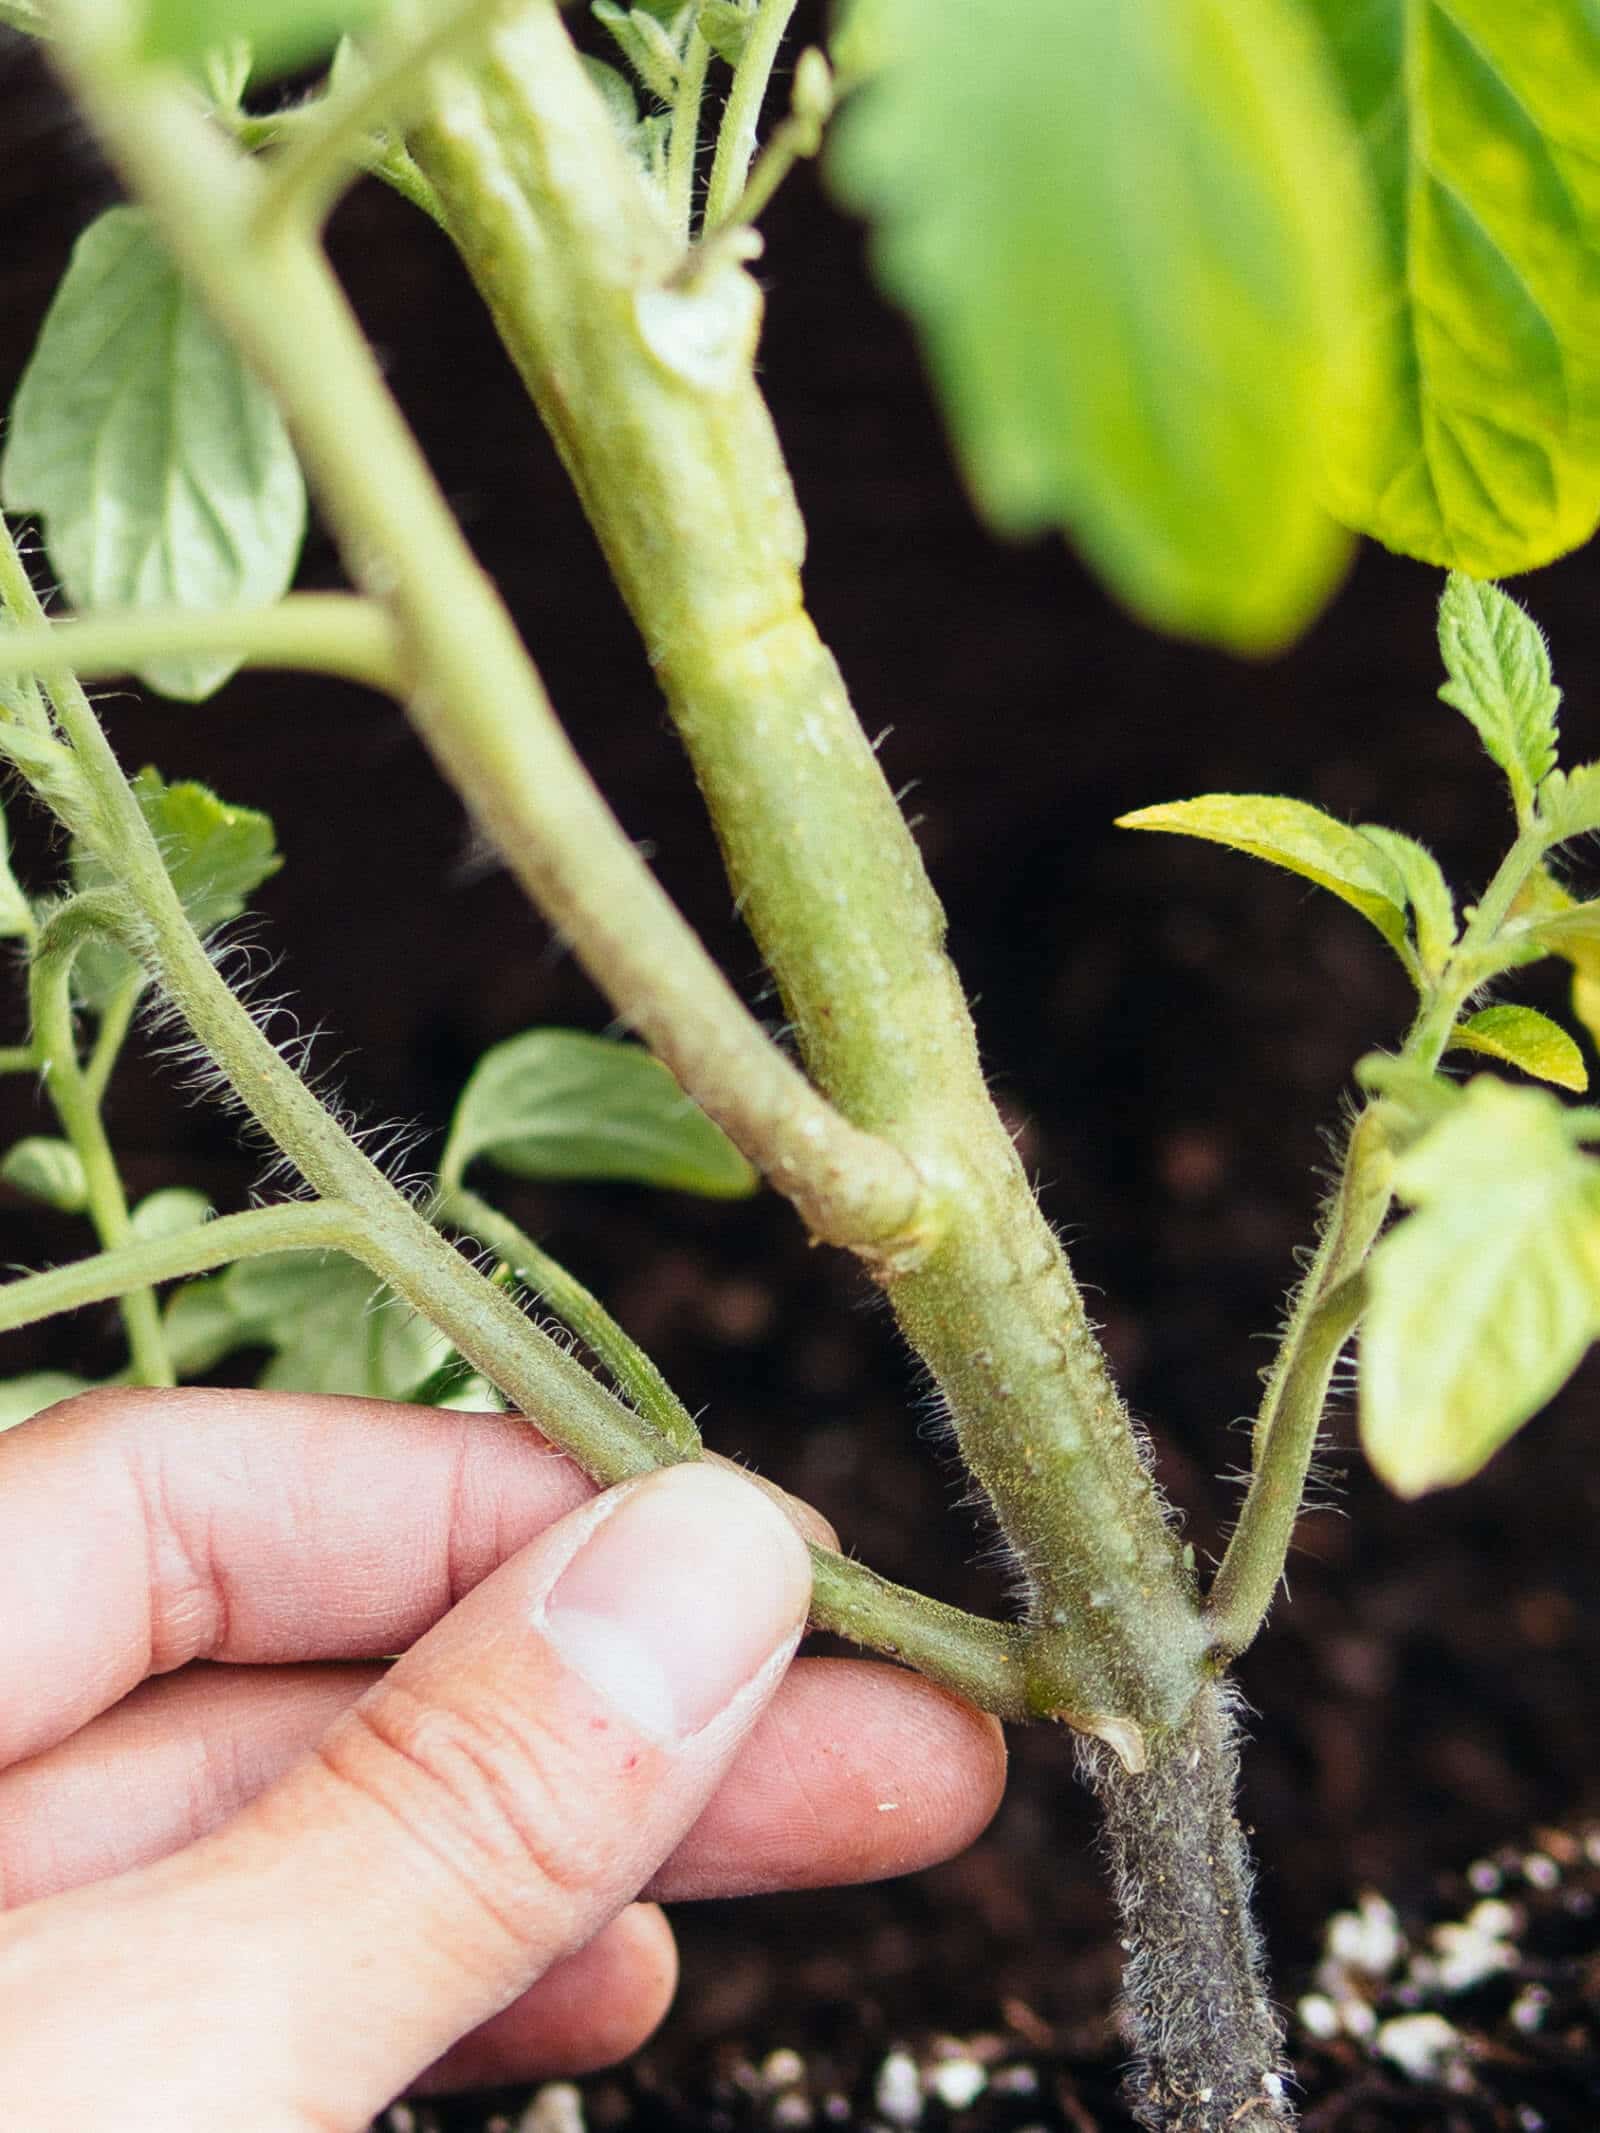
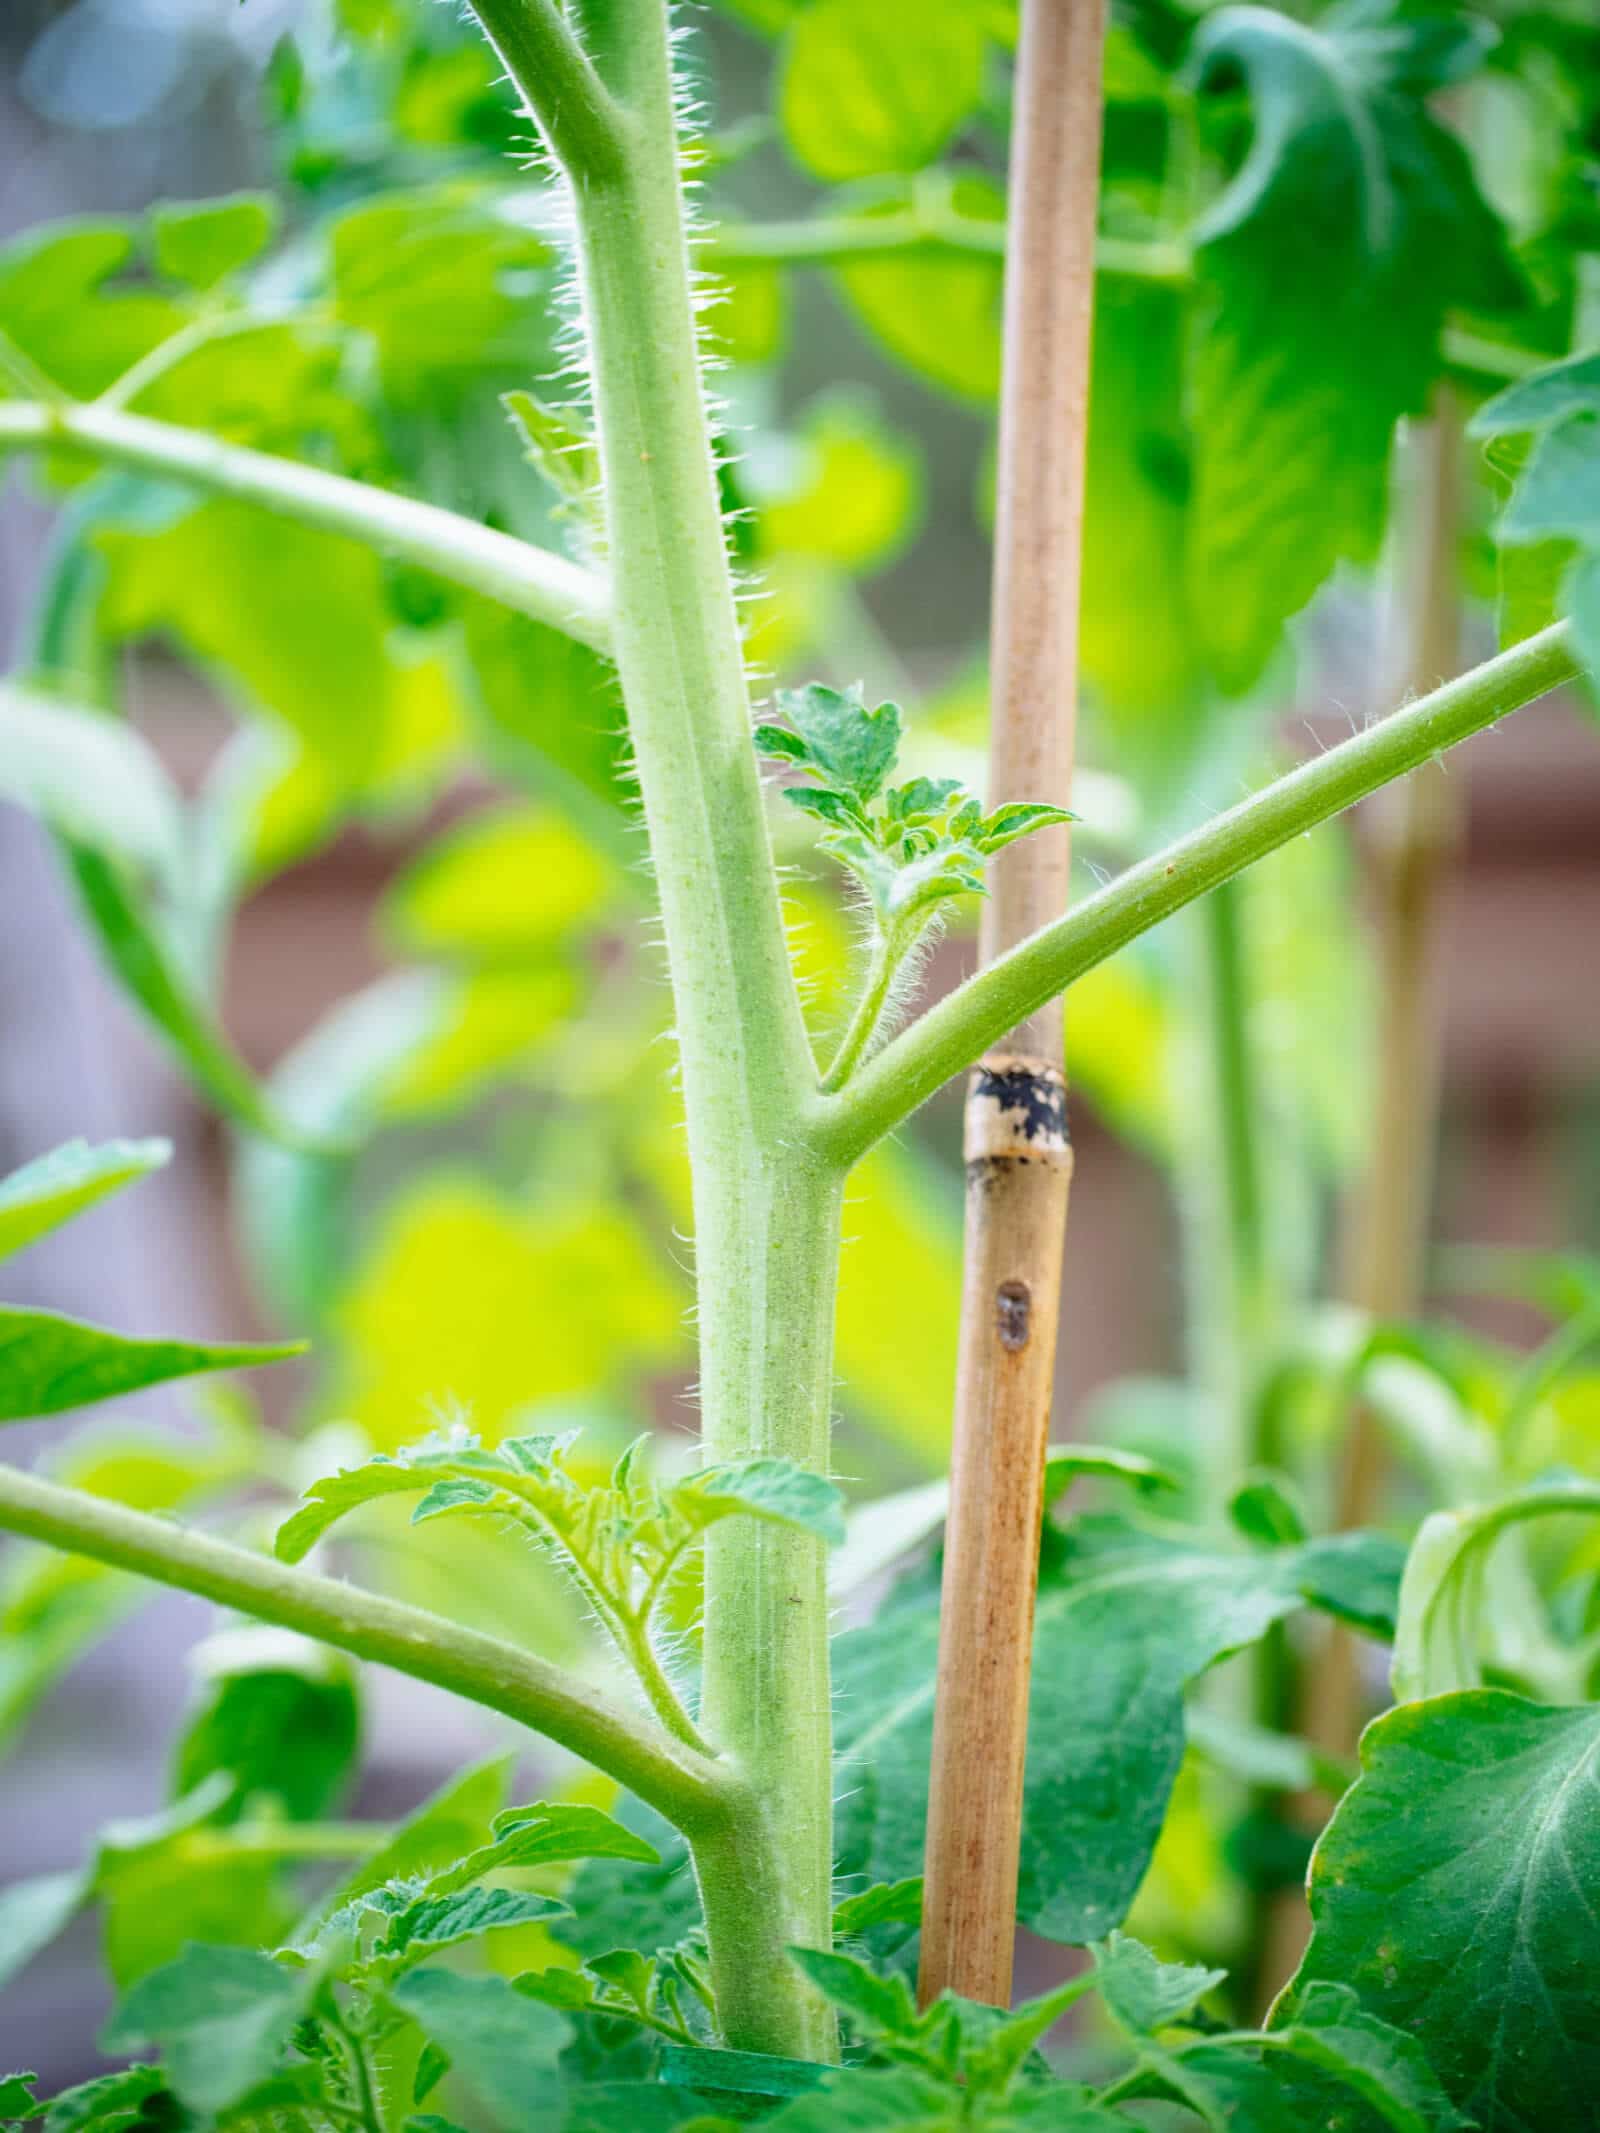
Tomatoes are one of the few vegetable plants that like to bury their stems in soil.
This is most apparent if you’ve ever let your tomato vines flop on the ground, forget to stake them upright, and come back a couple weeks later to find the vines have firmly rooted themselves into the soil.
The plants have tiny, fuzzy bumps on their stems (called adventitious roots, root initials, or tomato stem primordia) that are essentially the beginnings of new root nodes.
If left in contact with water or soil, these nodes eventually develop into roots, further increasing the root mass of the plant.
This in turn means stronger, more resilient plants that need less irrigation and fertilization because their extensive root system can reach deeper into the soil, pulling up moisture and nutrients.
You can learn how to repot your seedlings the first time in this post, why you should transplant tomatoes a second time here, and how to plant tomatoes sideways in a trench if you’re not able to dig a deep hole to bury the stems.
4. Choose a location with enough sun.
Sunlight is free, and it’s one of the most important aspects of growing tomatoes.
For a good harvest, allow at least 8 hours of full to filtered sunlight per day for your plants.
In climates where summers regularly rise above 85°F to 90°F, try to provide partial shade. Although it’s often said that tomatoes are heat-loving plants, they actually suffer when there’s too much heat. Excessively high temps can cause stunted growth, make blossoms more prone to falling off, and result in fruits that ripen very slowly (or fail to ripen altogether).
Take care to only shade the plants, not wrap or cover them—covering will only trap heat and moisture, creating a greenhouse effect. Use shade cloth, muslin, or a thin, light-colored sheet that still allows air and sunlight to pass through.
Recommended shade cloth
If you don’t get enough sun in your yard, try planting your tomatoes across from a fence or wall, or off to the side of a white shed or garage that can reflect light back onto the plants. Hang a white sheet on the structure if it isn’t already a light, bright color.
Quick tip
A good budget DIY is to find an old door or window from a thrift shop or salvage shop (like Habitat ReStore). Paint it white and place it strategically in the garden to reflect more light onto your plants.
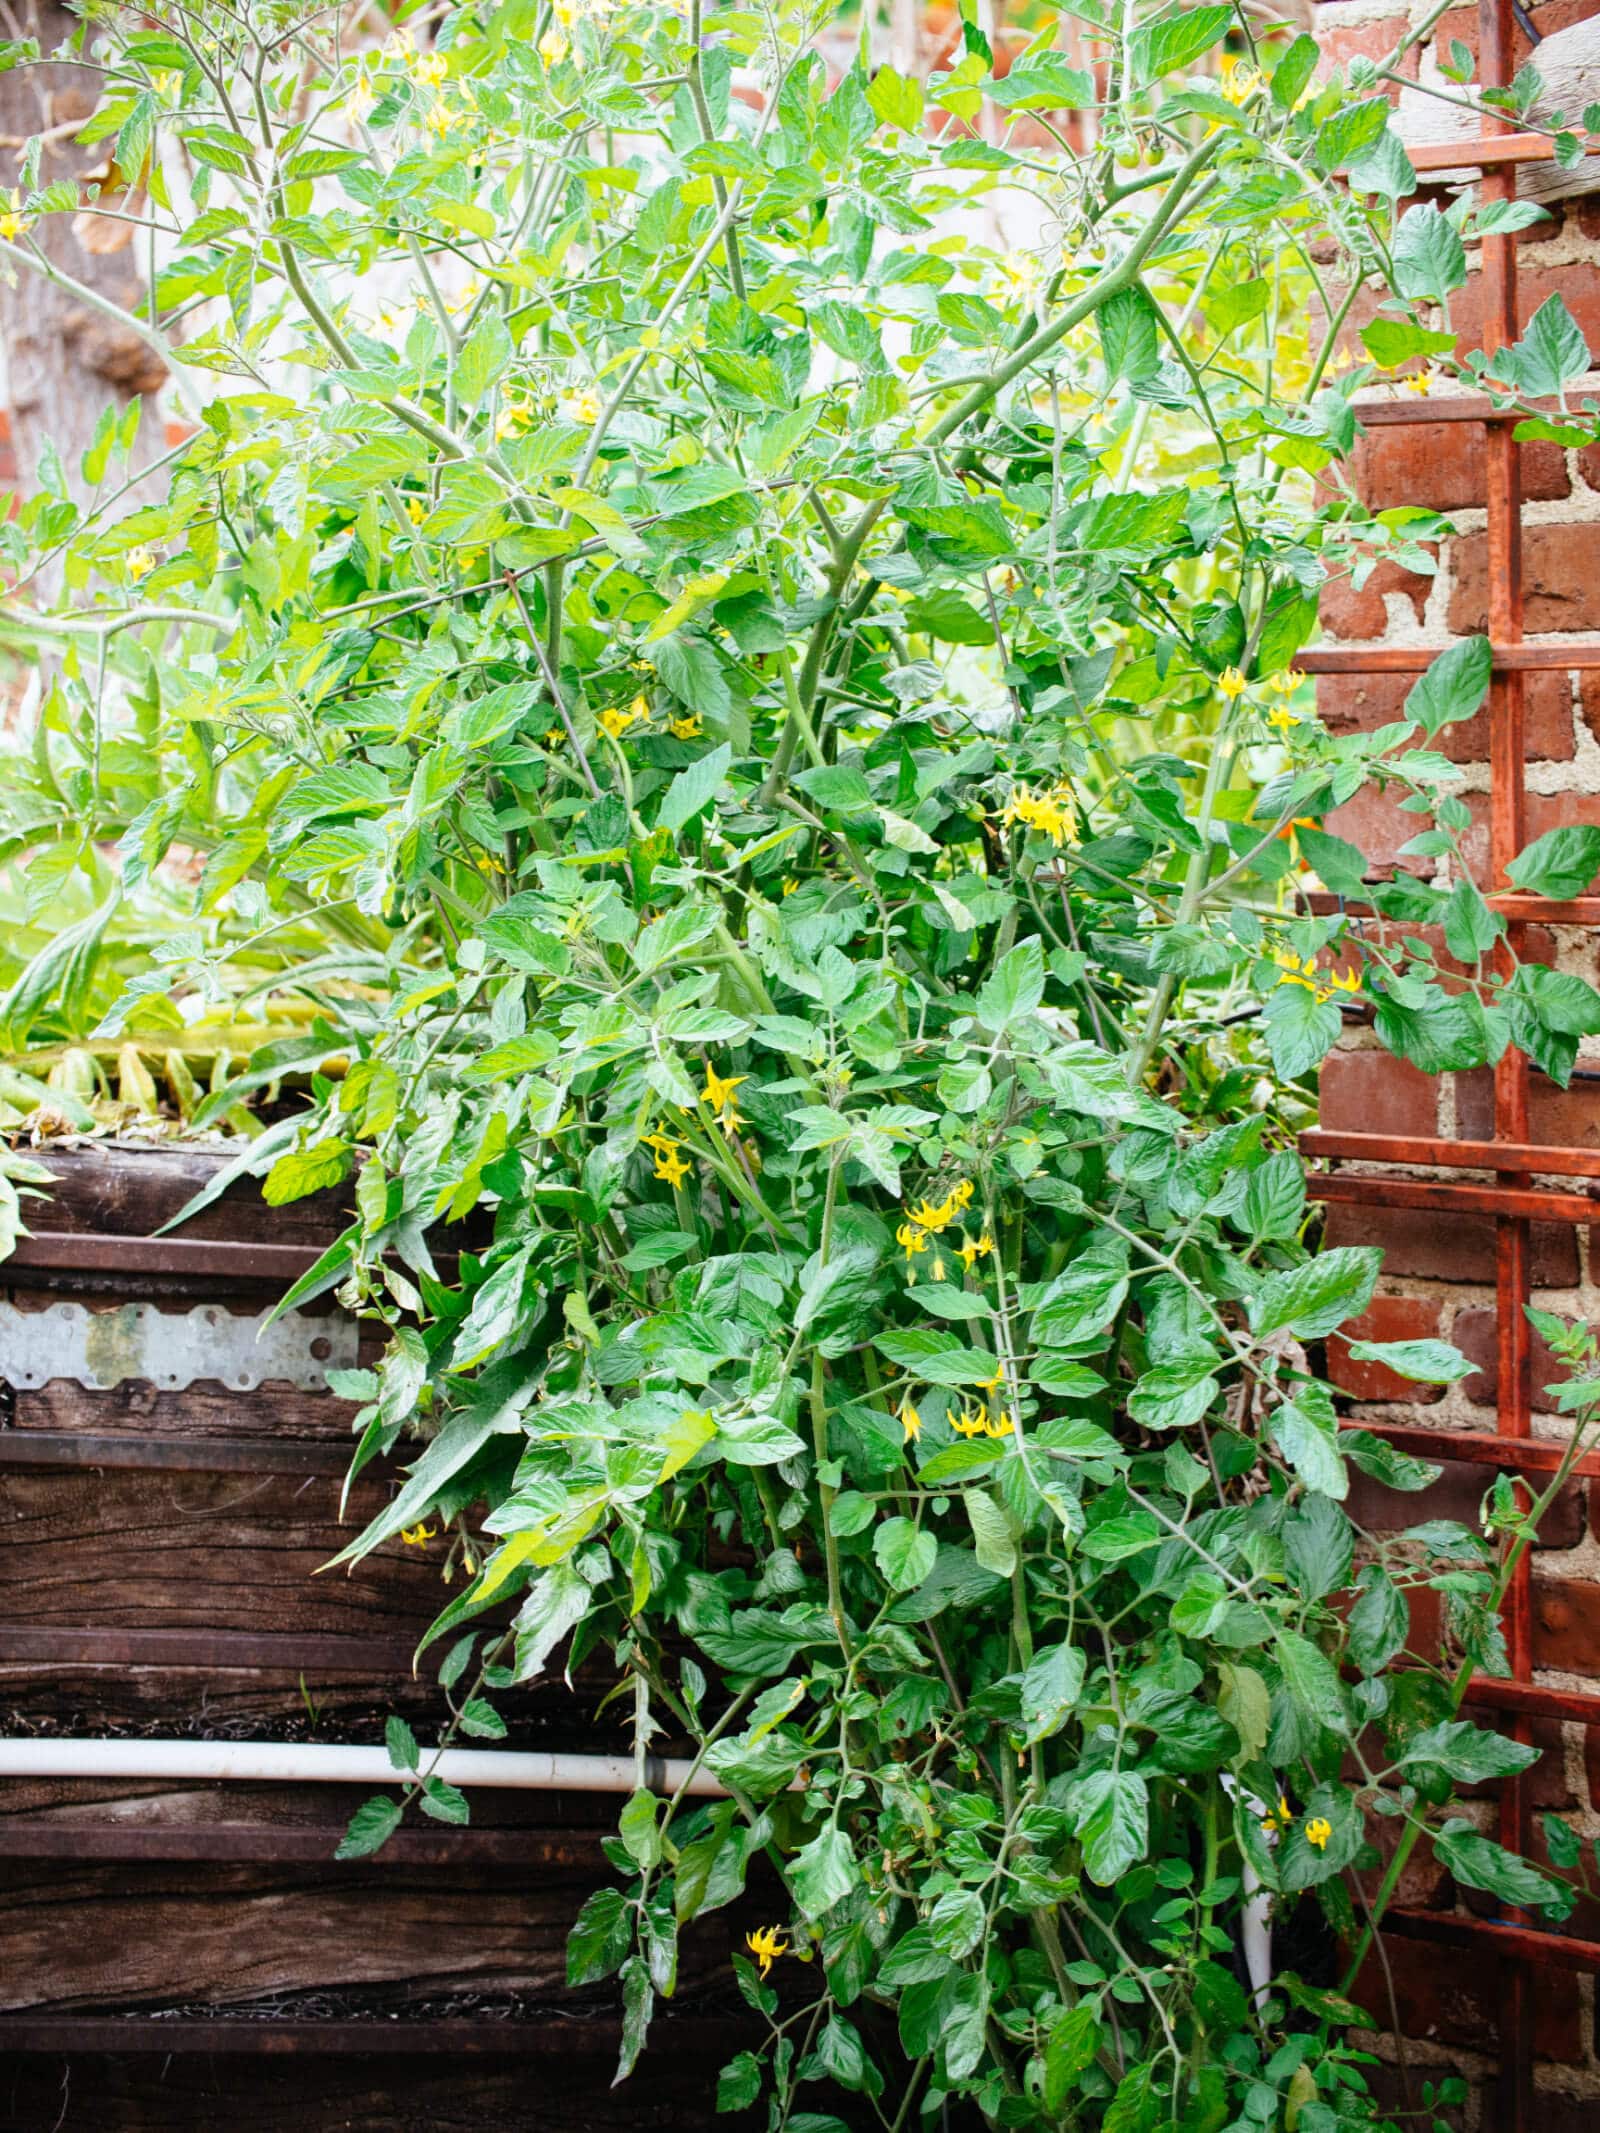
5. Allow ample space in the plants’ final home.

Tomatoes are wide-spreading plants with deep root systems, and the more space you can give them, the more fruits you’ll get.
Allow a minimum of 18 to 24 inches between indeterminate tomatoes in the ground, or 12 to 18 inches between determinate types.
If you’re growing tomatoes in a container, remember that bigger is better. People are often advised to grow tomatoes in 5-gallon buckets, but unless you’re super limited on space (or growing a special micro variety), that’s not nearly enough room for the roots to thrive.
Related: Use this printable chart to find the root depth of garden vegetables
Determinate tomato plants are most successful in 10-gallon or larger containers.
Indeterminate tomato plants need at least 20-gallon containers (such as half whiskey barrels) to reach their full potential.
Shorter, wider container profiles will accommodate more robust cages and help prevent tipping as the plants grow taller.
6. Feed the soil with plenty of amendments.
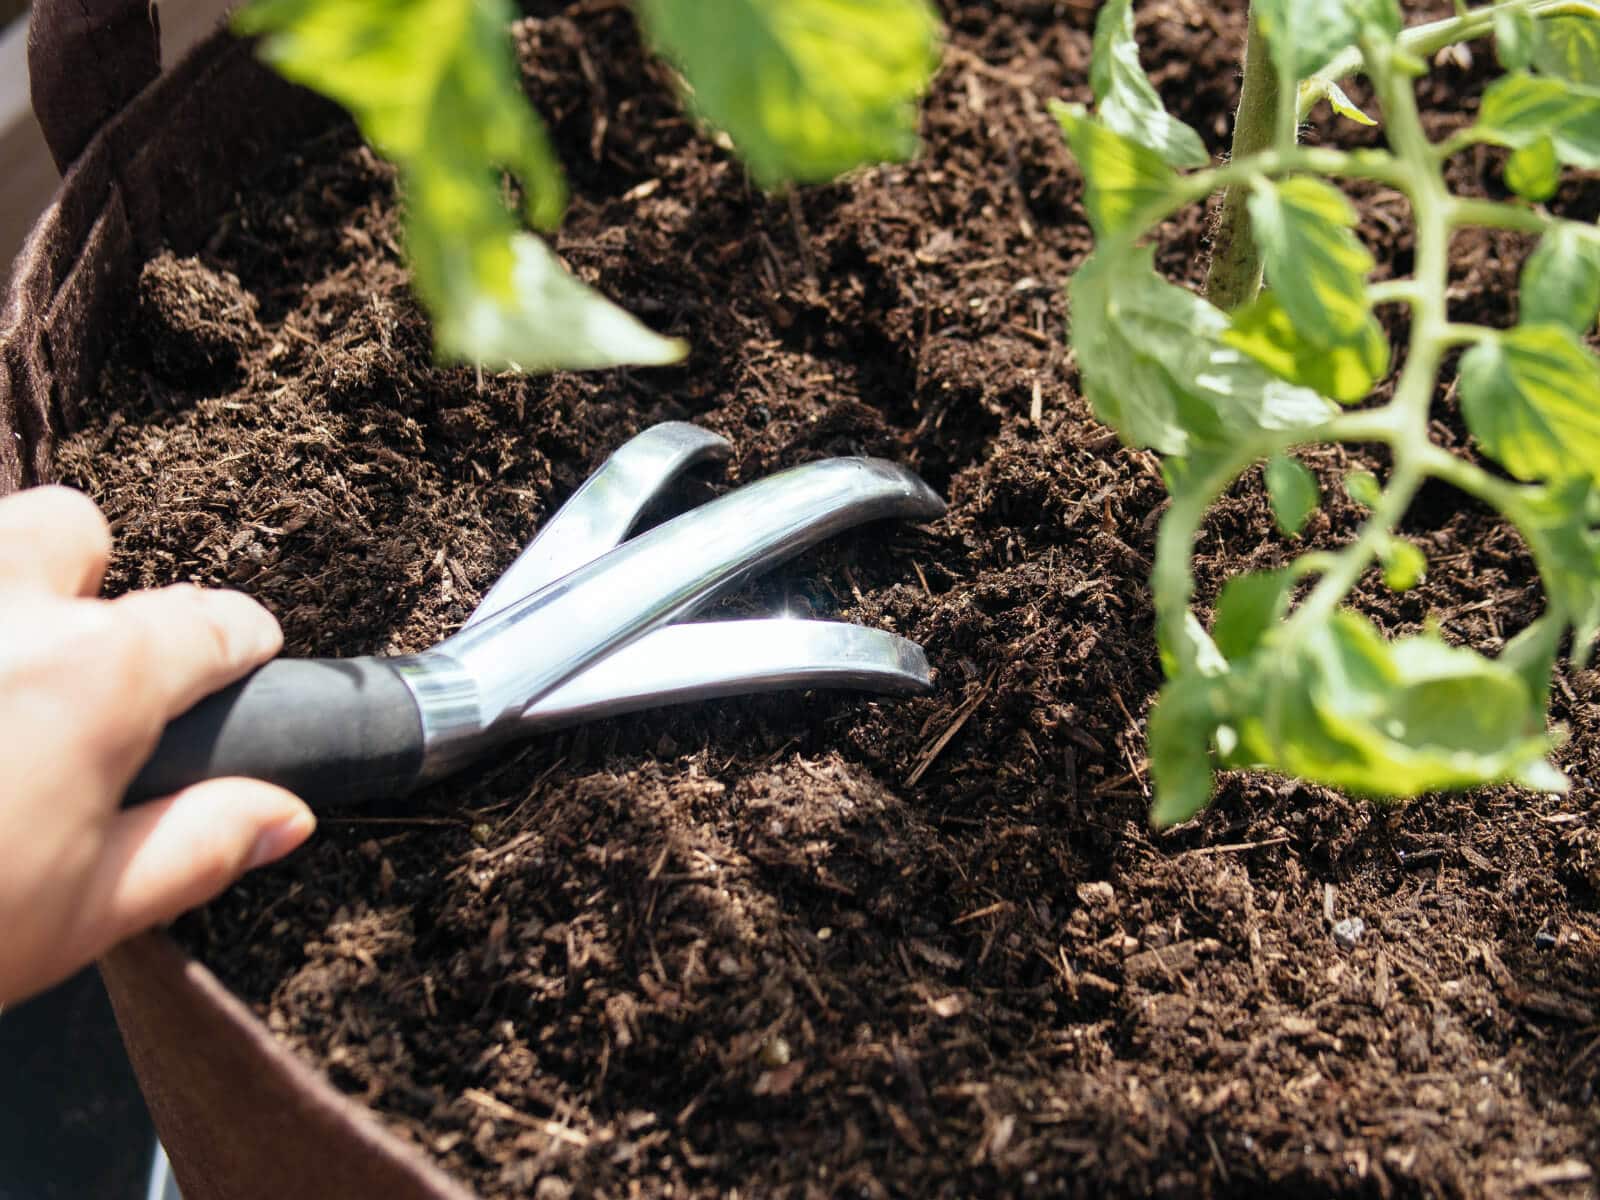
Tomatoes are heavy feeders, and they thrive when given phosphorus, calcium, and other essential nutrients throughout the season.
Unless your plants have yellow leaves, however, try to avoid high-nitrogen fertilizers, which will give you lots of foliage but no flowers.
I like to feed seedlings with diluted liquid fish fertilizer, then add handfuls of a slow-release granular fertilizer, bone meal, crushed eggshells, and fish heads when they go in their final planting hole in the garden.
(You read that right: fish heads. Learn more about using this unlikely but amazing fish fertilizer for your tomato plants here.)
Every few weeks (or per package directions), douse your plants with a foliar fertilizer (I like using liquid seaweed, liquid fish fertilizer, or compost tea, which can easily be made at home) or side dress them with the same granular fertilizer you used in the planting hole.
Recommended fertilizers
7. Use the “stick trick” to deter cutworms.
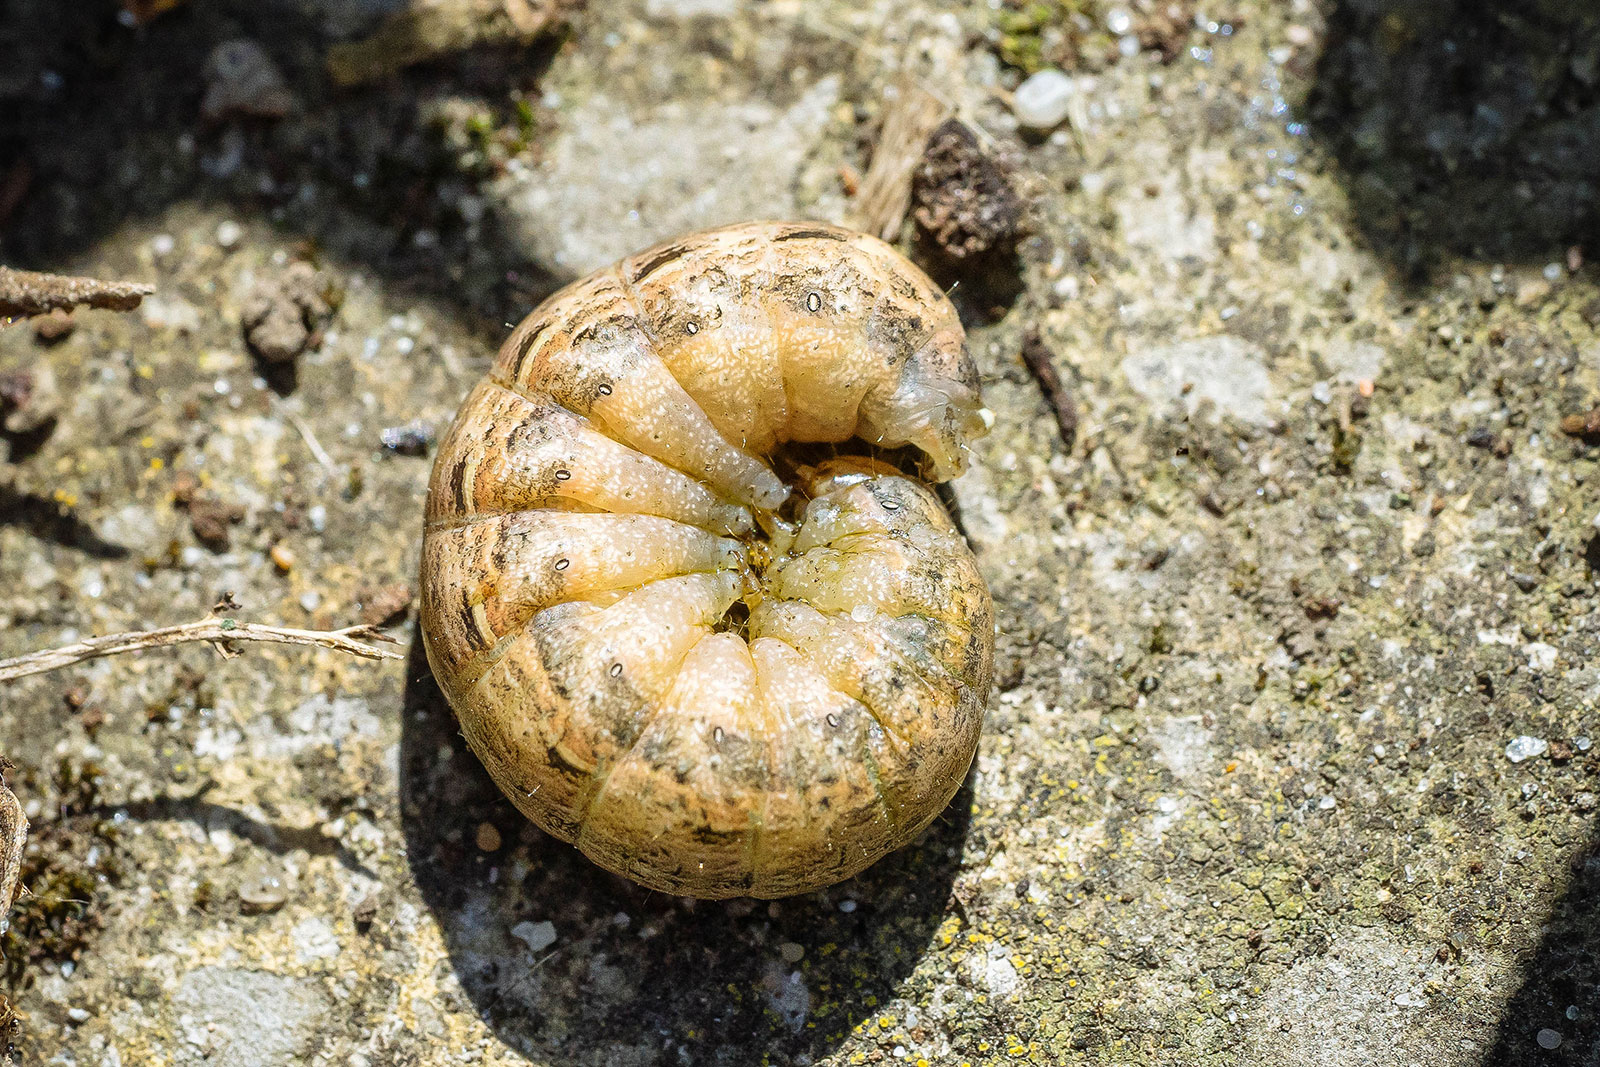
Cutworms are the caterpillars of a family of moths (Noctuidae) commonly called miller moths. The plump larvae are usually brown or gray in color and curl into a “C” shape when disturbed.
Related: How to identify common green caterpillars in your garden
They’re also one of the most annoying pests in the garden, especially in spring when there’s a veritable buffet of delicious, tender seedlings for the feasting.
If you’ve ever woken up one morning to the horror of what looks like someone just took a mini lawnmower to all your seedlings, you’ve likely been the victim of cutworms.
They hide during the day and feed at night, clipping the stems of seedlings and young transplants close to the soil surface.
Usually the top of the plants are left untouched, lying on the ground near the chewed-off stems, but some cutworms will climb up seedlings to feed on buds, shoots, and leaves. They love tomato seedlings but will eat any and all vegetables in the garden, including the seedlings of squash, corn, and beans.
So, this little trick will work for all your young plants, and it’s a surprisingly effective, cheap, and easy method of pest control.
After you transplant your tomato seedlings and starts, place a small bamboo stick, popsicle stick, wooden skewer, coffee stirrer, or similar apparatus right against the stems.
The stick prevents the cutworm from wrapping itself around the stem and gnawing on your plant.
8. Water deeply and consistently, but less frequently.
Tomatoes have robust roots that will grow as large as you let them. By watering the plants deeply and thoroughly at the root zone one to three times a week (depending on your soil and weather conditions), you encourage the roots to sink deeper into the soil.
That’s because tomato plants that receive only a small amount of water each time (even if they’re irrigated more frequently) tend to have shallow roots that gather near the soil surface where the moisture is.
Shallow watering and shallow roots weaken the plants and make them more susceptible to pests, diseases, and low production. (Not to mention tall—yet shallow-rooted—plants may topple over in high winds.)
My best advice for managing moisture (and ensuring not too much or not too little reaches the roots) is to install drip irrigation lines or soaker hoses on a programmable timer so you never forget to water. (Use my calculator to figure out how long to run your drip irrigation.)
Tomato plants benefit from consistent moisture as it helps prevent blossom end rot and keeps the skin from cracking.
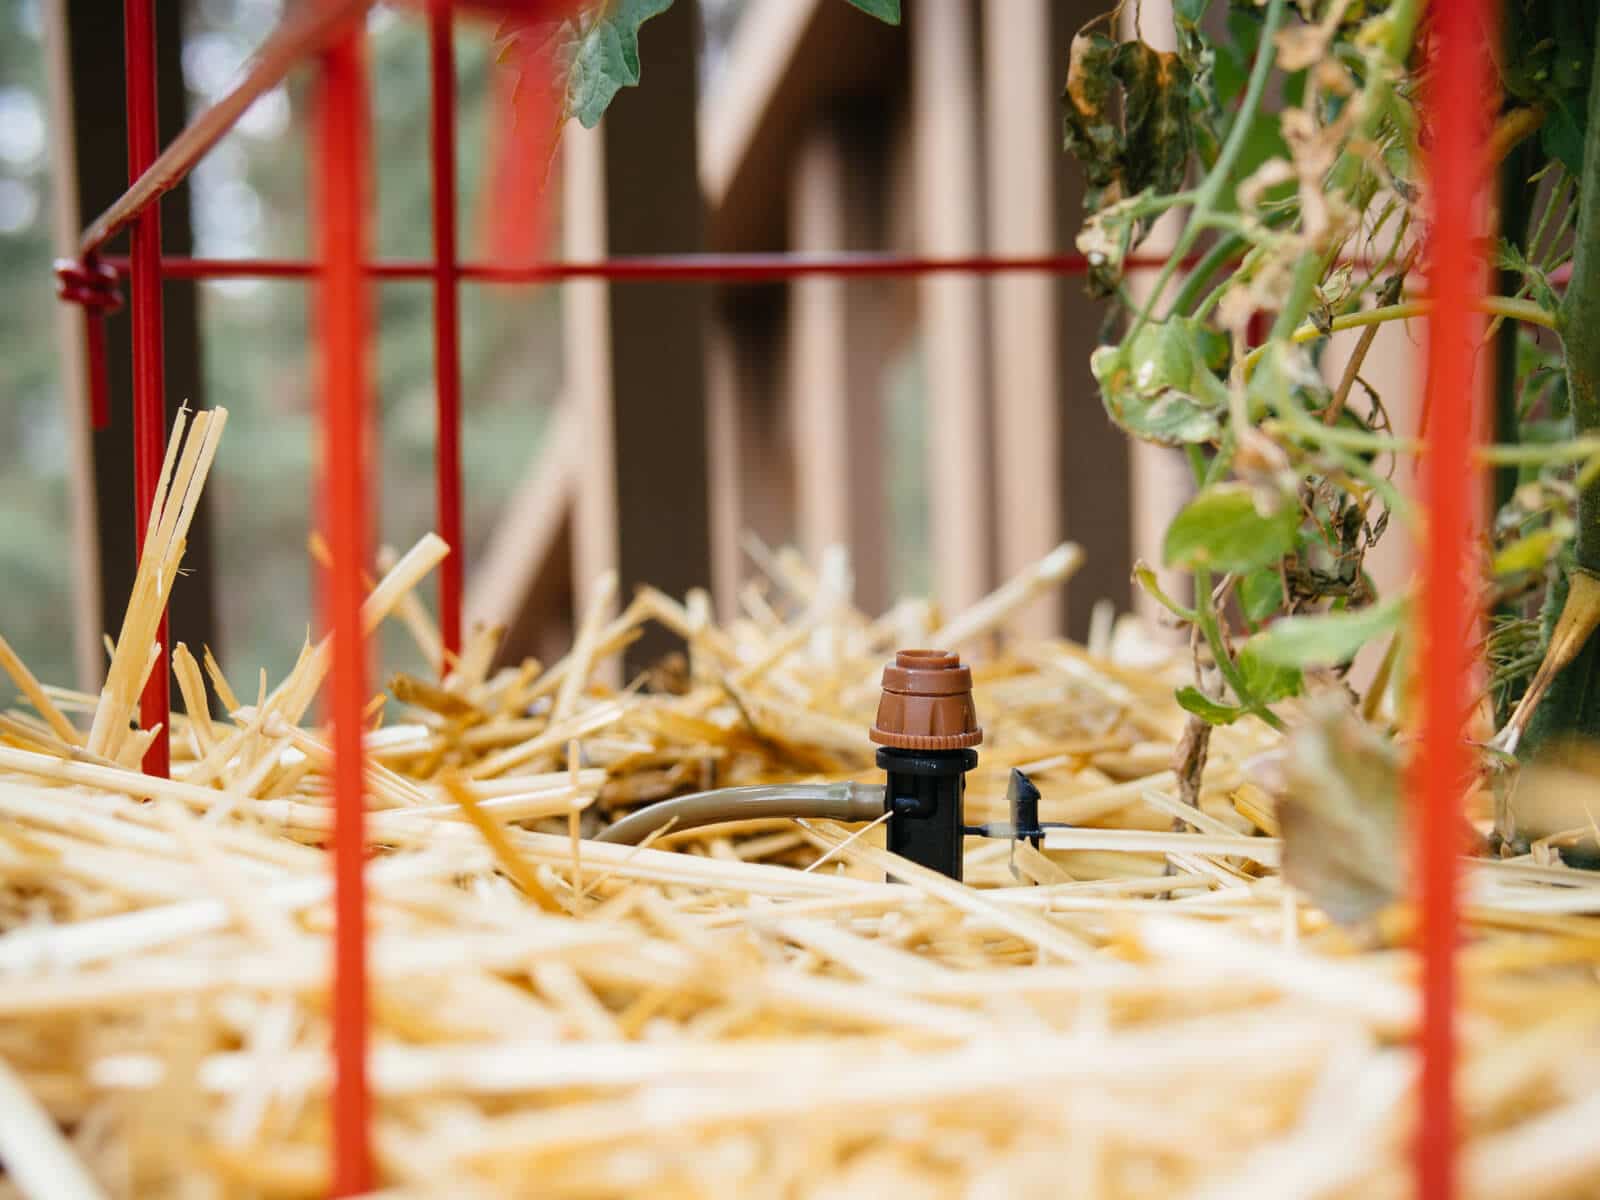
9. Mulch around your plants.
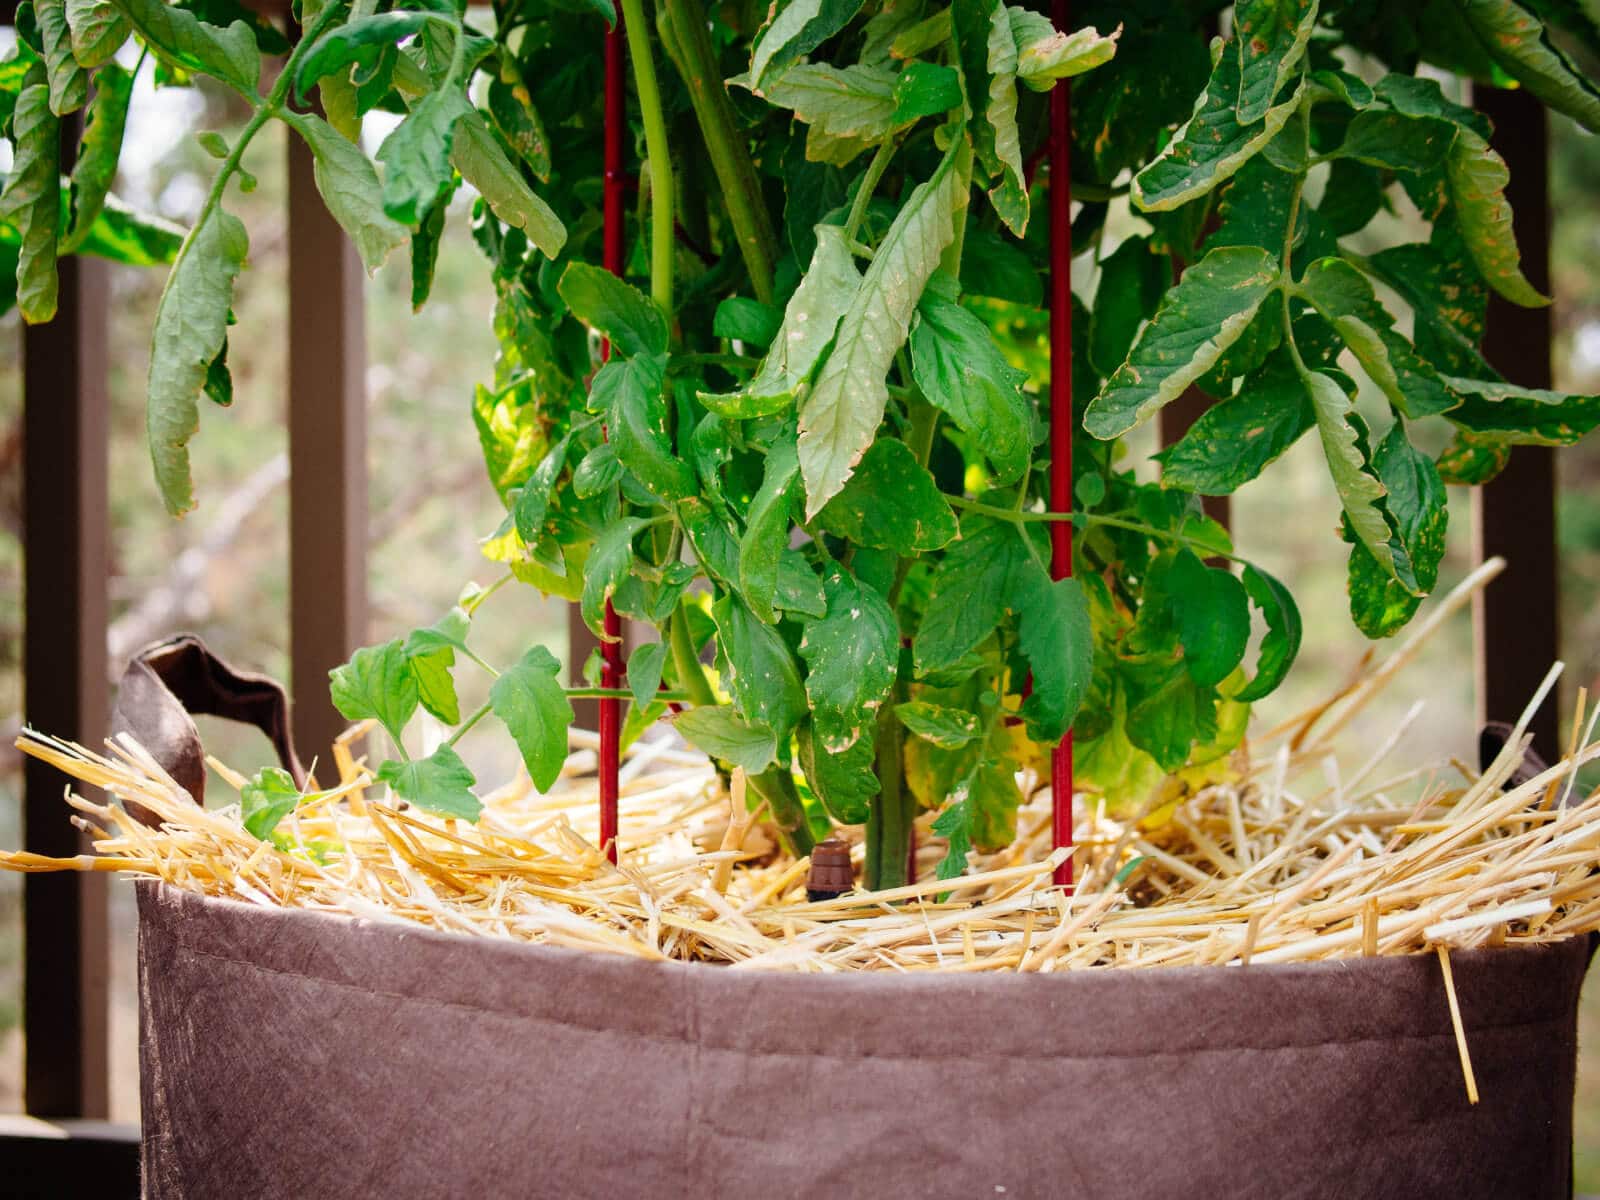
As soon as your tomato plants are at least 6 inches tall (any shorter and they risk being smothered), spread a 2-inch layer of organic mulch on the soil, taking care not to bunch it against the stems.
A good mulch (like straw, my usual go-to) helps conserve moisture, prevent weeds, and regulate soil temperature.
It also keeps the soil from splashing up on the leaves when your plants are watered, reducing the chances of soil-borne disease.
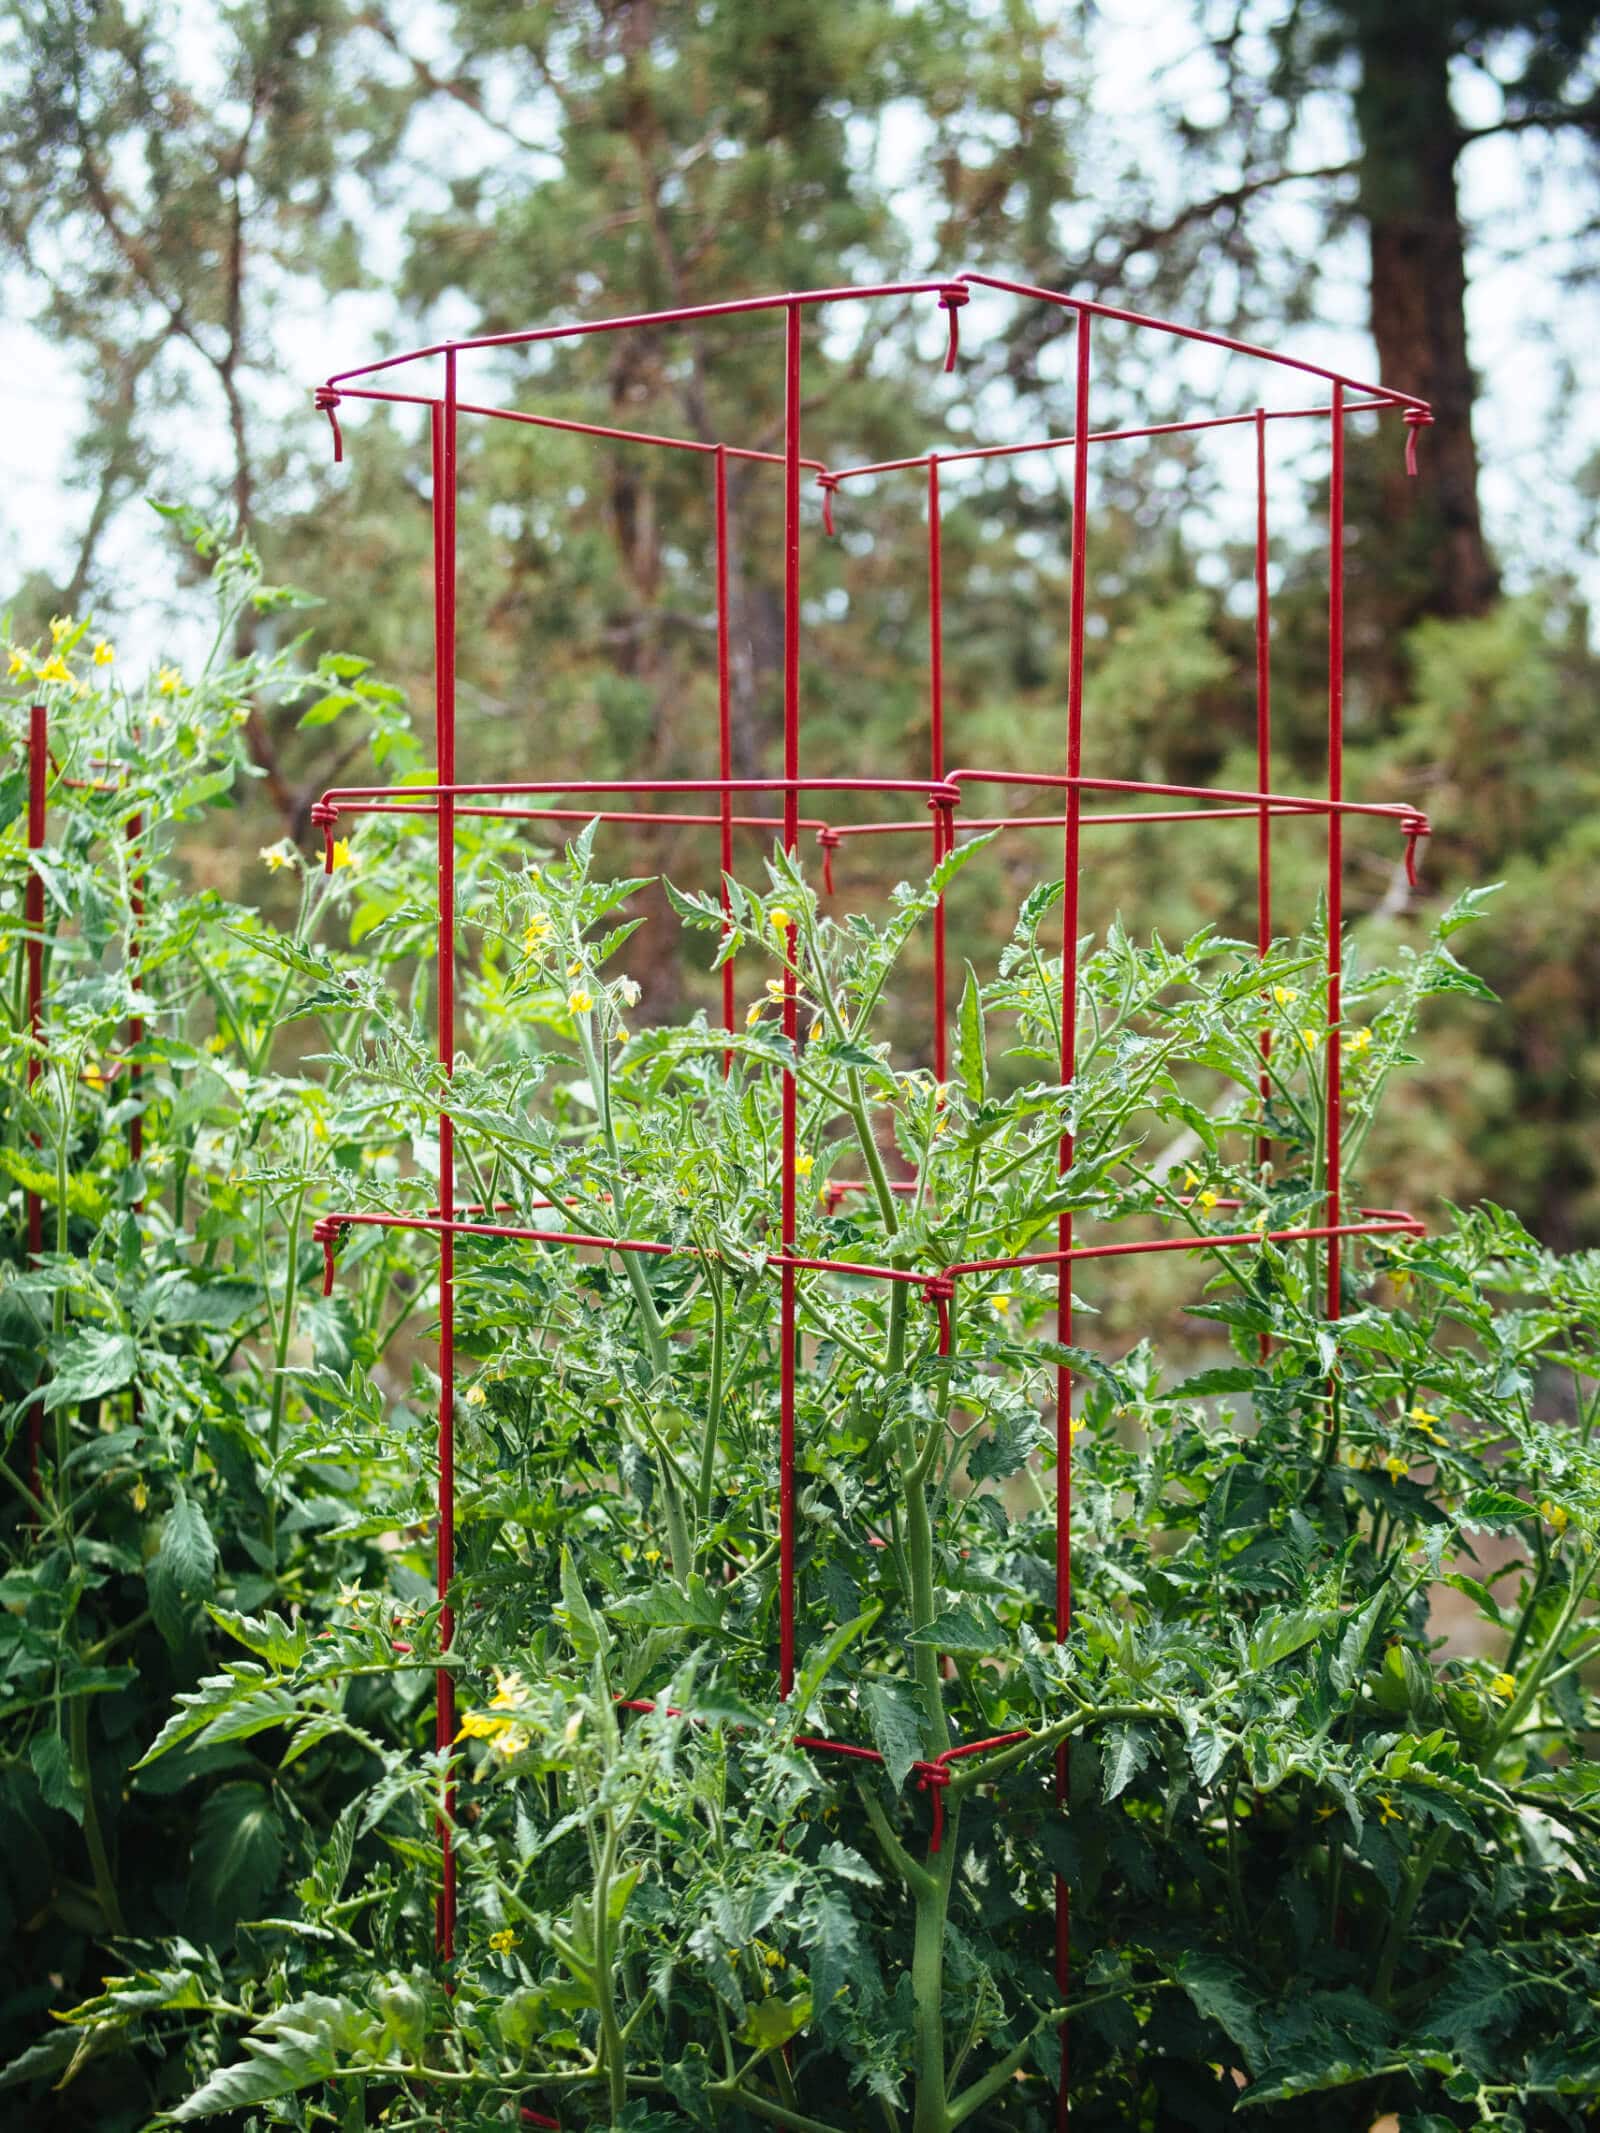
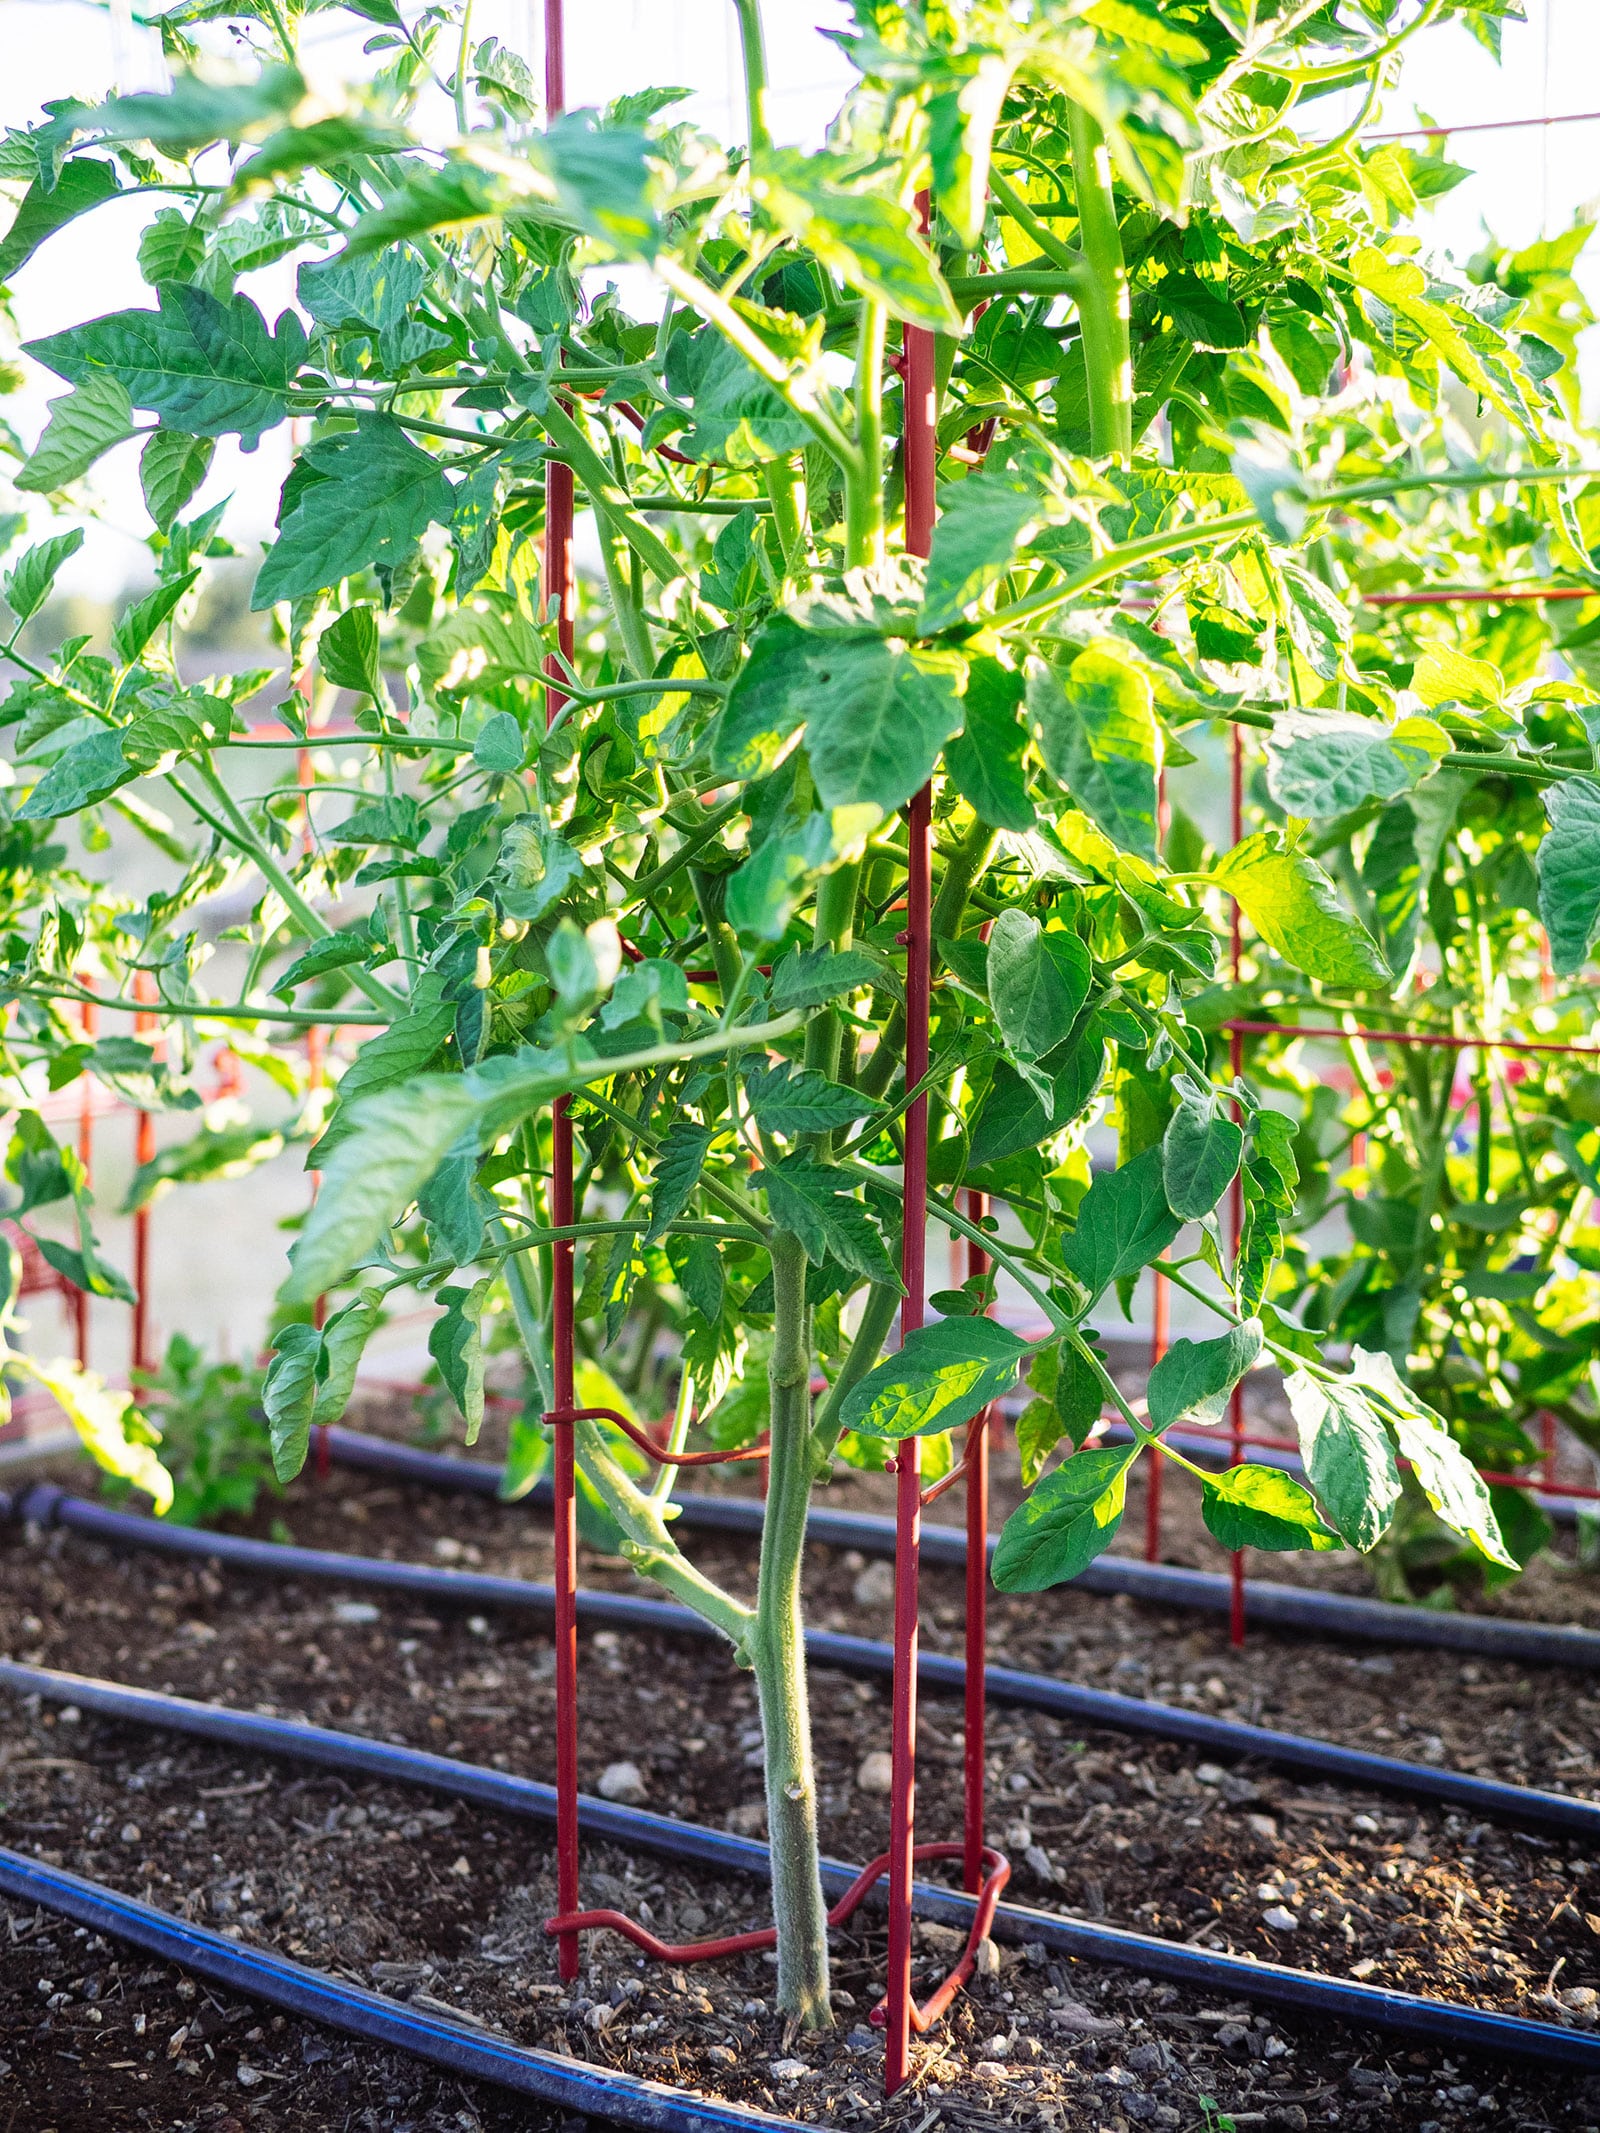
10. Stake or trellis your plants early, and always aim high.
It’s easy to look at your newly transplanted tomato babies and think they’ll get dwarfed by their cages if you put them up right away.
But it doesn’t take long for those plants to get unwieldy, and before you know it, you’re struggling to contain the vines without snapping the stems or losing flowers or fruits.
Tomato roots spread rapidly, and it’s best to stake, cage, or trellis them early so you don’t risk driving the supports into their developing root systems.
I prefer heavy-gauge square cages or stacking tomato ladders in my own garden, and am not a fan of the flimsy, conical tomato cages you see in garden centers. Those conical cages are just never strong or tall enough to fully support an indeterminate plant.
Recommended trellises
If you grow lots of tomatoes, try the Florida weave method of trellising your plants in rows.
Other gardeners like to DIY their own supports out of hog wire (using it like a living fence for tomato vines to climb), or fashion their own sturdy cages out of rebar and concrete reinforcing mesh. Experiment with what works for you!
The taller your supports are, the healthier your plants will be. Keeping the leaves off the ground discourages pests or diseases from taking hold, and air is better able to circulate around the plants when the vines have ample support.
11. Prune lower leaves for better plant health.
I wrote more extensively about how to prune tomato plants in this post. (Surprise: I don’t always prune the suckers).
But the one thing I always try to do? Prune any leaves that touch the ground.
Low-hanging stems and leaves that contact the soil are more susceptible to soil-borne diseases, so you should preemptively remove all the lower branches within the first few weeks of planting.
Keep an eye out for damaged or discolored leaves throughout the season and cut those off as well. Since damaged leaves can no longer support the plant, they should be removed and thrown in the trash (not the compost pile, since they might be signs of disease).
12. Don’t wait for tomatoes to fully ripen before picking them.
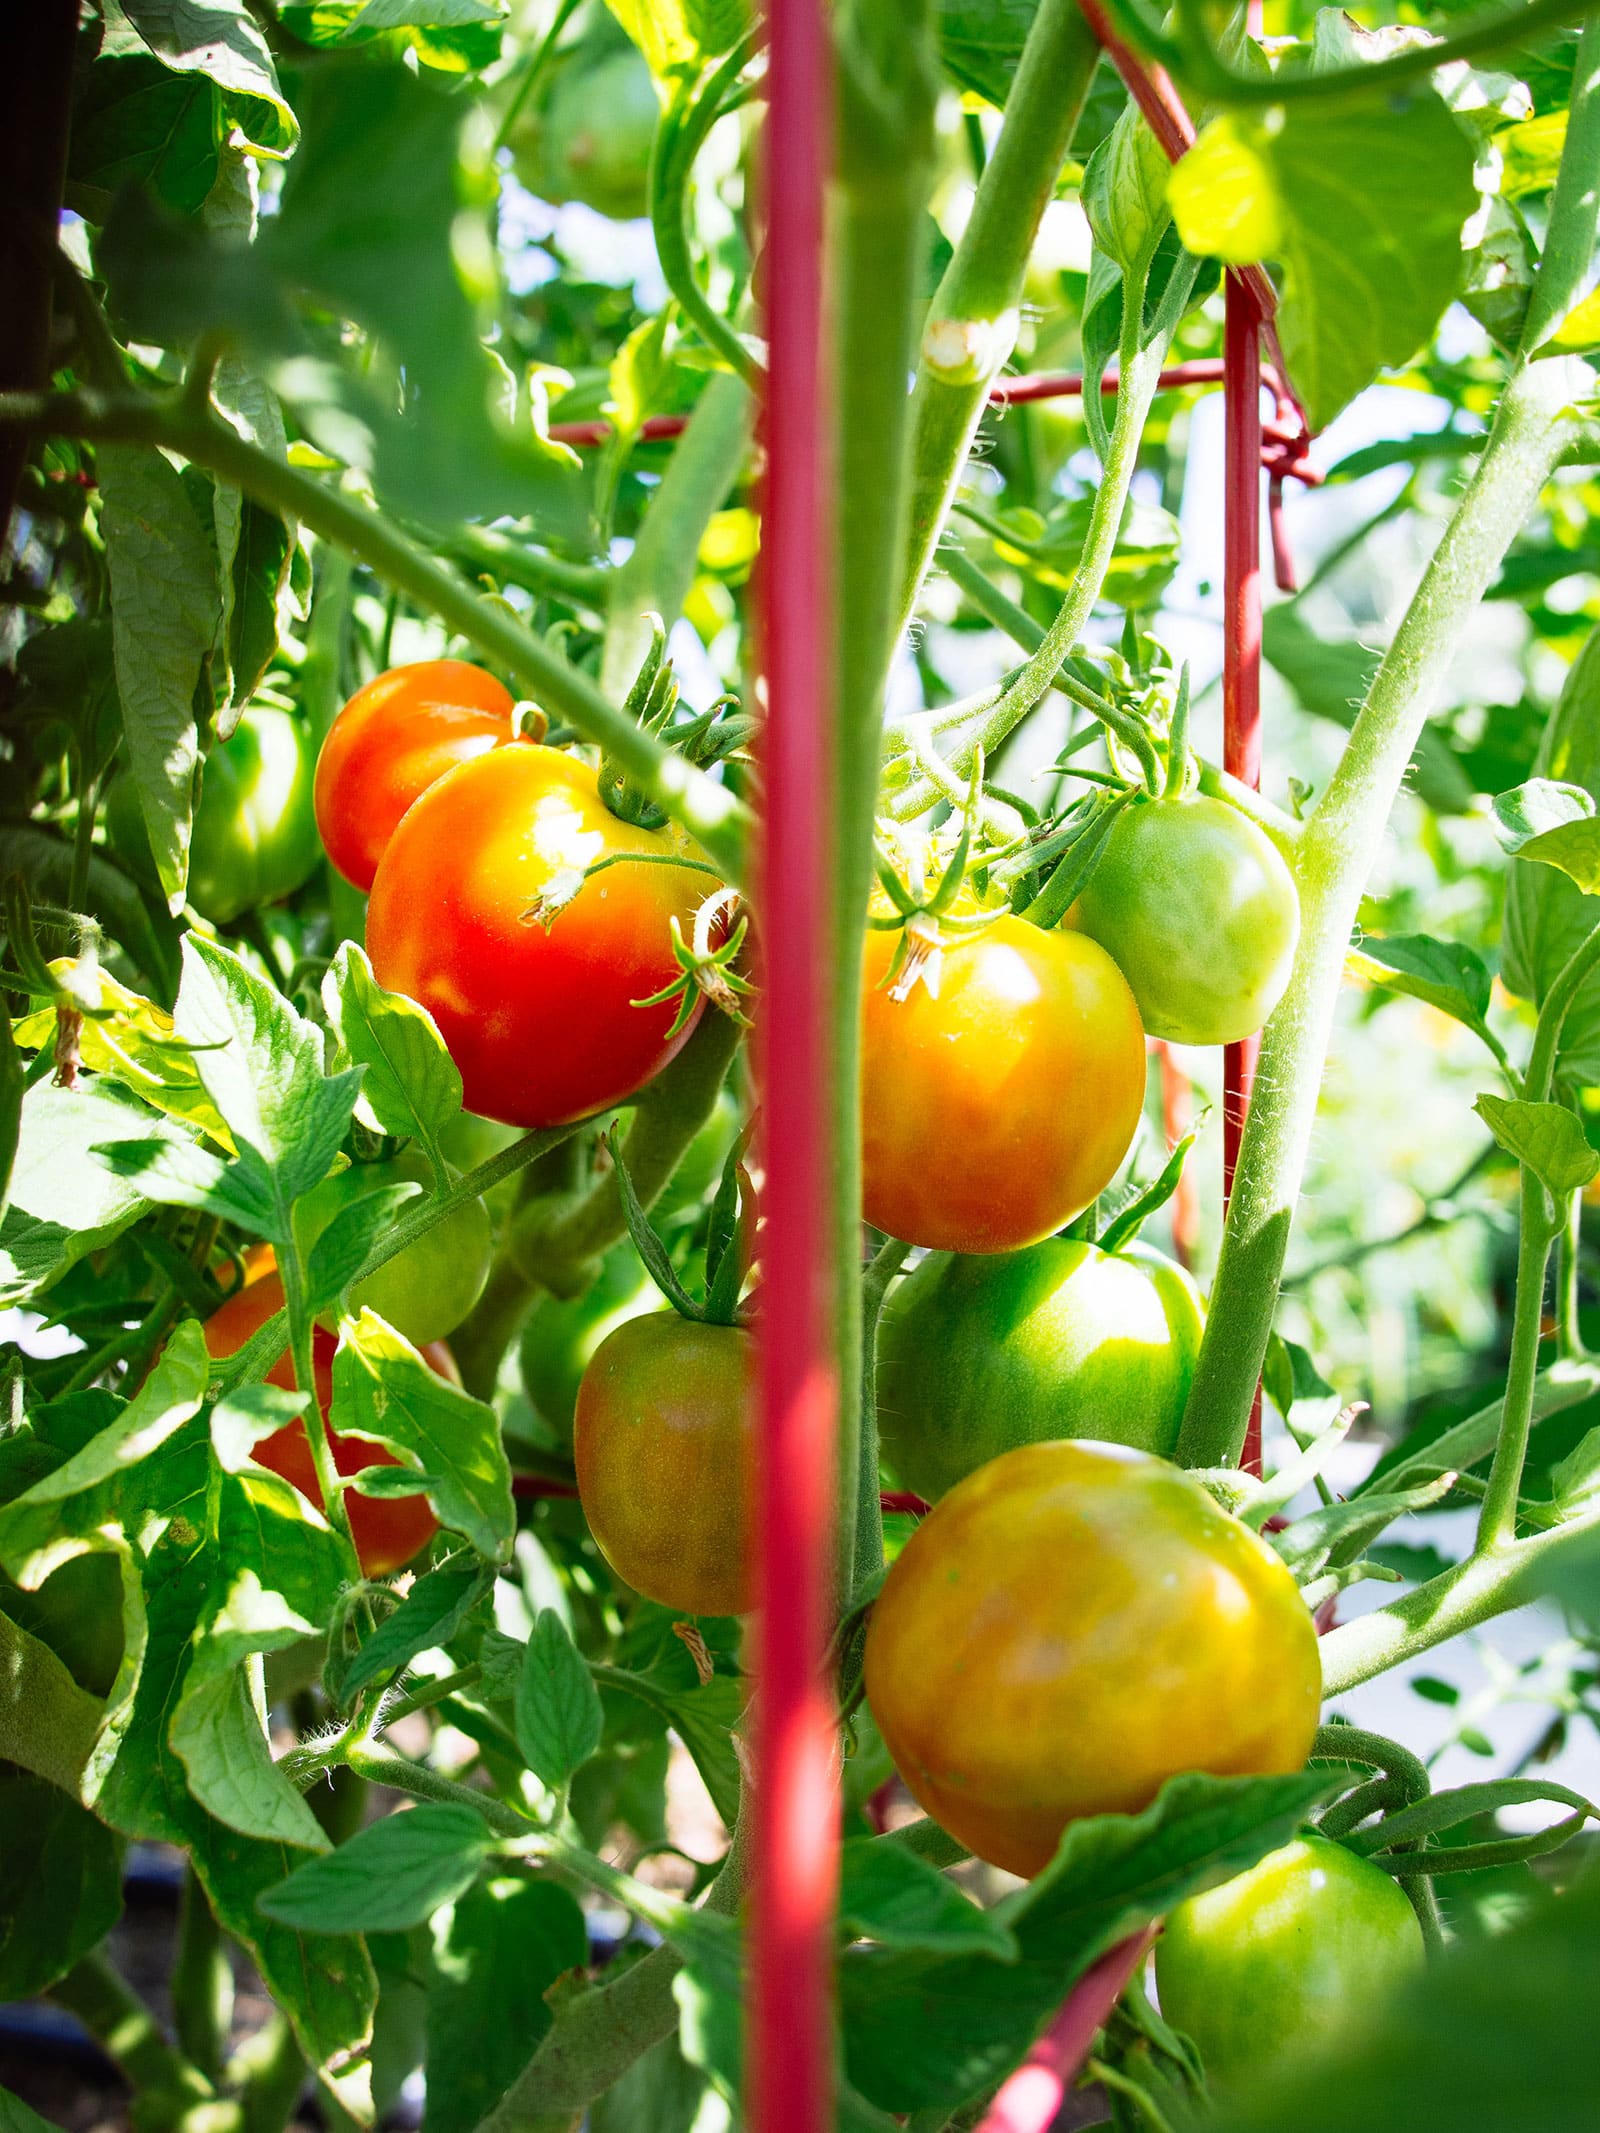
Wait, what? While it sounds counterintuitive to pick tomatoes before they’re ripe, doing so can actually improve your yield in a few ways:
- Tomatoes won’t split or crack after sudden summer rainstorms
- You’ll harvest tomatoes before pests and critters get to them
- You don’t have to wait for heat waves to pass (since very hot weather above 85°F slows down the ripening process)
- Picking mature tomatoes redirects energy to flowers and immature fruits
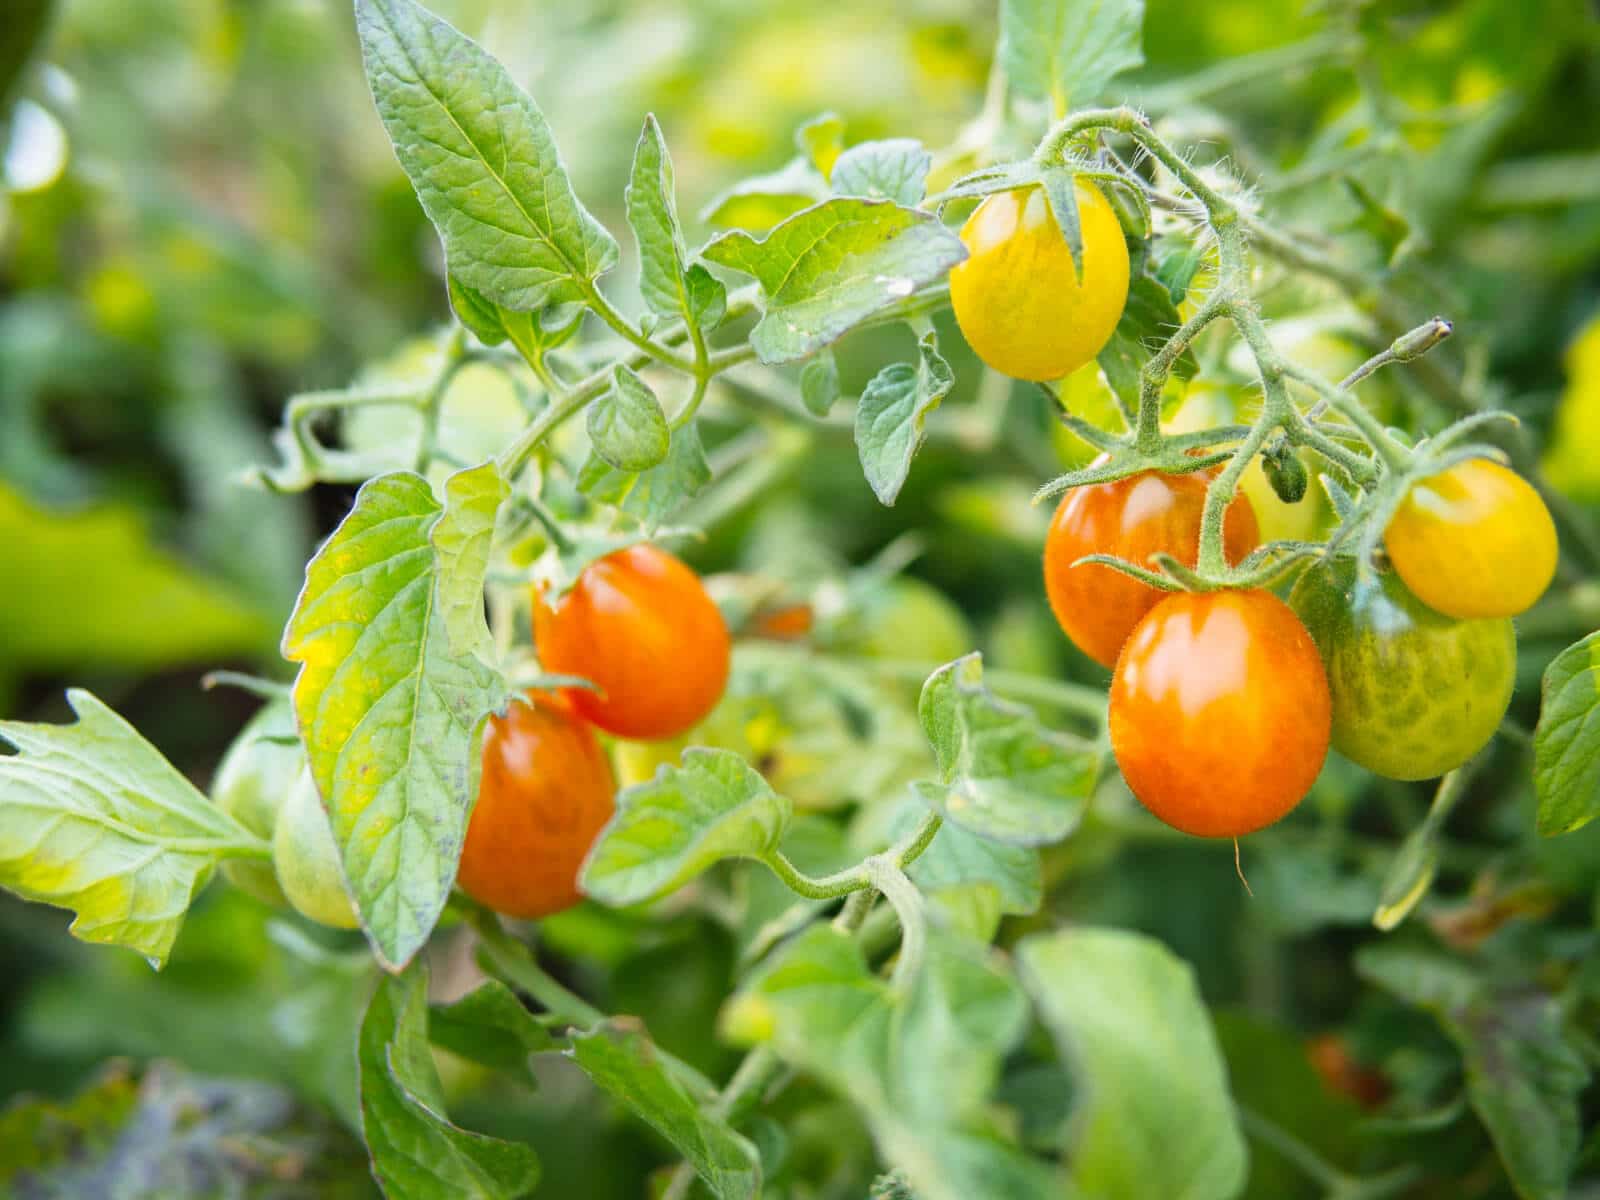
The key is to harvest your tomatoes in the “blushing” stage, where they have some color but aren’t totally red yet. At this stage, the tomatoes have fully developed and will continue to ripen indoors with no loss of flavor, quality, or nutrition. Just let the fruits ripen on the counter and use them when they’ve reached peak ripeness.
This post updated from an article that originally appeared on April 30, 2019.


Thank you for all that you do for us to live healthier, simpler lives!!
What is the purpose of adding the aspirin to the soil when I first plant my tomatoes.
Great formula. I wish I had fish heads.
I wrote more about the aspirin trick in my post here: https://gardenbetty.com/grow-bigger-and-better-tomatoes-this-summer/
The salicylic acid in aspirin triggers the plant’s defense mechanism to give it an immunity boost.
I live in Seattle and planted my tomato plants about two weeks ago. They are looking great and have added about four inches and will get to be about five or six feet. One thing that has happened is a Brandywine Pink and a Cherokee Purple have already started blooming. Previously they didn’t bloom until the were much taller. Do I leave the flowers on or remove them until they are more mature?
Hi Linda!
Do you have a list of favorite semi-determinate tomatoes? Well… an unofficial list, of course!
I certainly learn alot of interesting things from Garden Betty! Thank you!
snails are often a problem with my tomatoes.
Hello Linda,
I’m so happy, that I’ve found your blog! Thank you a lot for your time and such advices! Really.
I’m gonna live here and follow you on Insta! !:))
Since I have back problems, so I’m trying to decide will this Raised Planter work for tomatoes, since H inside is about 13-11 inches? Or better to go with the container from RootPouch?
Also m gonna plant cucumbers, bell peppers and really wondering if the containers are better option in my case.
I’ll highly appreciate any your advice, Linda!
Thank you!
Victoria
am a farmer of tomatoes I love planting tomatoes and cooking it I love tomatoes?
I preserve most of my crop using a (9 tray Excalibur) food dehydrator. Over time I’ve evolved into growing one variety: Beefsteak tomatoes. Their large size, and relatively smooth shape, along with minimal seed chambers (mostly firm meaty flesh, 1+ lbs. each) means they can process into large slices for drying quickly with minimal waste. Each batch uses 20 plus lbs. of tomatoes, cut into 1/4″ slices, and packed touching each other onto the trays. When crispy dry each batch becomes 1-1/2 to 2 lbs. dried and can just barely stuff into a 1 gallon freezer ziplock bag. The sweet dried slices are great for many uses from soups and stews to pizza or risotto rice.
In the past, I’d sometimes have problems with blossom end rot, but a friend’s advice to include both Epsom Salt and “nonfat dry milk powder” when amending the planting holes solved that problem.
Epsom salts used when you plant tomatoes mixed in with water are a good source for magnesium. Also if one has problems with squirrels a mixture of cayenne and water will deter them