I’ve fielded many questions about the clawfoot tub from my popular post on making a no-dig garden, so I thought I would share the process of how I repurposed mine into an outdoor planter—though there wasn’t much to it.
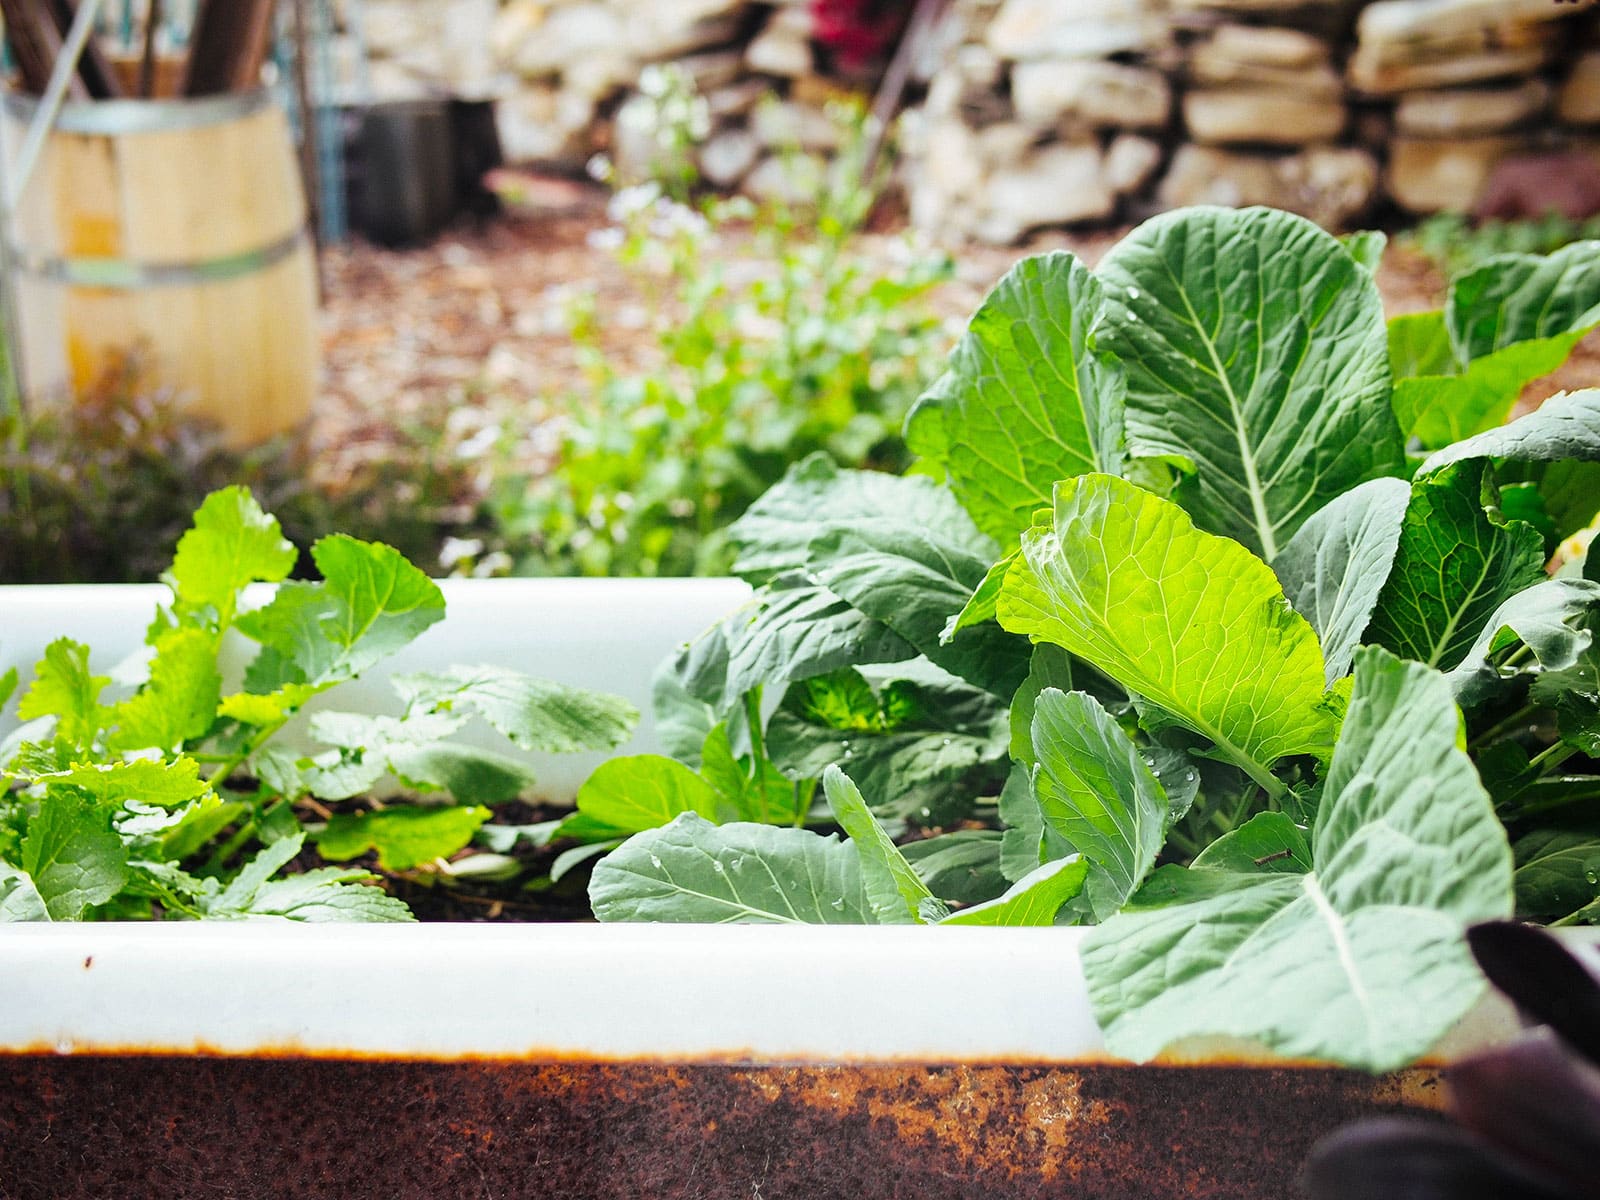
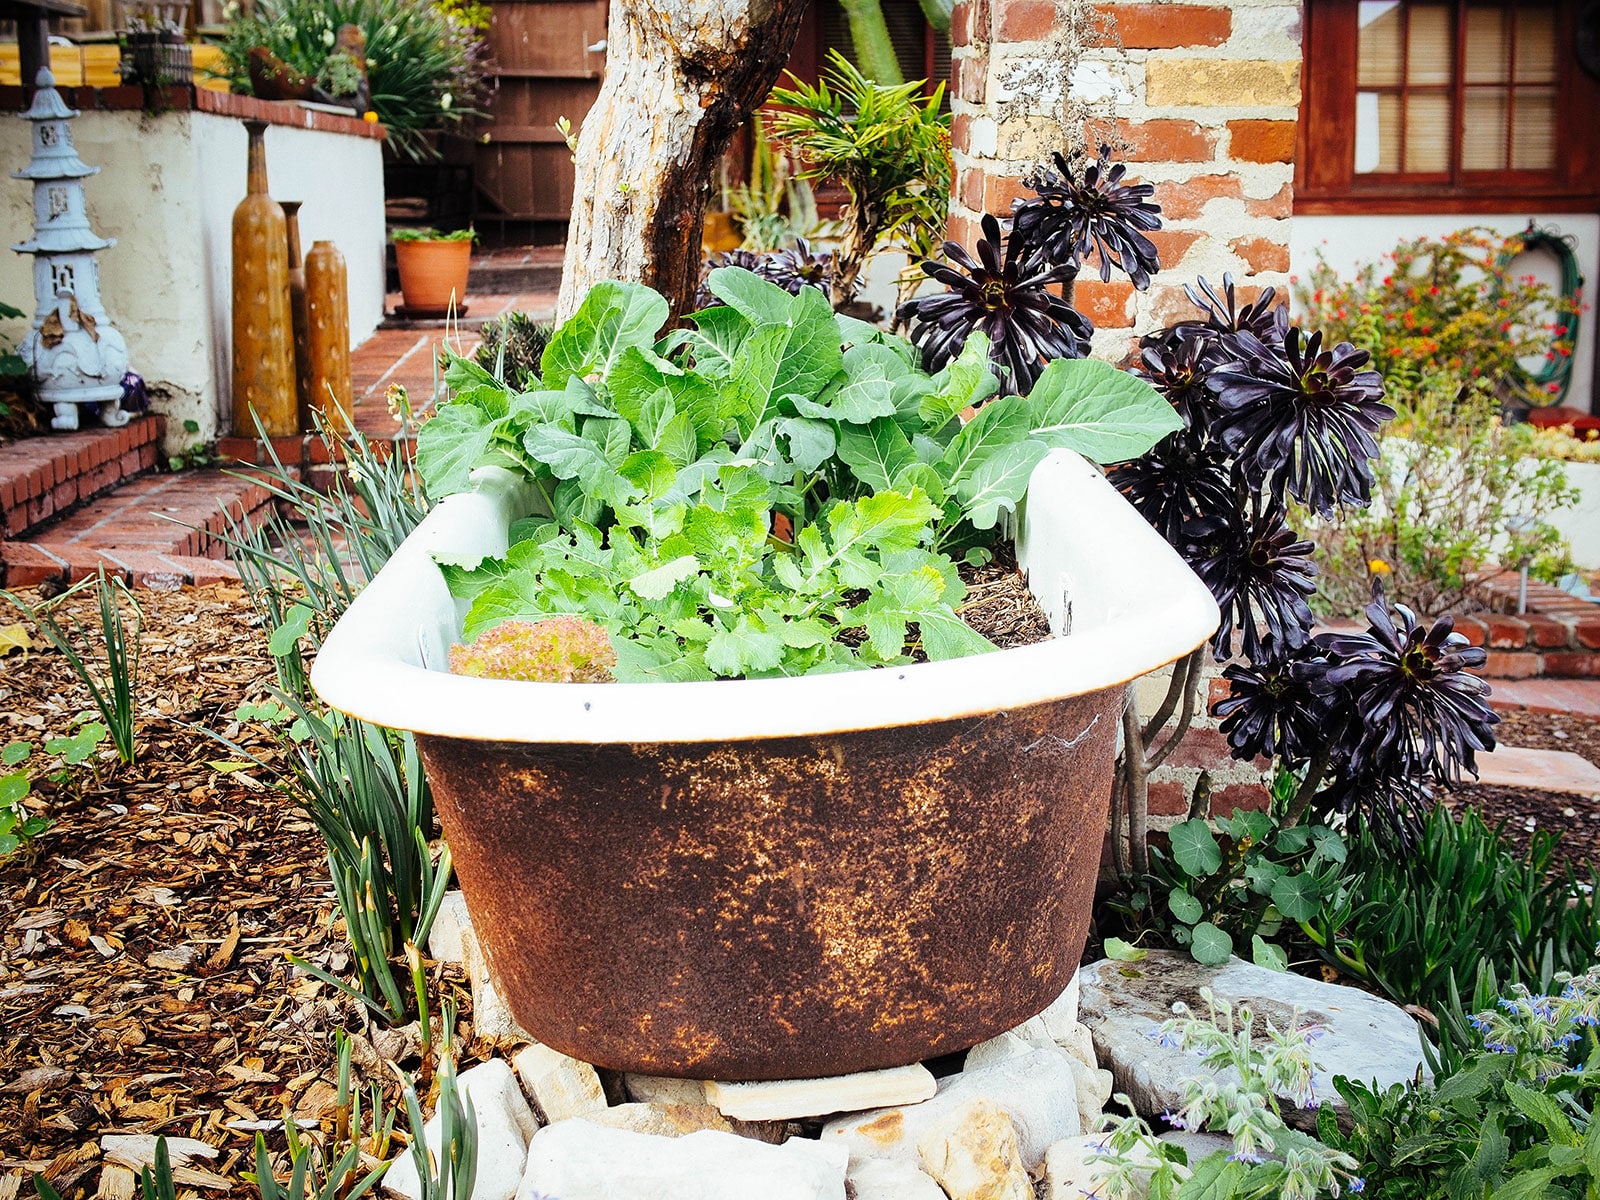
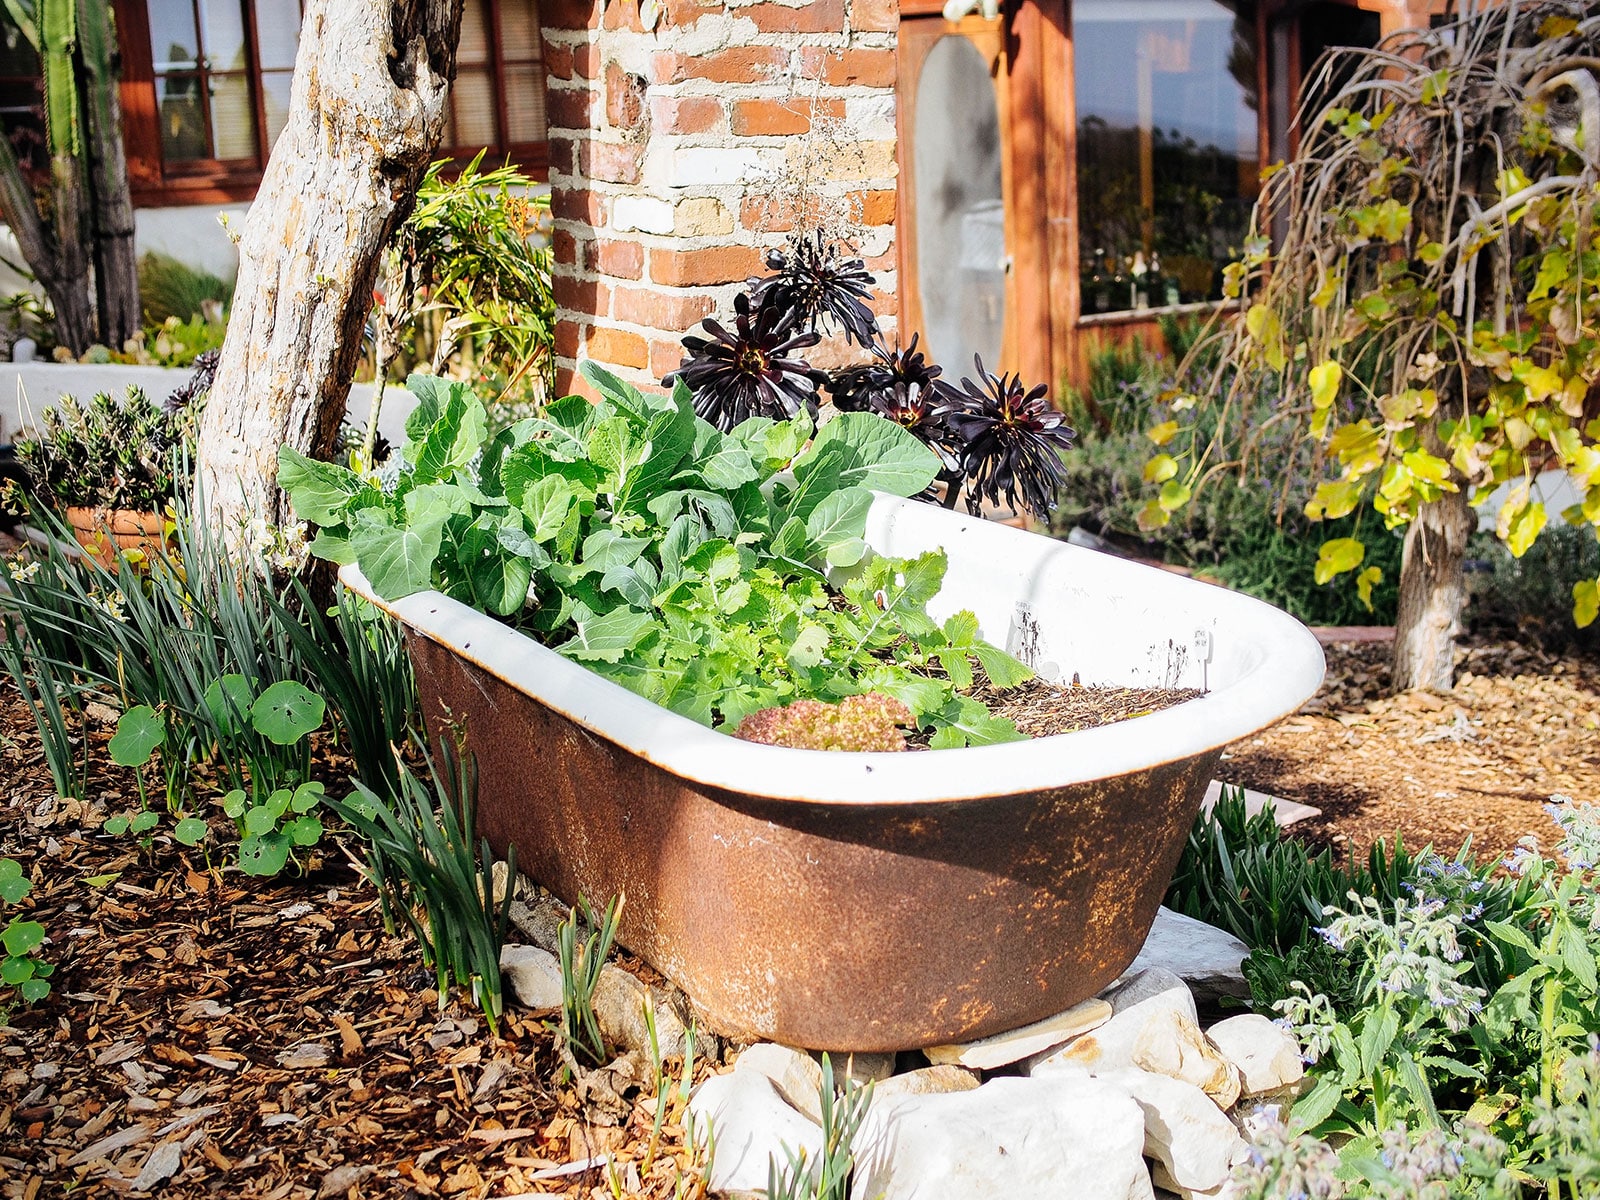
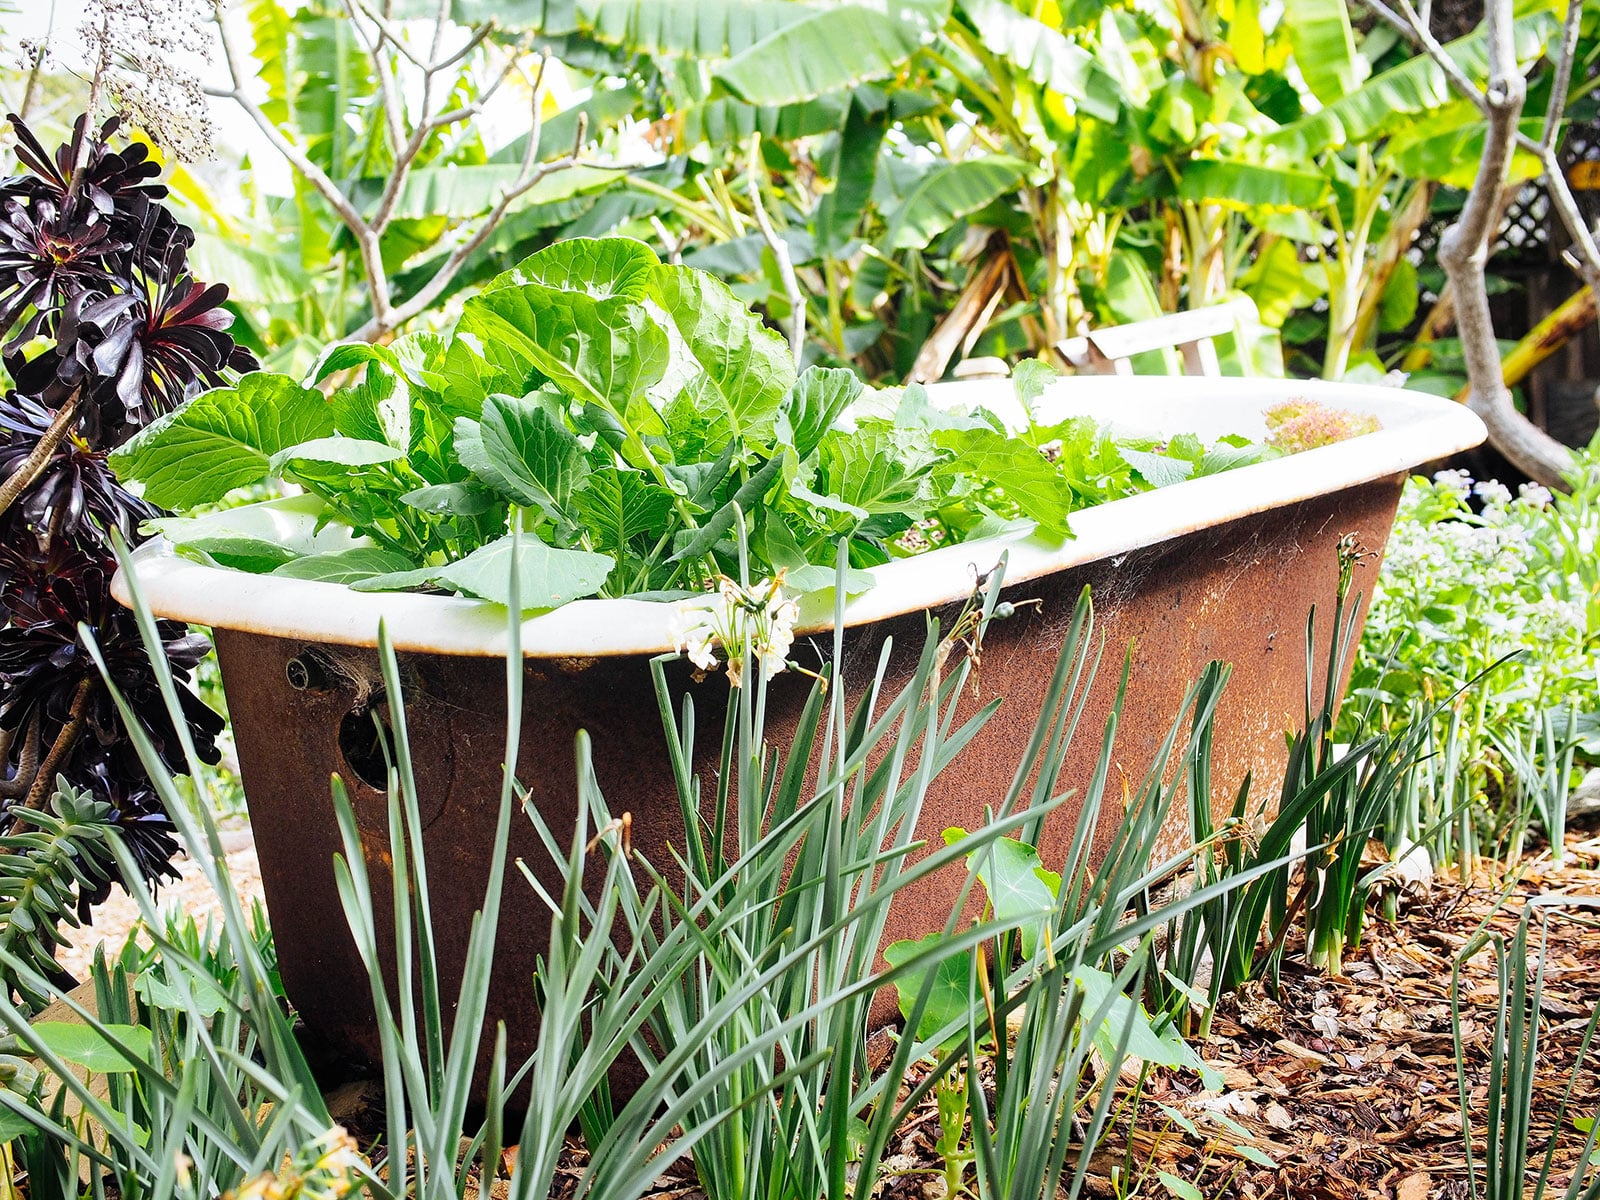
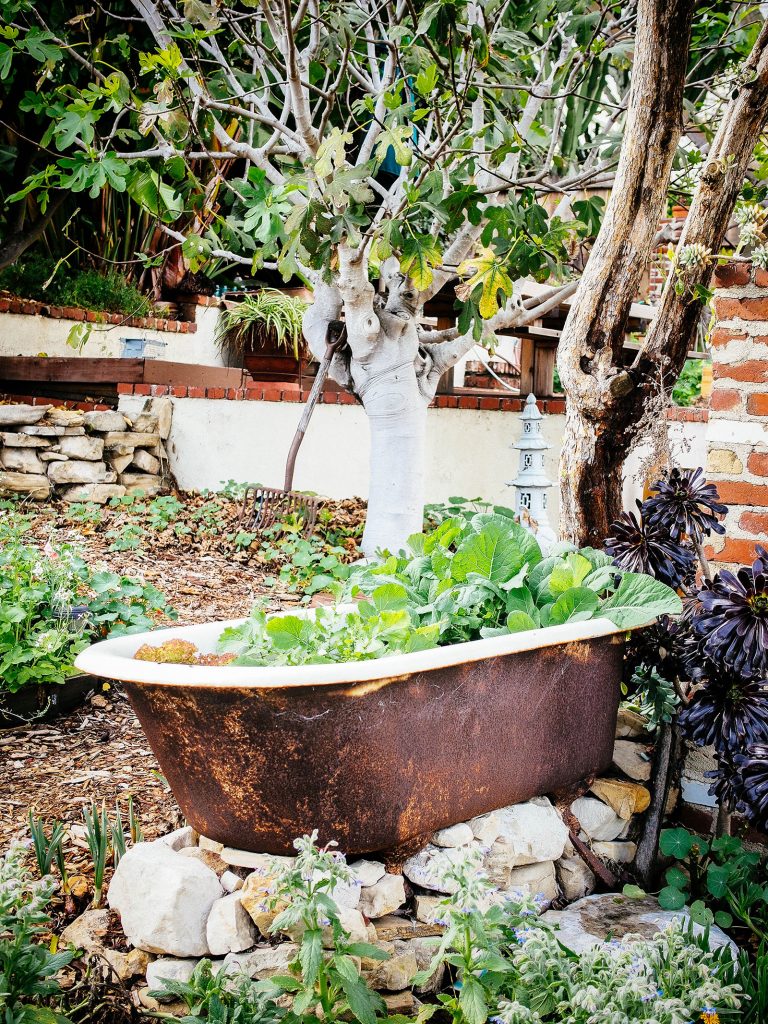
The vintage cast-iron bathtub was already in the yard when I moved into my house. It was propped up on a pile of stones (between 6 to 12 inches high, as the land was sloped underneath it) under the partial shade of a mature feijoa tree, and as you can see in these images, it sits slightly askew to promote drainage through the original drain hole.
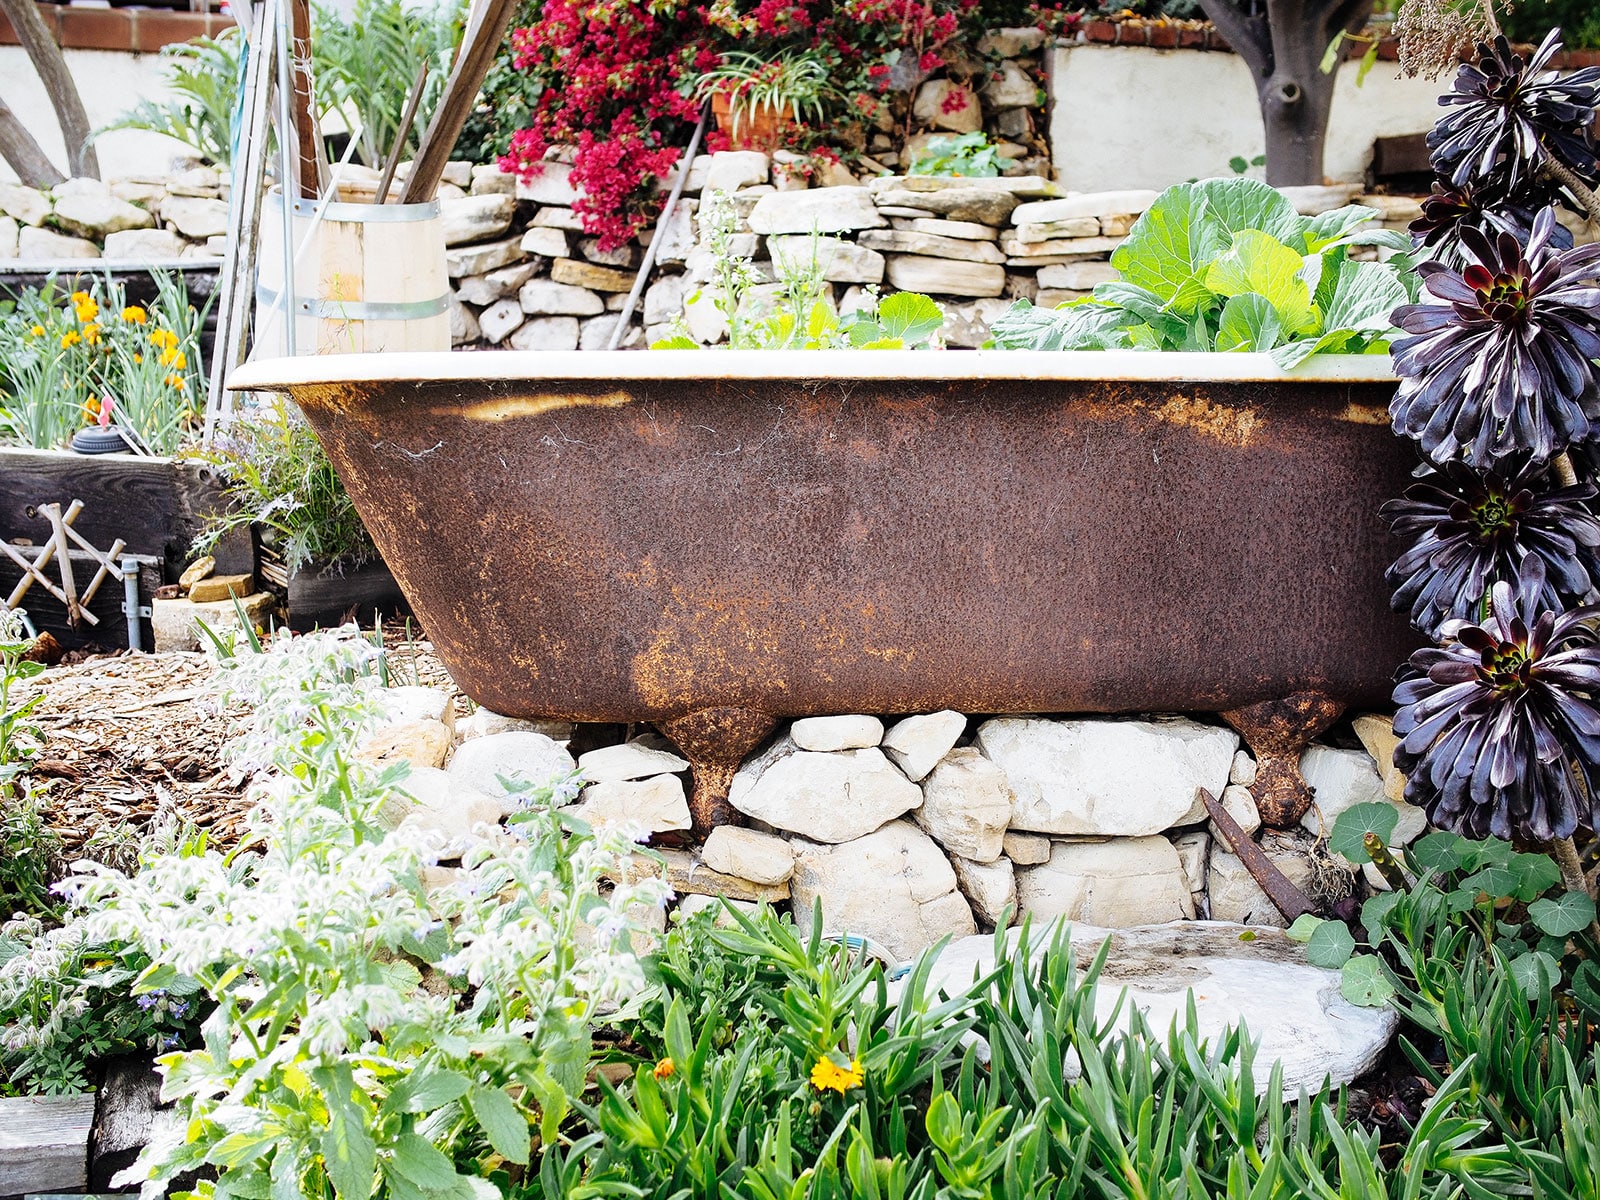
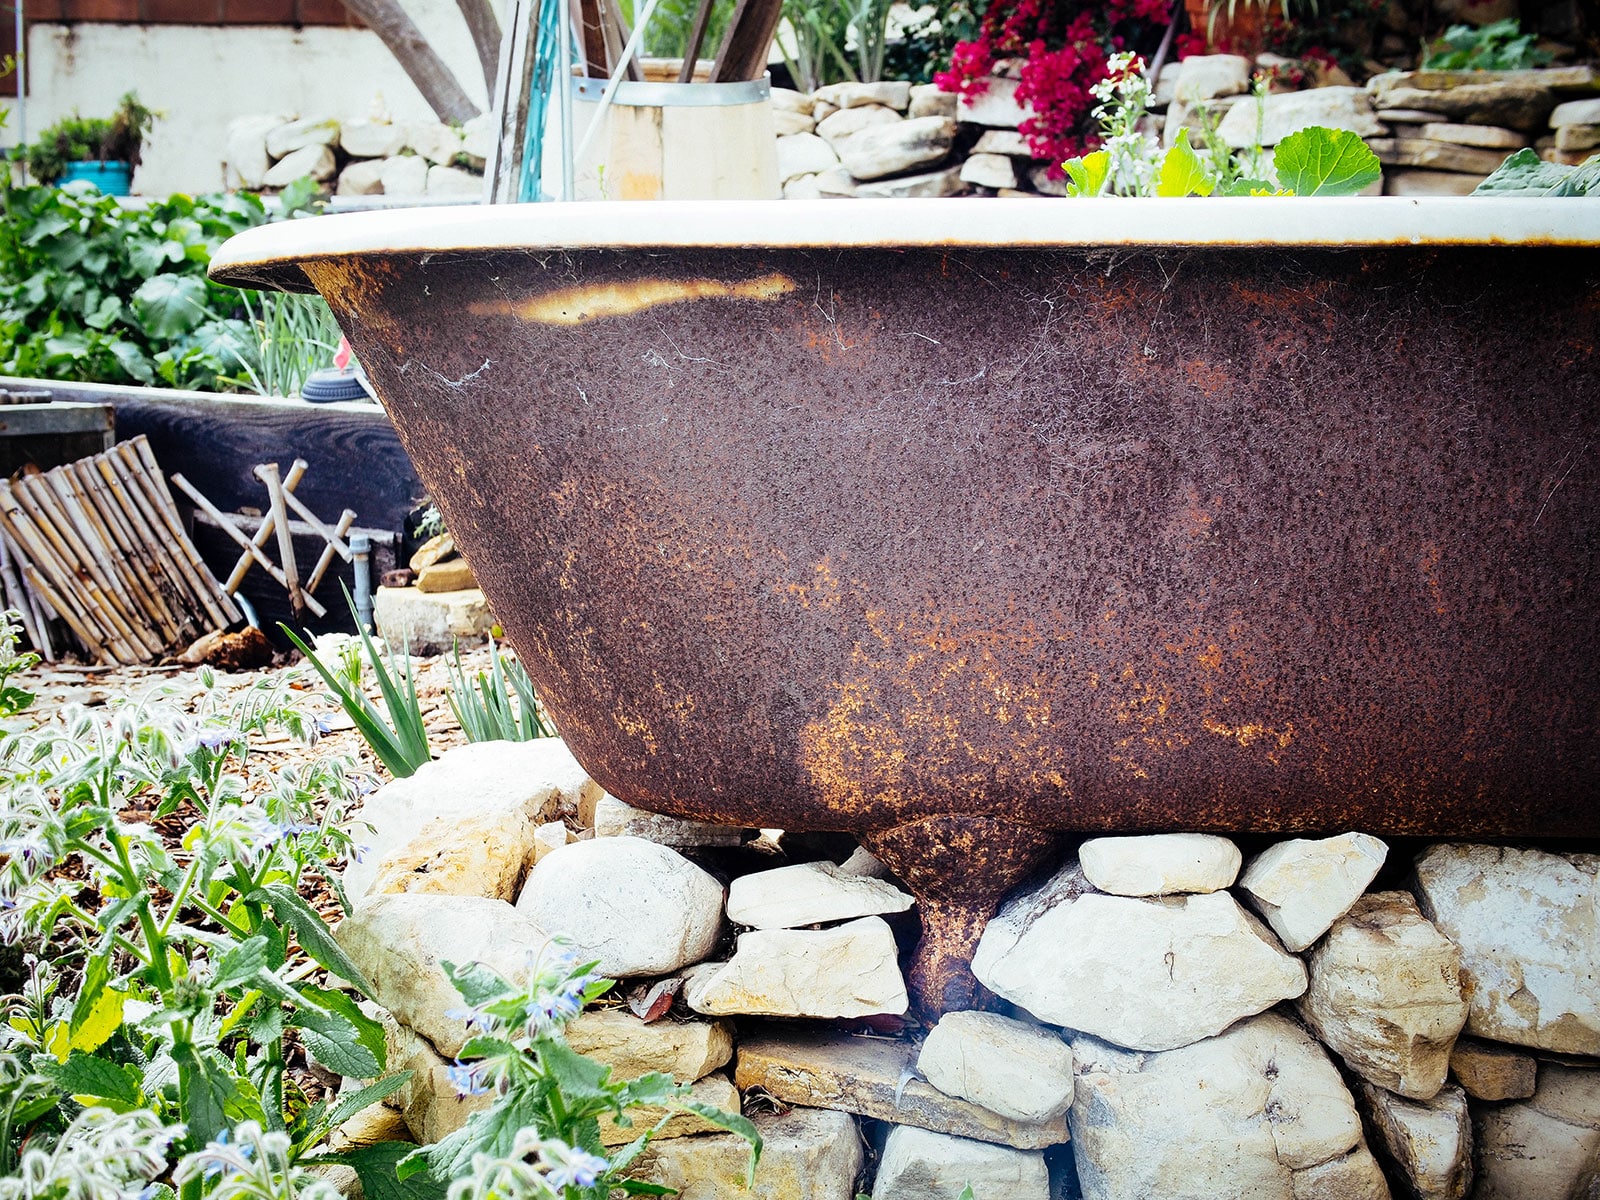
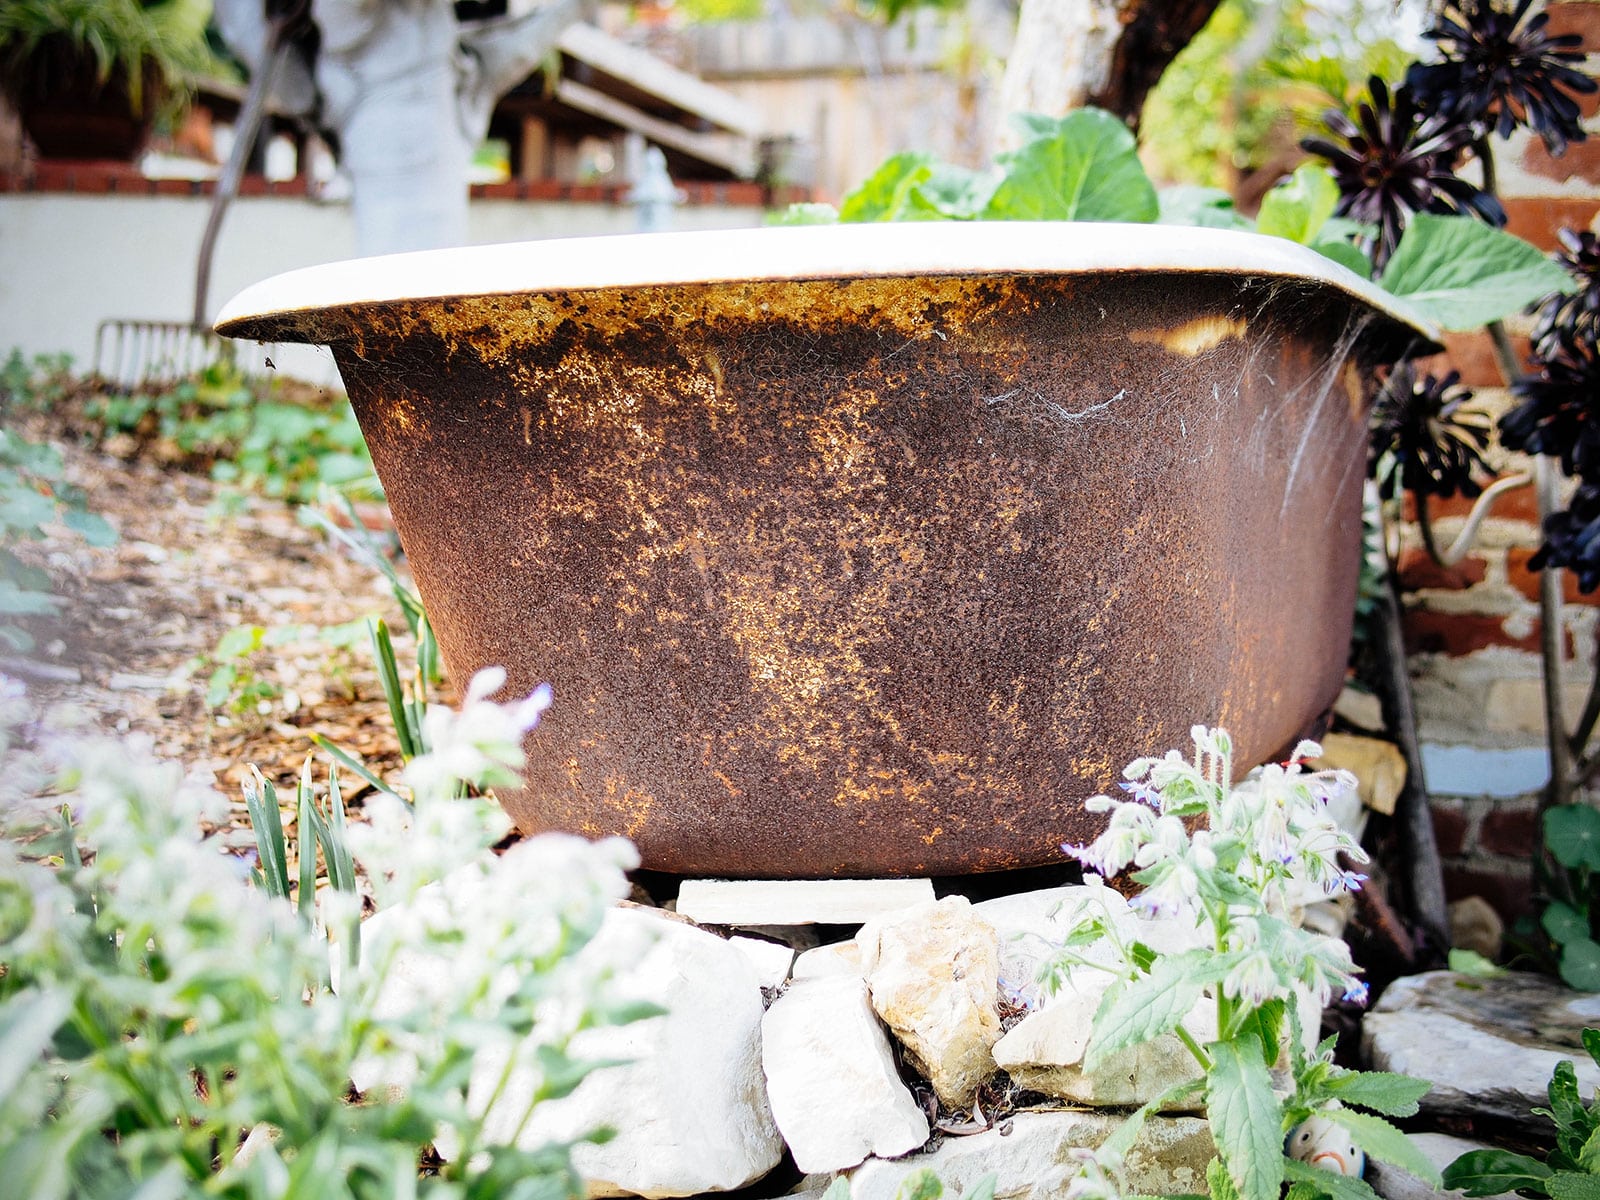
Unless you knew about the tilt, you’d never notice it just walking by the tub in real life.
What about drainage?
This bathtub planter lived in my old garden in Southern California. In a climate like that, which received little annual rainfall, drainage wasn’t a major concern. (Though the tub did go through several storms over the years, bringing a few inches of rain each time, and the tub held up well with no waterlogging thanks to good soil—more on that below.)
If you live in a very rainy climate, it might be a wise idea to drill a few more holes in the bottom to help with root aeration.
I don’t recommend adding stones, styrofoam, pot shards, or any of the other fillers people often turn to for pot drainage.
This is a long-standing gardening myth that refuses to die, despite simple physics proving that so-called drainage materials do the complete opposite of what they’re intended.
Why?
Because water does not move easily from finer textured material (soil) to coarser textured material (say, stones). As the water trickles through the soil and reaches the stones, it will stop and start to pool in between the layers (in effect, “back filling” the pot) until the soil is fully saturated.
Only then will it start to drain—a slow process that keeps the roots sitting in soggy soil far longer than it ordinarily would if the whole pot were filled with soil. Rather than assisting with drainage, the stones restrict it.
The only way to ensure proper drainage is to fill your pot (or in this case, your bathtub) with well draining potting soil (not garden soil, which is much too dense) and make sure the drain hole is unobstructed.
When you water, stick your finger in the soil and water only if the first couple inches feel dry. (Moderate watering also encourages the plant roots to reach deep into the soil and grow stronger, rather than staying near the surface where they tend to be weaker.)
The best type of soil for a bathtub planter
Think of a bathtub planter as a giant container or raised bed. It needs loose, well-draining soil, ideally something you make (such as a no-dig garden or a lasagna garden), or something you buy.
Bagged soil works well in this instance, as long as it’s labeled for use in containers or raised beds—avoid straight “garden soil” or “top soil,” as those are typically made for mixing into your native dirt and tend to be denser to retain moisture.
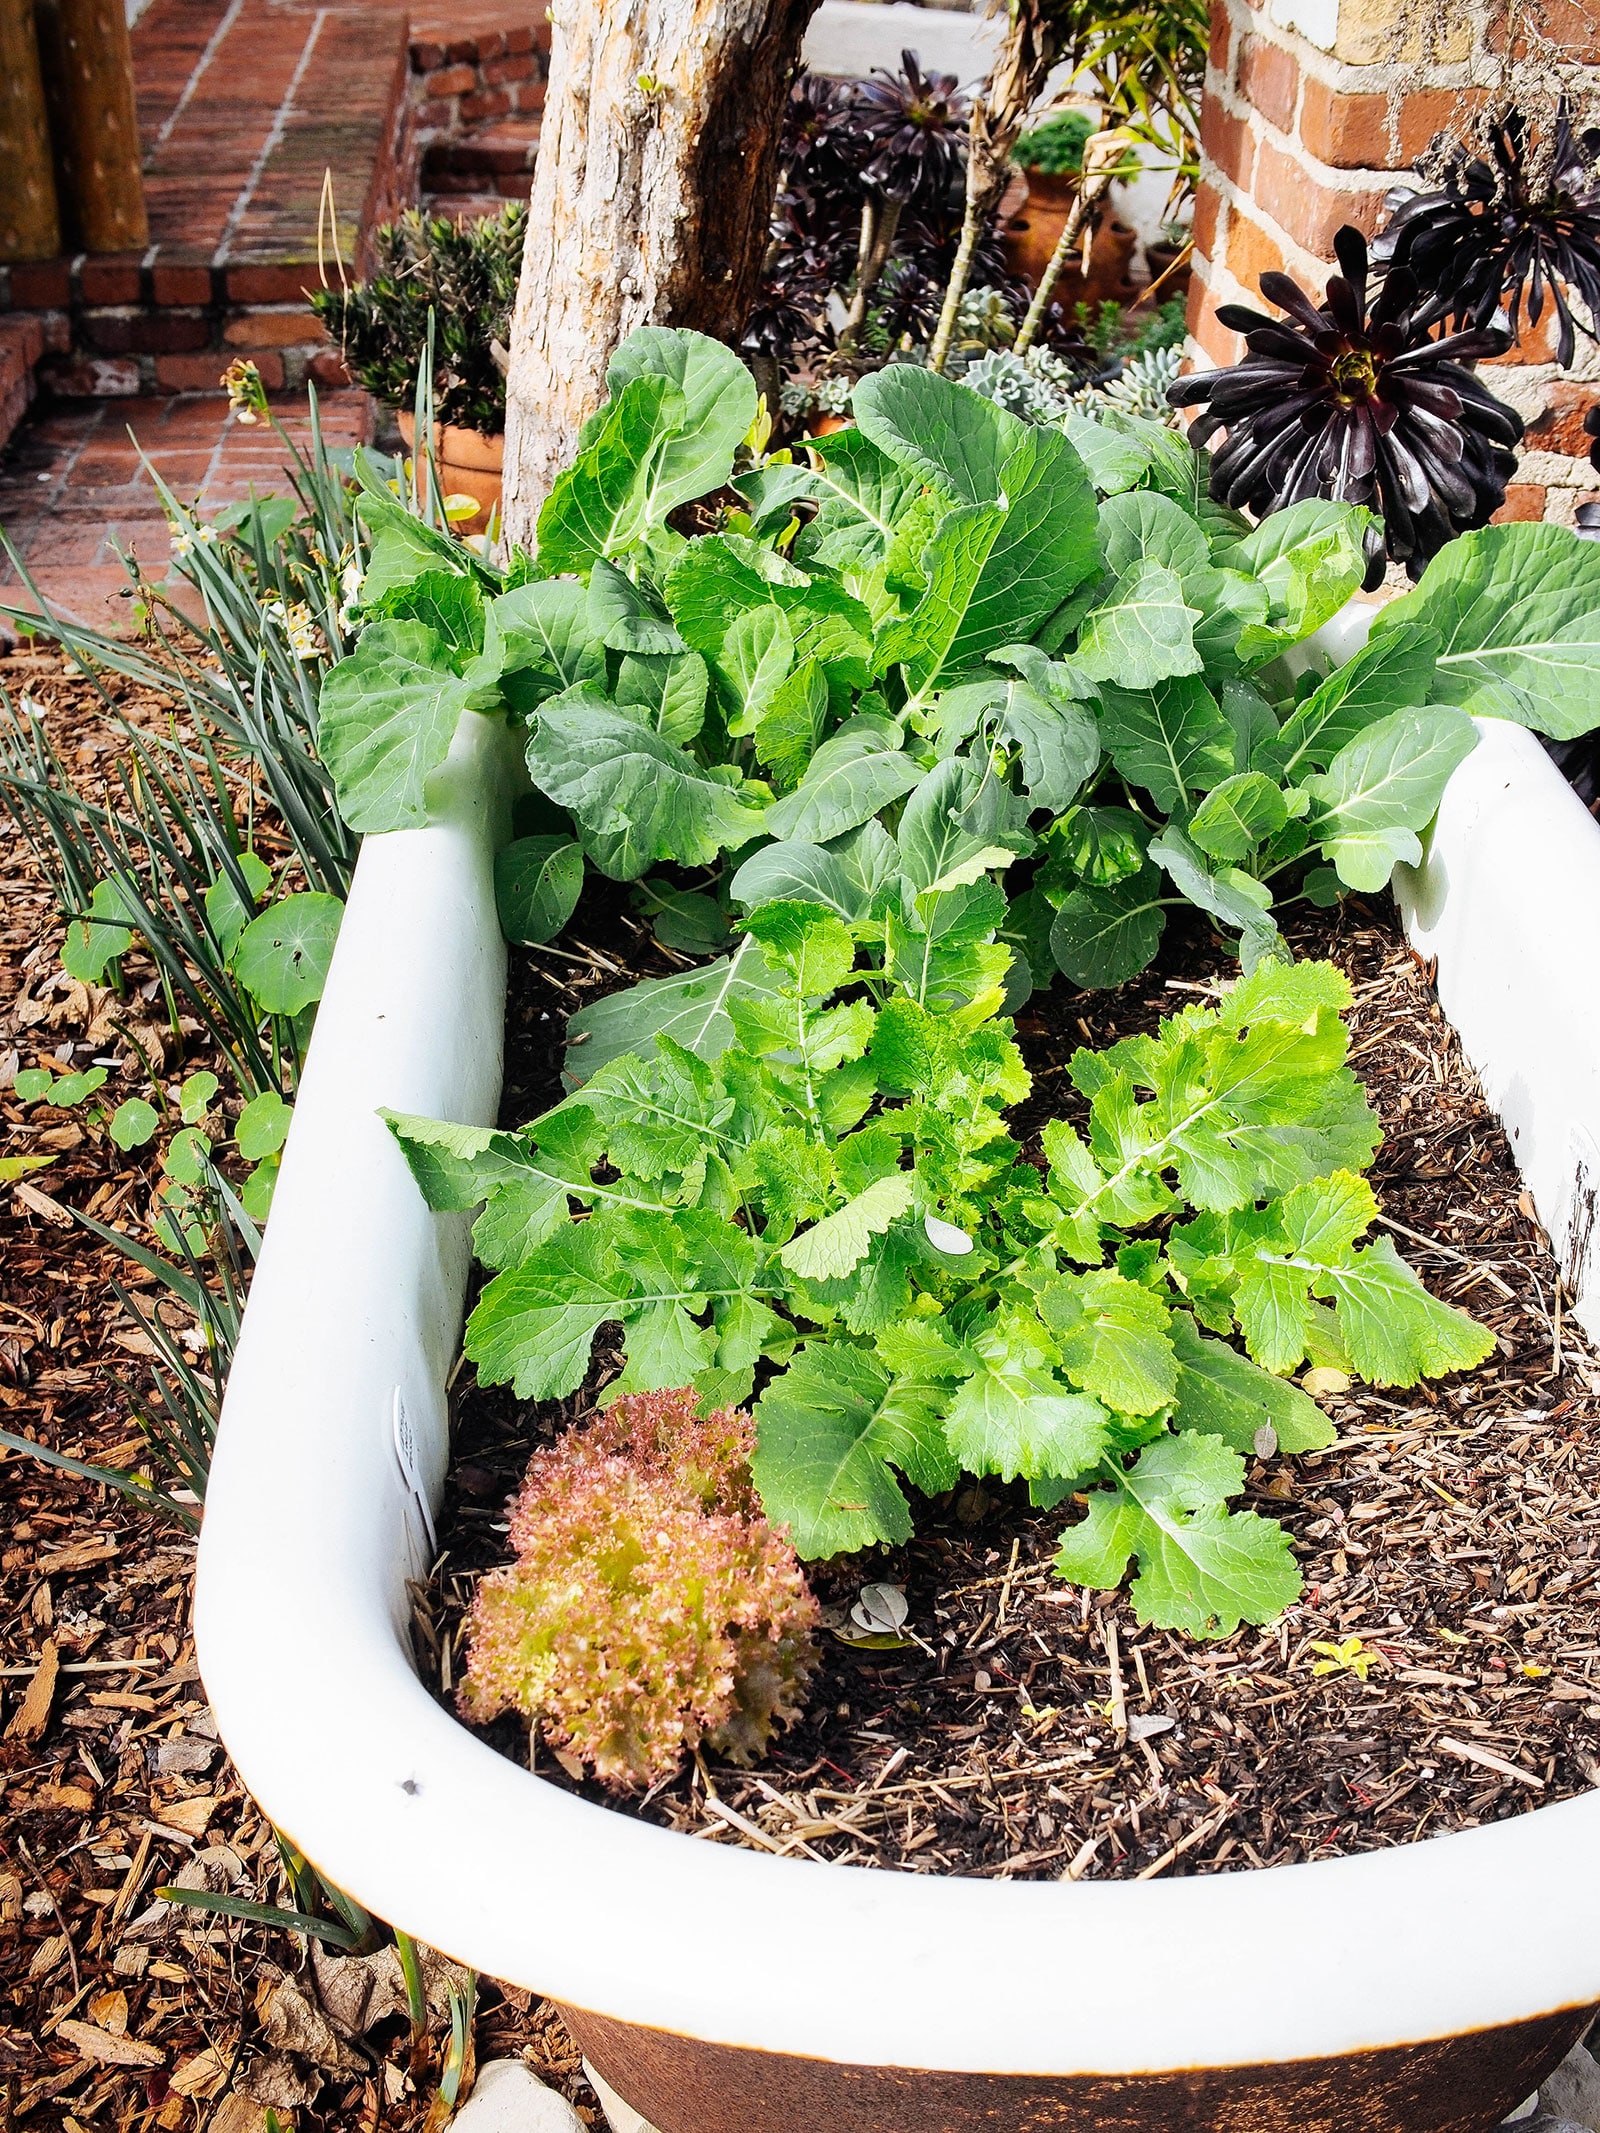
If the soil seems too heavy, you can mix in a few buckets of compost or perlite for more aeration.
With a no-dig garden bed like the one I built for the bathtub, the layers decomposed into soft, aerated soil so compaction was never an issue. When I topped off the bed each season, I simply used well rotted compost, potting soil, raised bed soil (which is essentially a potting soil), or a mix.
In the fall, you can also plant fava beans or another cover crop (like Austrian winter peas) in the clawfoot tub and “chop and drop” at the end of the season, just as you would for a normal garden bed.
Bonus: it’s the perfect height for harvesting
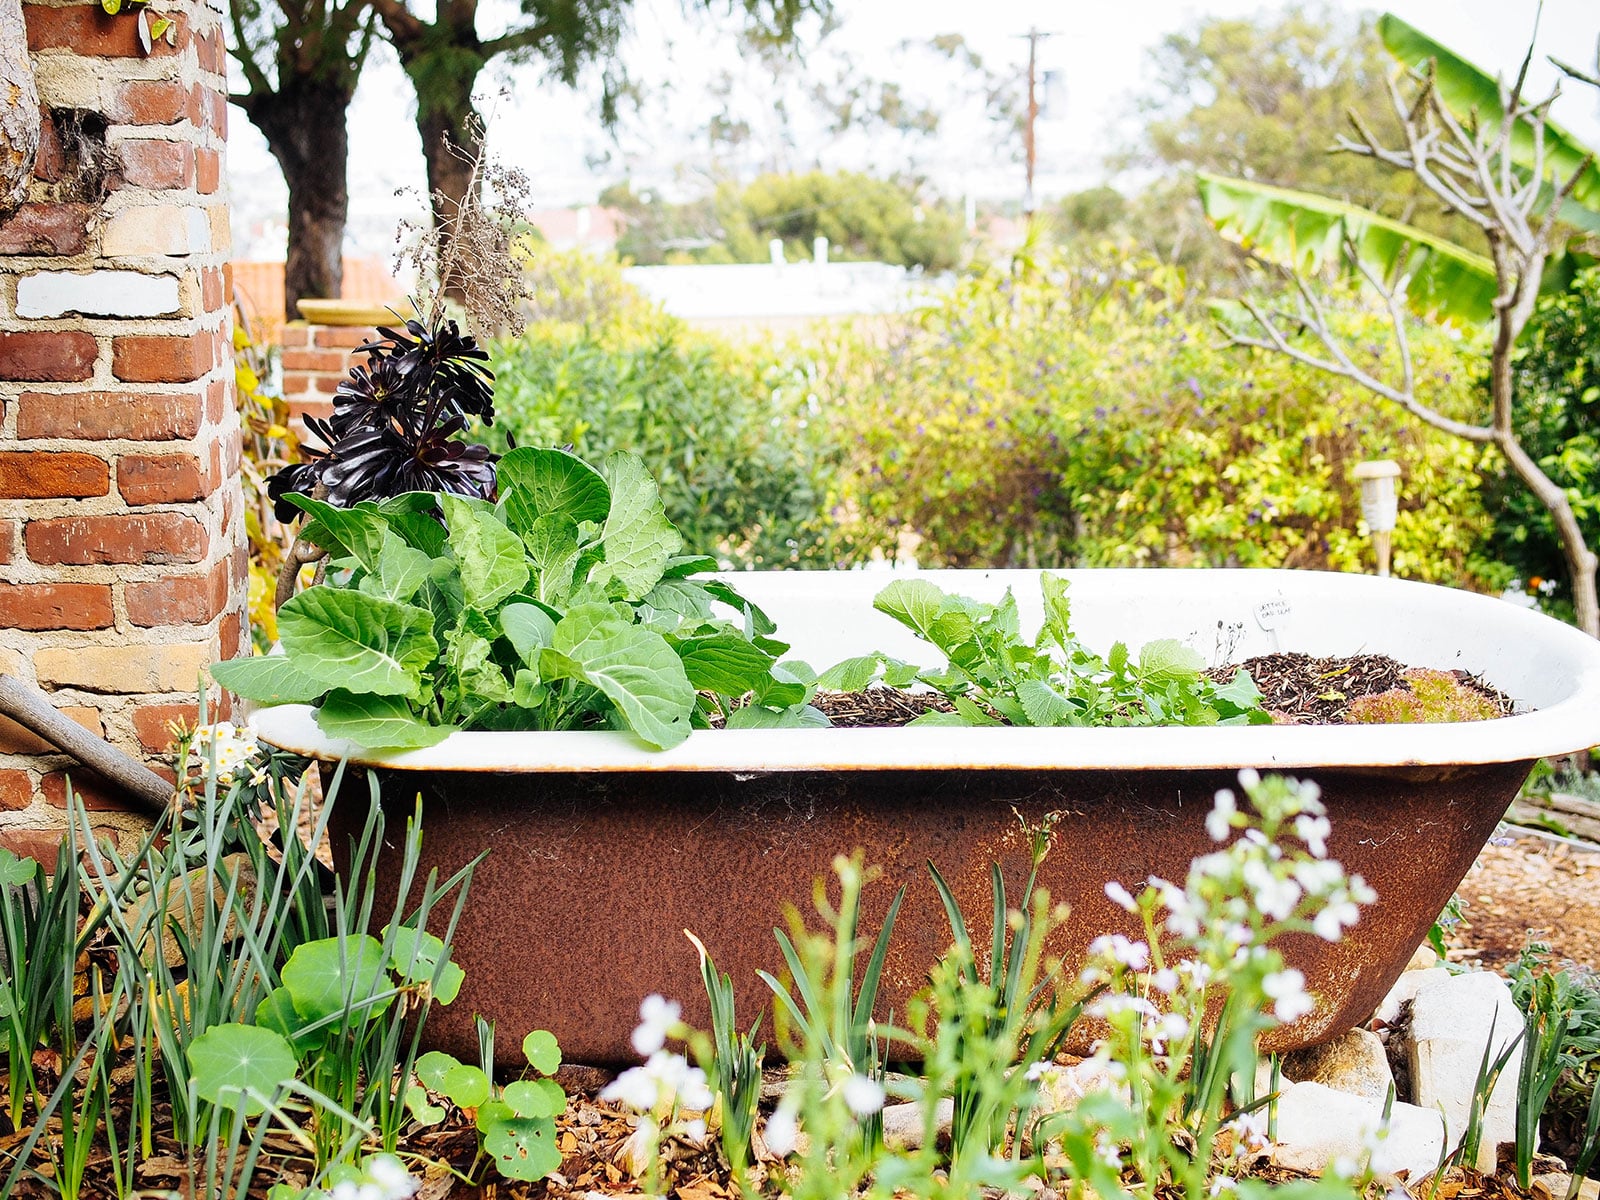
One of the things I loved most about the bathtub planter (besides its quirky aesthetic) was not having to stoop or kneel to harvest.
On its perch of stones, the tub came up just below my hips, putting all the plants at perfect picking height.
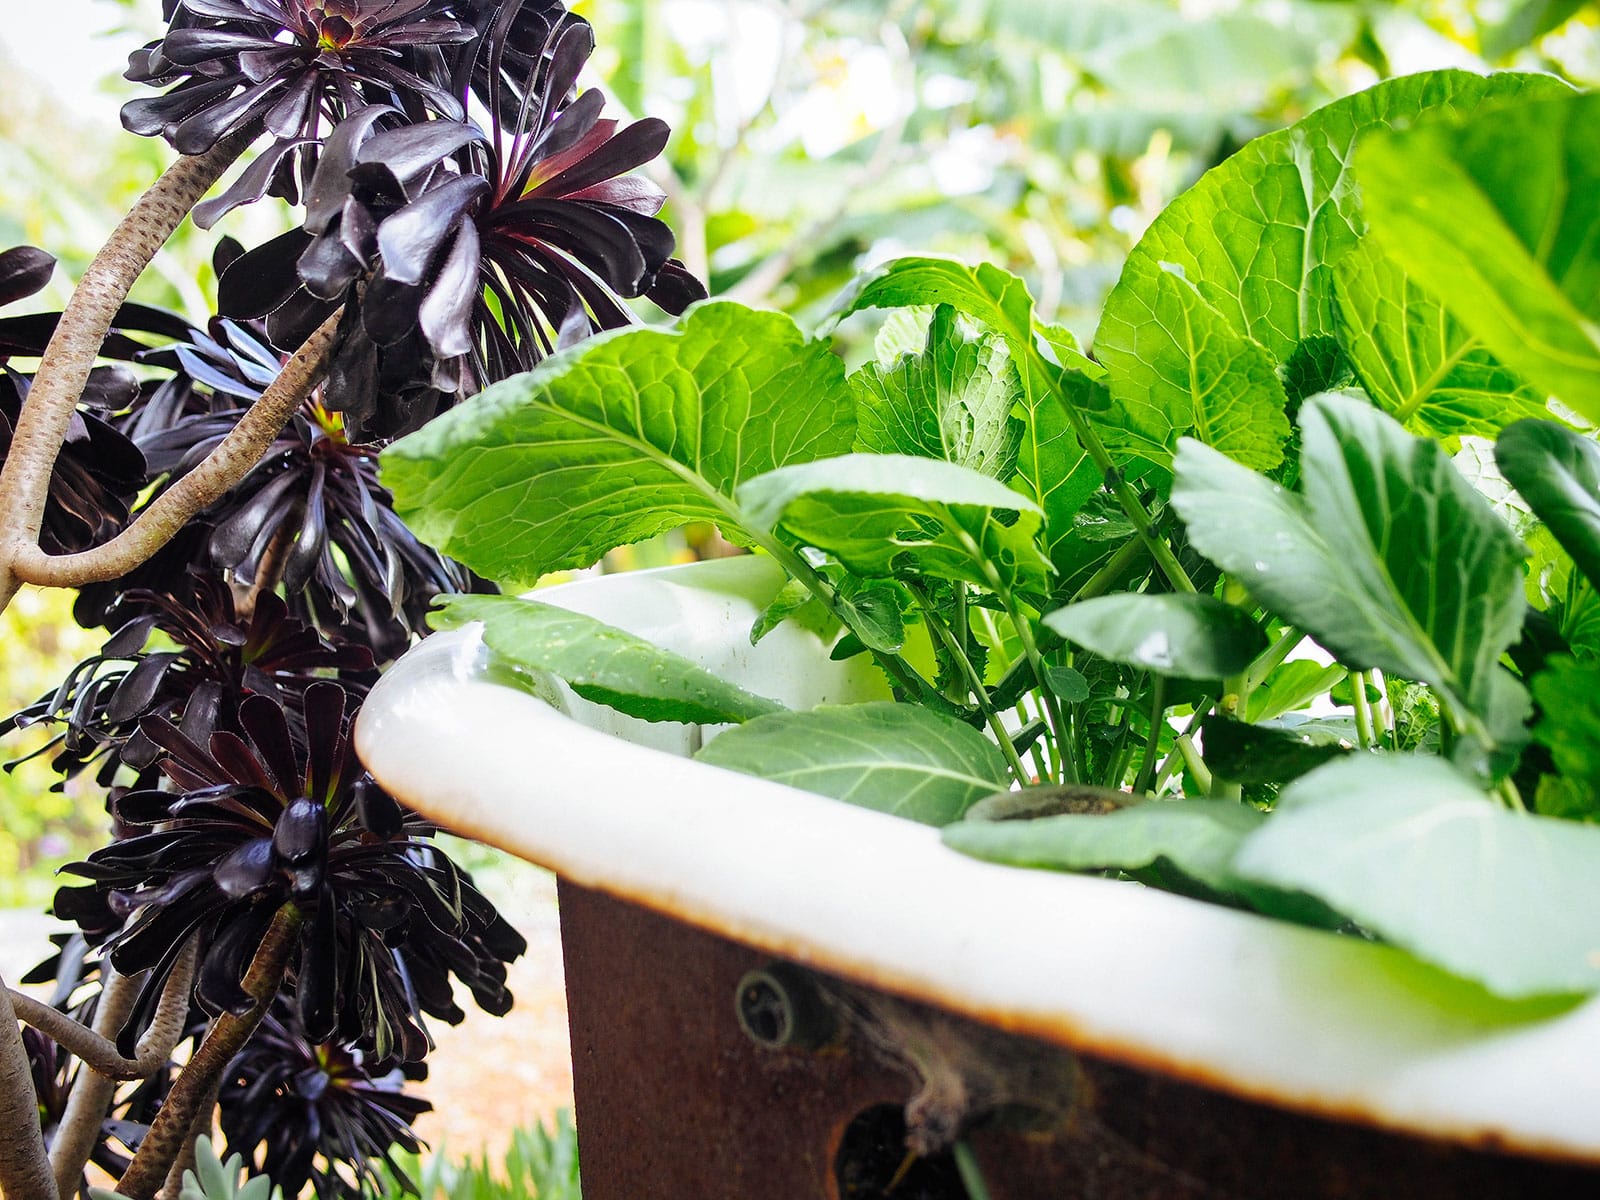
I could also spray compost tea onto the undersides of the leaves while standing and inspect the plants more easily for pests—small benefits that my back and knees end up thanking me for (and one of my main lazy gardening principles).
Have any other questions about my clawfoot tub-turned-planter? Let me know in the comments!
View the Web Story on how to turn a clawfoot bathtub into a planter.
This post updated from an article that originally appeared on March 13, 2014.







What paint and method did you use to get that rusty and patina finish? I love it!
Can you share with us what your tub looks like today?
I know you posted this ages ago. But I’ve just planted the claw foot tub in my garden. Northern California, drought conditions. I was thinking about plugging the drain hole because the water just flows out and I was worried about the heat in high summer in the iron tub.
You said let it drain. Wouldn’t it be better to conserve water by not letting the water drain out?
Here’s the problem I have. I have no tub and no containers. After purchasing the house, I am on a gardening budget. I love the no digging idea. Last summer was my first attempt and I made the mistake of turning over the soil and adding only a small bit of potting soil. Until I can afford the make garden beds,could I just simply use more potting soil? If so, how many inches do I need for vegetables? I would love to build garden beds, but I can not this year. Thank you for your information. What a wonderful sight that is easily understood for the young and old growers. I am a grandma but just started enjoying growing my own garden since I retired. Thank you again.
Grandma Wille
How much soil did you need to fill the tub initially?
I filled it using this method: https://gardenbetty.com/the-no-dig-vegetable-garden/
I am converting an old claf foot tub into a planter. I want to plant herbs, tomatoes etc… but am concerned about the paint that is on the tub. What do you know about the epoxy that is on claw foot tubs? Dioes it contain carenognes? Lead? Anyting harmful to people if ingested? Any insight out there…….
I wouldn’t know, as it depends on the manufacture, history, and condition of your tub.
Again, I just love your blog! I shared with my friend who started her small flock of chicks with me last November and she has the same 3 chickens as you started with. But my question is about gardening containers. I have been searching high and low to try to figure out what to put in the bottom of my 3′ high galvanized steel horse troughs that I’m using for raised garden beds. I have had my mound of organic soil waiting to go in but didn’t think I should fill entire container with soil. I drilled many holes in the bottom so not sure dirt would clog holes? I was going to put wood chips in bottom with burlap over those and then soil on top, but am not sure that’s best…so soil just sits there with empty containers and no vegetables and it’s now October! Any words of wisdom or advice you have, would be greatly appreciated so I can finally start my garden! Thanks Nikki (southern ca girl with a small farm in the city, with 6 chickens, 1 potbelly pig, 3 bunnies, 2 cats, and 3 dogs).
If you have enough soil to go around, filling the entire trough with soil is the best option, as it’s well draining and full of nutrients. You actually risk clogging the drain holes more with non-soil medium. Since this bed will be fairly deep, I’d reserve it for deep-rooted vegetables (e.g. carrots or daikon in the fall, sweet potatoes or tomatoes in the summer) to fully take advantage of its size.
Also, I am jealous you have a potbelly! I would love one, but lack the space (and probably enough food for it!).
I love the use of alternative planters. 🙂
Great job! So very creative! This is so something that would work at my house! I turned an old nonworking well house into a lettuce planter (http://www.blissfullychicdiy.blogspot.com/2014/05/old-well-house-turned-lettuce-garden.html) and it has worked so well, it keeps all the critters away because it’s up so high. Love the look of this though, maybe I’ll try it for a little flower bed!
Hi, great post – two things 1) if planting vegetables remember that depending on how old your tub is – pre 1920 is the worst – then there will be some lead paint. If all rusted off no problem, but if not may want to either sand blast it off or seal it 2) We have a few claw foot tubs in California that are damaged, can’t be used, but would make great planters. If you want them – and can pick them up – drop us a line at help@clawfoot.com and we’ll hook you up – thanks
Tried this with some new raised planters, and it easily saved me $70 on soil. Thanks so much for posting!
Wow, that’s awesome!